A couple weeks back we tore our AMC 360 project motor down to the block in anticipation of its trip to the machine shop where magic will be performed and the true seeds of horespower will be sown. In order to have the most accurate info possible in our conversations with the machinist, we needed to check our bores, here’s how we did it.
Long story short, we used about $140.00 worth of tools. The exact bore gauge we have can be found here and the digital caliper we used can be found here. Now, we’re not calling ourselves machinists, and we’re not saying that this quick test should be the end all be all. It was to both scratch an itch we had and let’s face it, playing with tools is fun. Our goal was to make 100% ceratin that the motor had not already been bored or otherwise worked on already.
What did we find? Read on for the answer.
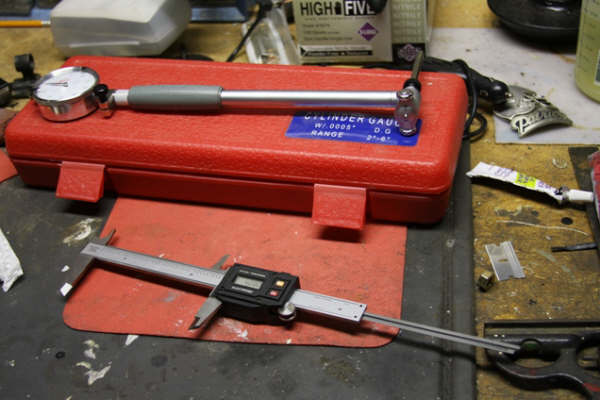
Here are the two tools we used to check the bores of our 360. On top you’ll see a Shaar cylinder gauge. Below you’ll see a digital caliper that can be had at your local Sears for short money. The bore gauge is an off shore product and if we walked into our machine shop and saw him using this as his only means of measure, we’d probably turn on our heels. For our purposes though, it’ll get the job done.
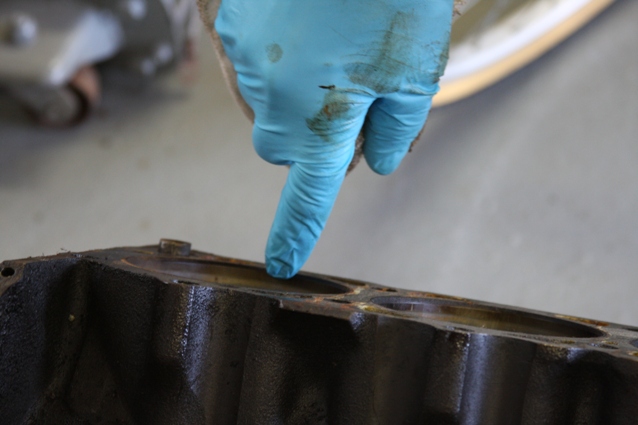
The least scientific but often most telling test one can run on their used block is to use their finger to feel the height of the ridge left on the cylinder wall from the piston riding up and down. Feeling a large step may indicate any number of things, but as a general rule, the less pronounced the ridge, the better condition the cylinder itself is in.
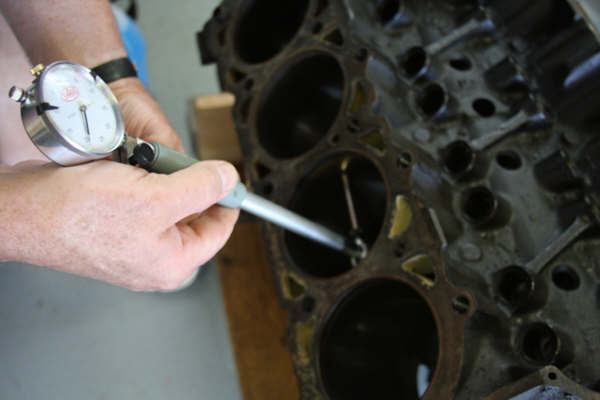
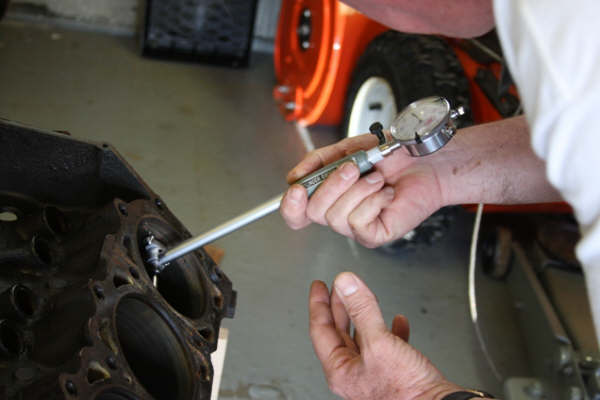
Using the bore gauge is a pretty straight forward affair. By placing the gauge in the cylinder in three different positions (bottom, middle, and top) one can see if there is any taper or other changes from one point to another. This is a dial typ gauge. The method we used was to place the gauge in the hole and rock it to find the “high spot” where the needle stopped moving at and changed direction. We noted this number on all three positions of all eight clyinders.
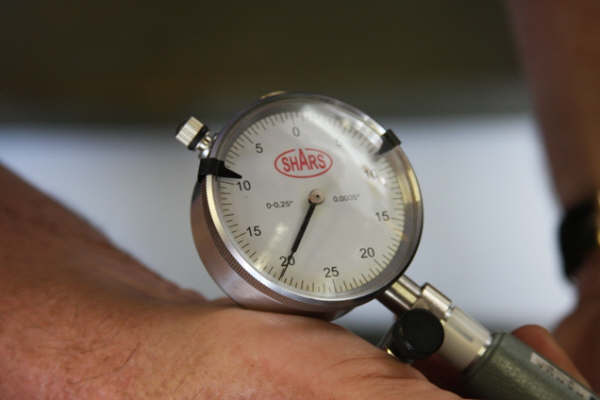
The first indication we got that the bore were at least consistent was the fact that our high spot was at or extremely close to 20 on the gauge in every hole. There was an occasional 19 or 21 that popped up, but with each hash mark representing five ten-thousanths of an inch, we knew that the bores were at least similar.
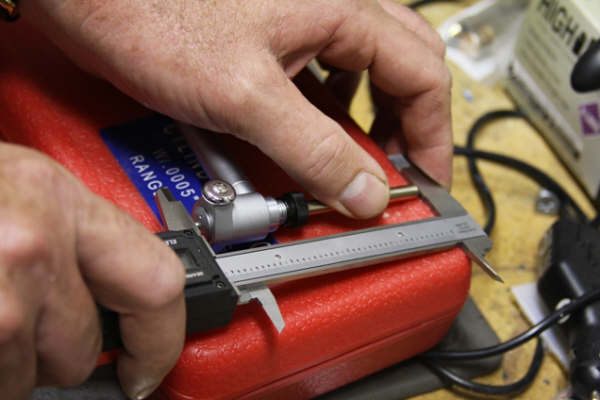
In order to give that 20 reading on the bore gauge some meaning, we busted out the digital caliper and by tightening the caliper on the gauge to replicate the 20 reading we would see the actual diameter of the bore itself. We were hoping to see as close to 4.08 (the factory bore for a 360) as we could.
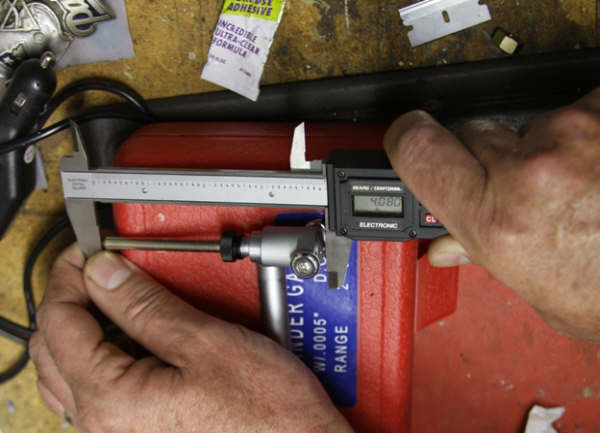
Good news! We came in right at 4.08 inches, just where we wanted to be. Granted, we are boring this motor .030, but it’s always good to put your mind to rest and know that nothing in there is horribly out of round, plus like we said before, it was a good excuse to play with some fun tools.


