


(Photos and captions by David Matyjasik) – We know him better as Dave Matty and so will you by the time this whole saga comes to a conclusion, but to say that this will be one of the neatest series of stories we have ever run on BangShift would pretty much be the understatement of the year at this point. We’e taking you to a place where few people have actually been, which is deep inside a new C7 Corvette that was blown up at a “tuning” shop after being upgraded. Some of the names will be left out due to impending legal action but the real story here is not the who but the why and the how. Why did the car blow up, how is it going to be fixed, and what goes into blowing apart a new C7 Corvette with a couple thousand miles on it. Dave Matty is a wrencher by trade and a damned good one at that. He and his twin brother run the hard charging and high revving Time Bomb LSR Camaro at ECTA events and Dave has been involved in many high performance builds including several Corvettes, including C6 models.
One thing we’ll mention before getting into the action here is that we have talked to some REALLY smart engine guys about this new generation LT1 mill and to a man they have all said that the power potential is there but inexperienced tuners were going to kill A BUNCH of them figuring out how to work with direct injection. The story and background to this situation seems to point directly to what these high level, multi-decade, engineering-type dudes said. Very interesting stuff.
From this point forward the words and photos will all be Dave’s. We’re along for the ride just like you are.
This car came from a local shop where it had an East Coast Superchargers Novi 1500 and Kooks headers installed. It was literallyt detonated on the dyno and Diversified Automotive in Apex, NC was tasked with tearing down and replacing the broken parts. Craig Fridley is the owner and has been working on all things performance since the early 90’s. He contracted me in to assist as we have built several Corvettes together over the years. The general architecture of the car is still very similar to the C6. There was a huge emphasis on packaging, weight, sound deadening, and heat. I’ll describe the pictures below and you’ll see what I mean.
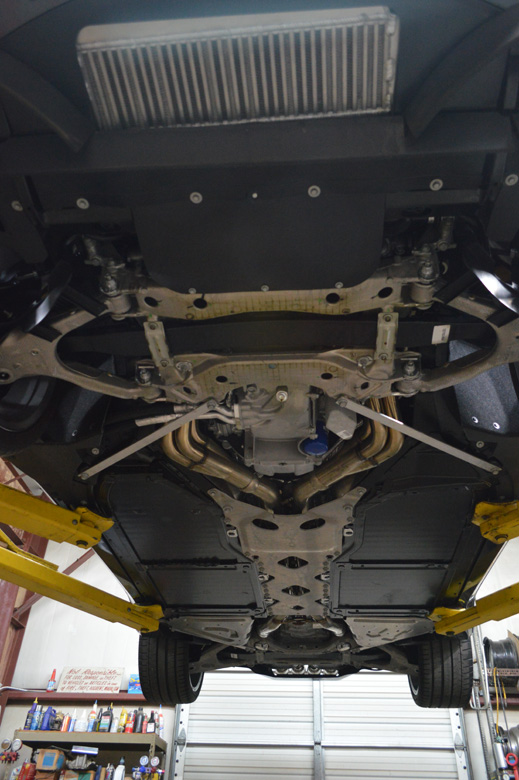
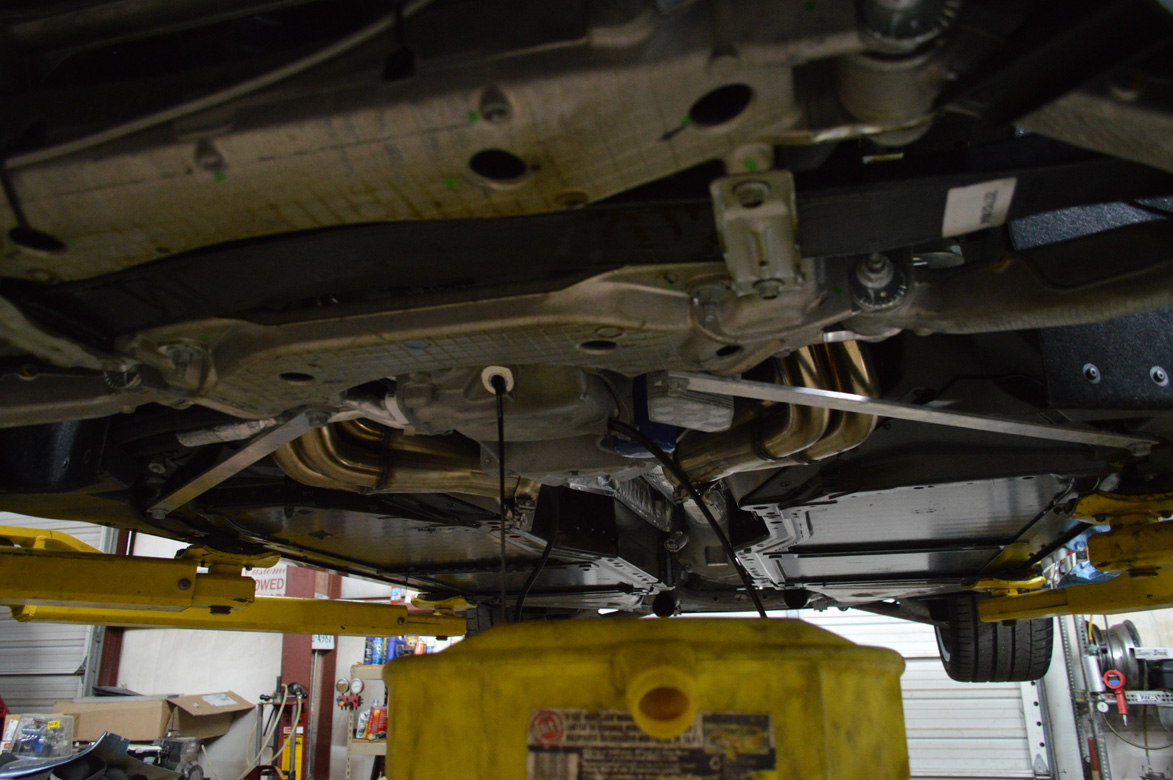
The underside of the car, stock, except headers and the cutout for the intercooler. this is normally close off with plastics pushing all the air for the radiator through the grill.
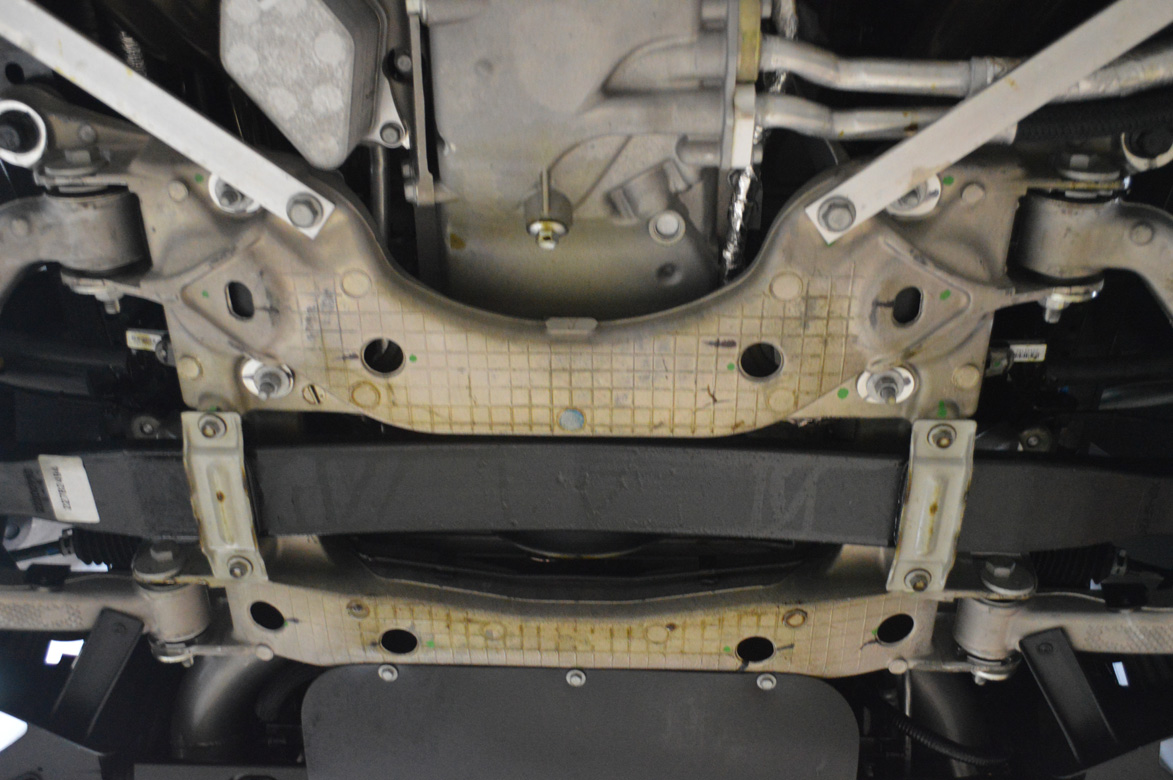
This is the front cross member. Note that it is hollow. The piece is much lighter than the C5-C6 solid casting.

Picture of the underside with the crossbrace removed. This is a really nice 1/4″ plate aluminum with vents cutout for the exhaust. Note the lines for the semi-dry sump Z51 package, you’ll see why that made this job harder later
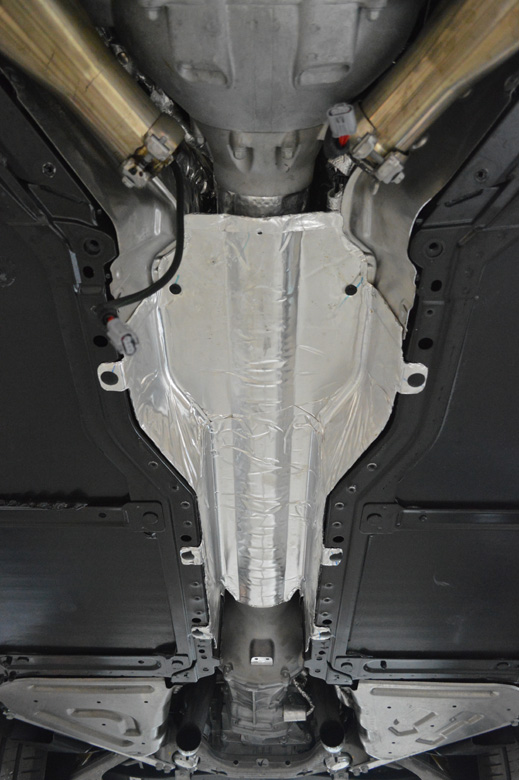
Above the exhaust is another heat shield the is formed around the exhaust up in the tunnel, really nice piece.
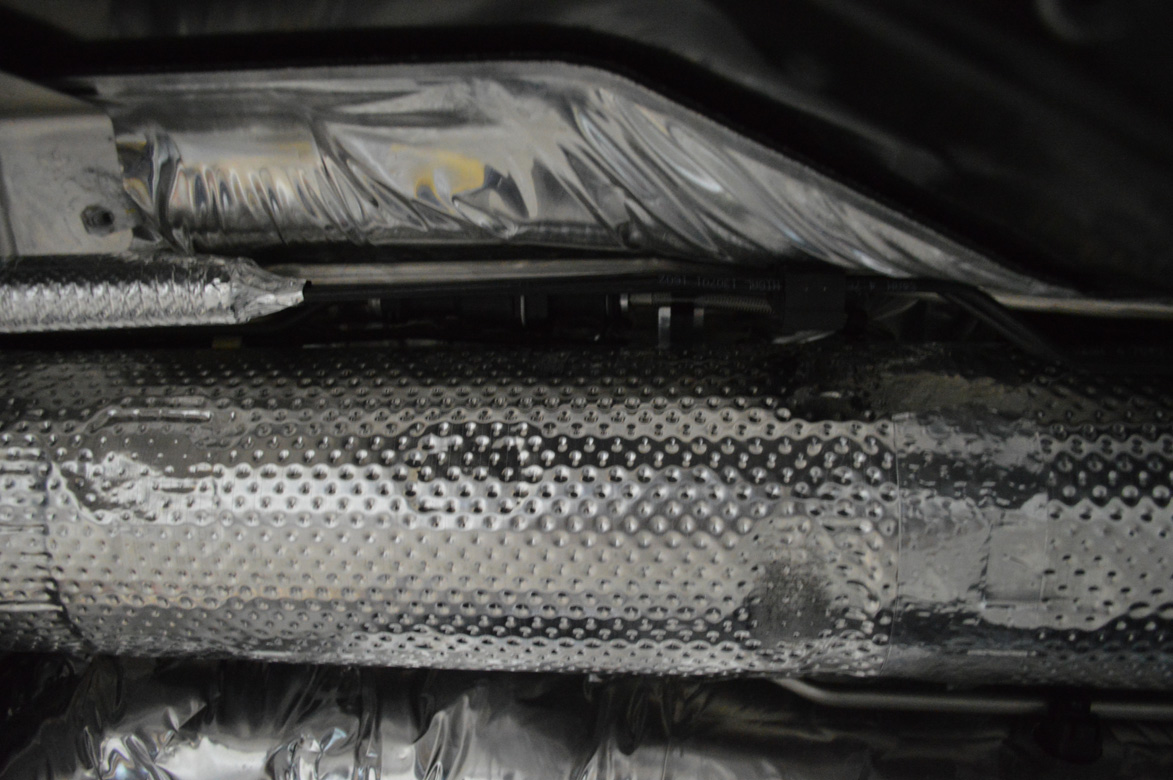
The torque tube is now also wrapped in insulated heat shielding.

The single biggest improvement for road race guys and anyone doing a clutch job is the slave cylinder disconnect. The hose now runs above the tq tube, and loops around making it very easy to reach. The disconnect is also 1 steel c-clip pin that pops out with a screwdriver instead of that stupidly ridiculously insane spring loaded piece of garbage techs have been dealing with since 1997.
If you’ve never seen a z51 pan. One drains the pain, the other drains the tank. Pretty cool.
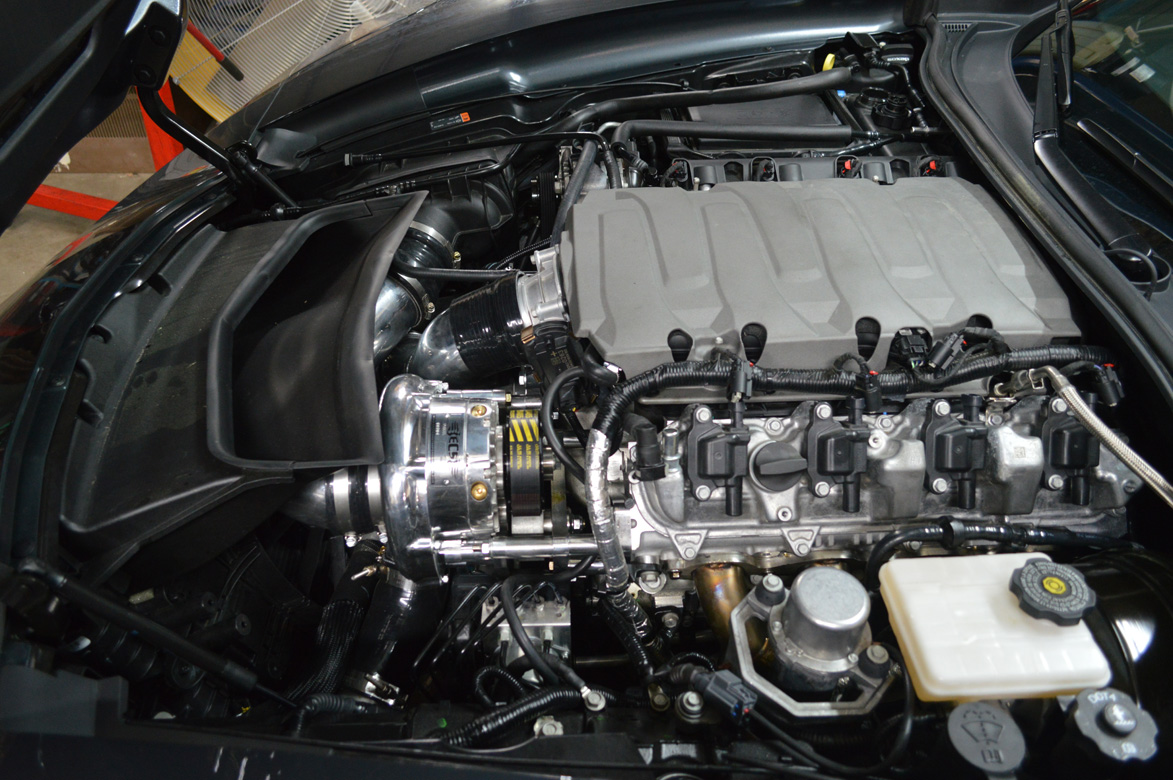
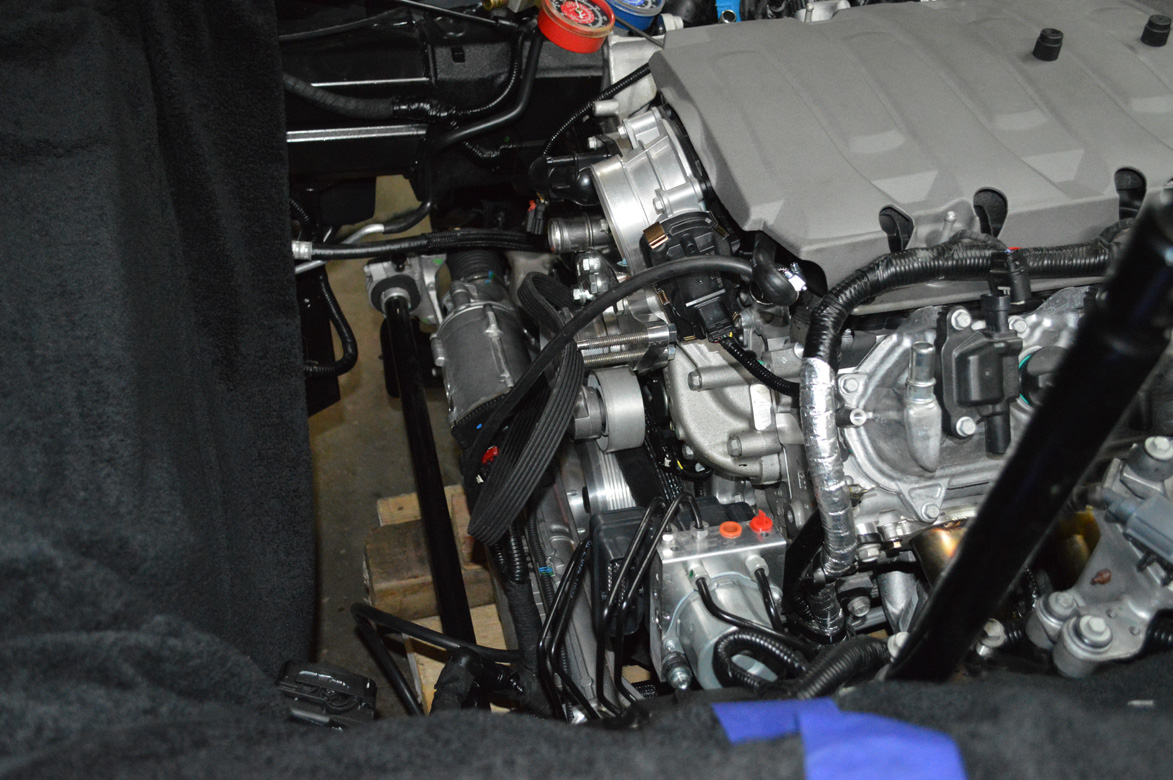
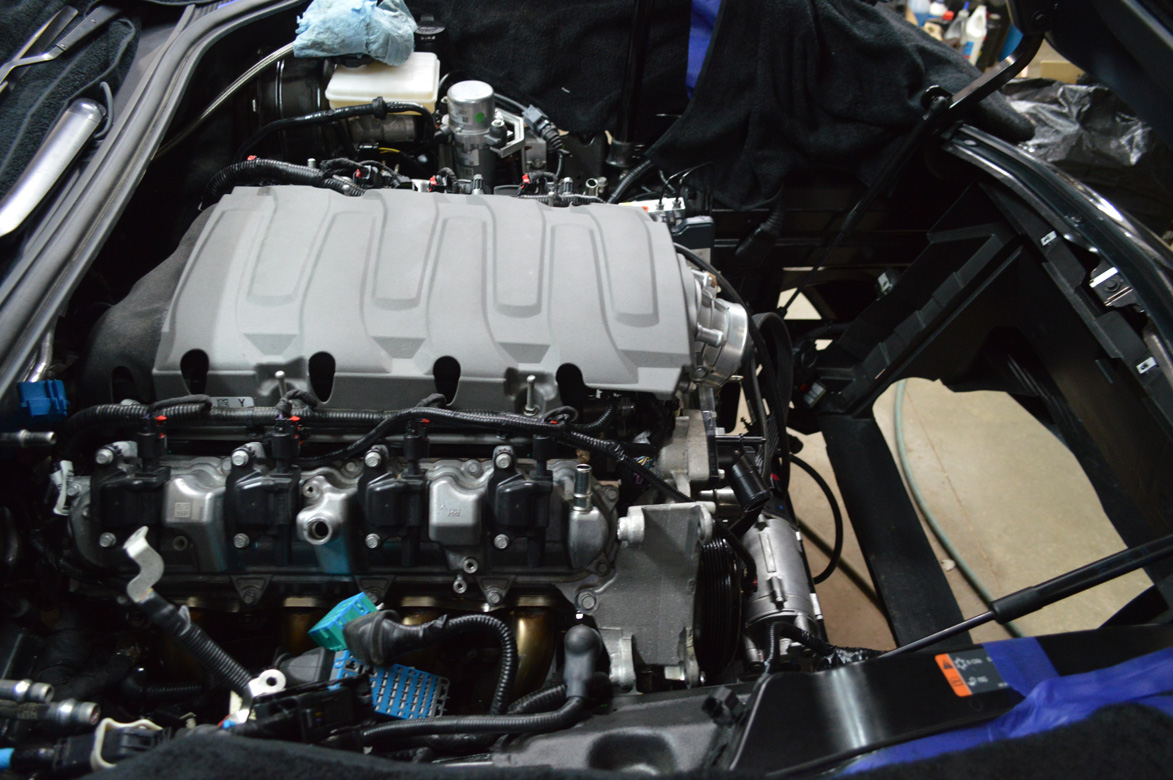
Topside view of the very clean supercharger kit. ECS made this install pretty easy, it also helps the waterpump is now mounted all the way out on the passenger side.

Note the oil in the charge pipe…

This motor got blown up hard- This is a pic of aprox a qt of oil draining out…onto the floor… because who has a drain pan under a charge pipe, which by the way did not have a tight clamp.
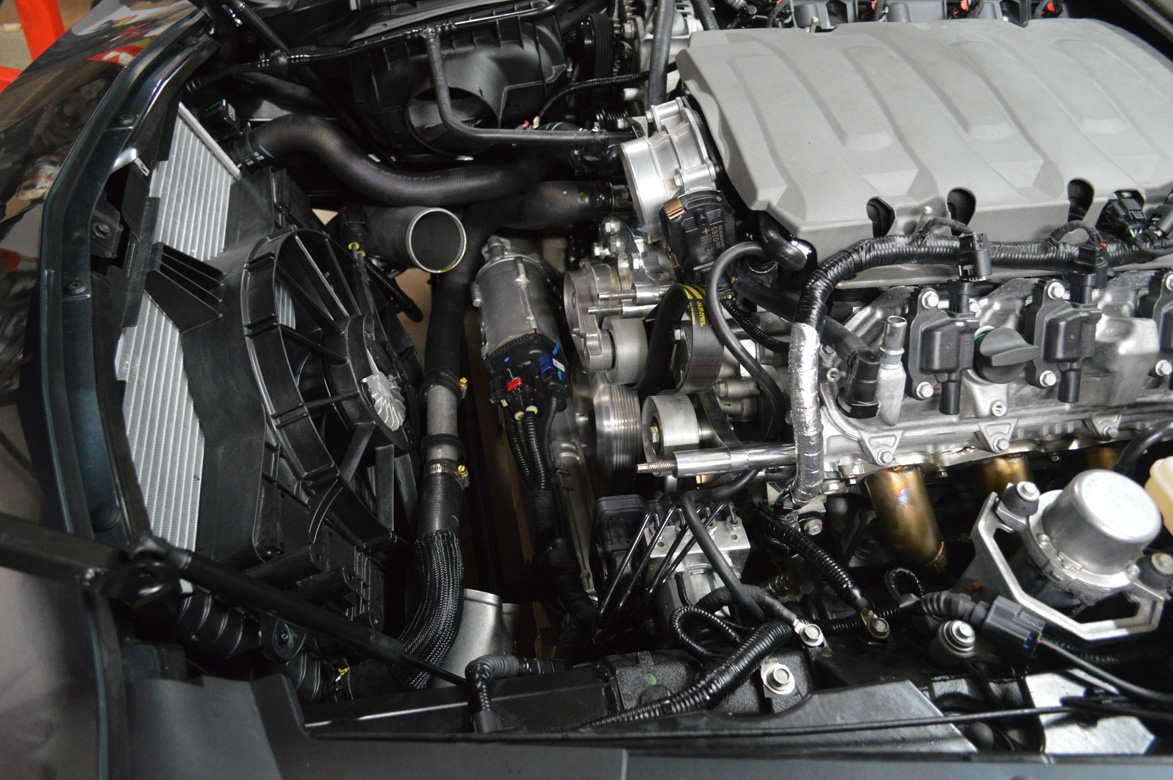
Lay forward fans leave a ton of room for just about anything. This will be a killer platform for turbos as people start to figure these out.
2! Thats how many bolts it takes to take out the radiator. Tech’s dream right there.
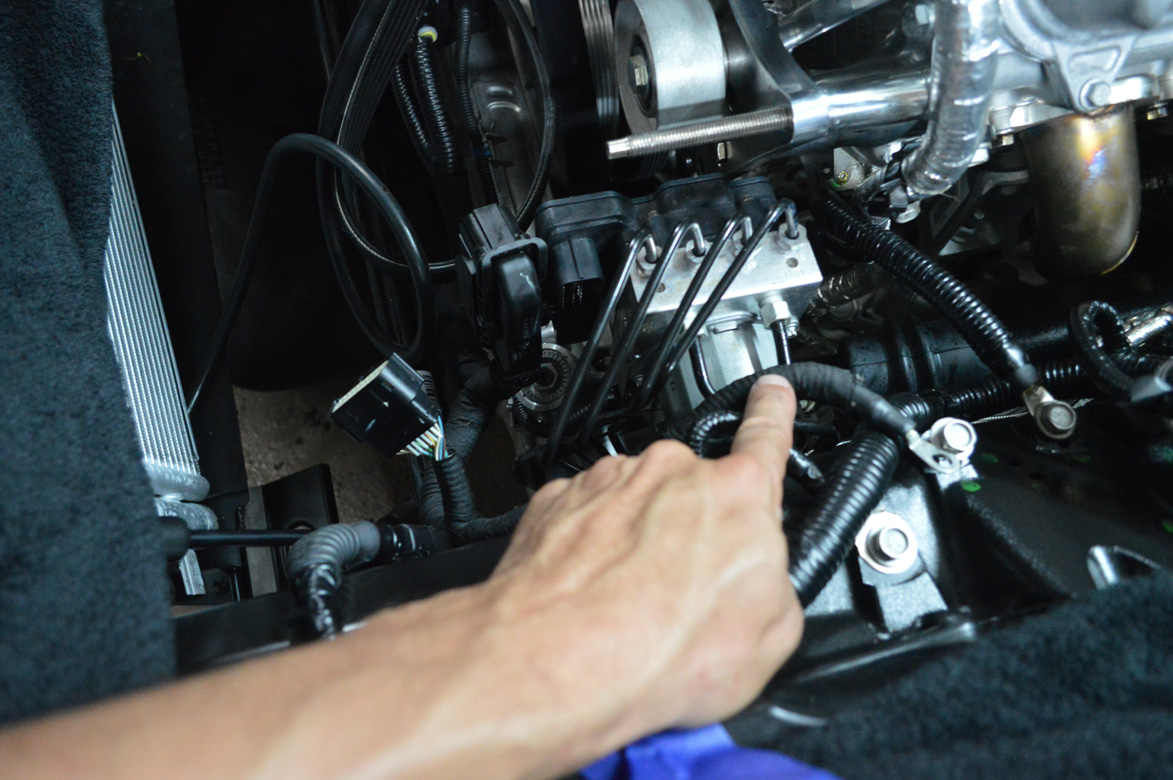
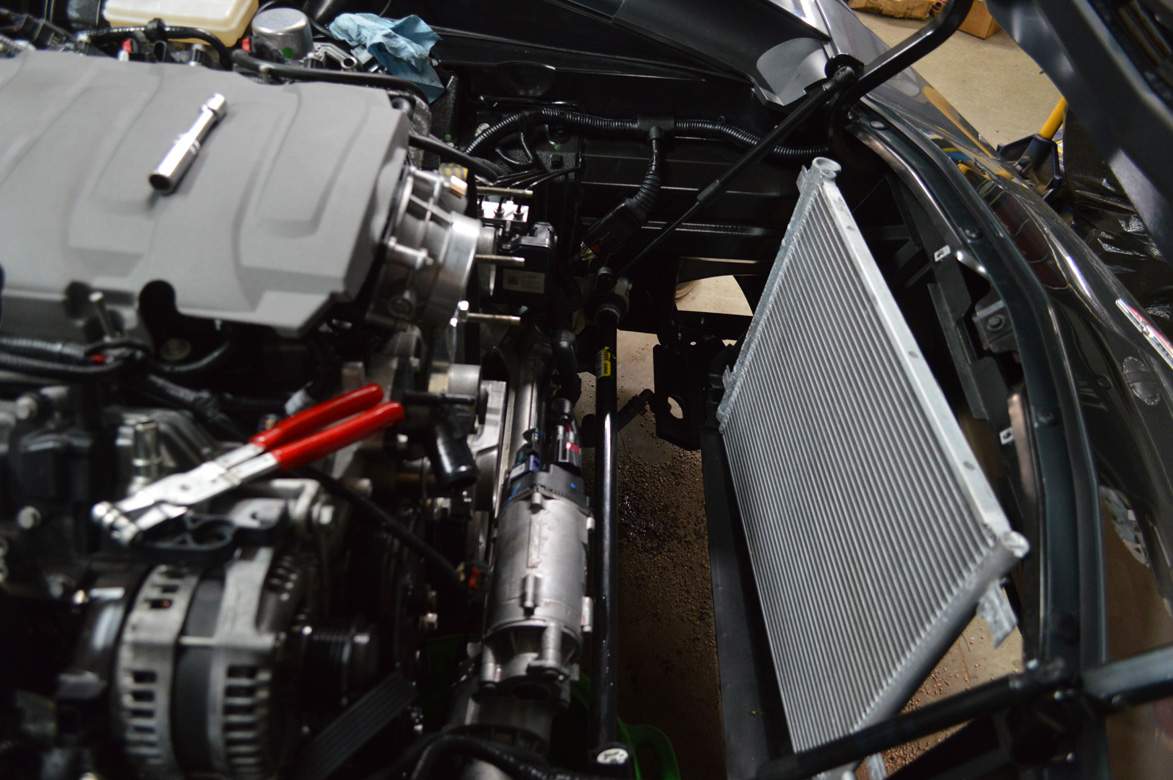
I’m actually pointing out one of about 15 ground wires on here for future reference. But note the size of the abs module that used to be in the way of everything. Its easily half the size, and moves around incredibly easy.
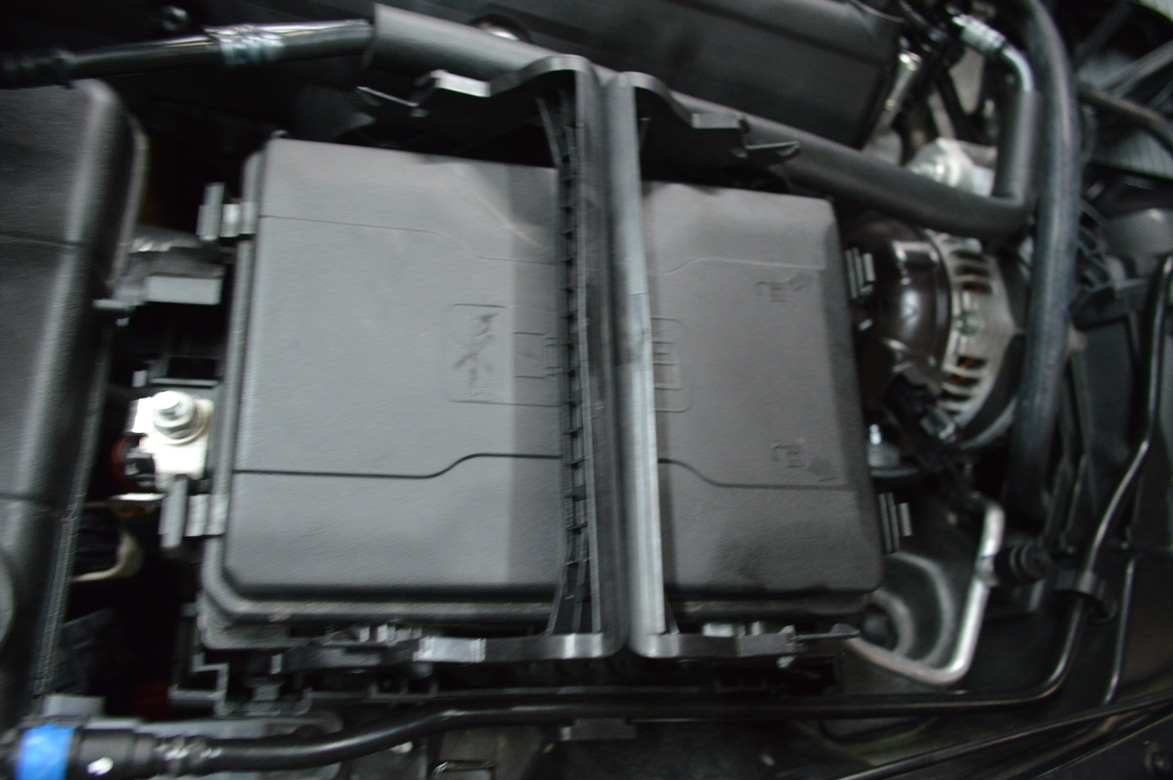
Now the fun part. The wiring on this car is nuts. Easily triple the C6. The battery is in the trunk and the whole car is powered by a piece of sheet metal with a 250a fuse. What you’re looking at here we’ll call a fuse box pick-in-ick basket. Pull the leavers and the entire fuse box comes out.

Below the fuse box is the harness tray, each block is a detachable pigtail that goes to a part of the car. 2 of these get detached and go with the motor. They got the assembly line thing figured out.
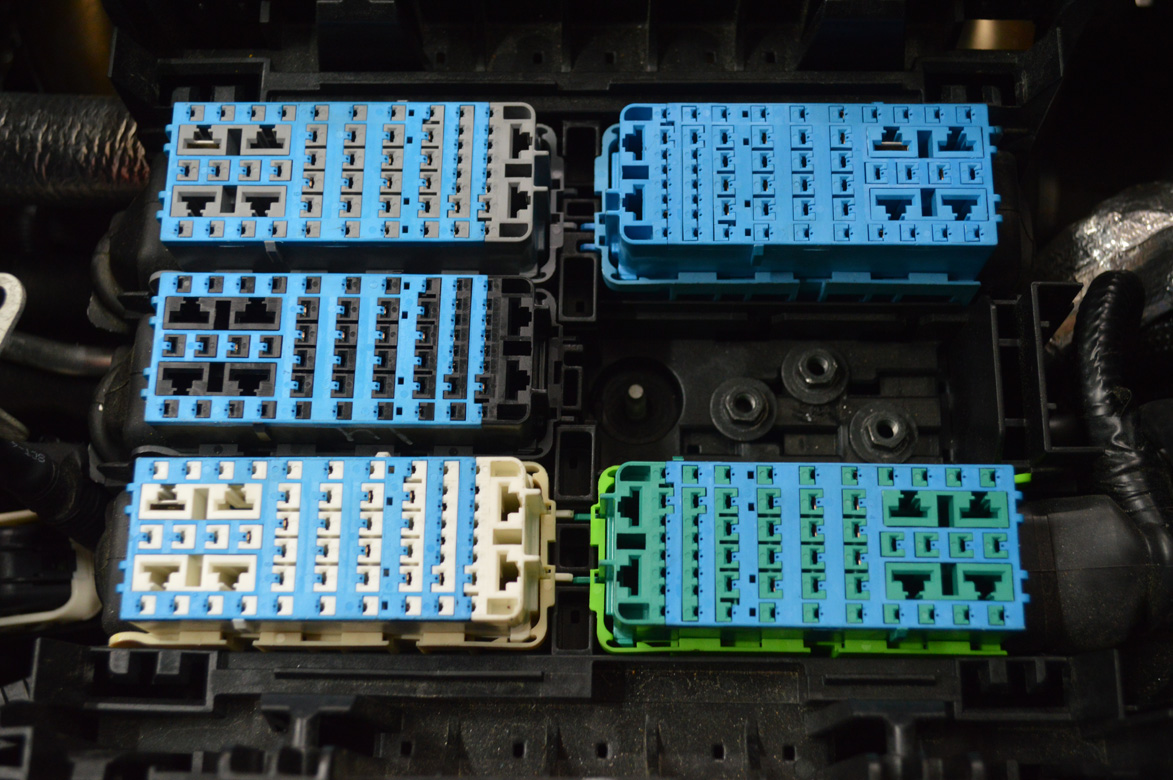
Theres about 10 pigtails with atleast 25-40 wires in them on the passenger side.

Out they go…
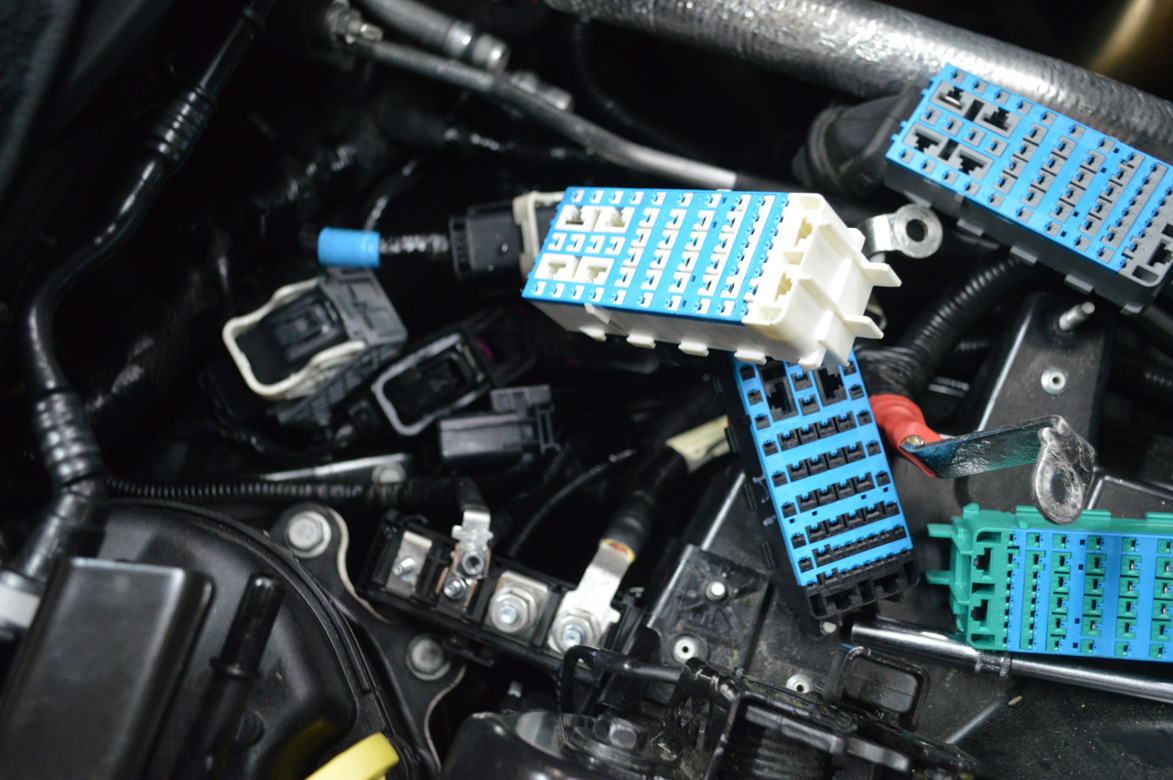
Like space ship Legos.

Felt inner fenders for noise reduction.

Still using those damn plastic clips to hold panels on. Luckily not a single one broke when we removed this one.

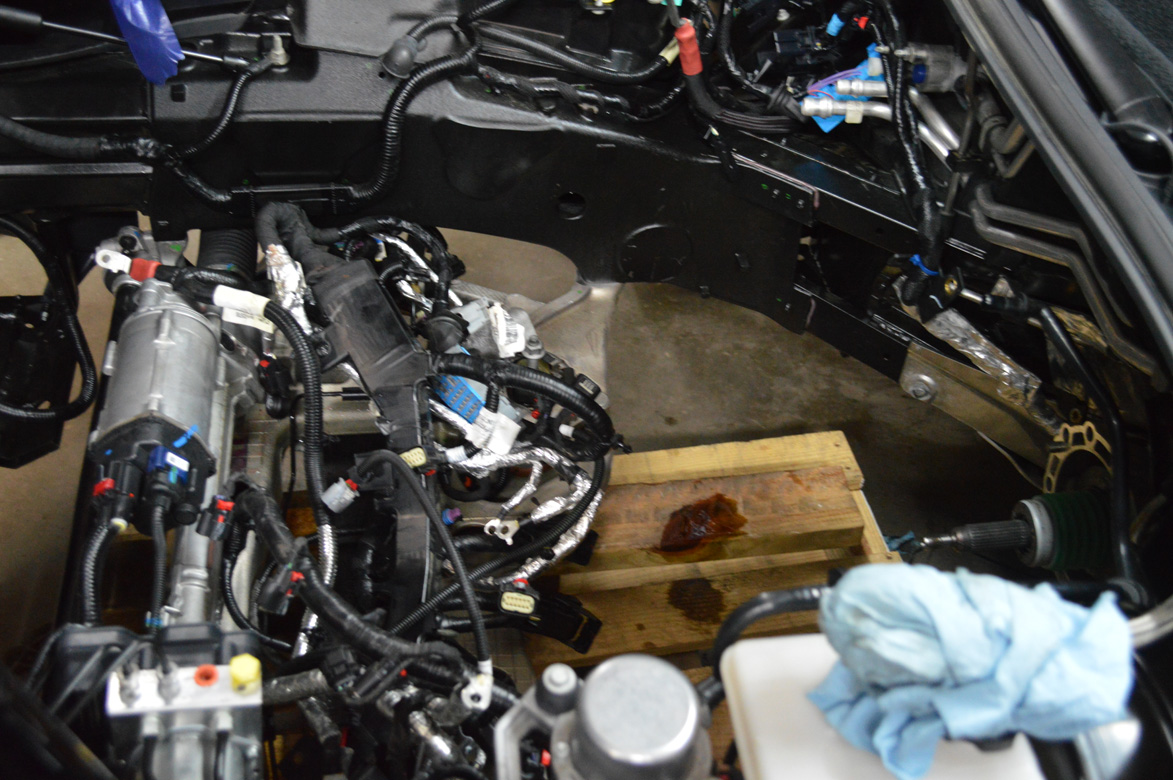
Remember the Z51 package. To make room for the oil tank they jam the computer up in the fender above the tank. The bottom of the fender had to be loosened, pulled away to pull the pins to get the harness free. This took almost an 30min to get the ecm out including pulling the inner fender… All these wires fish back around the oil tank and go out the the motor. There was definitely bleeding here
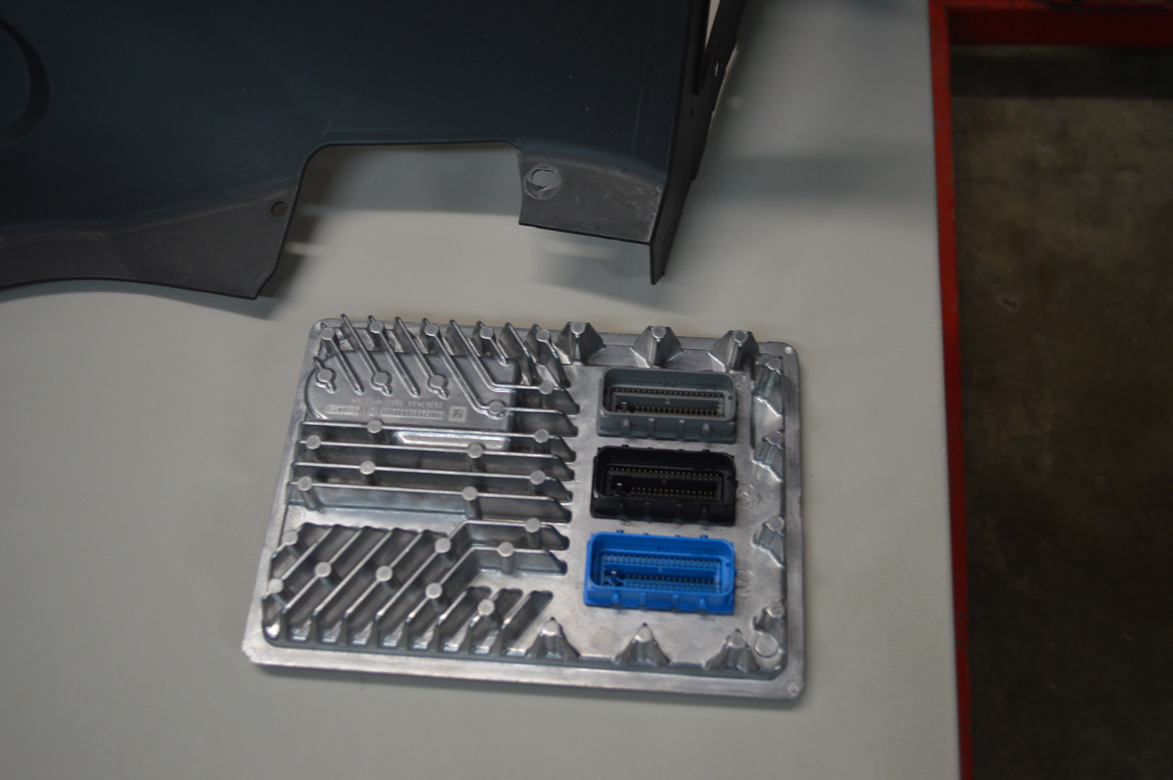
Now ECM is thinner and lighter.
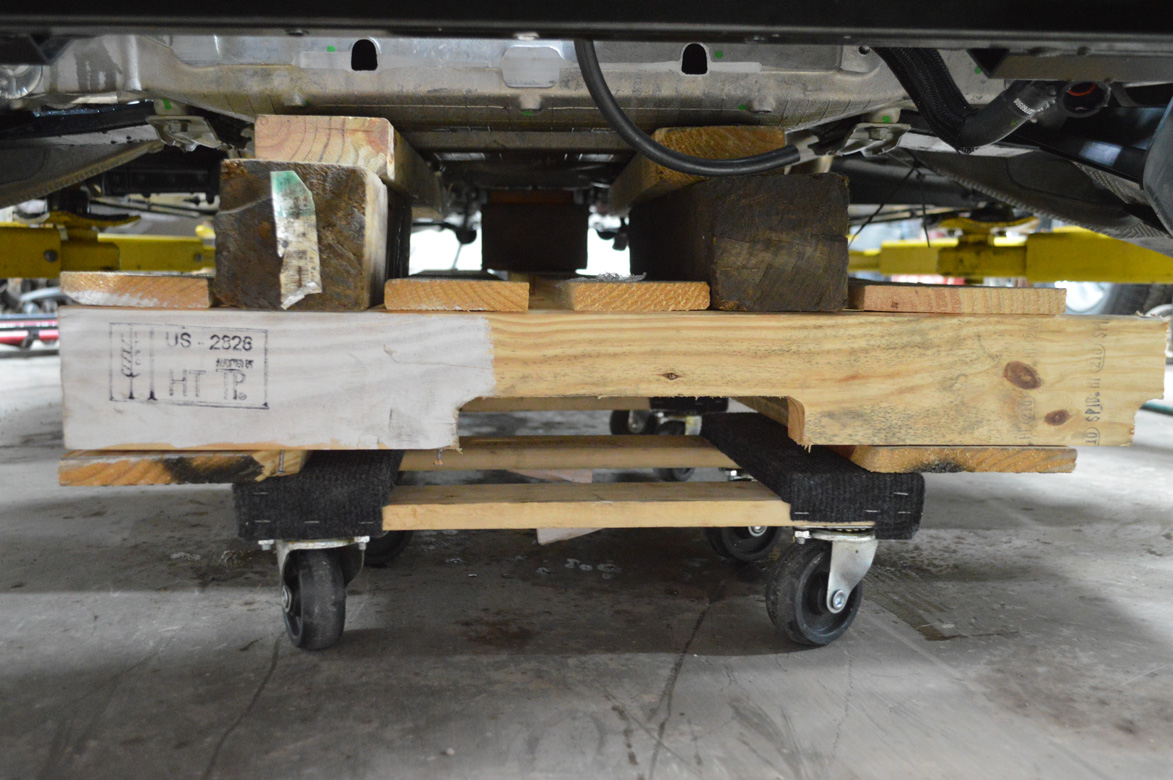
Best way to support a k-member when removing it. Furniture dollies and a pallet are your best friend.

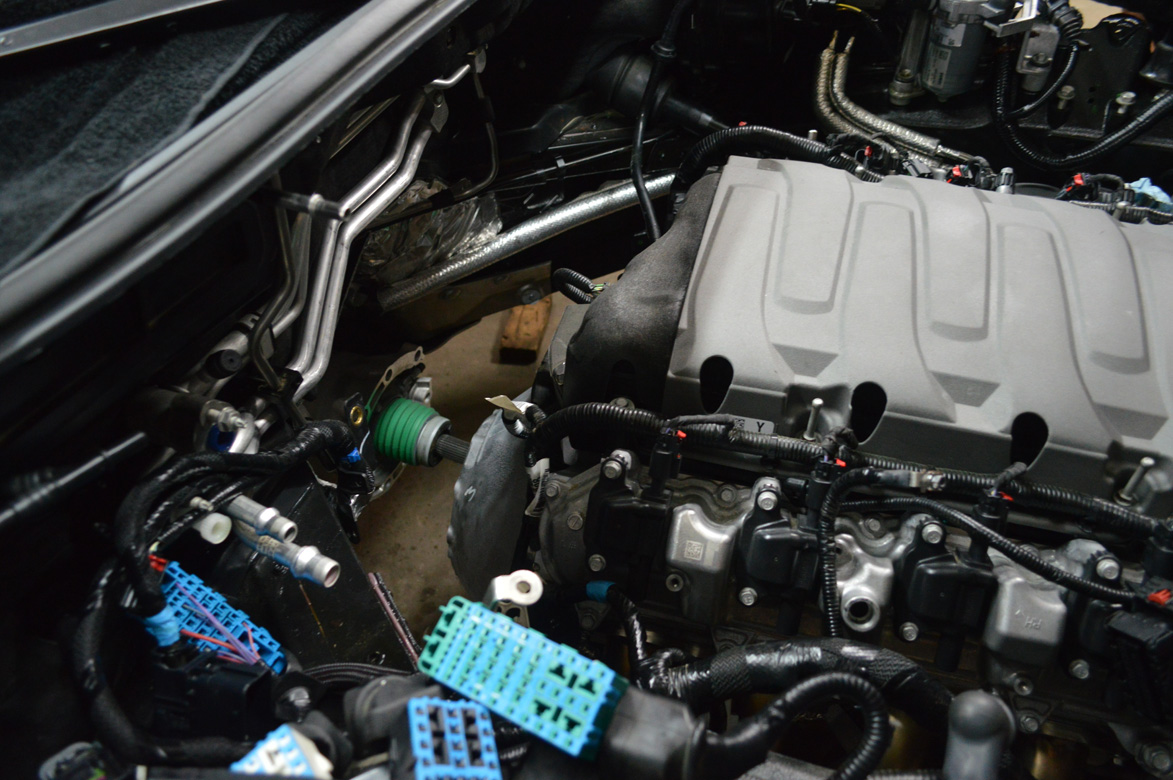
The next few photos show the engine slowly being lowered out of the car. The guys took their time for obvious reasons.
Inch by inch, they process was slow.
Taking the whole cradle out, the opposite it was installed from the factory was the right move, but it takes time.
The LT1 is a tight squeeze in the engine bay and with all the wiring and other connections the guys wanted to make sure nothing was holding them back. We’ve all tested the tensile strength of a ground strap before, right?
Home free!

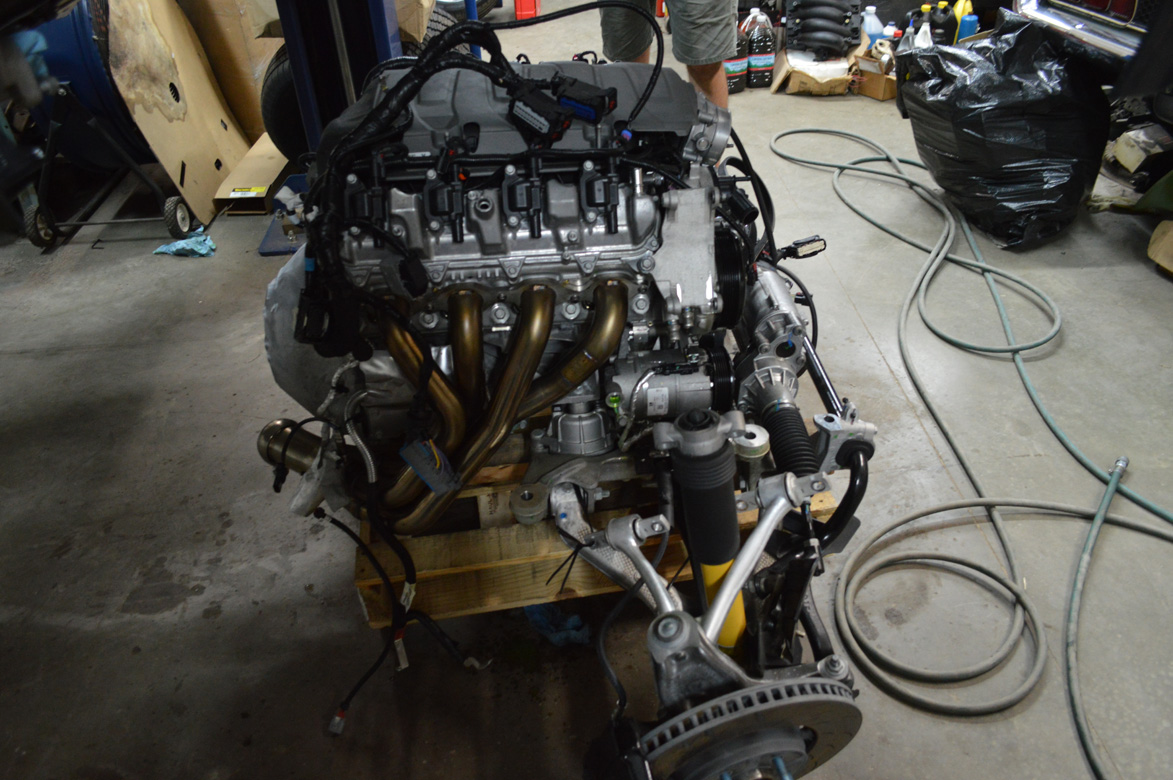
This assembly is much much lighter, we don’t have a scale but it was light as a feather. The nose of this car is so light without the k-member in now we actually had to stop and re-position the rear lift arms as far back as they would go to balance the car out. The old jacking puck locations used to be perfect.

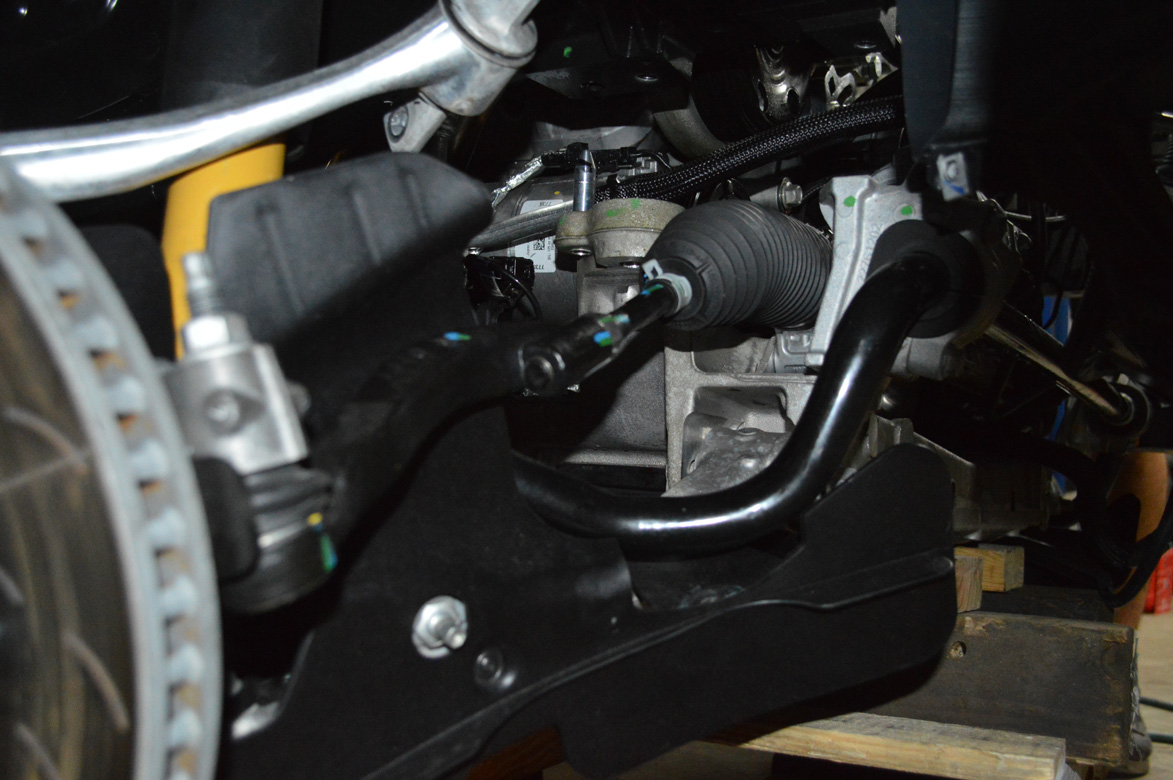
Front view of the cradle with electronic rack.
Knock sensor behind heat shield.

Oil is not supposed to come out of the exhaust.

Large ports are large.
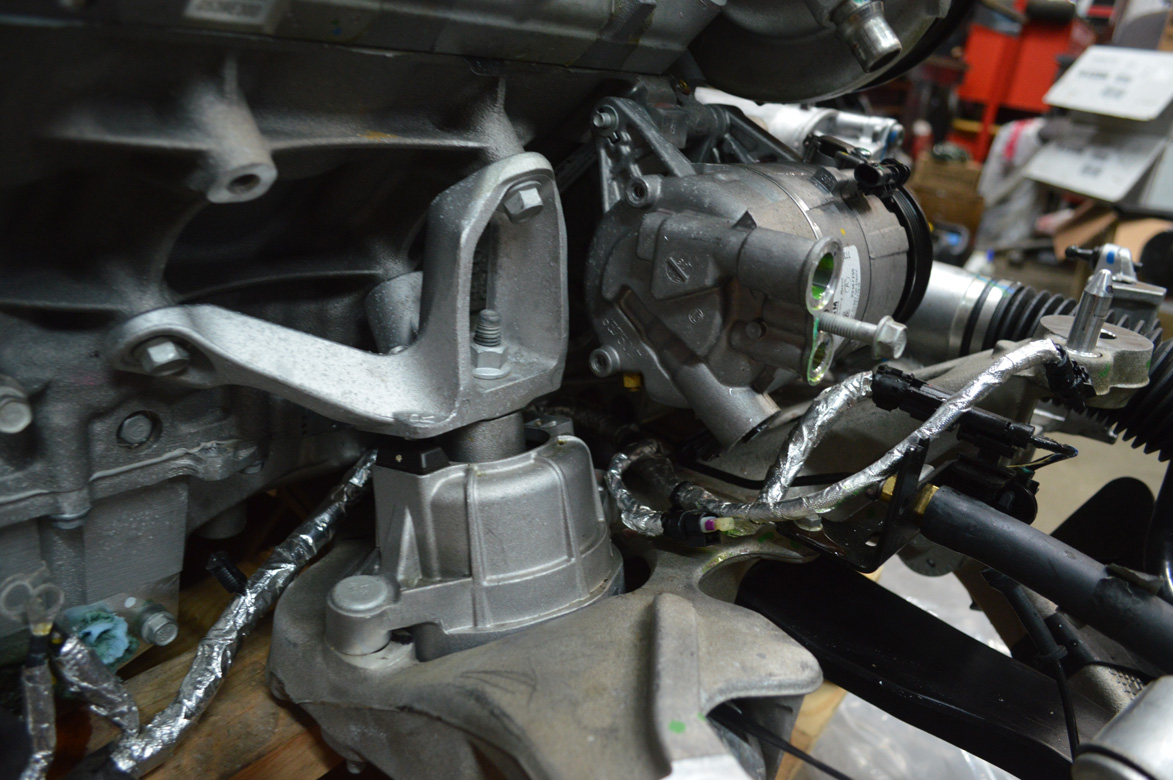
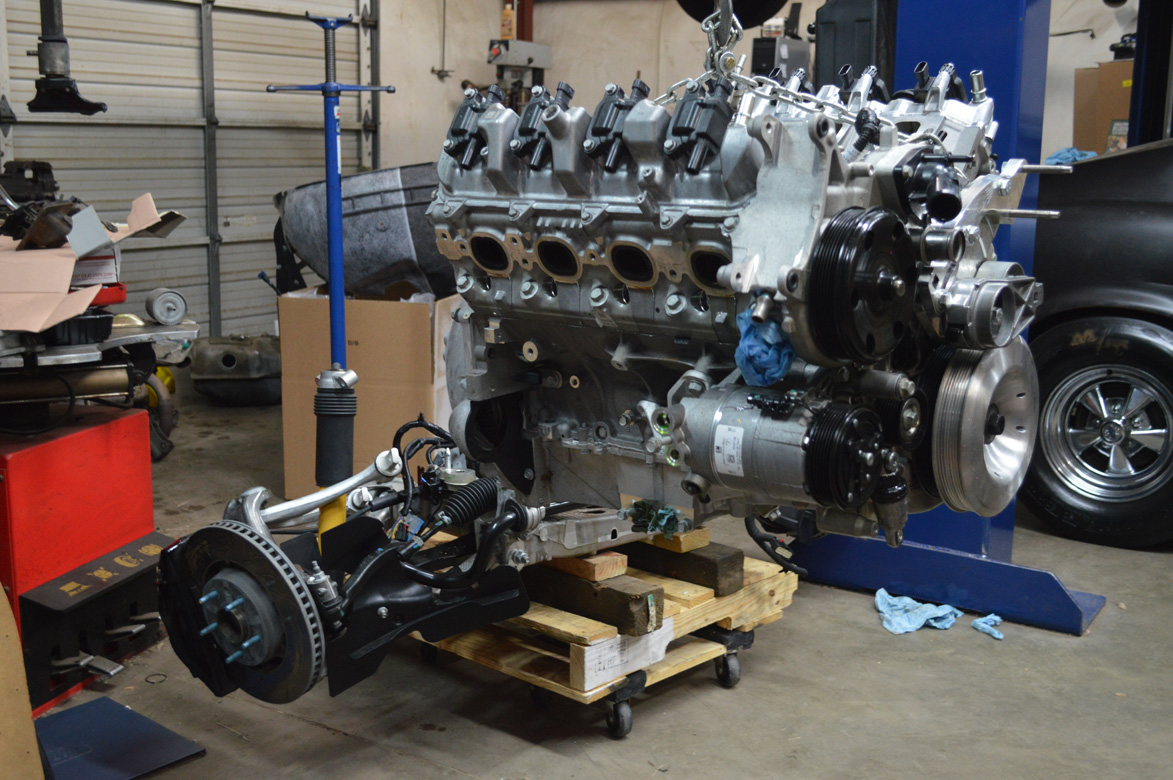
Compact AC compressor and revised motor mount.

New intake manifold.
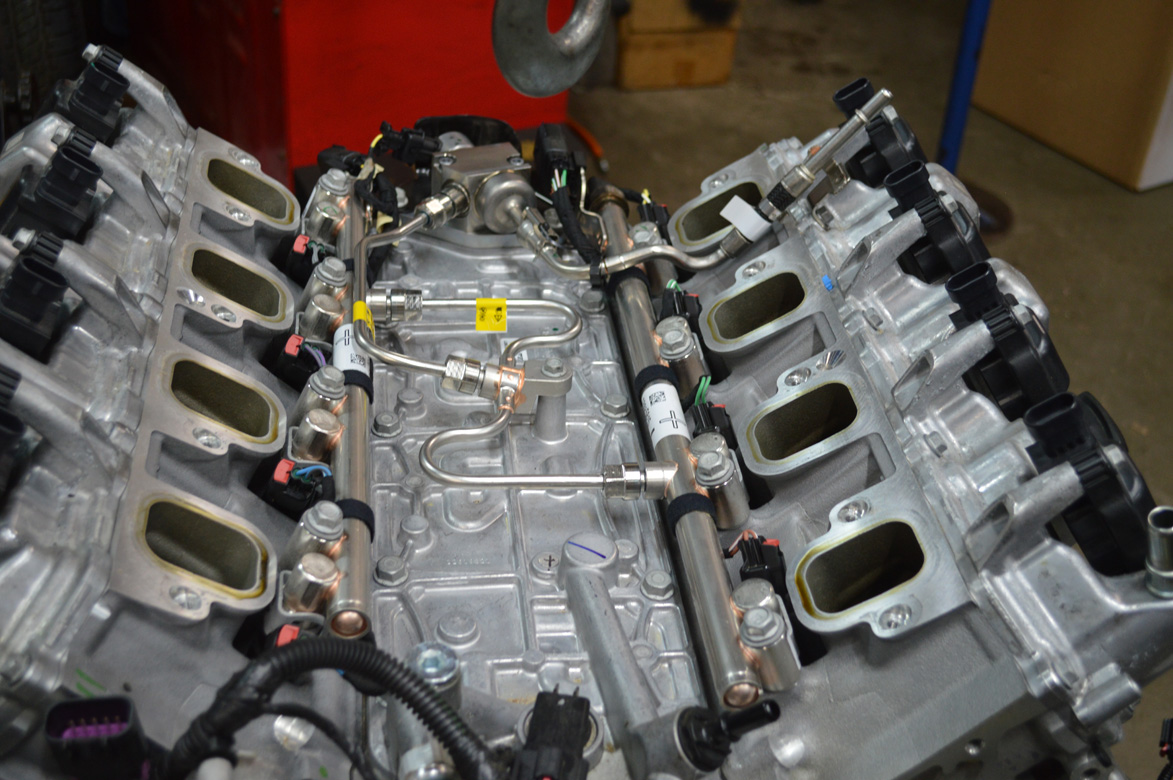
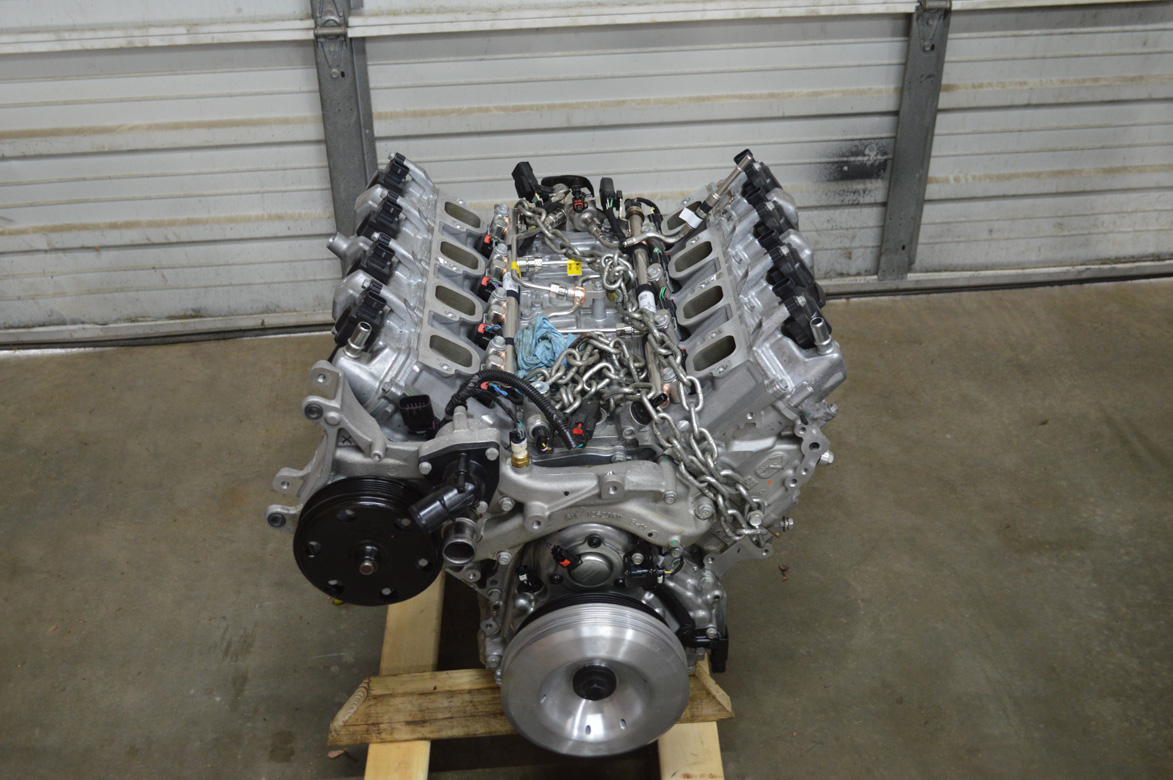
Direct injection rails and pump.

Direct Injection all up in your business.
Off comes the engine!
Cross member back in, so we can move this thing around while the engine is getting fixed
Next installment? We go inside the destroyed LT1 engine to see just how busted up it is in there. Dave says that it’ll make our stomach turn….BRING IT!


Am I seeing things or are the intake bolts all twisted off?
The intake bolts perpendicular to the valley not to the intake ports themselves. Picture #35 shows this.
anybody have a stroker kit for it yet?
Can’t wait to see what happened in there…
Gotta hand it to the astronaut that took a factory warranty on a new generation of engine and said “screwit. Put a blower on her, somebody. Anyone!”
Real bonafide spirit of adventure, there.
Way cool!
Seeing all the oil in the intercooler and the blown motor, I’m wondering if they left the restrictor plate that goes in the airbox out? This kit uses a restrictor plate to limit boost to 8 psi, leave it out and you get 13-14 psi boost and, I’m guessing on this part, a lot more vacuum in the airbox to suck on the PCV system. Don’t ask me how I know.
I suspect the tuner failed to pull out enough timing quick enough. Detonation blew through the tops of a couple of piston, pressurizing the crankcase and sending oil out anywhere it could find an exit.