


(Words and Photos by Scott Liggett) When we last left off on the Project Hay Hauler’s build, we had just replaced the broken Dana 44 with a junkyard scored 12 bolt, then replaced the entire suspension with a CPP lowering kit and added front disc brakes. This made the truck drive so much better, and crazy at it may seem, it actually rides so much better than before.
My close friend, John McHarness, has a 71 C10 in his garage that is in need of an engine. He has riddend and even driven my 67 GMC on several occassions. He has been bothering me about selling my BluePrint 355 to him for several months. We agreed on a price, but I said I needed to get a new engine going before I pull the one that is in the car. I already have two engineless cars in my fleet, I didn’t want another. Then about a month ago, he pays me the cash we agreed on for that 355. I tell him my plans for the new engine were still a few months off and I still need to drive this truck! John says he trusts me.
Well, this turned out to be the kick in the pants I needed to get going on a new engine. I thought about going back to BluePrint for another one of their crate engines, but I still had the block, crank, camshaft and a lot of other parts from the 383 that was in my 65 Impala for more than 20 years. It was all just sitting in the corner of the garage.
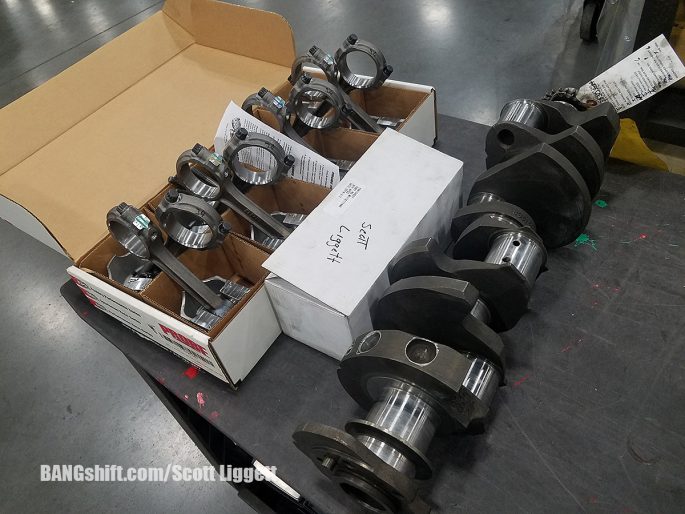
The first thing I needed to do was to figure out what I was going to use for a rotating assembly. The pistons and rods were destroyed when I hydrolocked the engine. But, the crank was fine, as well as the block. I did some digging around and found a set of Probe forged pistons that were just sitting on a shelf covered in dust. They were a 22cc dish design and designed for 5.700″ rods, and the usual 5/64″, 5/64″, 3/16″ ring packages. The part number P3832F-040 had been discontinued as well and meant I was able to get them at a great price. They also featured a 1.425″ pin height, which along with the rod length, and crank’s stroke, I was able to do the math in order to figure out deck height of the block I wanted. It is important to know these specs before sending your block off to be machined, especially if you are going for zero decked pistons when you are done. For piston rings, I went with Hastings moly rings, which I could get through work in bulk, saving a few bucks over buying a single set. Dipping into the parts bins at work, I was able to find a set of BluePrint’s own 5.700″ forged I-beam rods. These rods are normally used in their industrial engine line, but are plenty tough for the build I wanted.
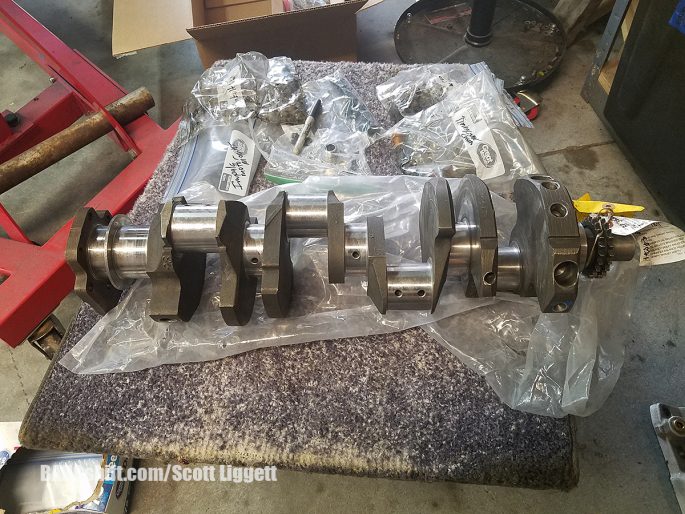
The unknown part of the build was the condition of the crank’s bearing surfaces. When I pulled the engine apart, I found that the mains were standard for 350’s. This meant the 1976 era factory 400 crank had the mains turned down to fit the 350 block. (That was the old school way of building a 383 stroker before several companies started selling affordable cranks in the aftermarket.) But, the rod bearings showed they were already .020″ over. Now, some builders have no problem going to .030″ on a small block Chevy, I was not wanting to do that. I would break down and buy a new crank if that was the fate of this one. After taking the crank into the machine shop, the rod bearing surfaces only needed a polish, but some of the mains had gooves and needed to be turned to .020″ over to clean up where it ended up as .020/.020. Now, I knew what bearing sizes I would need to order, to which I got Federal Mogul bearings in those sizes.

I hauled my block in to get it machined by my coworkers at BluePrint Engines. They know how to treat a 350 with the best of them. They can take a 50 year old block covered in grease and a five layers of paint, clean and machine it back to looking brand new.
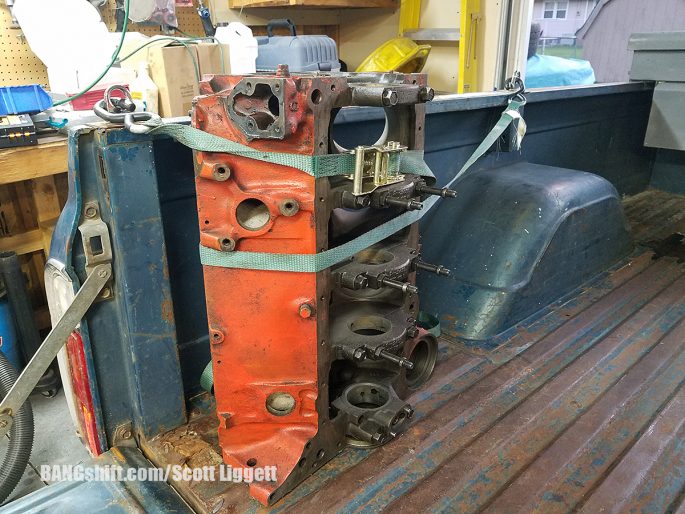
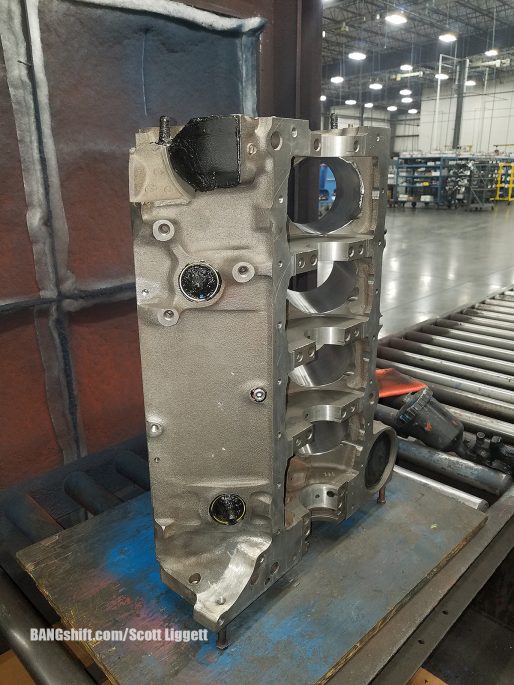
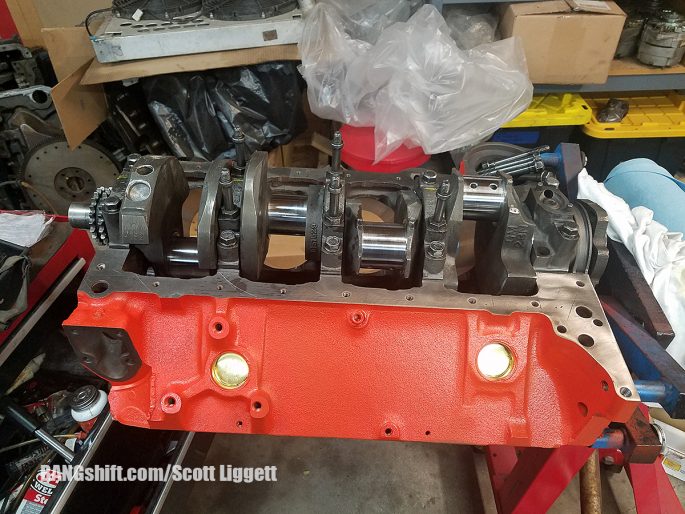
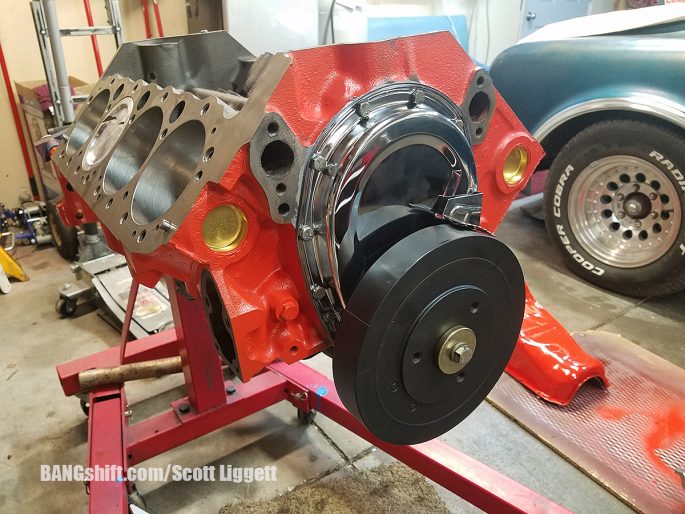
When the block was finished being machined, along with the rotating assembly being ready, I put the engine block back on the stand.
I had to get more parts before starting the assembly of the short block. Namely, the camshaft, timing set, and cam button. I also purchased the bearings and the gaskets I would be needing.
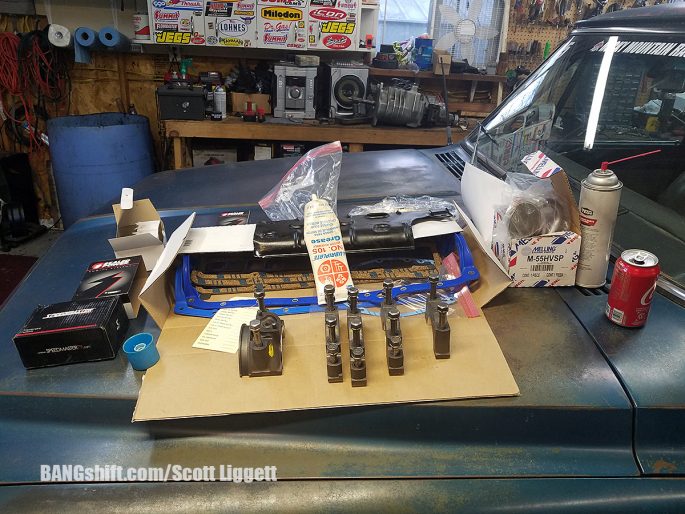
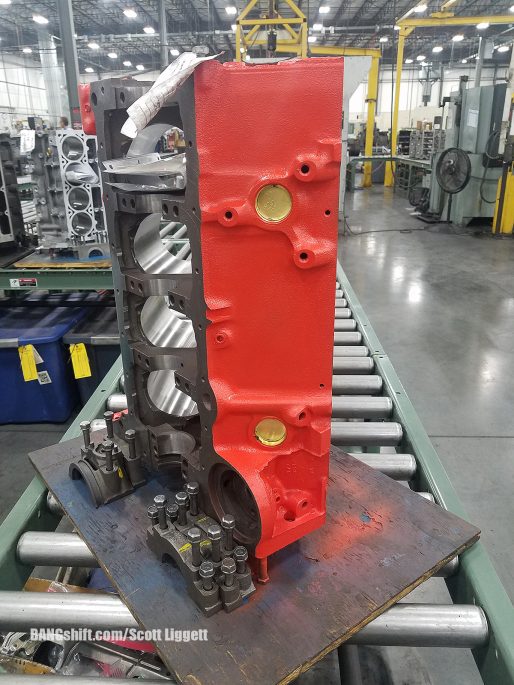
Before adding assembly lube to all the main bearings, I set the crank into the block dry, then used Plastigauge to check all the bearing clearances just to be sure everything was in spec. GM specs say .001-.0039″ clearance for mains and rod bearings. All the mains measured out to be .0015. I then removed the crank, added assembly lube to all the bearings, then reinstalled the crank for the final time. This included installing the oil pump and windage tray.
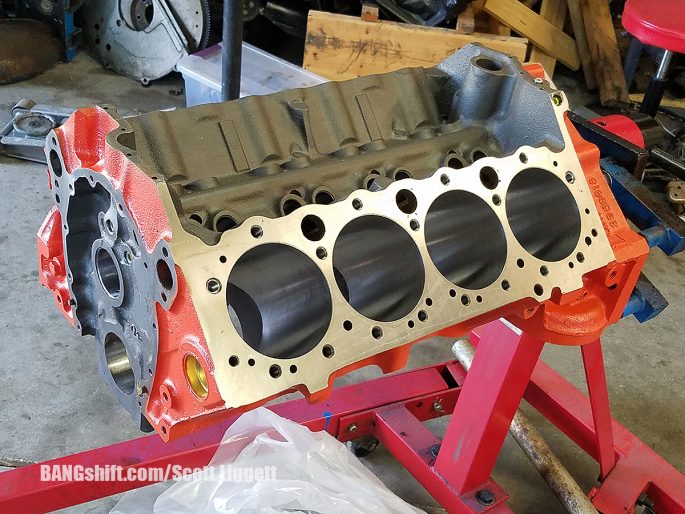
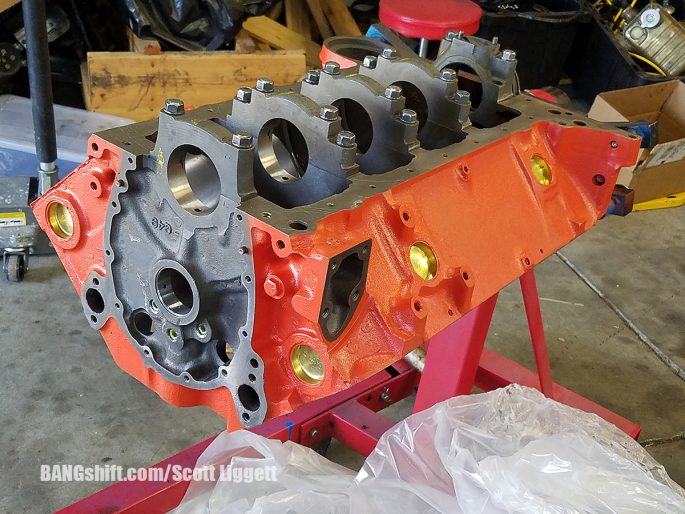
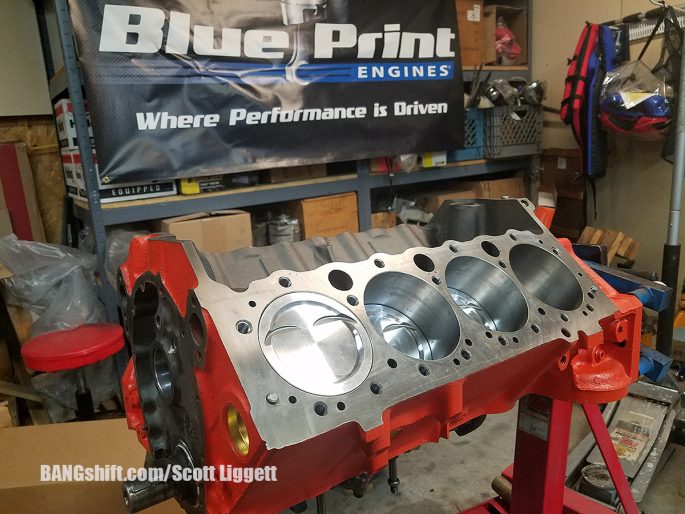
I had the machine shop press the pistons on to the rods then went through the same time consuming task of checking the rod bearing clearances. I felt this was much more important as the rod journals were only polished. This could mean the bearing clearance could be different for each journal. The Plasitgauge showed that rod bearings had between .0015-.00175″ clearance. Not perfect, but certainly close enough for long engine life. Before I could install the rods and pistons for the last time, I had to check piston ring gaps. I advise that each ring be checked using the cylinder bore that the rings are destined for. Do not use one cylinder bore to check all the ring gaps. The top rings were measured out at .028 and the second rings all measured right at .032. After checking the gaps, I installed the rings on the pistons, then reinstalled the rods and pistons with assembly lube on the bearings. Assembly of the short block took over four hours thanks to all the clearance checking and ring gaps. Taking your time during this part of the build is necessary to be sure you have an engine that lasts a long time without any problems.
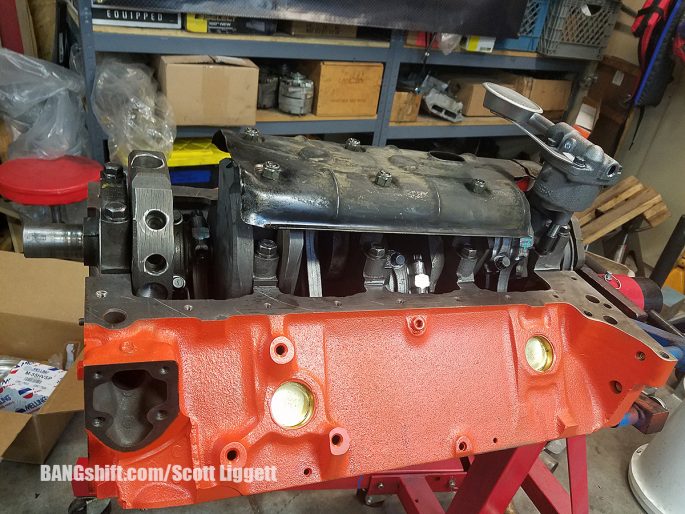
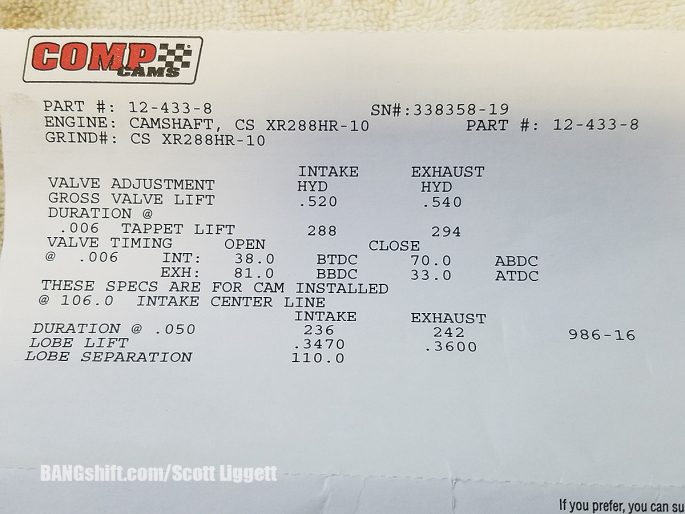
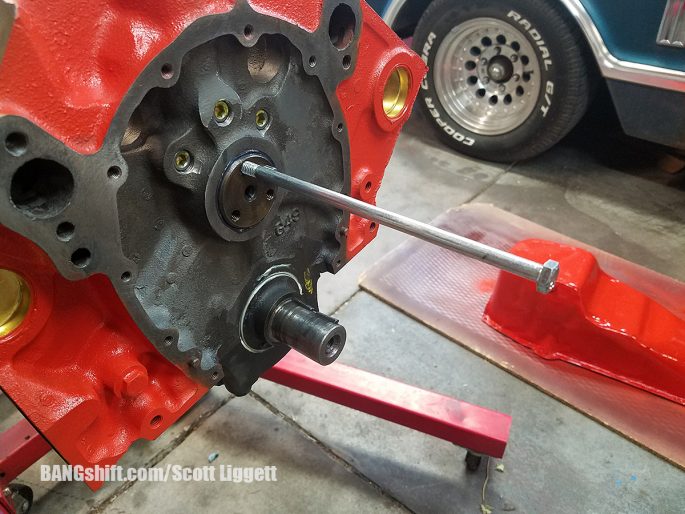
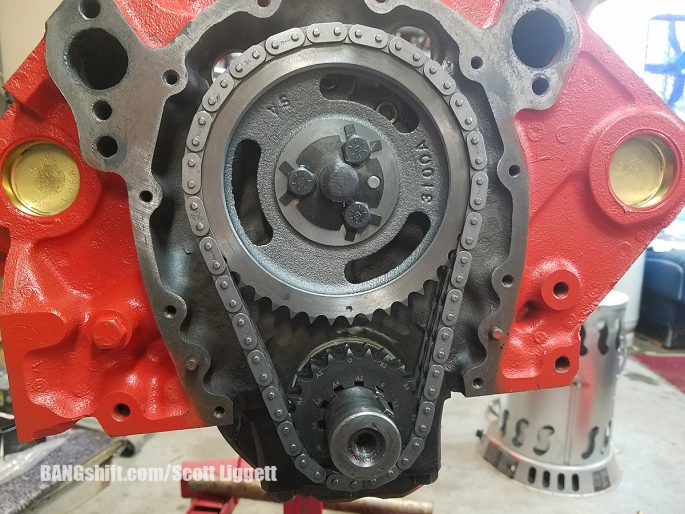
I still had my Comp Cam’s Xtreme Energy hydraulic roller camshaft that was in this 383 since 2008, but during the engine’s teardown I discovered the fuel pump lobe on the cam was destroyed and the fuel pump pushrod was jammed into the block. I suppose I could have gone the route of using an electric fuel pump, but by the time I bought one, I could have bought a new cam from Comp, to which I did. I was able to sell the old cam on Facebook’s Market Place for $60 to recoup some cash on this build as well. I also reused the rest of the Comp Cam’s valve train, including the retro-fit lifters, pushrods and Pro Magnum 1.5 ratio rockers. The new camshaft was the same part number as the old one, XR288HR, which specs out to .520/.540 lift, 236/242 duration @.050 and a 110 degree Lobe Separation Angle. I used Summit’s brand double roller timing set and a Moroso cam button kit to complete the cam install. Using a 10 inch long 5/16 bolt in the front of the camshaft made for a good camshaft handle to make the install easier.

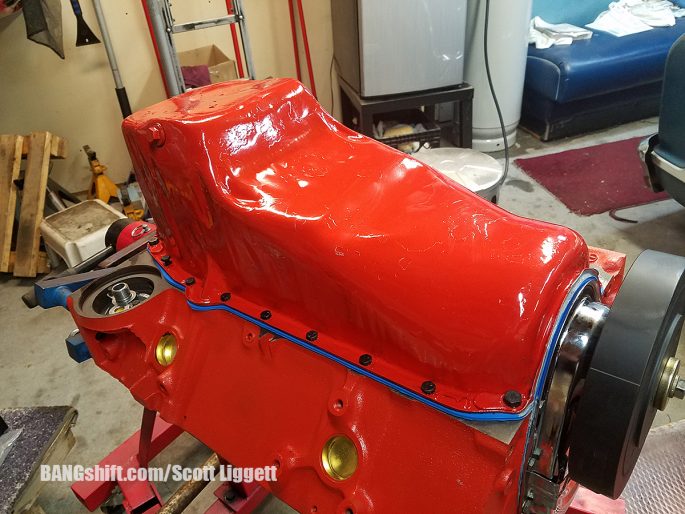
The timing cover and balancer were next on the install, followed by the oil pan. I just reused the same pan that had been on the engine since I originally built it in 1994. It was still in great shape with marine style anti-slosh tabs welded in.
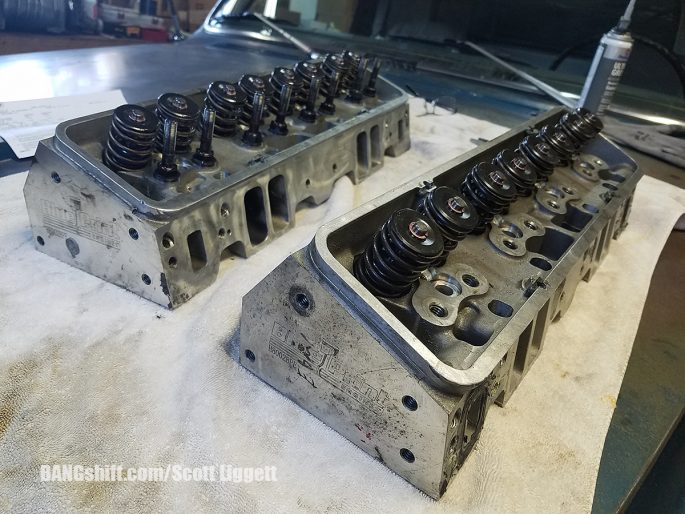
Now, I needed a set of cylinder heads. Since I was trying to rebuild this 383 staying within the budget of $1500, spending a ton of money on fancy new aluminum heads would kill that budget goal. I also didn’t want to bother with a stock set of heads. By the time you spend the money to have even a stock rebuild done on a set of stock heads, you are halfway to the cost of aftermarket heads. And, heads are everything to making horsepower. So what to do?
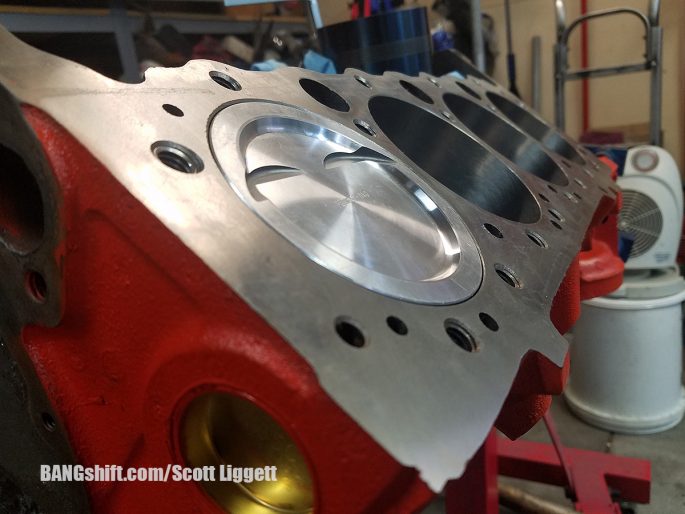
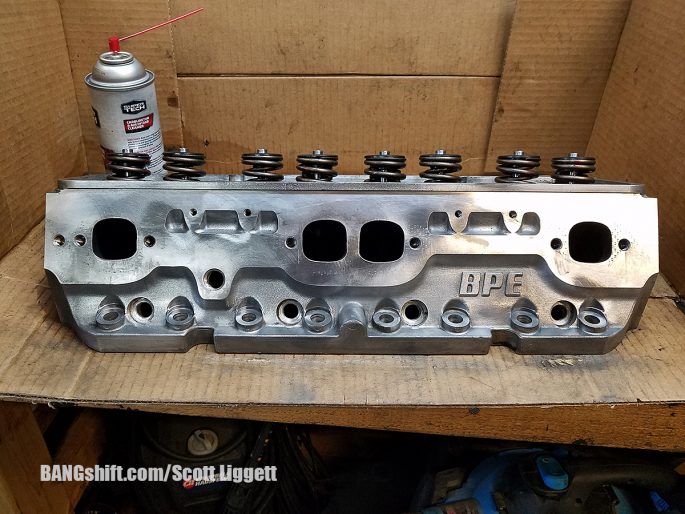
I went looking on Ebay to see if I could find a set of BluePrint’s Muscle Series heads. I found a set of BluePrint’s H8002K 195cc heads that were used at about half what I new set would cost through a seller that gets a lot of their stuff. They were obviously used and on a crate engine for a while, and were pretty dirty; but were otherwise in fantastic shape. I spent an evening cleaning and going through them to be sure everything was OK with them. After some cleaning and polishing, they came out looking nearly new. Saving money using elbow grease always works for me. I still had the ARP head bolts from when this engine previously had Edelbrock Victor heads on it in its previous life.
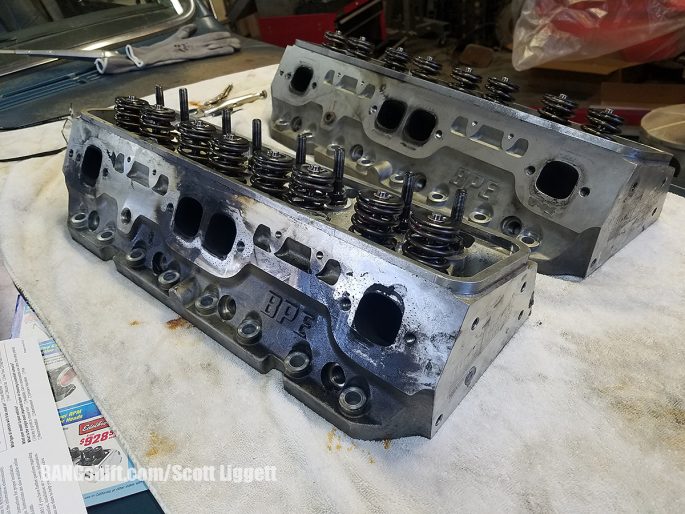
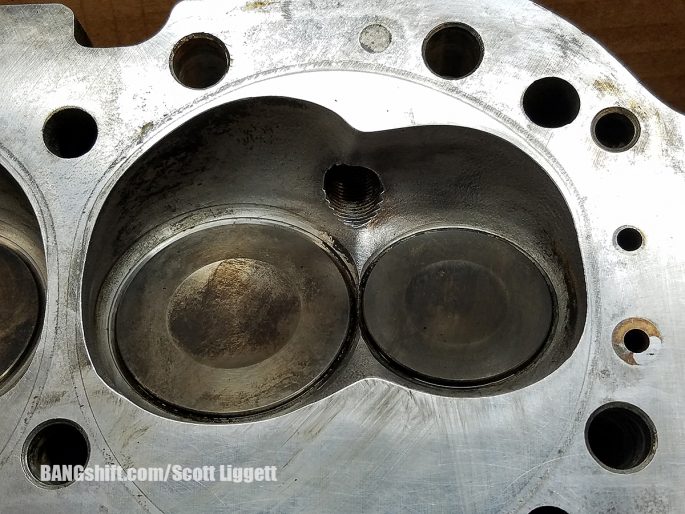
At this point, I suppose some of you are wondering why I just didn’t reuse the Victor heads that were on this engine for 10 years. I had found out after I had those heads on my 383 for a few years that their combustion chambers were designed for use with domed pistons. Using them with a dished piston design would kill quench and a result leave horsepower on the table. This is why I went looking for BluePrint’s Muscle Series heads. They have a heart shaped combustion chamber was inspired by the chambers on GM’s Vortec heads. This design works great for quench and flame travel across the face of the pistons, even with dished ones.
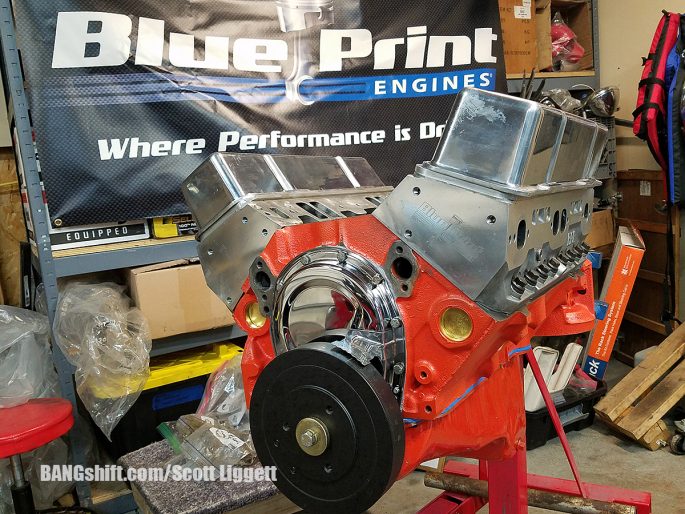
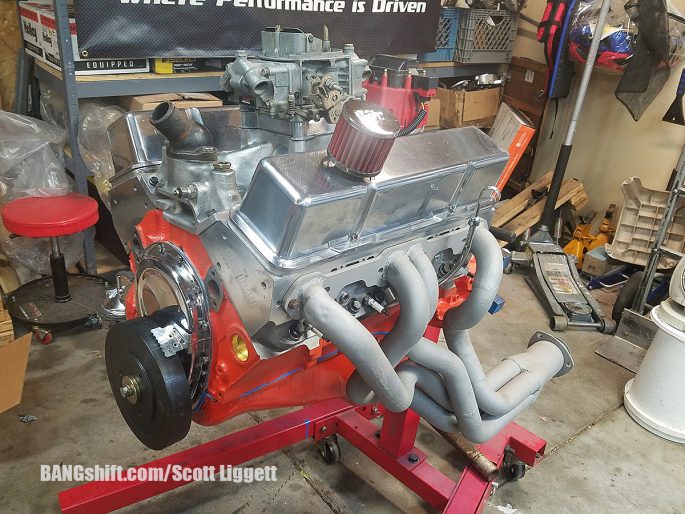
I finished the build by adding my old Victor Jr intake, a really old 750 double pumper, some used polished valve covers, and a BluePrint Engine’s HEI that I had already had lying around. The headers are the ones that were on Impala which I made some years back. I obviously can’t use them on the GMC.
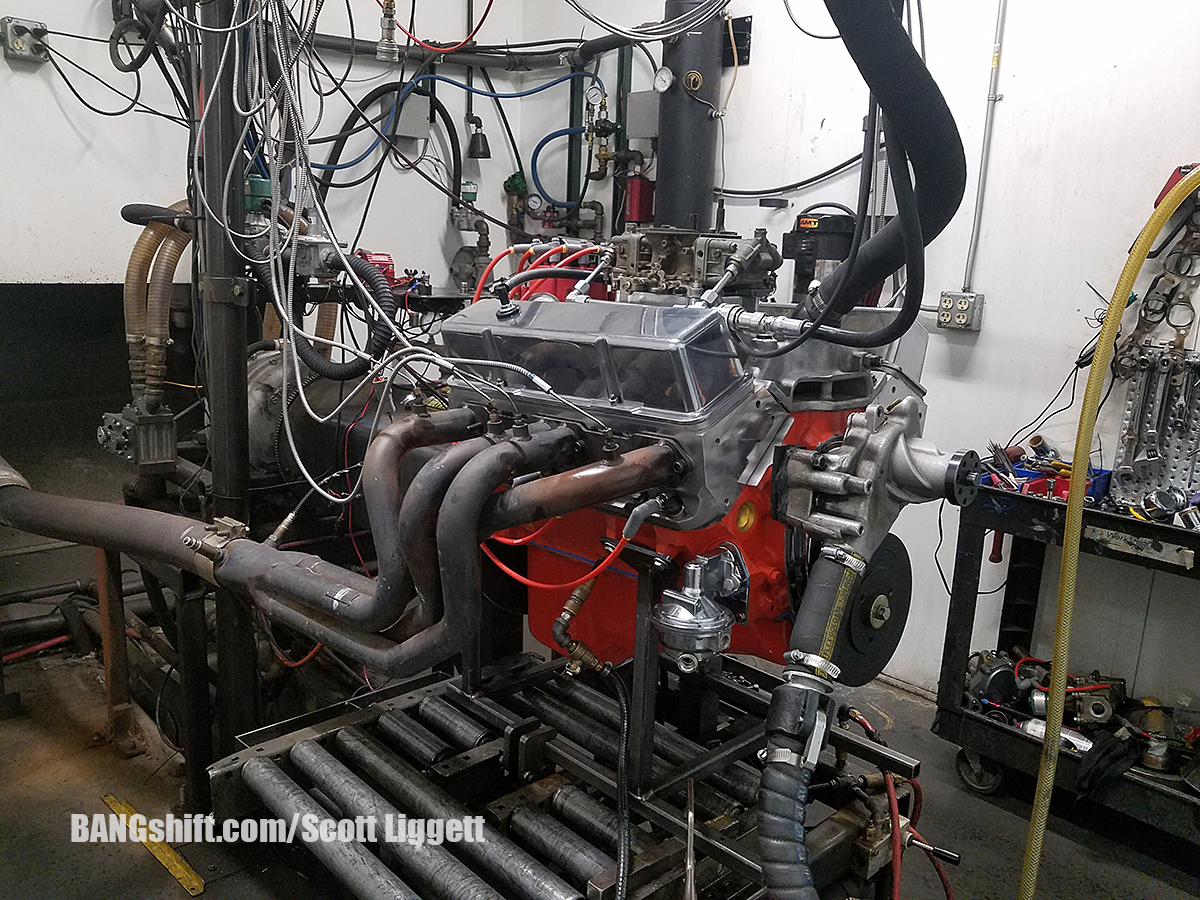
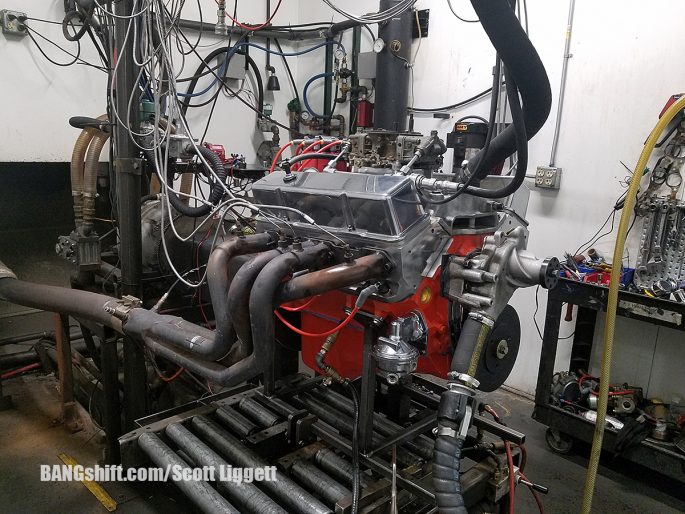
I took the 383 back to work and was able to get it dyno tested after hours with the help of my buddy and coworker, Jason.
I have to say I was a bit nervous at this point. I built this engine myself. I picked the parts, I did the math and chose the machining specs, and I assembled the engine in my garage. Starting, running, and making power pulls is when you find out if you got every detail right. If you missed something, screwed up the machining details, or just plain messed up the assembly, the engine could fail badly. Then you would have to start over.
I would like to say the dyno runs went perfect. They didn’t. Before we even got the engine started, that ancient Holley started leaking everywhere when he put fuel pressure to it. We grabbed one of the dyno carbs we use everyday on our crate engines and tossed it on. Then, while it was warming up, we could hear several valves yapping away. I messed up adjusting several of them and had to redo them.
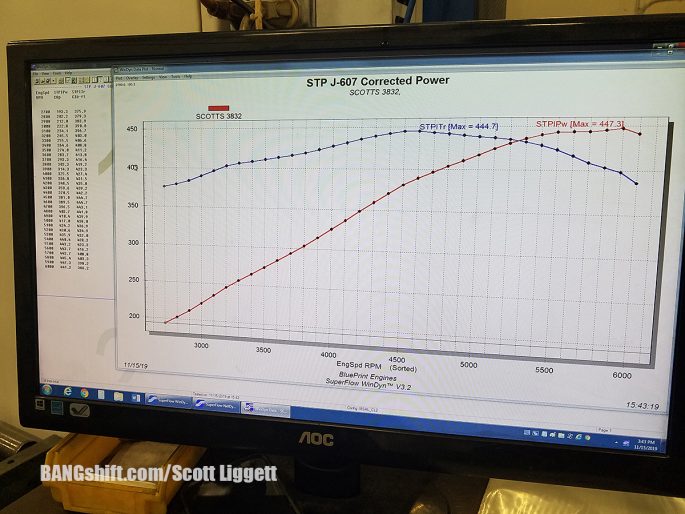
After those two set backs, we let it run at 2000 rpm for 15 minutes to get the engine up to temps before making any kind of power pulls. We didn’t touch the dyno 750 carb and it was running a tad bit rich under load, but we left it alone. We set the timing at 16 degrees at idle and 36 total. I have to say I was happy with the results. I got right at what I was hoping for power goals with 447 HP and 443 Ft Lbs of torque. With a bit of tuning, this engine will make over 450 hp, which is what I was wanting.
The great thing about this build is with the 9:1 compression, I can run this engine on 87 octane all day. Or, I can add a bit of boost or nitrous to it for a bit more power. The forged pistons and the wider ring gaps will allow some if I don’t go overboard.
The next step is to get the GMC back into the shop and get it installed.
Scott Liggett


Great write up, Scott! So good to hear from you. Seems like that SBC is going to make for a quick truck.
The only thing I’d have done differently – it’s an old trick that only a guy I worked with and I ever seem to use. On a full engine build it’s REALLY easy to start with the engine on its bellhousing end and slide the cam in first. Gravity becomes your friend and it’s super easy to slide it right in w/o fear of scraping the cam bearings. Just be careful not to knock out the rear bearing plug but that’s not difficult.
That is how they do it at BluePrint Engines. It’s a much easier job if you don’t have the transmission alignment dowels installed already.
Nicely done Scott! Hell with an engine making almost 450 hp on 87 octane, you couldn’t ask for much more than that.
Note that you cannot make a crank \”oversize\” by machining the journals down.
Crank is machined under size, bearings are over size to compensate.