


Well, we have a running tractor now! After the first installment of our Henry’s Hot Rod project it was time for the fun stuff, actually wrenching on our tractor that is parts 2N, parts 9N, and parts 8N to make it run. Yes, the long term plans include the swap of a 8BA flathead V8 into the little guy but for the time being we wanted to get this thing singing with its “factory” engine and have some fun. After all, what good is having a tractor if you cannot do some work, cruise it around, and make people happy to see some living and breathing Americana in their lives.
Here’s what we knew when we got the tractor. The engine was free, the clutch as not stuck, and when we hit the starter button it spun over in the kind of moaning, whirring way only a six volt starter can provide. It did not have any spark, though. This tractor has an 8N engine of the earlier variety. We know that because it has a little front mounted distributor that’s kind of pancake shaped and bolted right to the front of the block. Later 8N engines used a side mounted distributor which is far more “normal” looking in relation to the average car engine. It’s also an easier to set the timing and other basic tasks as well.
Having a freely spinning engine that was getting fuel, we knew that the spark maker was likely our problem. Was the timing off? Was it just not installed correctly? Here’s what we found:


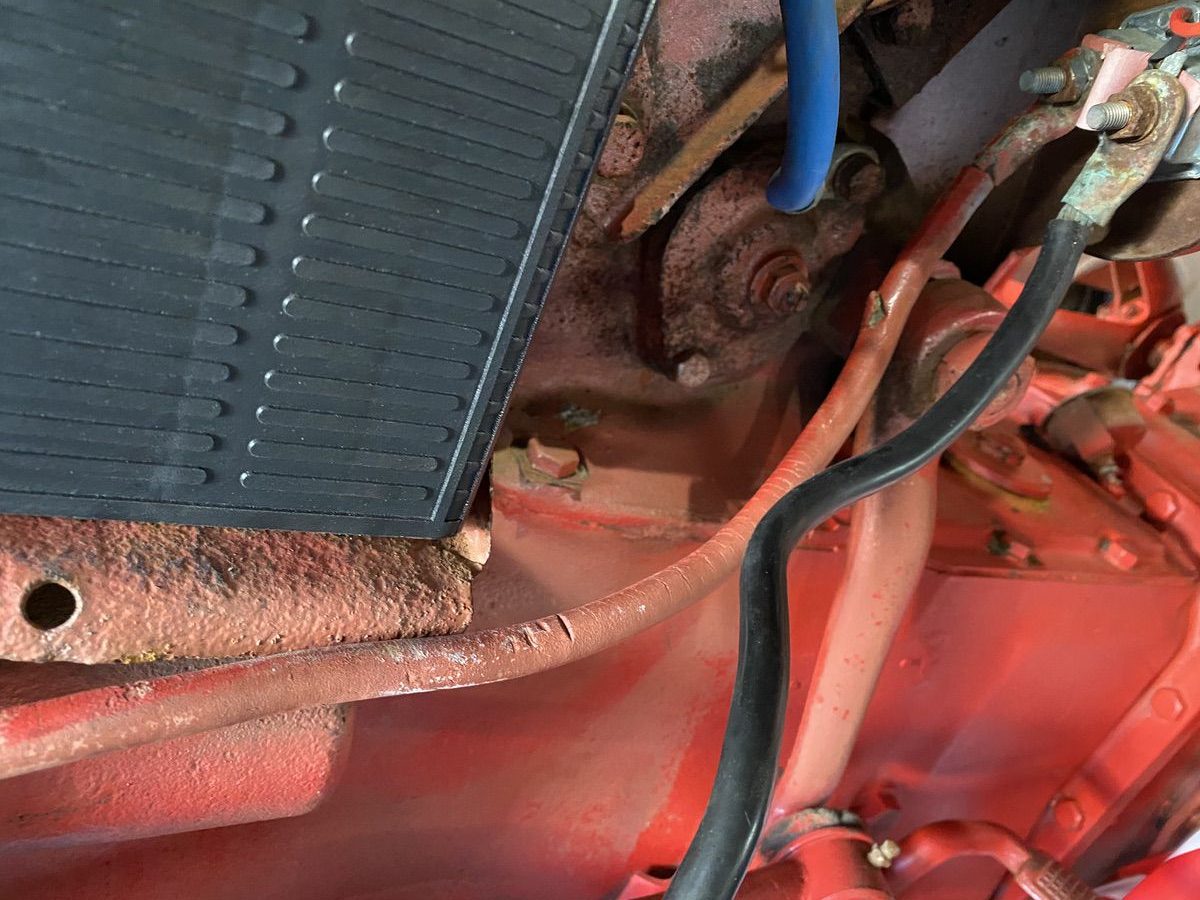
After lifting the cowl off for easy access we used the old farmer trick of laying the plug on a head stud to ground it in order to check for fire. We had none. With such a radically simply machine we went right to the distributor after making sure that all of the wiring was correct in that direction. With the wiring verified and the coil getting energy, ahead we went.
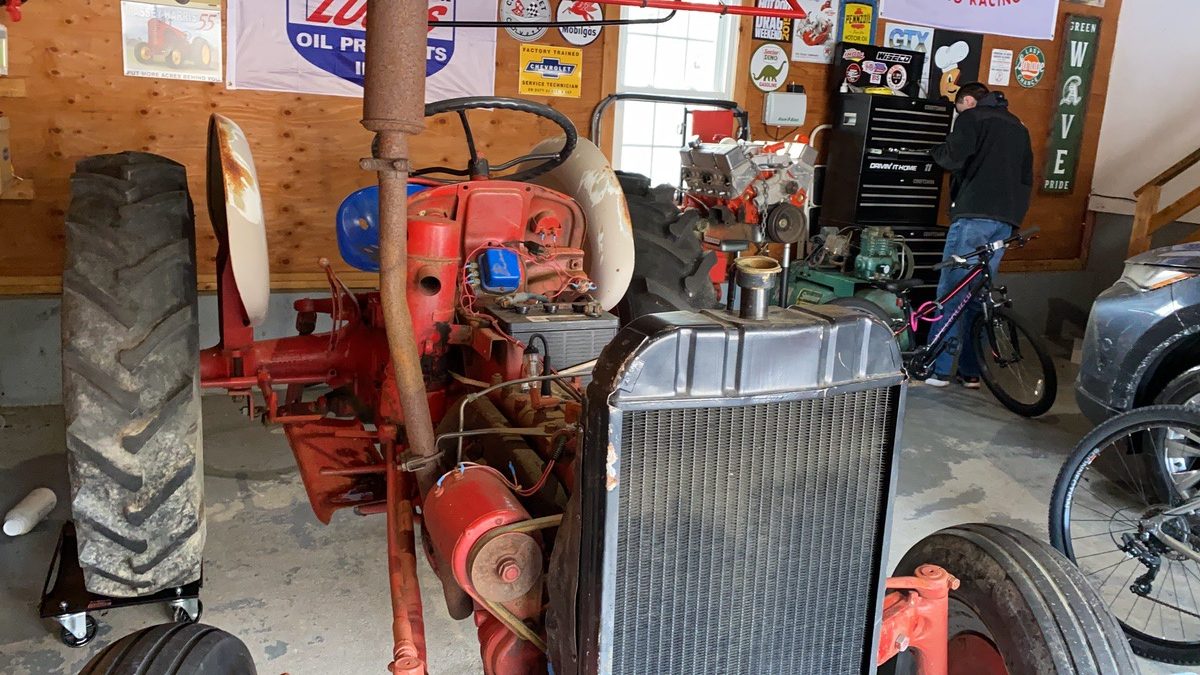

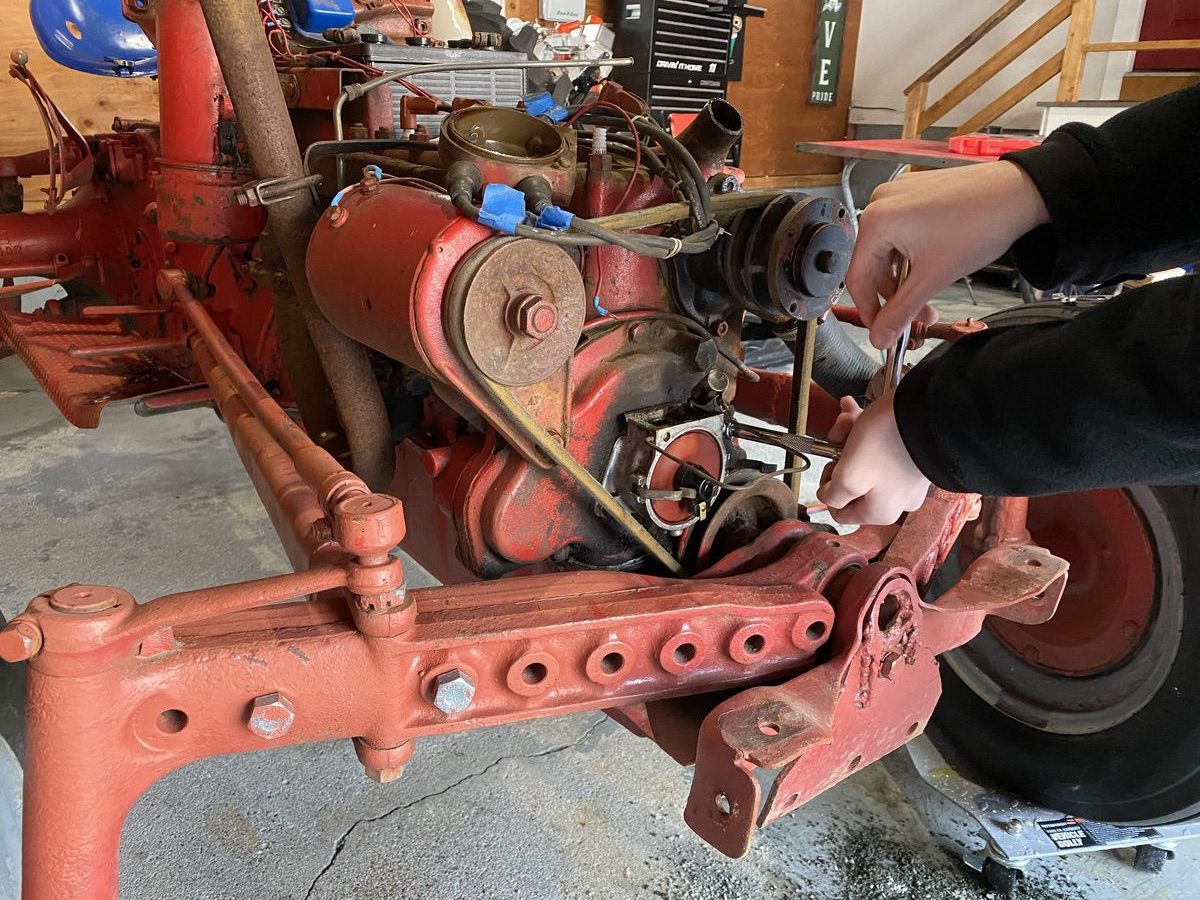
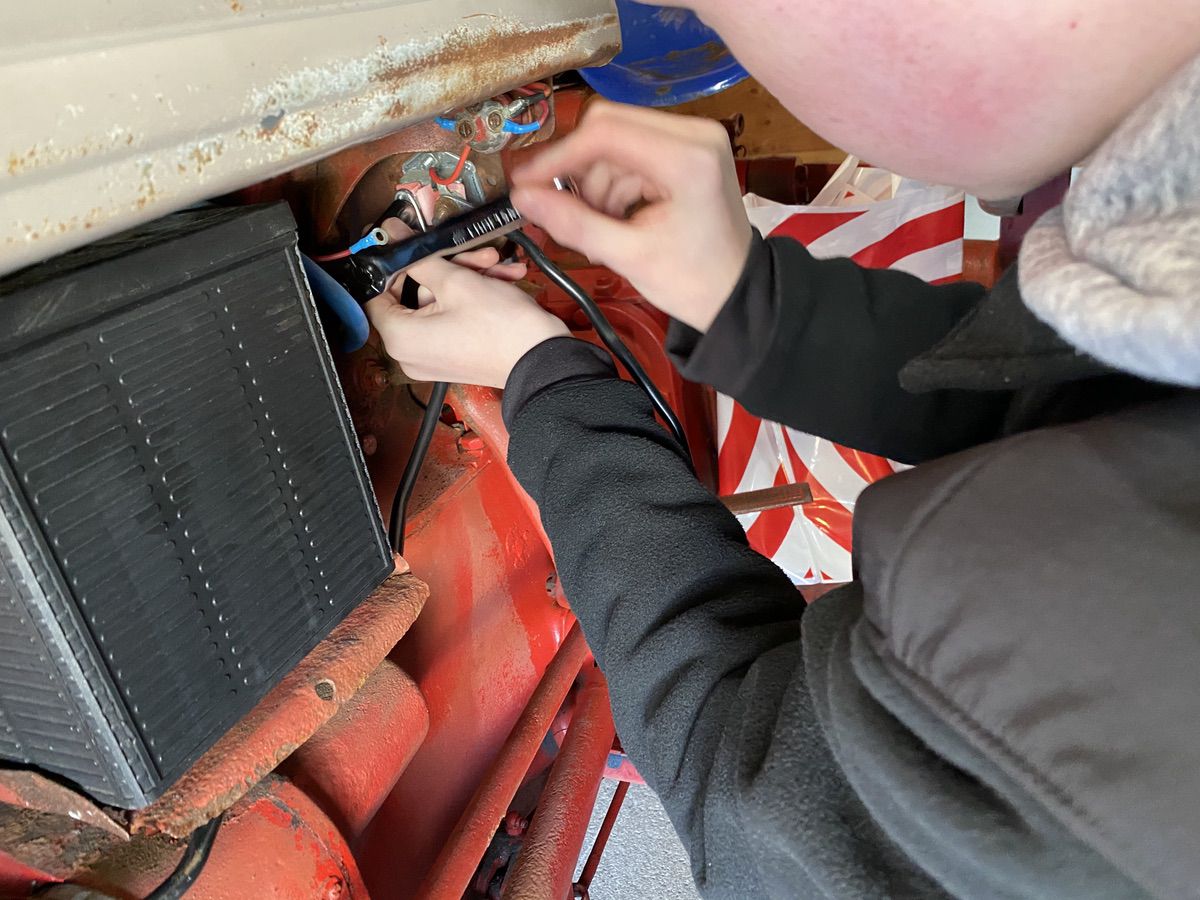
Working with my son Tom we got the wrenches out and went to work. Some of you more experienced tractor mechanics out there may be cringing at the fact we removed the radiator and fan to do this job, which is not entirely necessary. This was done at my behest because (one) this is Tom’s first kind of “big” project and I wanted him to understand how all of this stuff works together, and (two) because it makes for easier photos and we’re not in a big hurry. A little extra work? Sure. But it has value.
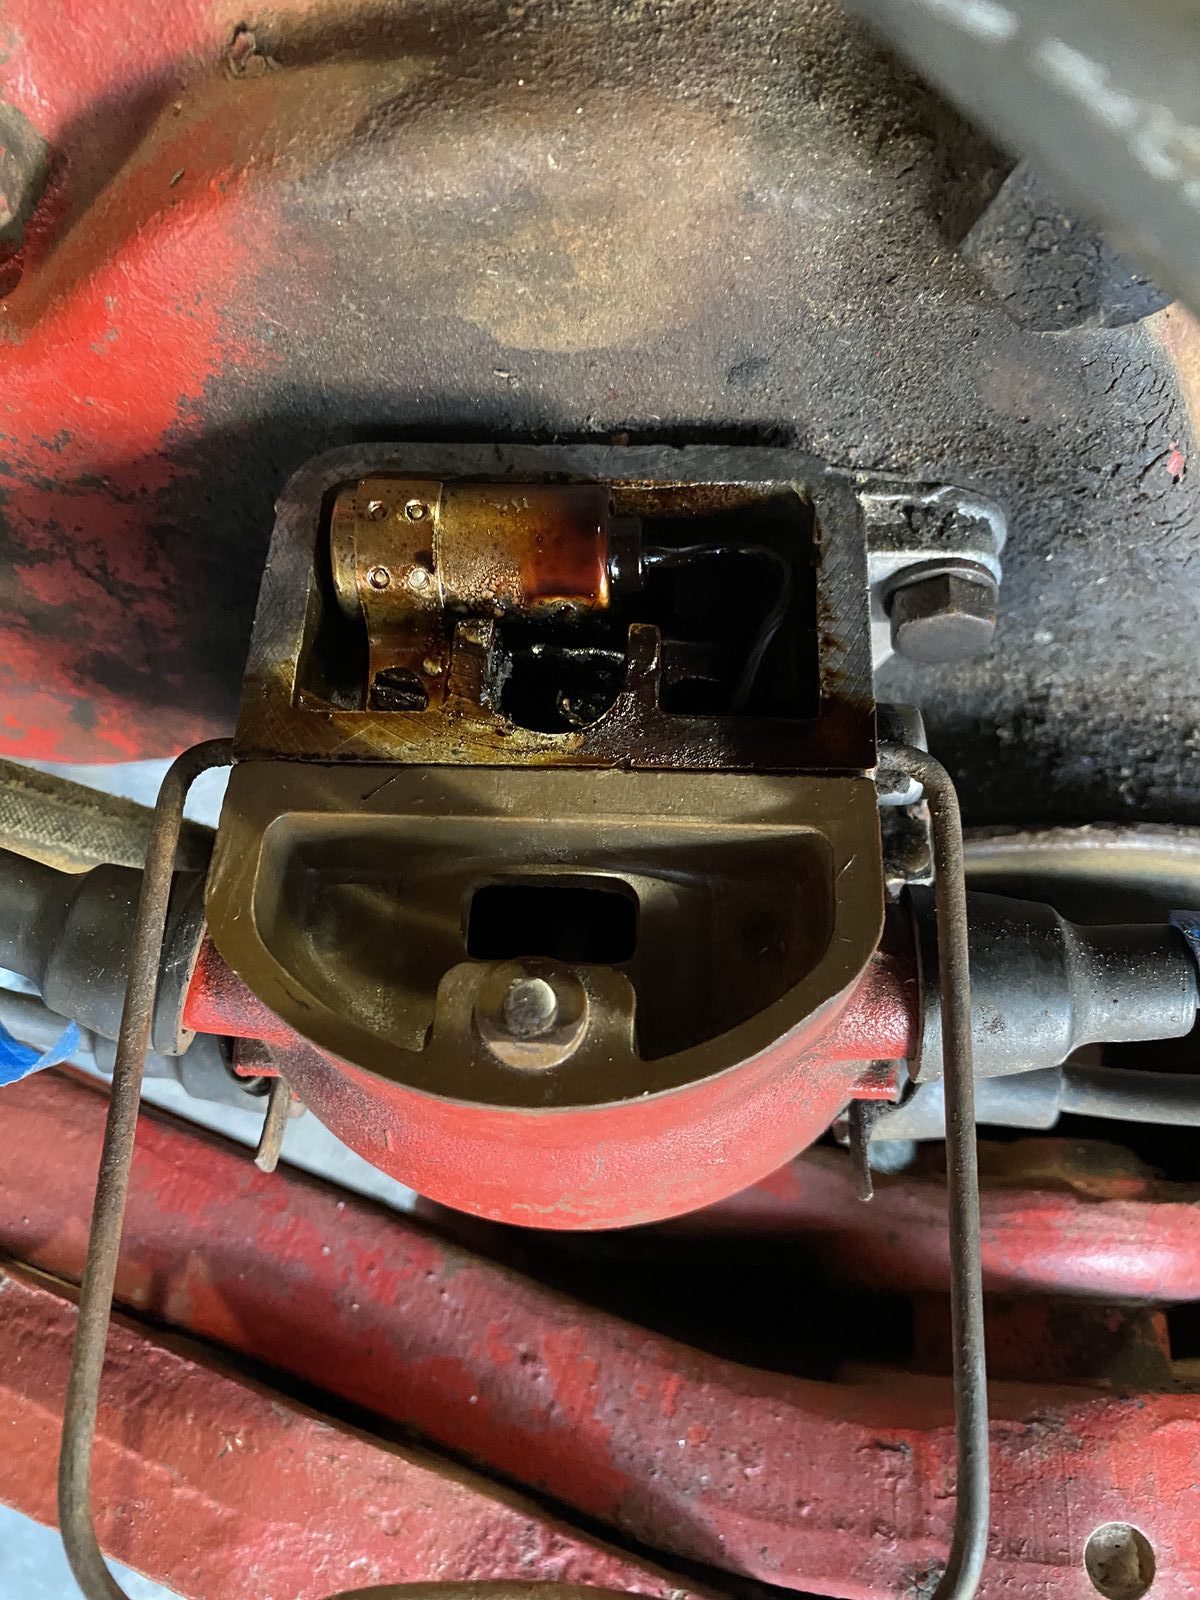

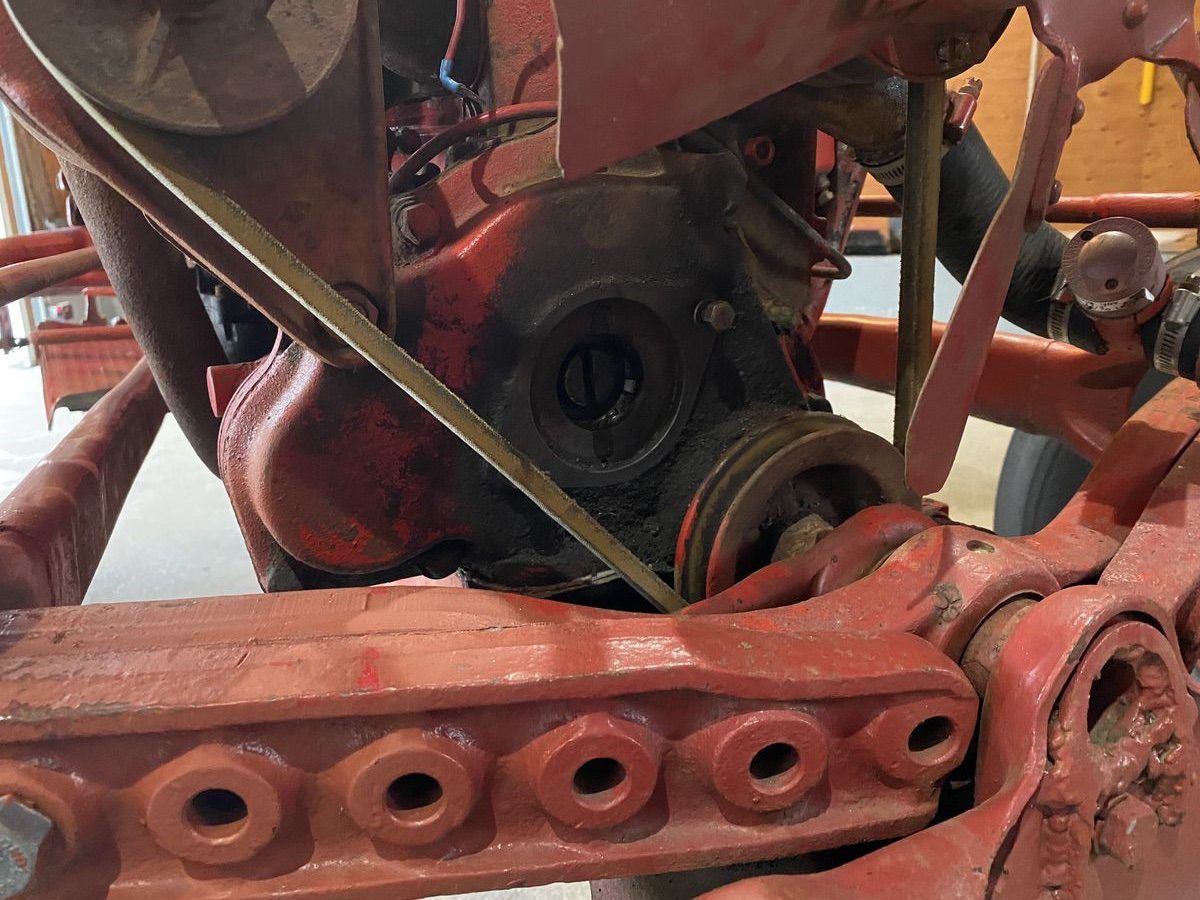
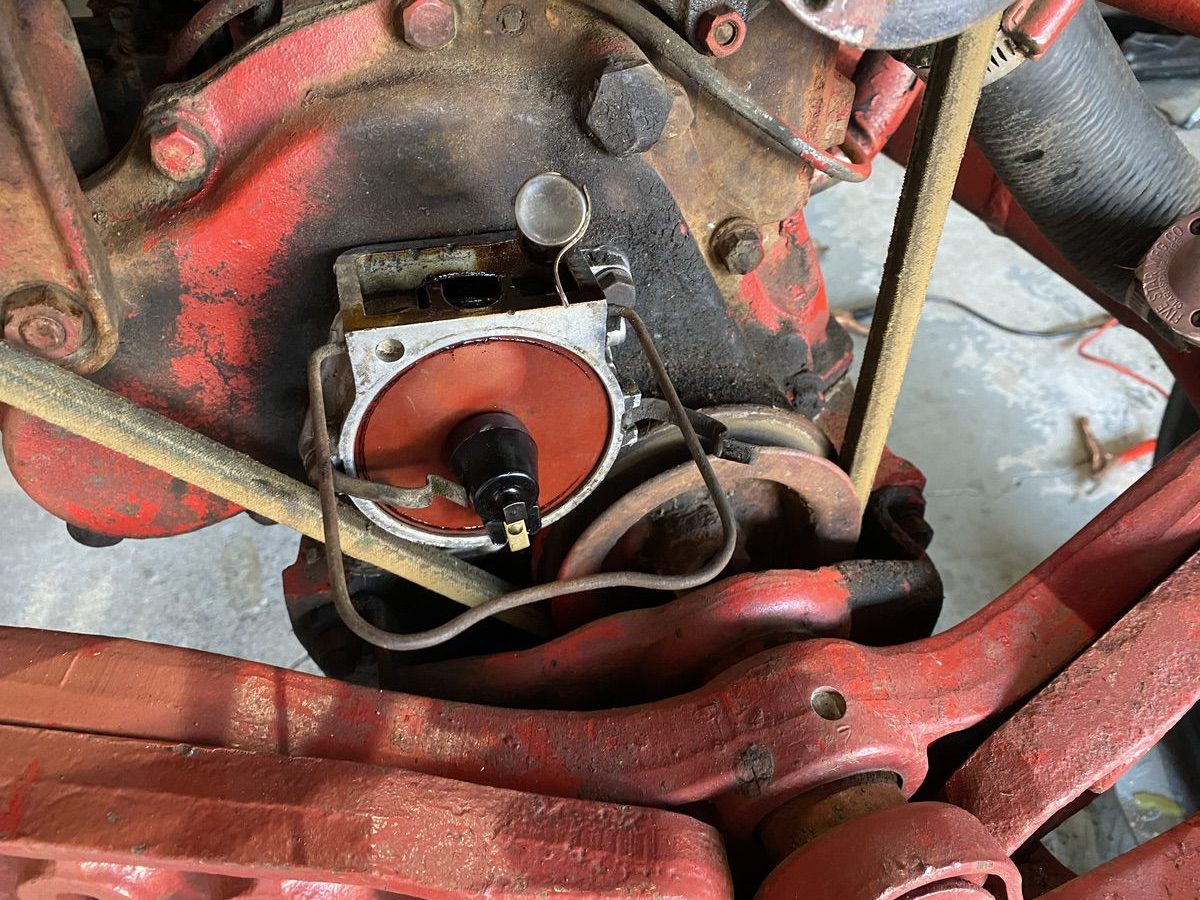
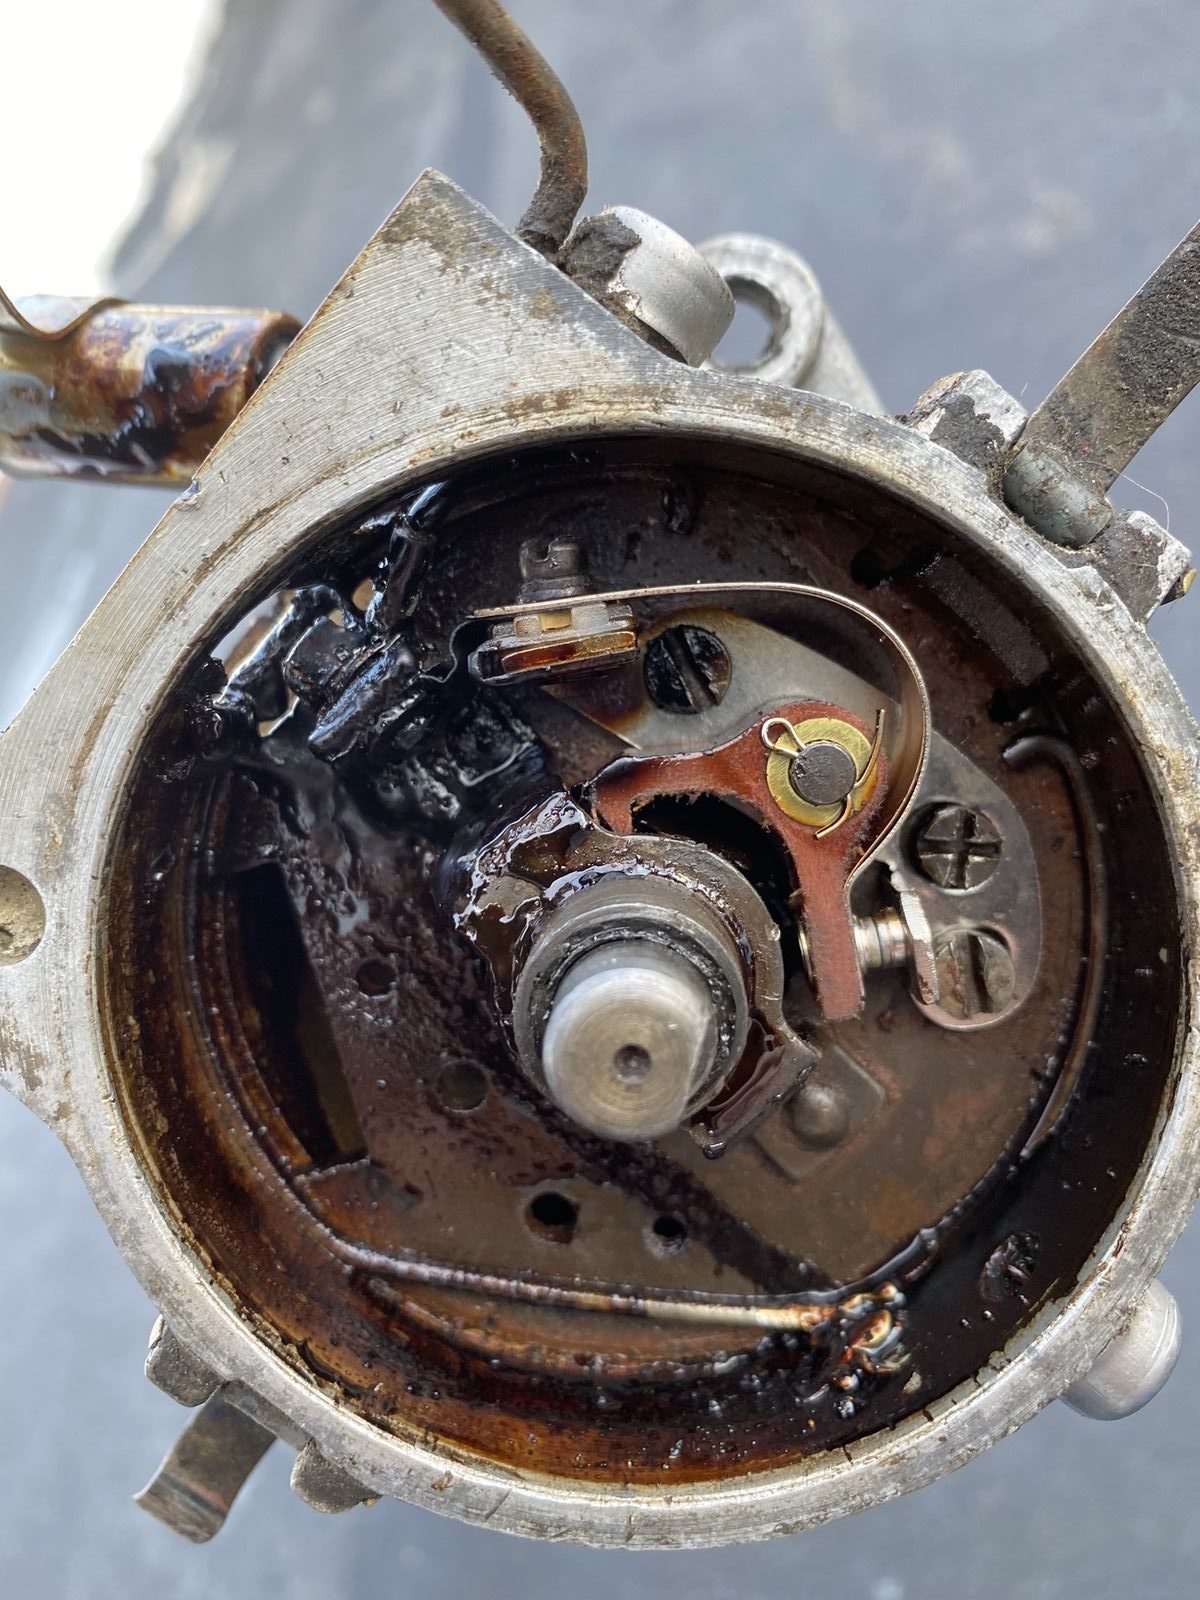
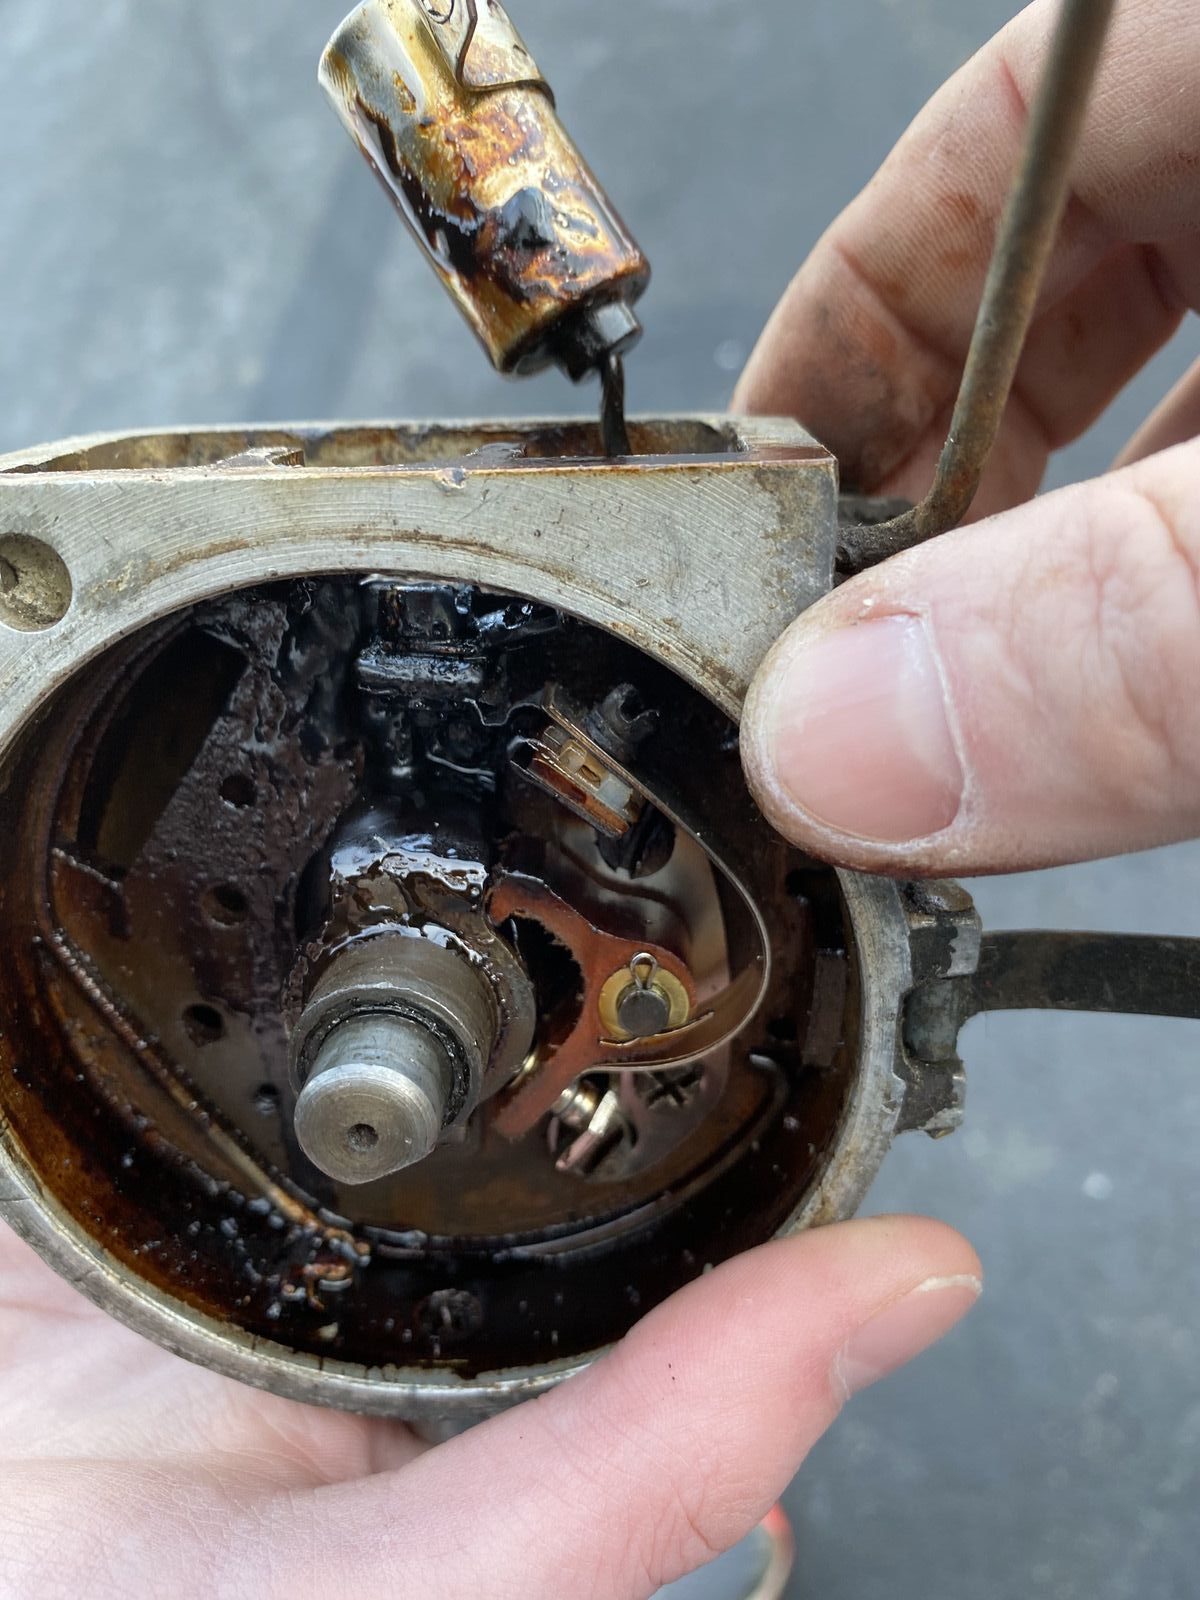
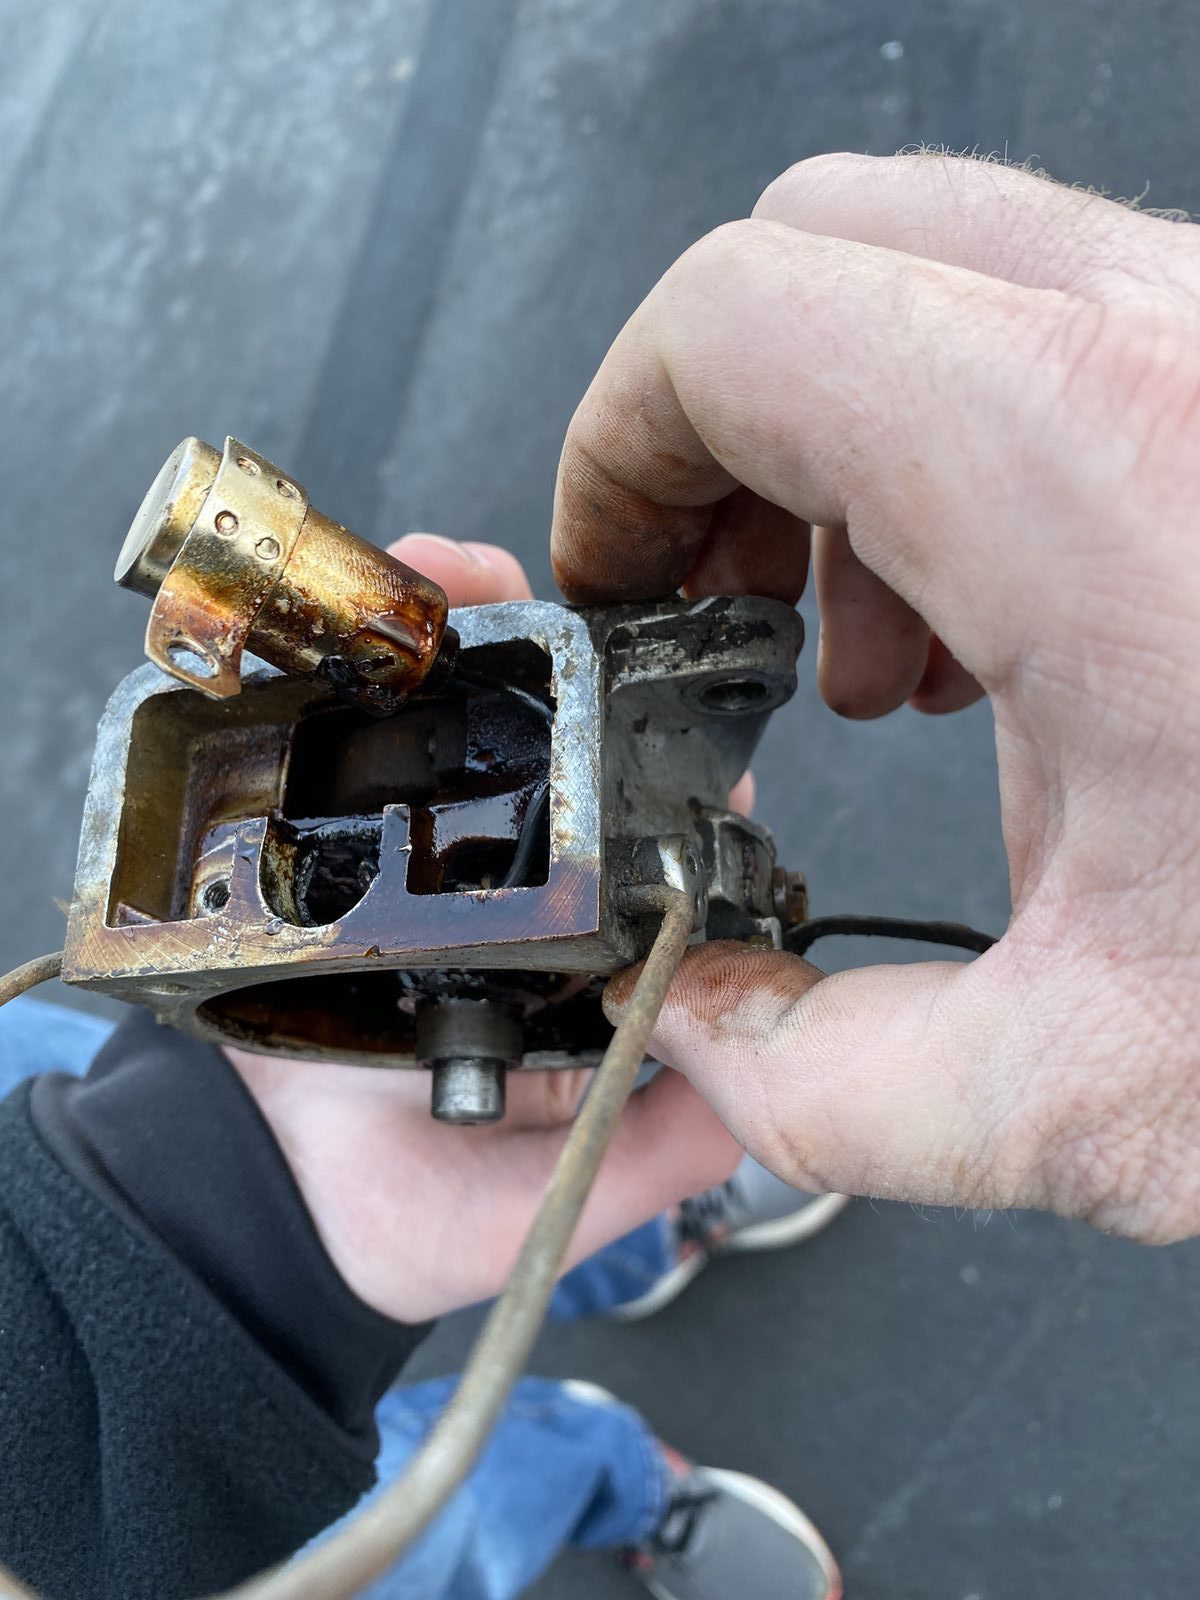
Welp, that’s tough looking, right? The 6V coil, which is held onto the top of the distributor with a wire bail had melted itself right into the distributor itself. One of the things that these old tractors are known to do is to melt the coil if the key is left in the “on” position. Clearly this is what happened here. You can see the fried coil as well as the after effects of the heat allowing oil and all kinds of garbage to make it into the guts of the little distributor courtesy of gravity.

That’s not going to work. So in the spirit of being fixers rather than replacers of parts, we made a plan. Obviously we would need new points and a new coil but the distributor itself, as bad as it looked was likely OK under all that nastiness. Heck, even the rotor looked OK. So a call to the local NAPA netted us a coil and the points but we had to do something about cleaning that whole mess up. The solution was just that, the magical solution known as the Chem-Dip bucket. The whole works went in for a solvent bath to see what would dissolve.
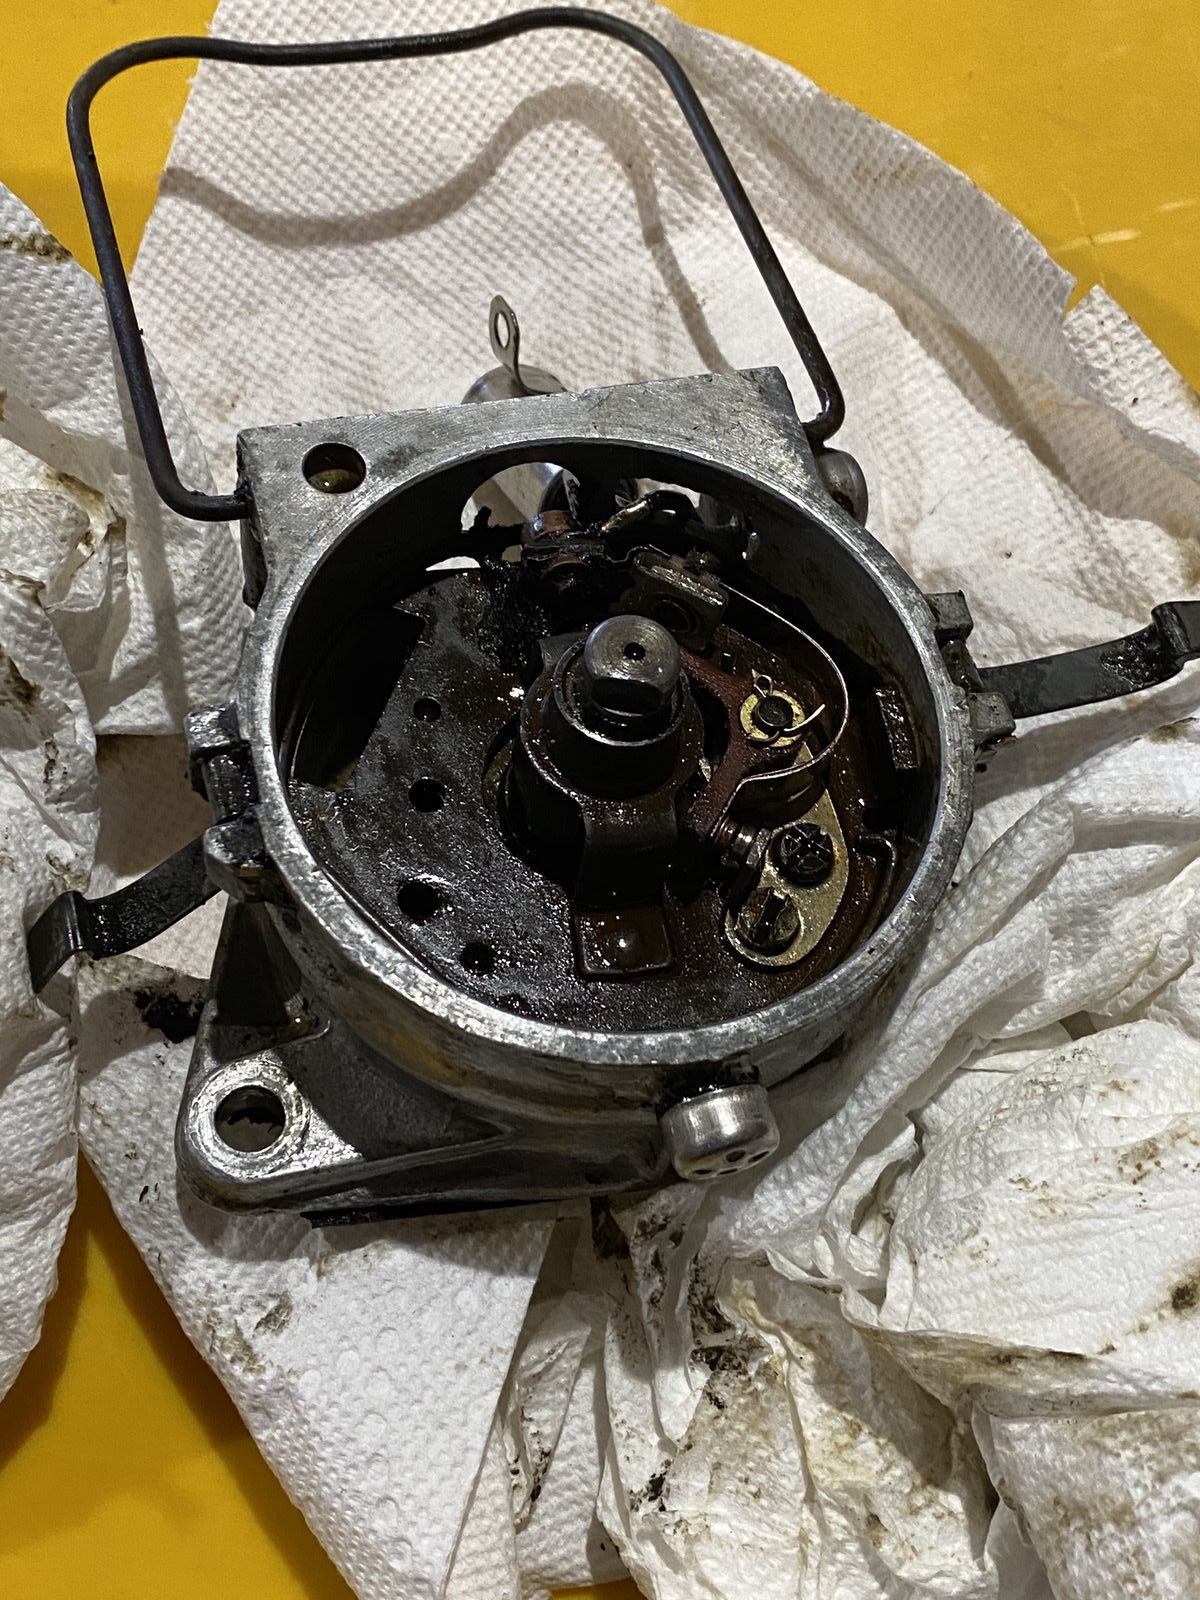

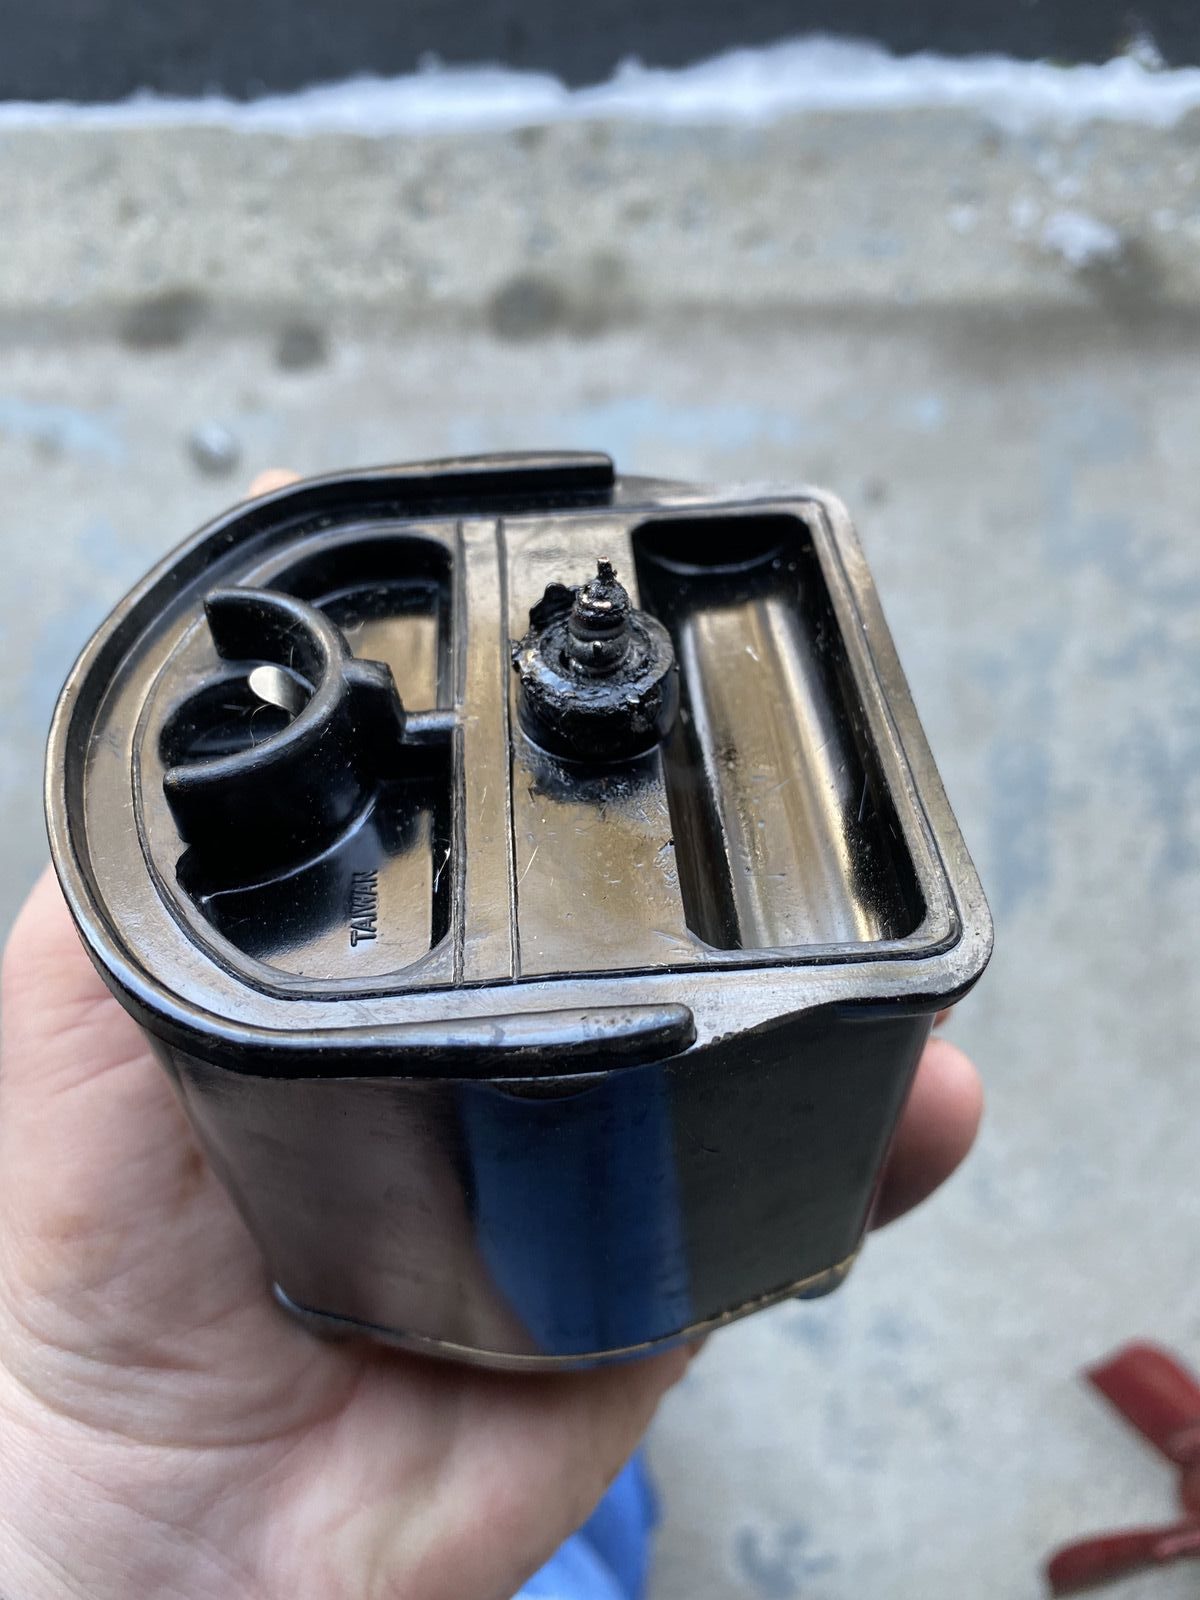
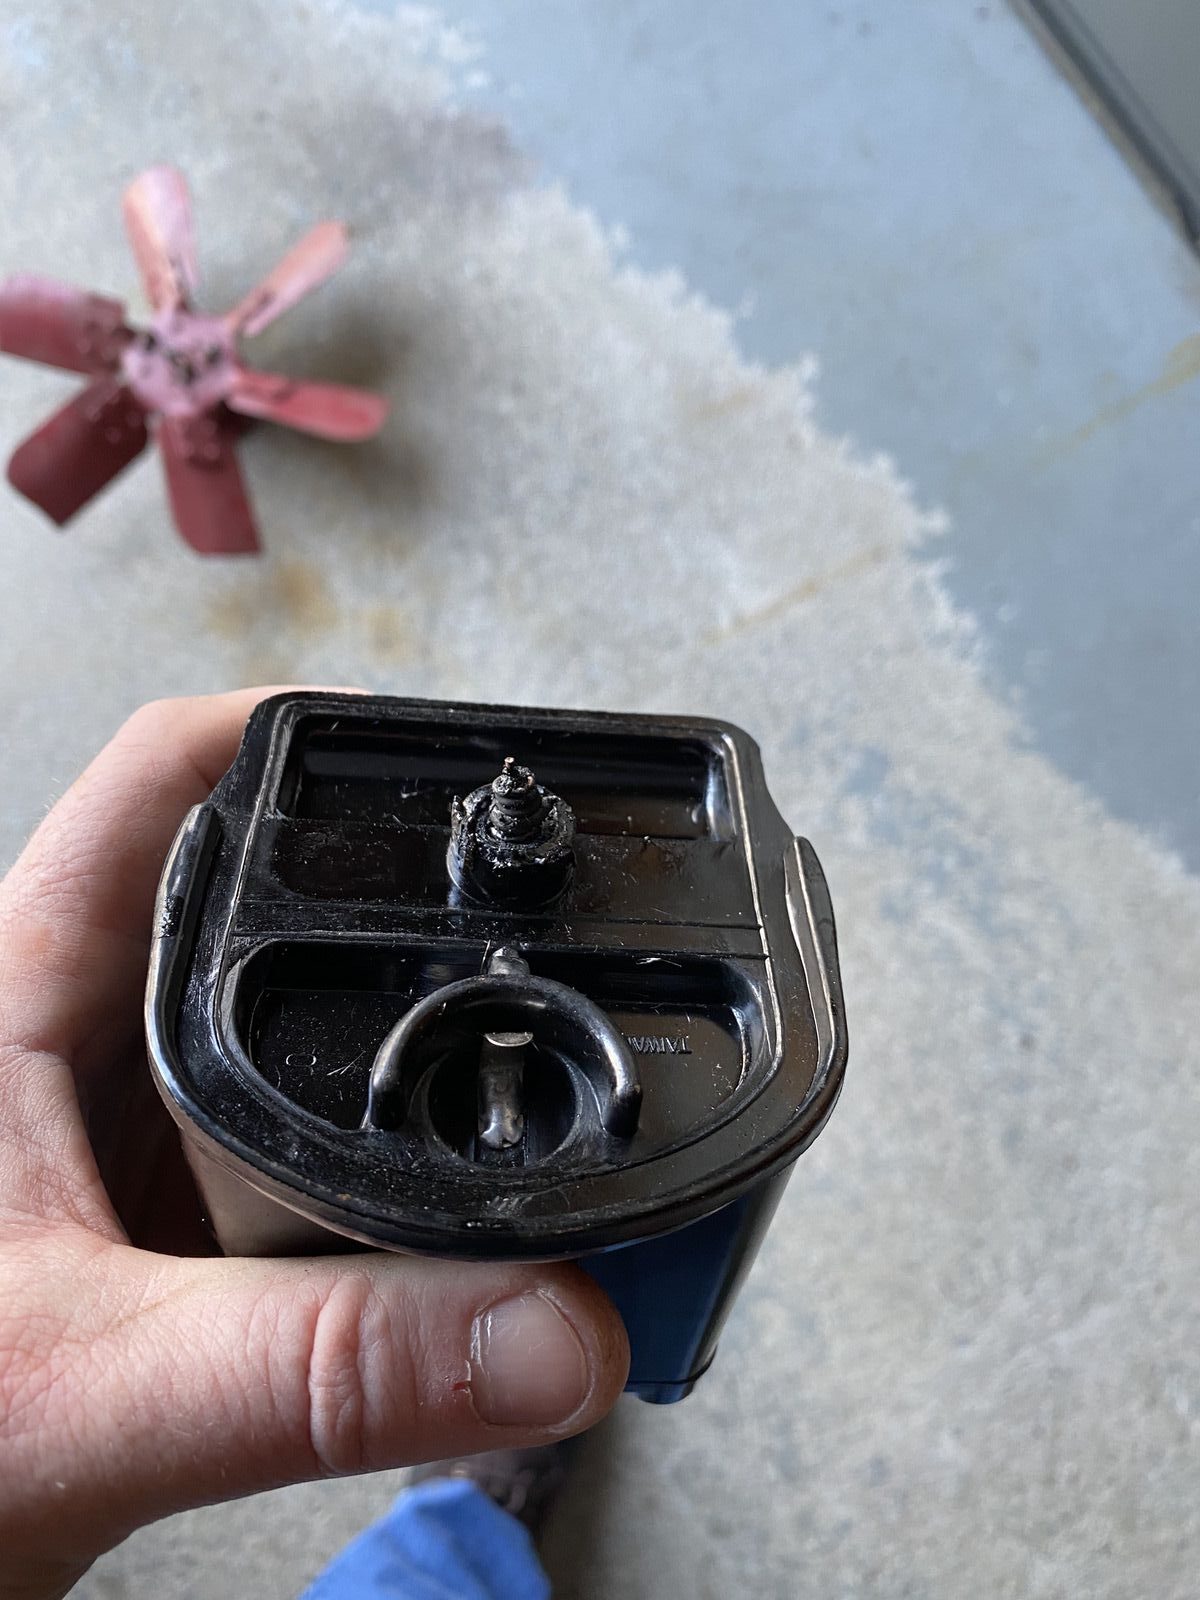
As you can see, the Chem-Dip did a good job of melting all the formerly solid plastic out of there and now it was our turn to finish the clean up mission. The distributor comes apart very easily so it was scrubbing time!


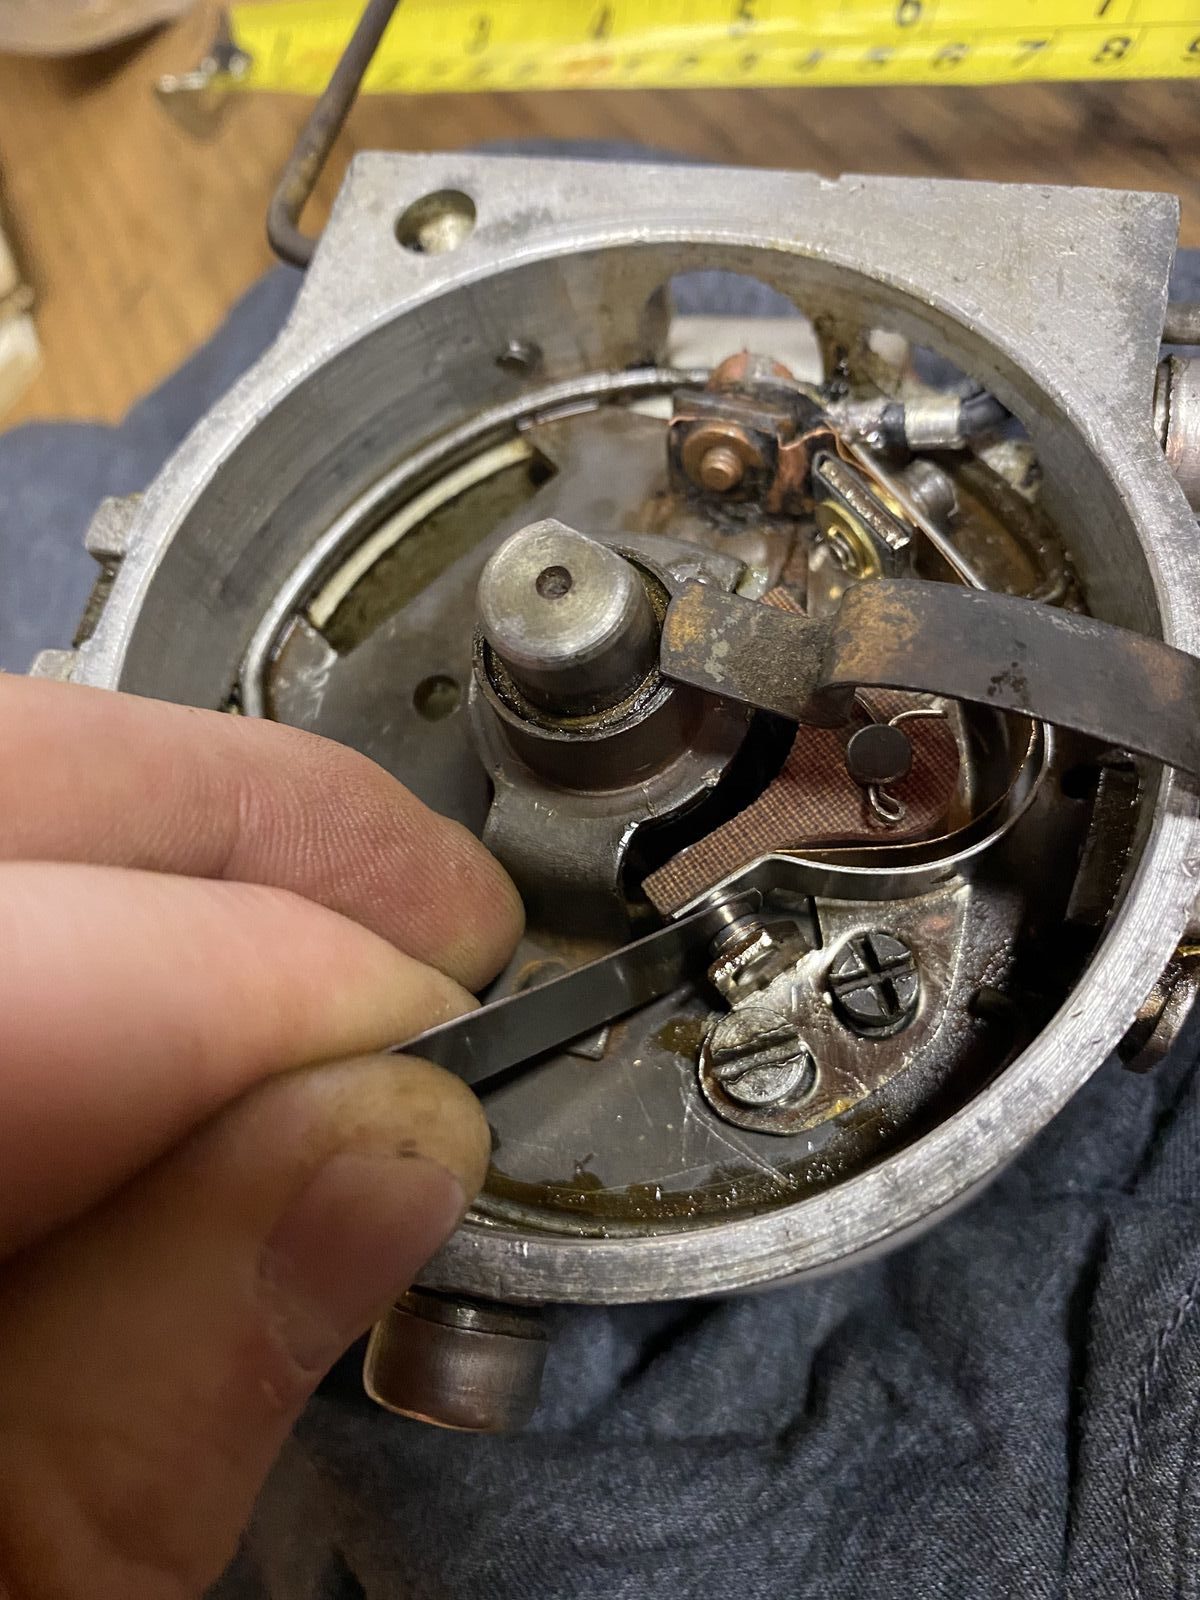

We installed a new set of points and a condenser, set the gap to the factory spec of .015 and checked the timing. Now, on these front distributor engines you do not set the timing on the engine but rather set it using a set of straight edges by using the tang that interfaces with the engine while the thing is sitting on the bench. We completed that process and went to install it back on the engine. That little screw is what’s used to adjust the timing. We did not have to make any tweaks as it showed us the right 1/4″ spacing of the tang with relation to one of the mounting holes. The points are supposed to start to open after that 1/4″ of movement past the hole and it’s exactly what was happening here, so no timing adjustments were needed. Later side distributor timing changes are made by rotating the distributor as it “normal” on most engines. We also checked for continuity with the points opening and closing with a meter (not shown here).

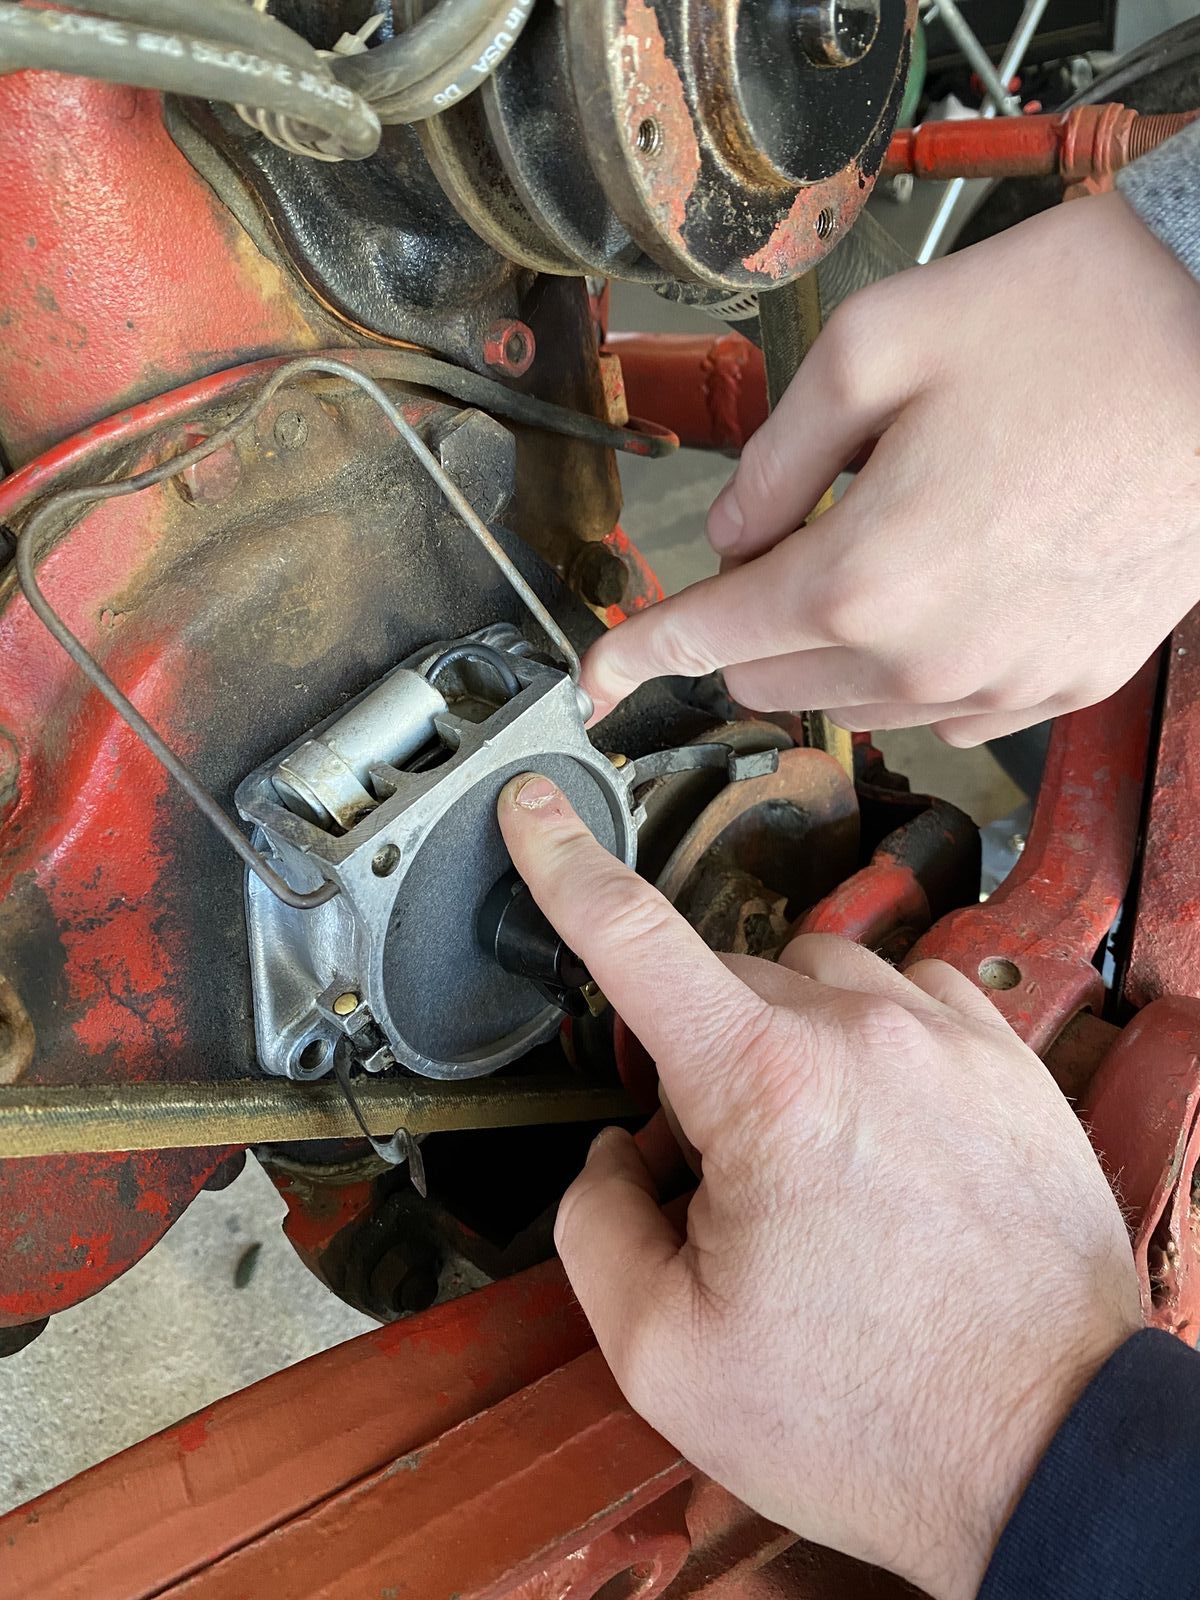
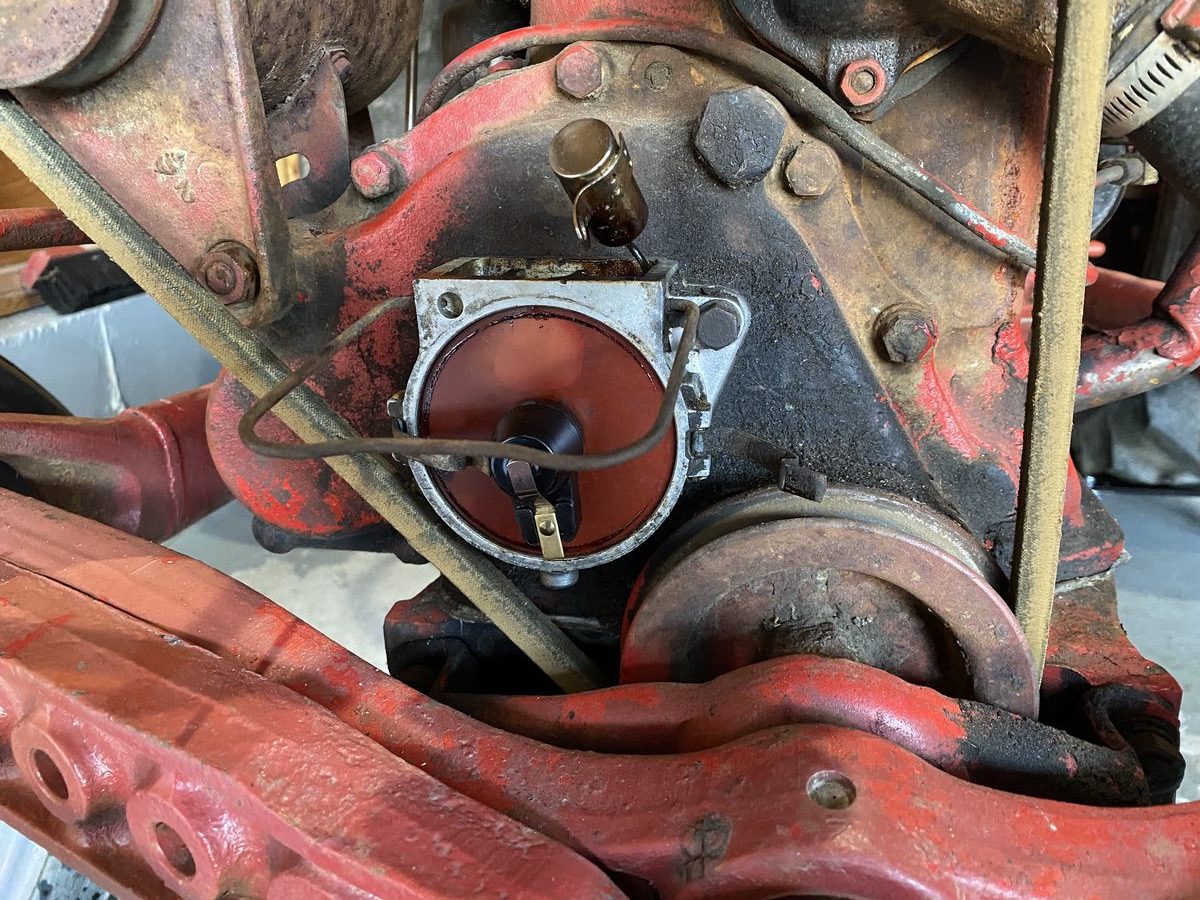
The distributor on these engines can legitimately only go back in one way. Engineers back then were smart in the fact that the simple flat interface at the rear of the distributor has a short and a long side. If you try to go backwards the thing won’t sit flush with the block and you’ll break the ear off when you try to run the bolts down. The refreshed distributor went right in, the old rotor went on, the old cap was re-attached, and then the new coil was set on top and attached with the bail that looks like a handle here. Power was attached to the coil.
As you can see, with a little gas in the carb and a quick jump start this baby fired right up. My son was running the camera here and the look on his face was priceless. It was officially the first engine he had ever “fixed” and it made him light up and I can tell you for 100% sure that the dude is absolutely obsessed with this thing now. But we were not done. With a tractor that was now running, there was fun to be had…but first a few more small fixes.
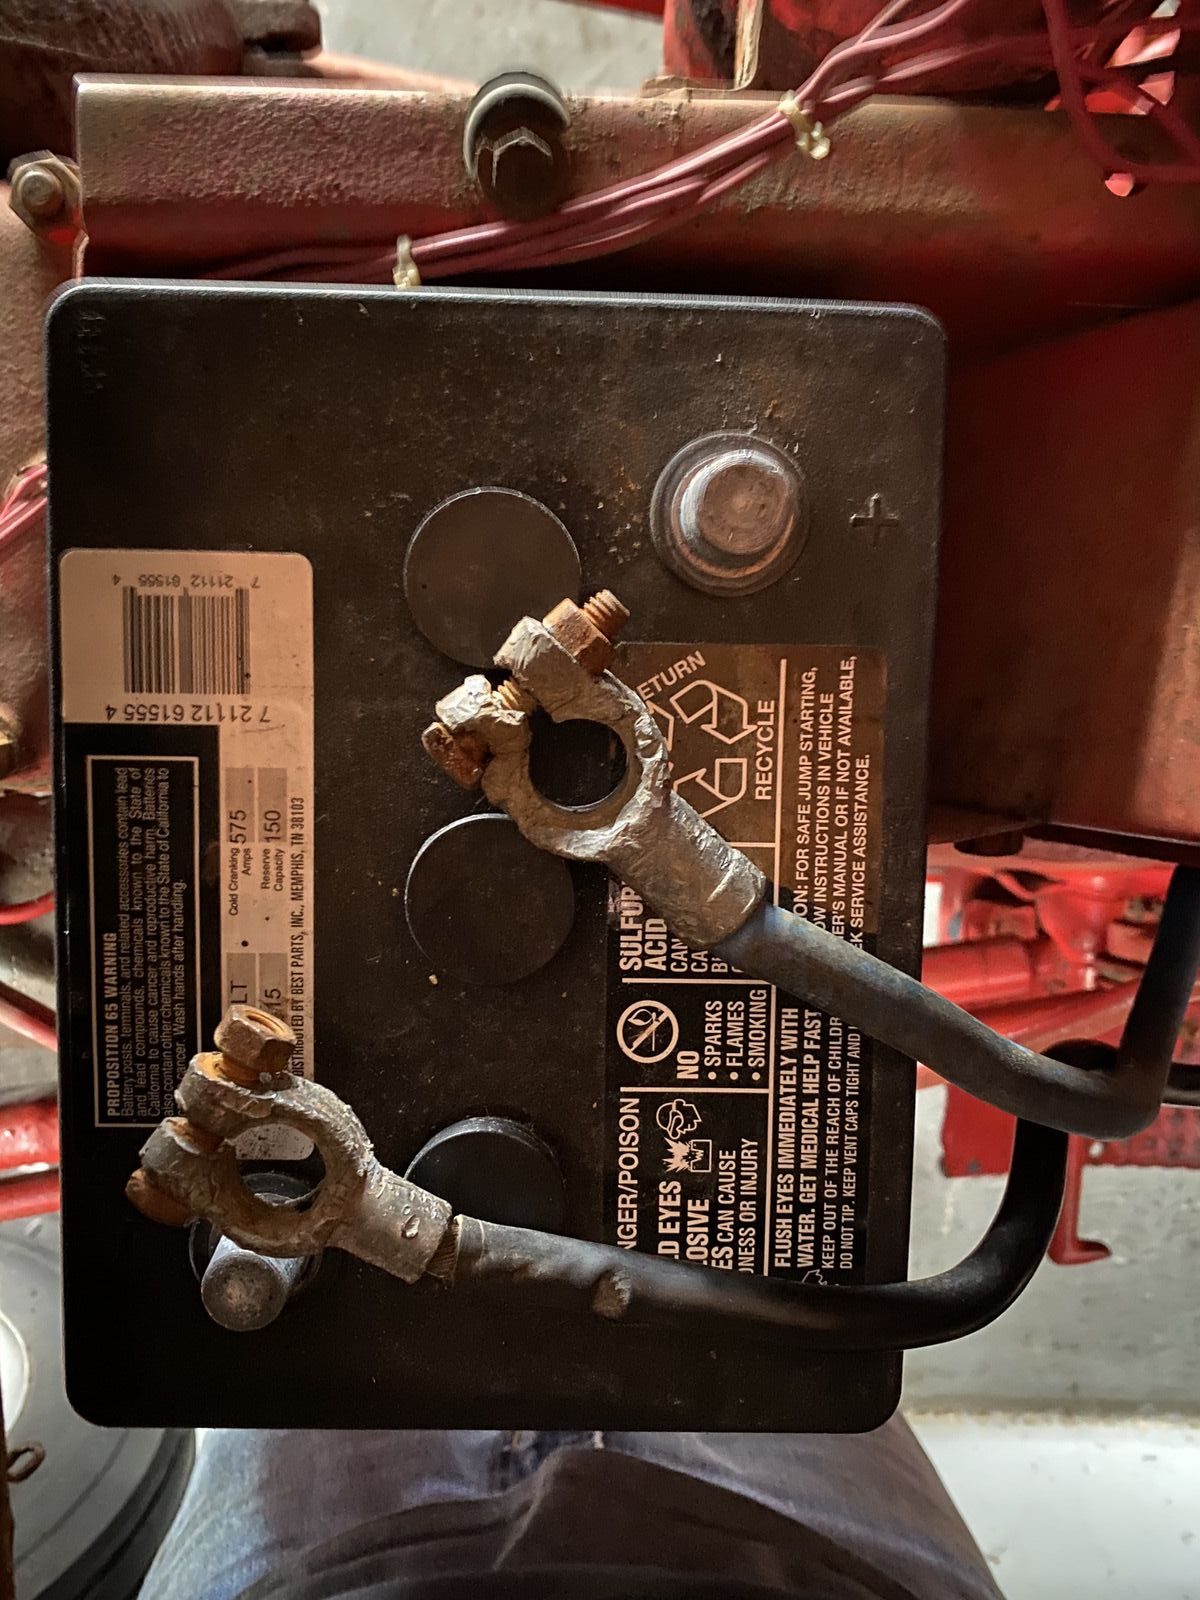
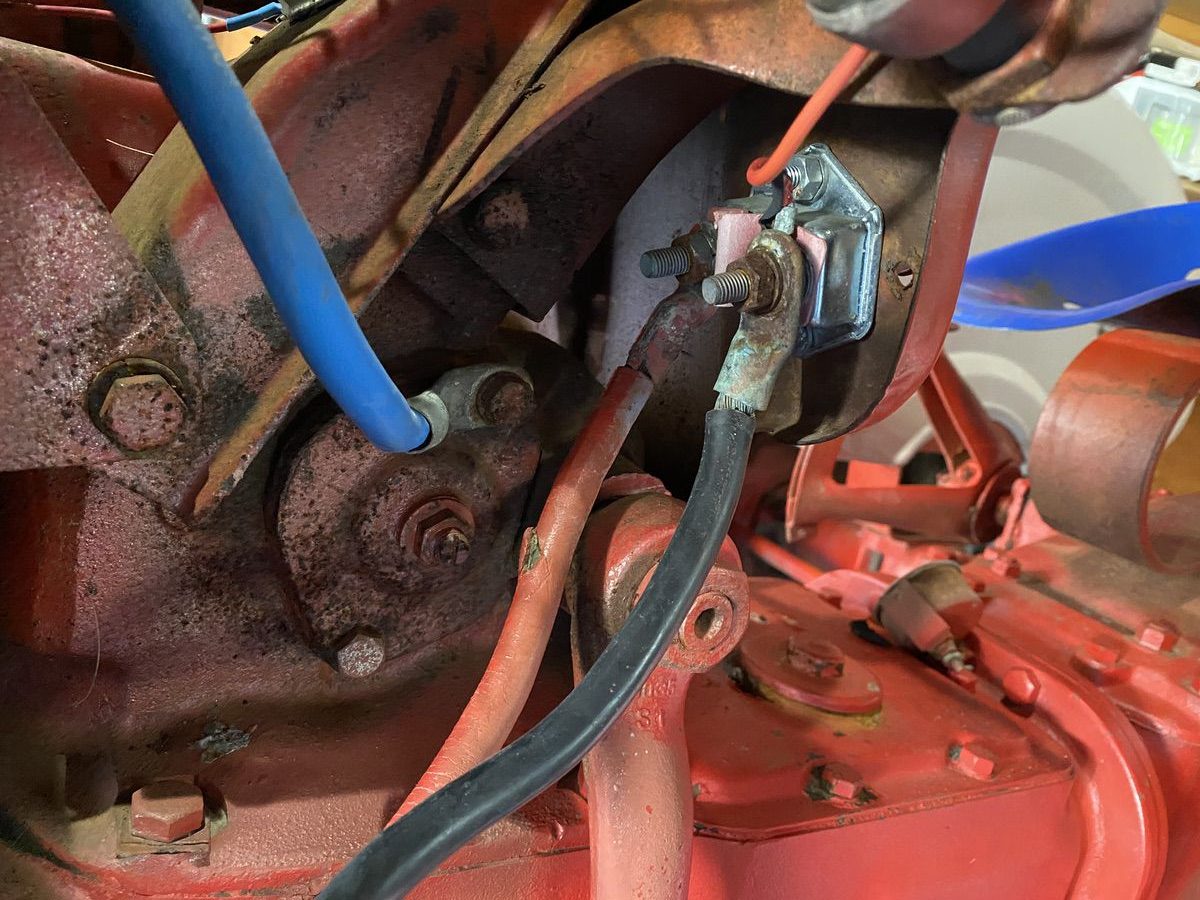

The factory battery and starter cables were pretty much garbage and the little engine was hating life when we would spin it over after charging the battery. We made a quick replacement of the cables and then it was time to throw the radiator back on it and see if the thing would actually drive under its own power.
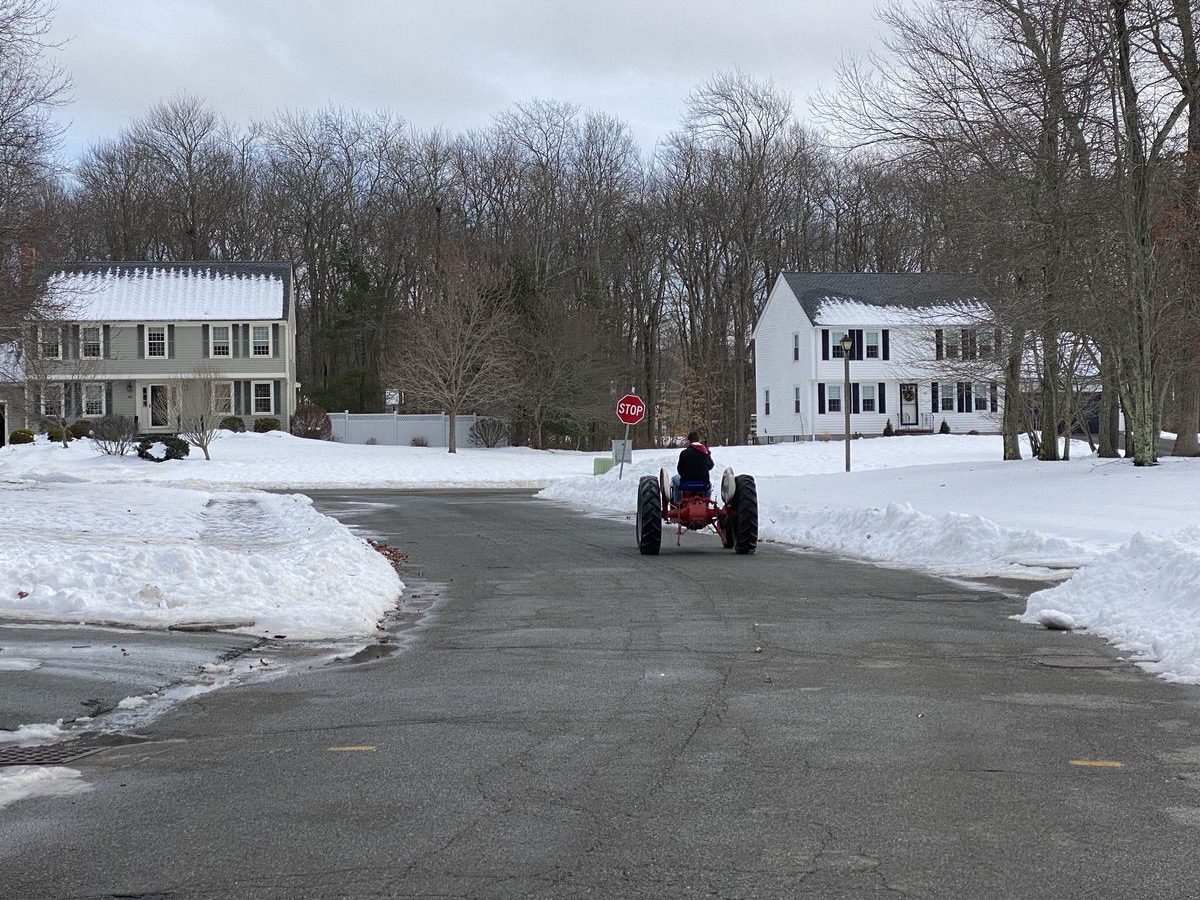
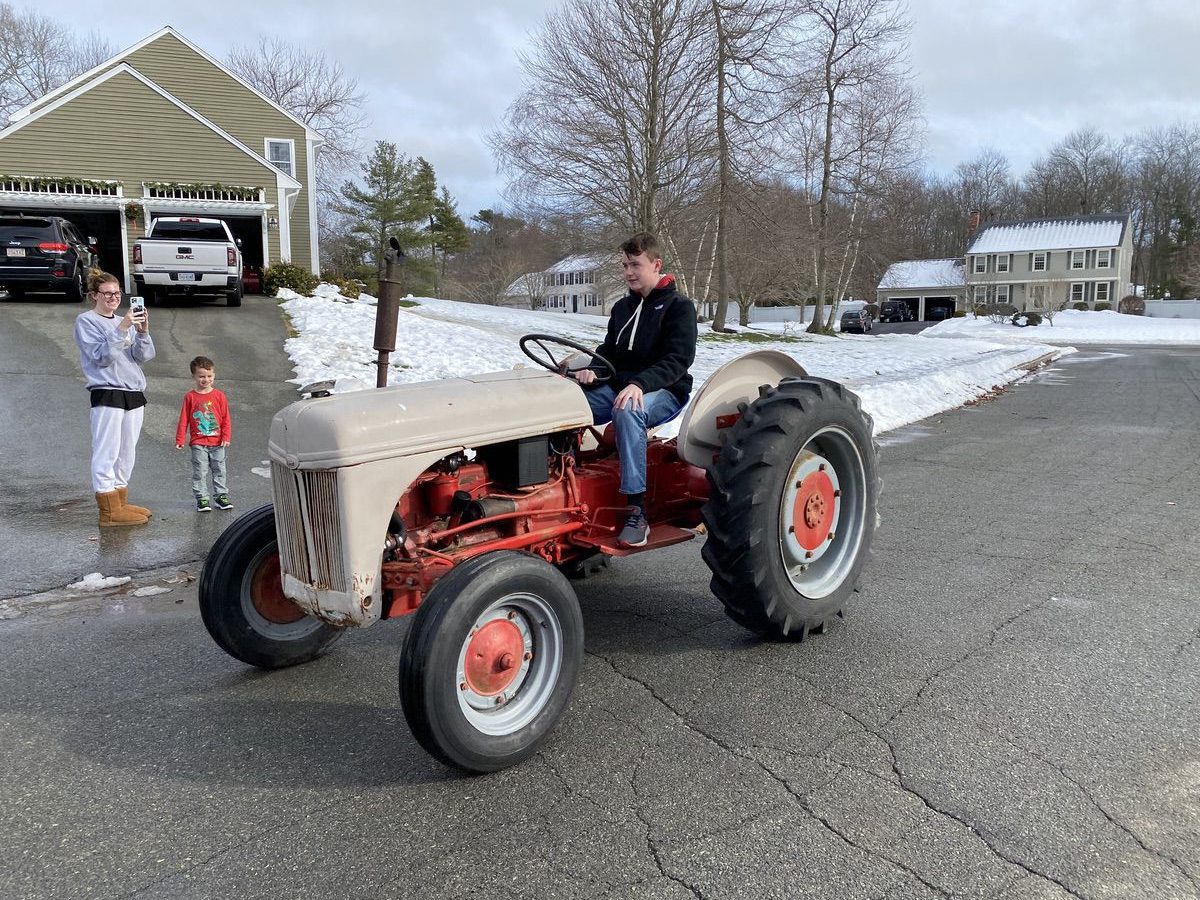
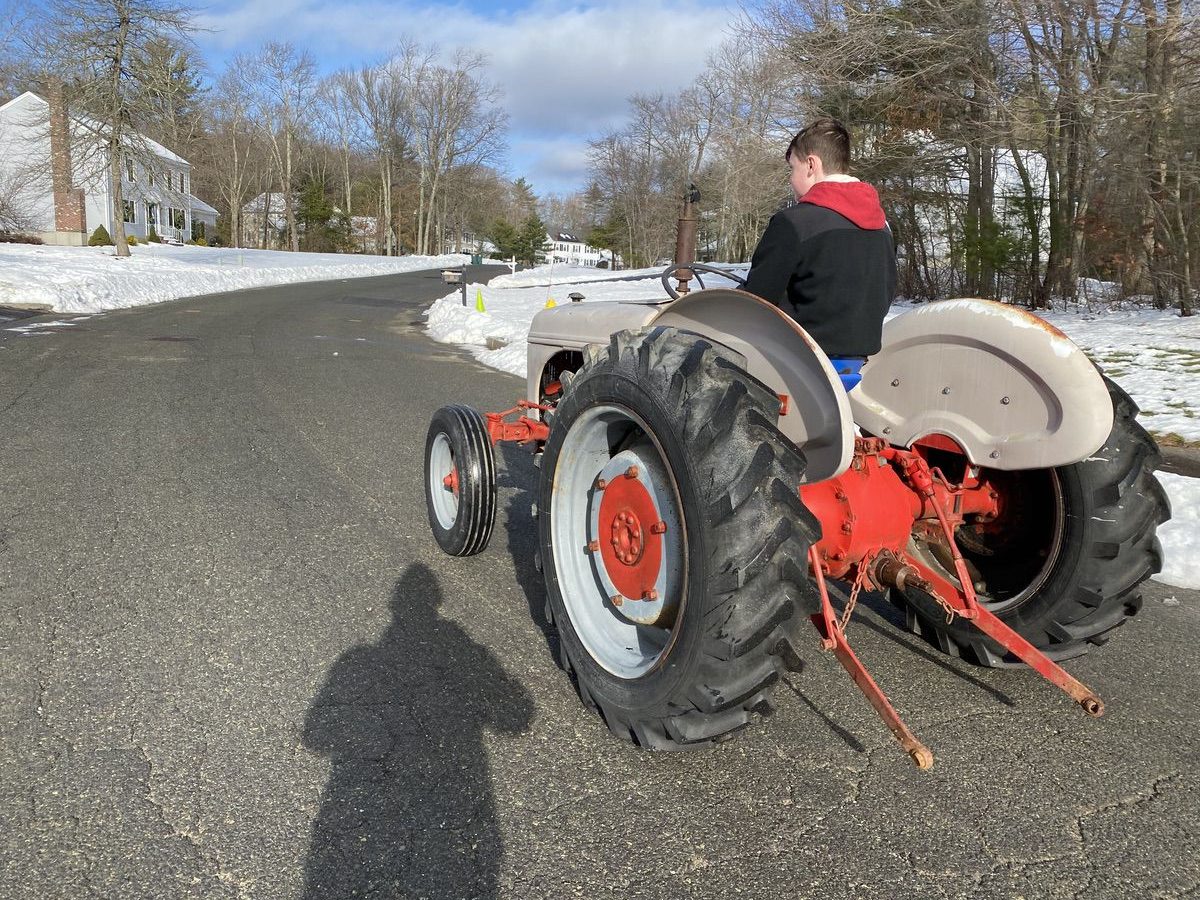
Boom! Yes it’s a runner and a driver! Yes, Tom got a good lesson in letting the clutch out easy, and yes, this is was a really fun moment. We still have a TON of stuff to do even before the engine swap. We’re putting factory exhaust back on it, we need to get the 3-point hitch working, the thing has no brakes (the axle seals have soaked the shoes), and it’s a properly leaky little thing. We’re going to make more upgrades, make more fixes, and make more fun memories in the coming days and weeks.
BUT WAIT!

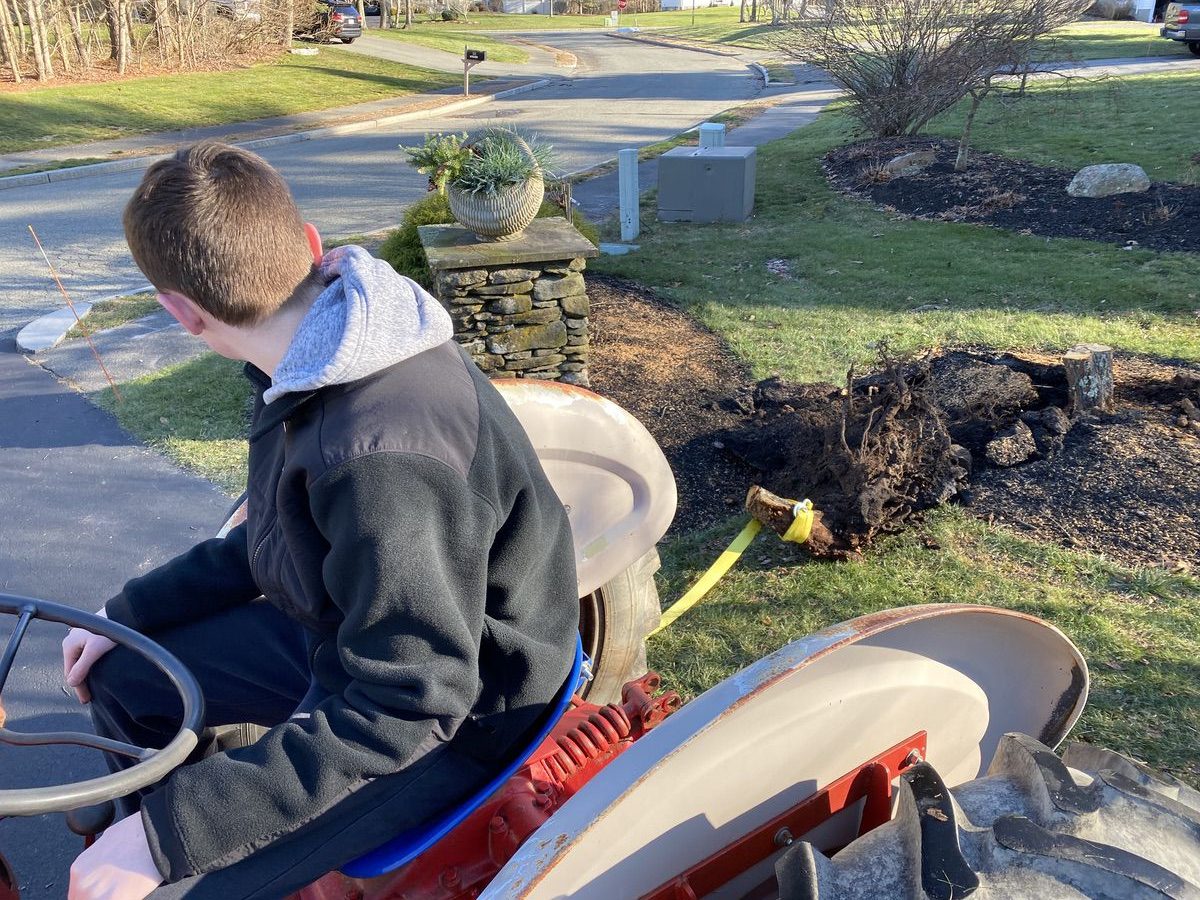
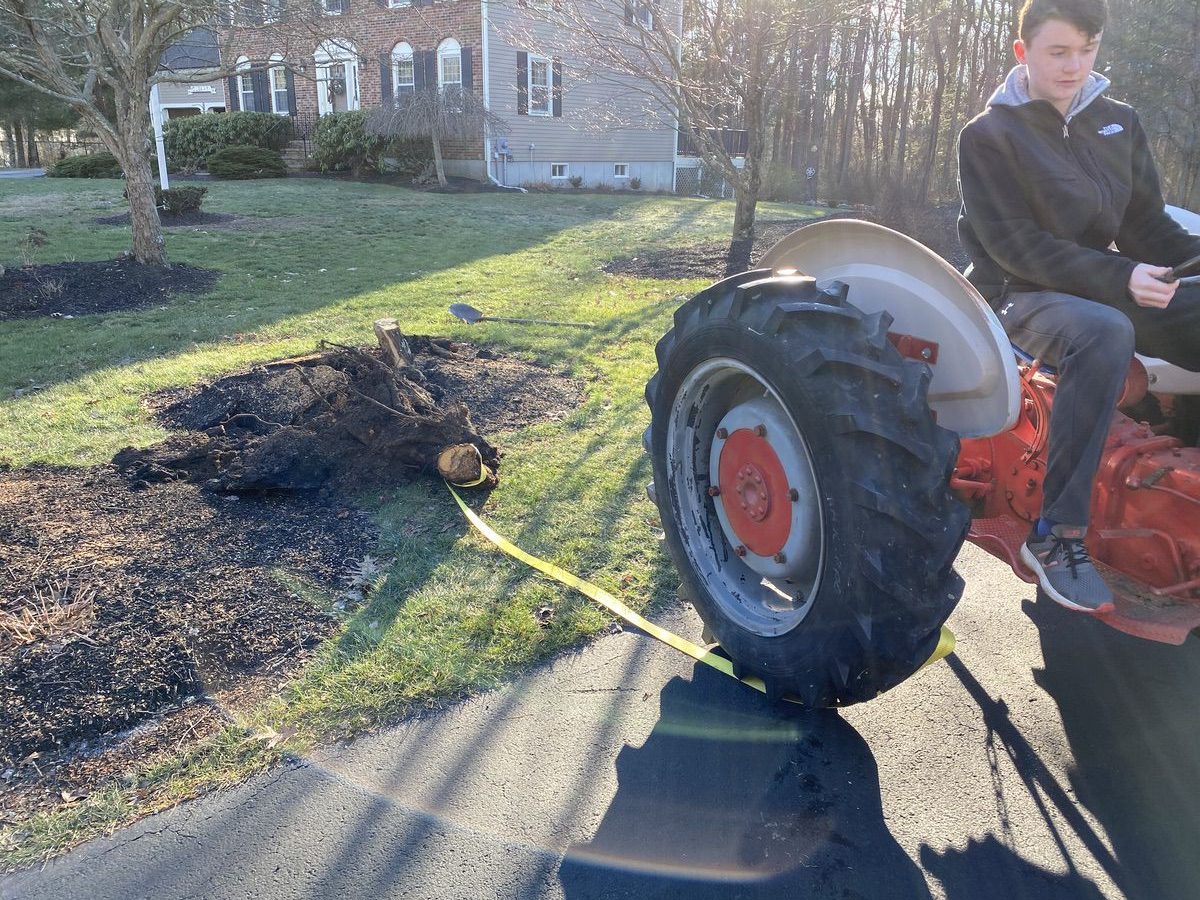
What fun is there in having a tractor if you don’t get to work it a little?! This tree came down in the blizzard that left the snow before Christmas. We sawed it up but the stump was still there. Initially he was convinced that our little 20hp tractor would be no match for it, but he got a good lesson in gearing here. The little machine in low gear pulled it right out after a couple of tugs.
We’ll be back with another update soon! Brakes, small stuff and more is on the way. Heck we have not even touched the flathead V8 swap engine yet. We’ll get to that in due time, the small stuff and “functionality fixes” will continue soon!


What kids are for … cheap labor!!
That is awesome for a first project Brian. It is great to see a father/son project come along. Thanks for sharing and looking forward to more.
I don’t know if it’s been discussed or not, but the PTO had to be running for the 3 point to operate on the N series tractors. Cool project, I bet I’ve put a half million miles on one of those.
Awesome father/son project! Good job on the diagnosis and repair and getting it running. I think he got air under the left front tire!
I will be following this closely as I have a 44 2N and a 46 also.
Keep the articles coming. Great Job !
DTB
Way to go Dad. You have set the seed for you and him to have a life of projects together. What a great thing for both of ya. And I know it gives you a big smile also.
What happened to the little engine you guy’s were working on ? Did I miss the result’s ?
I can’t believe Tom’s that big now! They WILL grow up! And a great project.
Dan
Yeah, V-8 tractors are cool.
https://raleigh.craigslist.org/grd/d/chester-cub-184-tractor-v8/7237545105.html
Sure are Jack.
https://humboldt.craigslist.org/grd/d/garberville…v8/7238313012.html