


In part one of Project Isolation Restoration, we told you about the vintage engine that we scooped up to rebuild for fun during this downtime when there’ not much else to do. The mill, if you remember correctly is a 12hp, single cylinder Tecumseh engine that comes from the 1960s and was likely used to power a Sears garden tractor. The project is a way for me to have some time with my sons Tom and Jack as well as being able to teach them stuff about engines. They both tinker with their go-karts but this is the first time they will be actually rebuilding an engine.
The cast iron lump that we dragged home has looked good so far during early cursory inspection. It’s now time to go deeper into the belly of the beast and see exactly what we’re working with here.

If you have not seen the first installment, go ahead and hit the included link right there at the start of this story. If you have seen it, let’s move along!
So we had all the ancillary stuff torn off the engine and then it was time to continue tearing into this sucker. The flywheel was the next big thing to go. Because of the dust shield behind it, there was no way to get a puller behind the flywheel and tear it off so we went old school and laid a coupe of solid whacks on the end of the crank to break the taper. Three smacks with the hammer and it came off as smooth as butter.
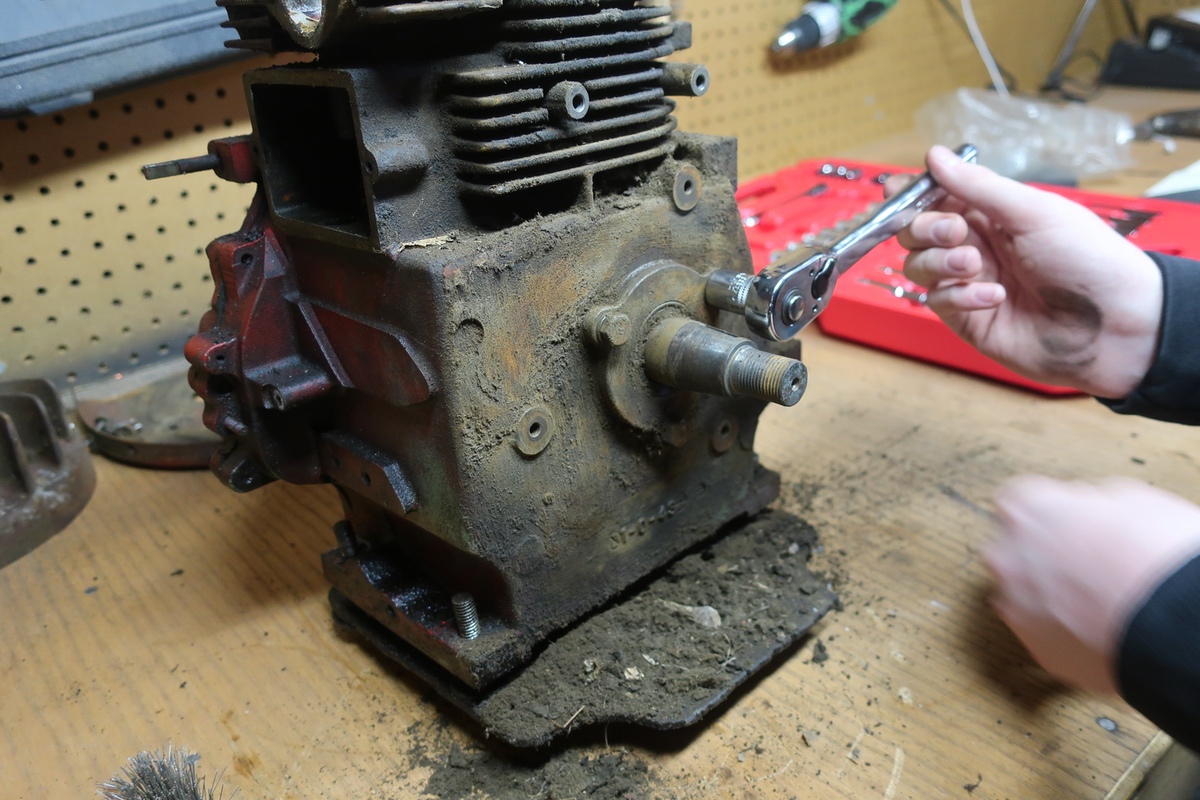
Behind the flywheel there was the dirt shield which, as one might imagine had accumulated a lot of garbage behind it. Taking that off and using the wire brush to knock most of the big stuff off, we proceeded by removing this oil seal from the outside of the block. We had little trouble with any fasteners on the block and none of them broke which is always a worry in this part of the world where rust and corrosion weekend and seize everything up.
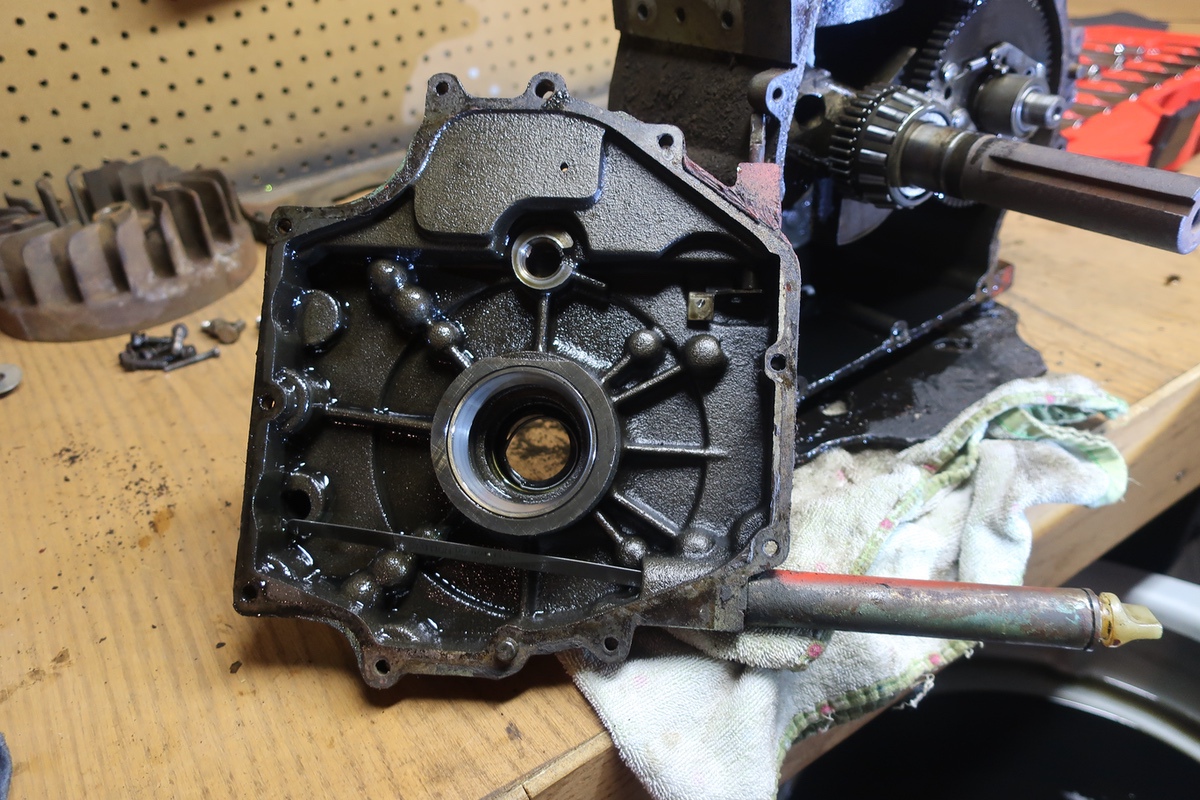
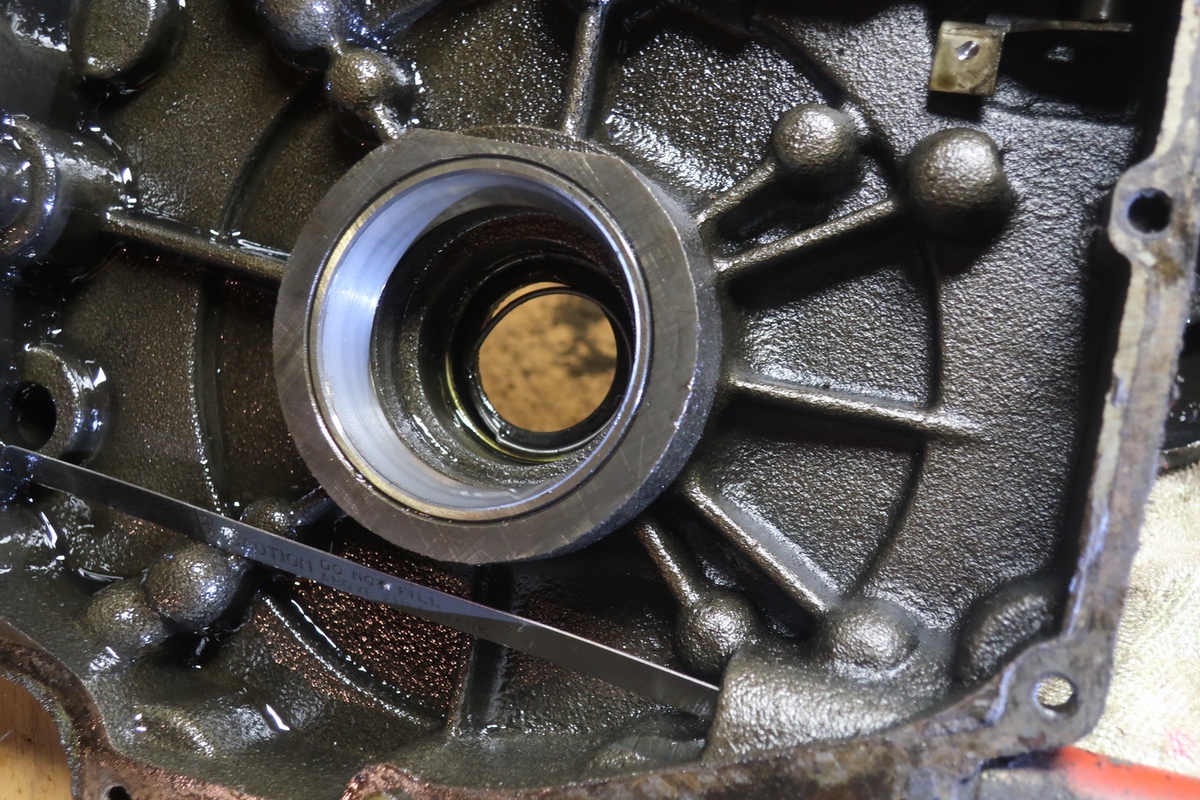
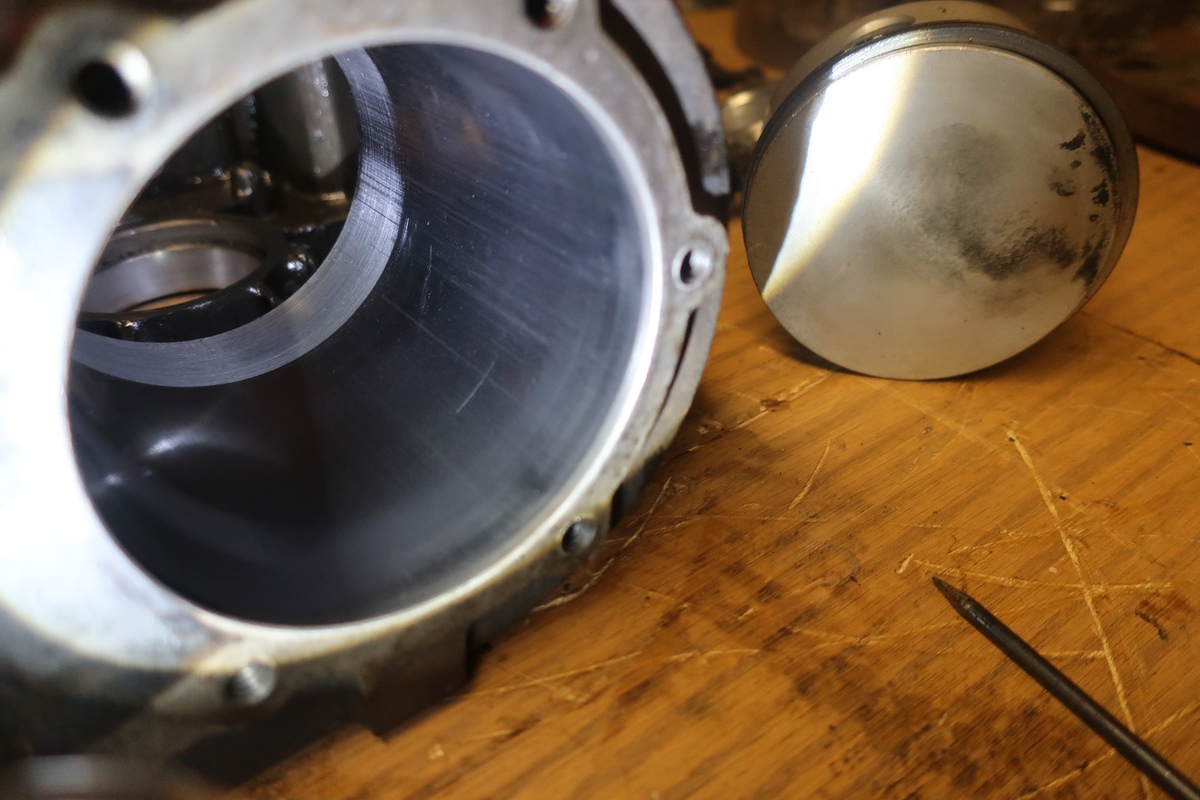
Next off was the large front cover of the engine. This whole thing is made out of cast iron so the junk us heavy duty! Pretty interesting that no gasket is used here and we’ll make darn sure to have this surface perfectly clean when we are reassembling as to not have any pesky leaks. The race for the tapered bearing on the cover side of the crank can be seen. It is in perfect condition. We’re going to replace the seal on the cover that sits behind it. The dispstick tube appears to be pressed into this cover. It’s a bulky piece.
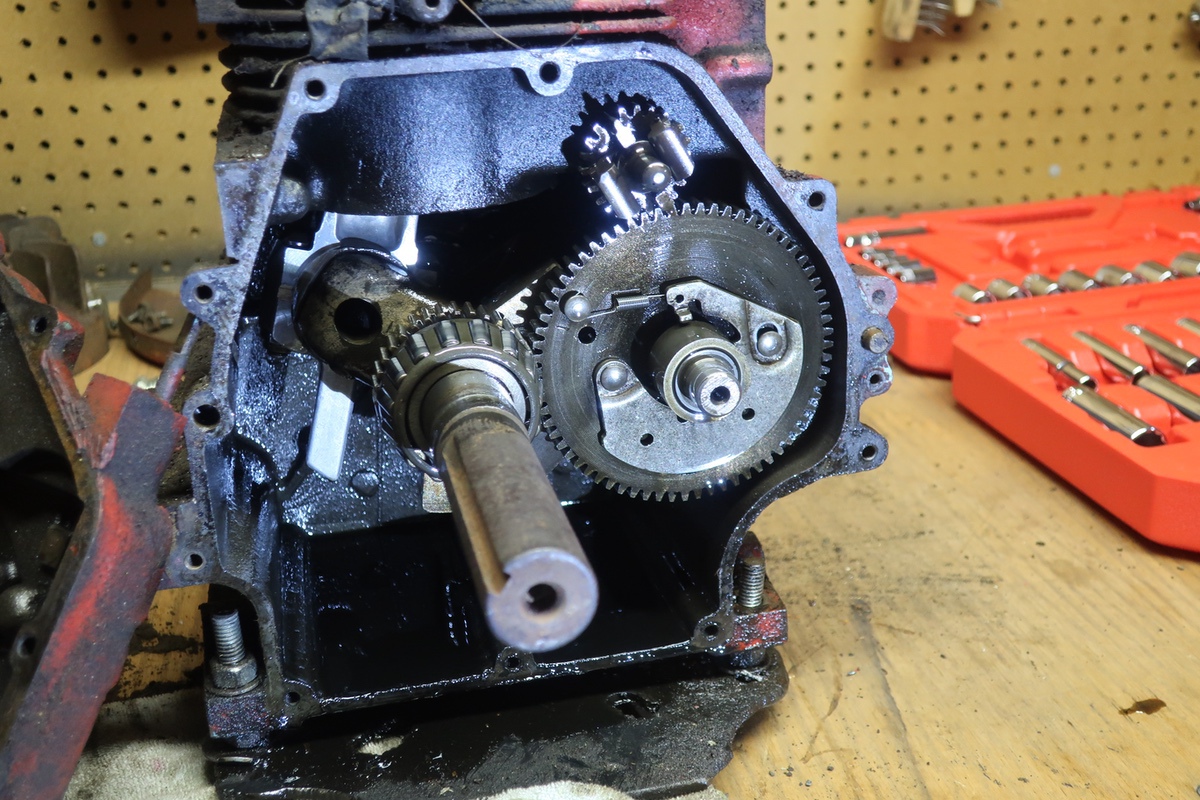

And here’s the guts of the patient! The large gear on the right is the camshaft, you can see one of the crank roller bearings, and you can actually see the thing that surprised us the most. The aluminum connecting rod! We know that most small engines have aluminum rods, but when you see this one, it’s a little different in a cool way.
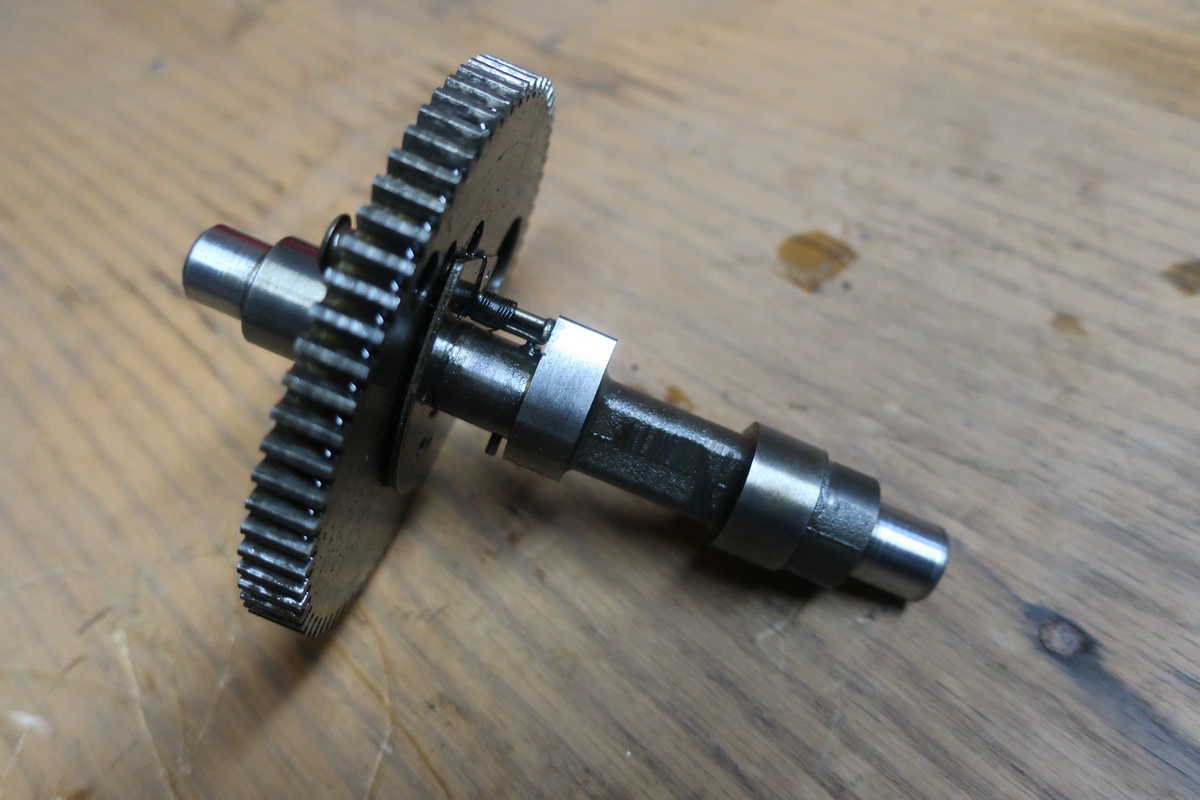


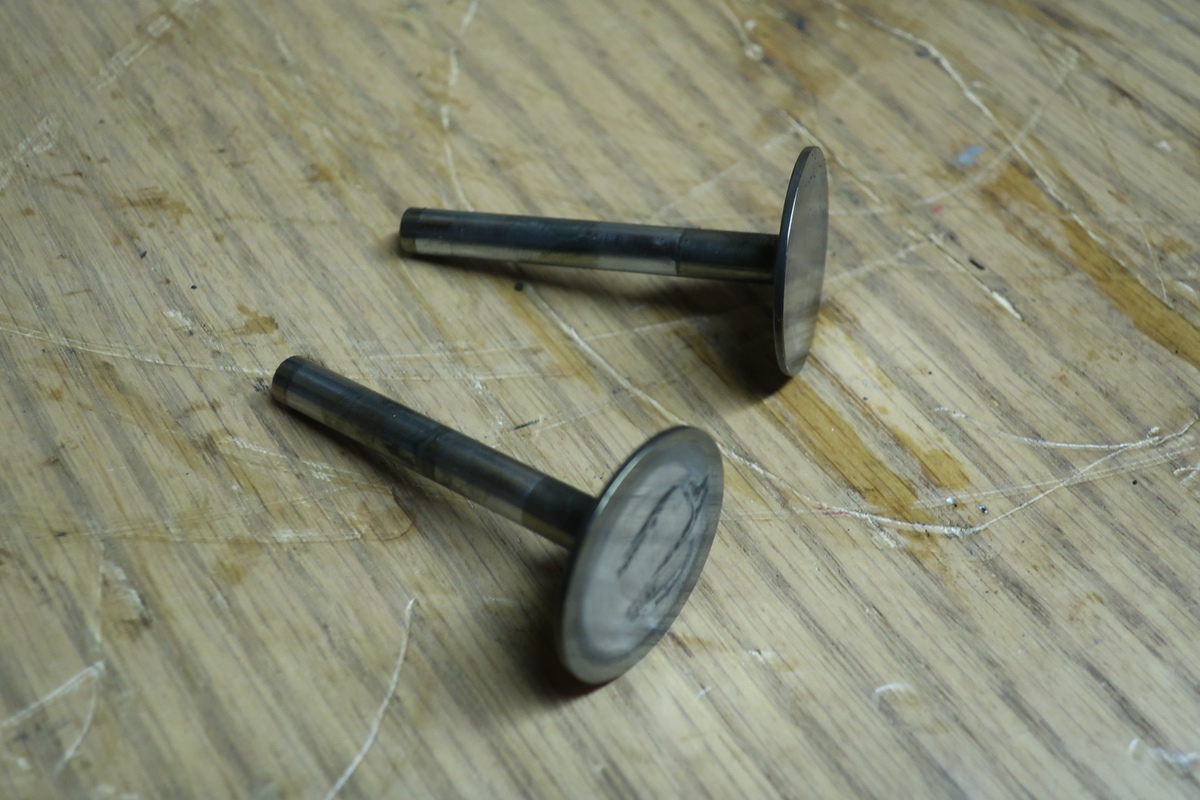
The camshaft and lifters are in great shape. We made sure to mark which lifter rides on which lobe to keep things as they have been for 50+ years. There’s basically no measurable wear on either of the cam lobes and the little discoloration on the lifter wiped off with some solvent. Yes, I have looked at performance camshafts or at least I have tried to. I’ve not found anything for this engine…yet.

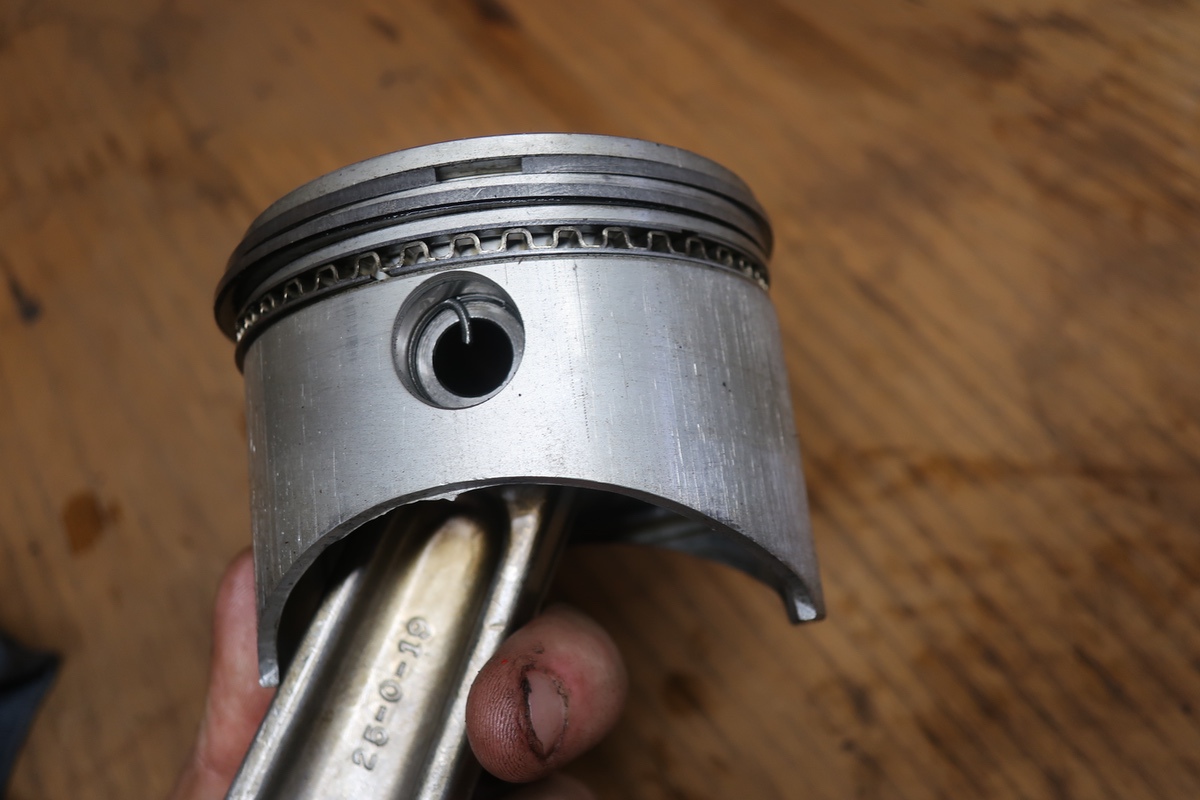

The neat thing about the rod that we had teased is that it was made by Alcoa! Upon further research we learned that Alcoa rods were used in the piston type of AC compressors that Chrysler cars had for years and many other small applications. Neat!
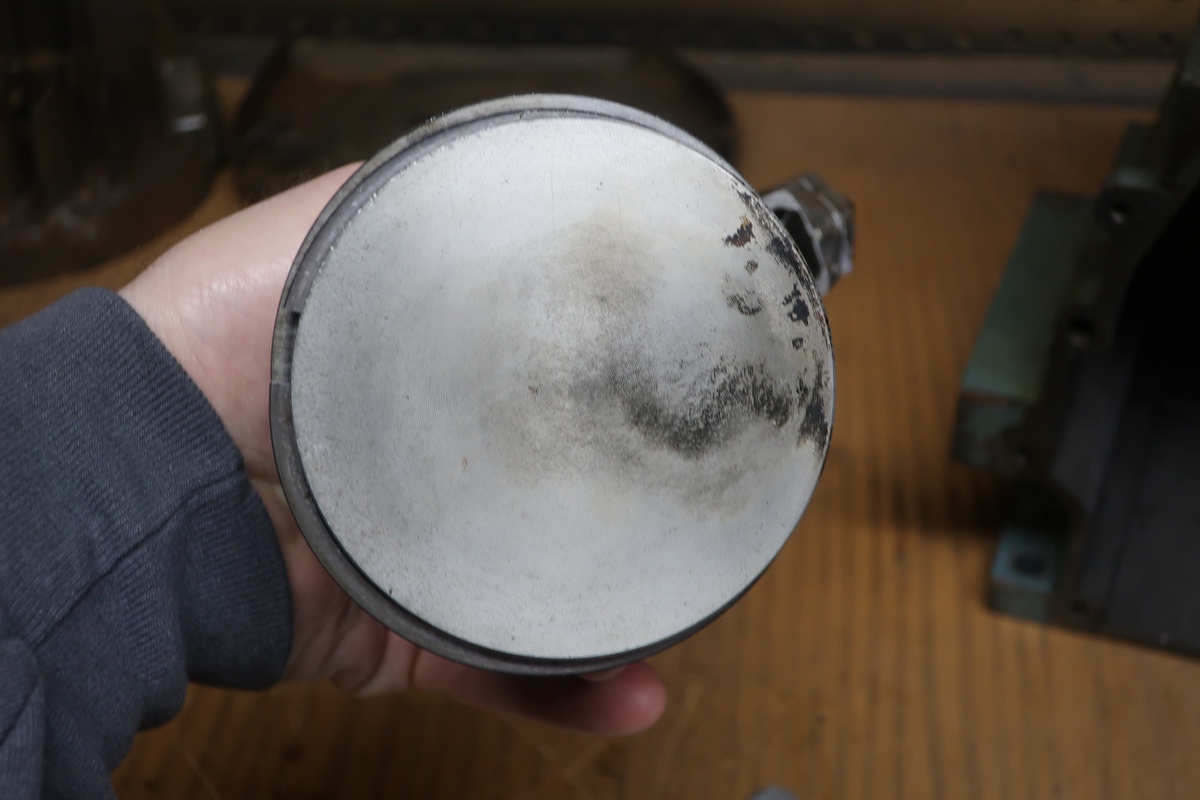
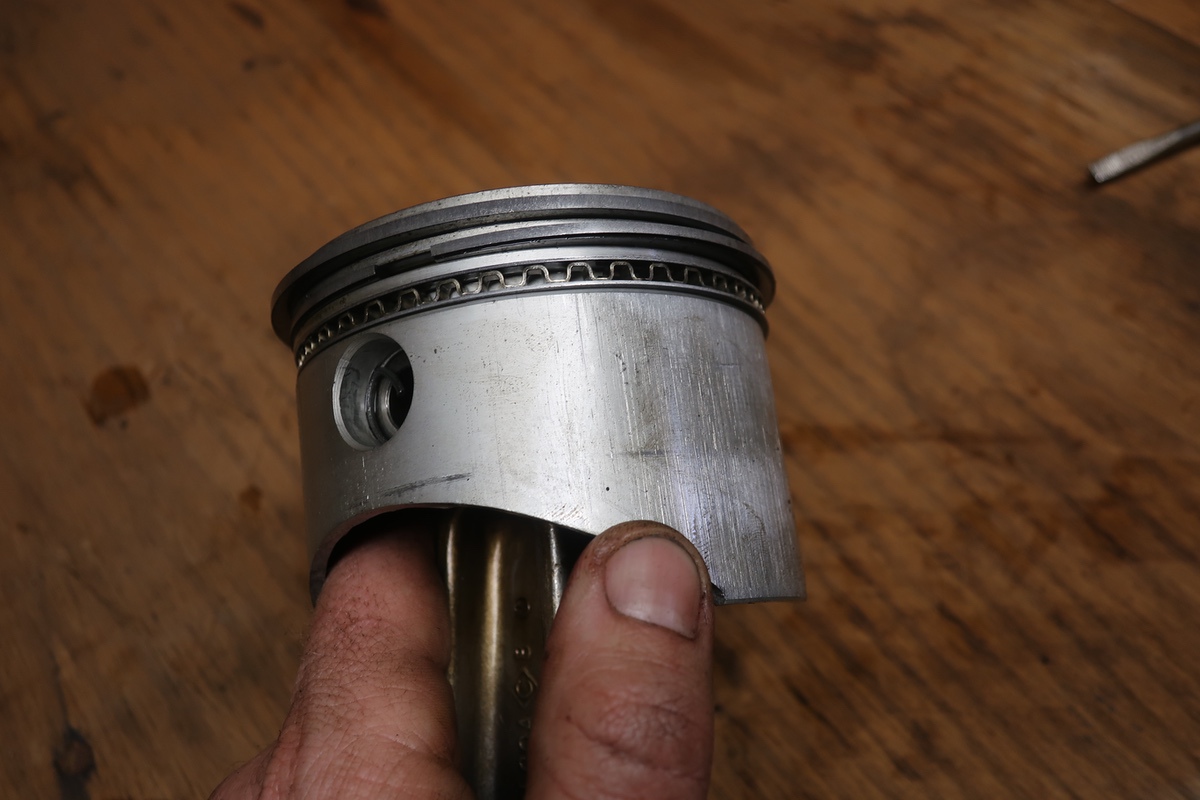
The piston and rod both appear to be original to the engine. There’s no numbers on the piston and there’s nothing to indicate that it is an oversized bore slug. It is very, clean, which is interesting. The small end shows little to no wear and there’s super light scuffing on the skirt, perhaps an indication that this thing got run hard and hot a few times over the years. We’re going to check the oil clearance with some plasti-gauge soon to make sure that the rod is good. We’re going to reuse the piston but we’ll put fresh rings on it.
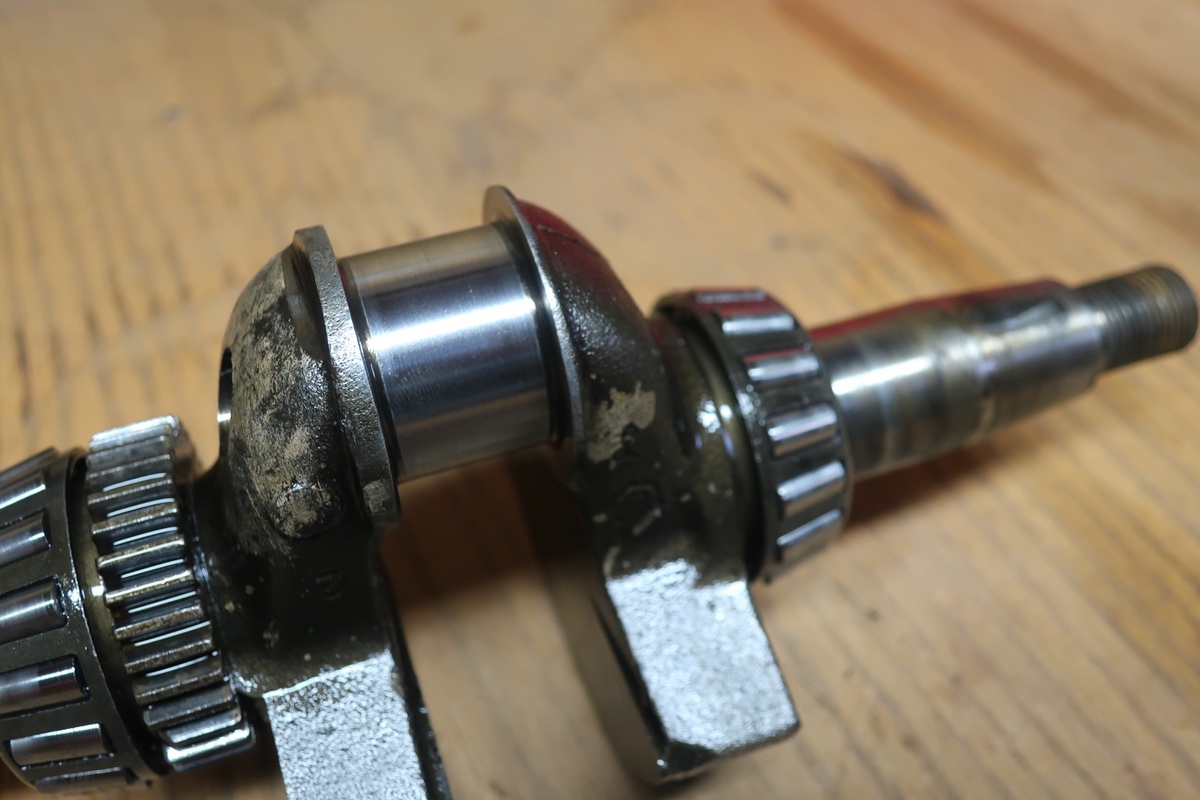
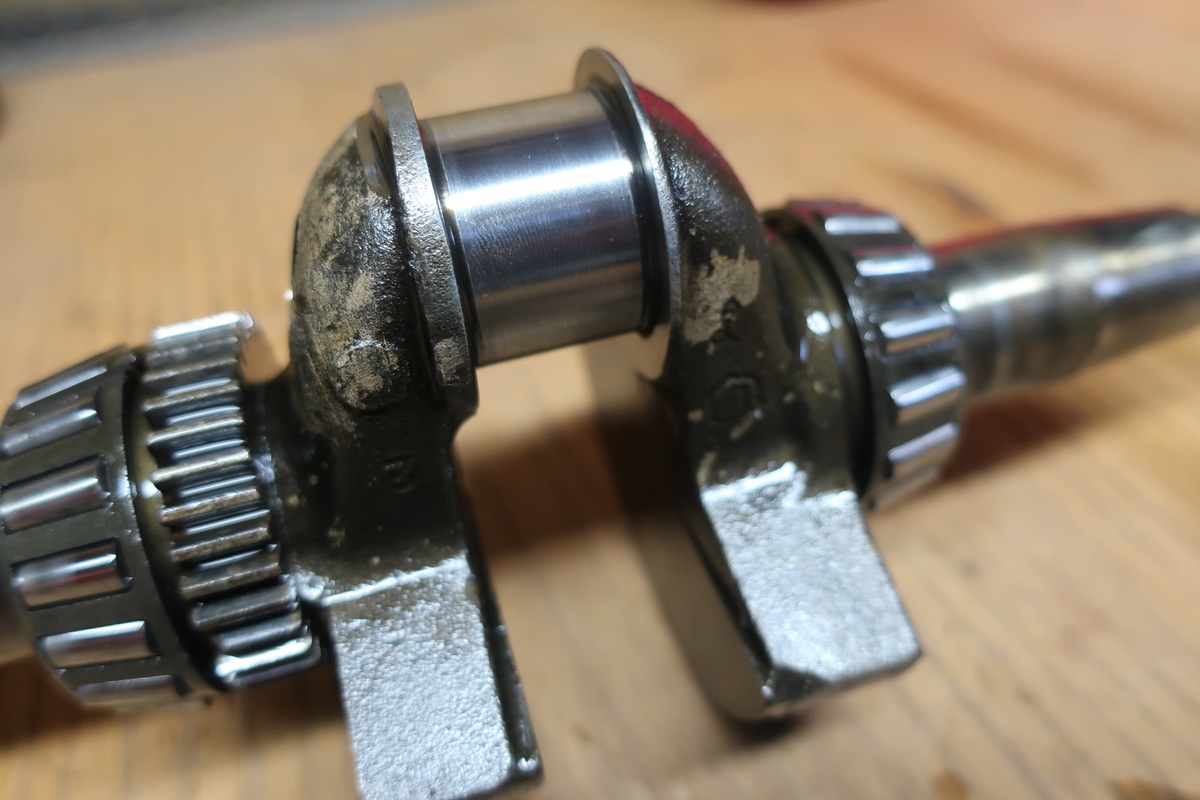
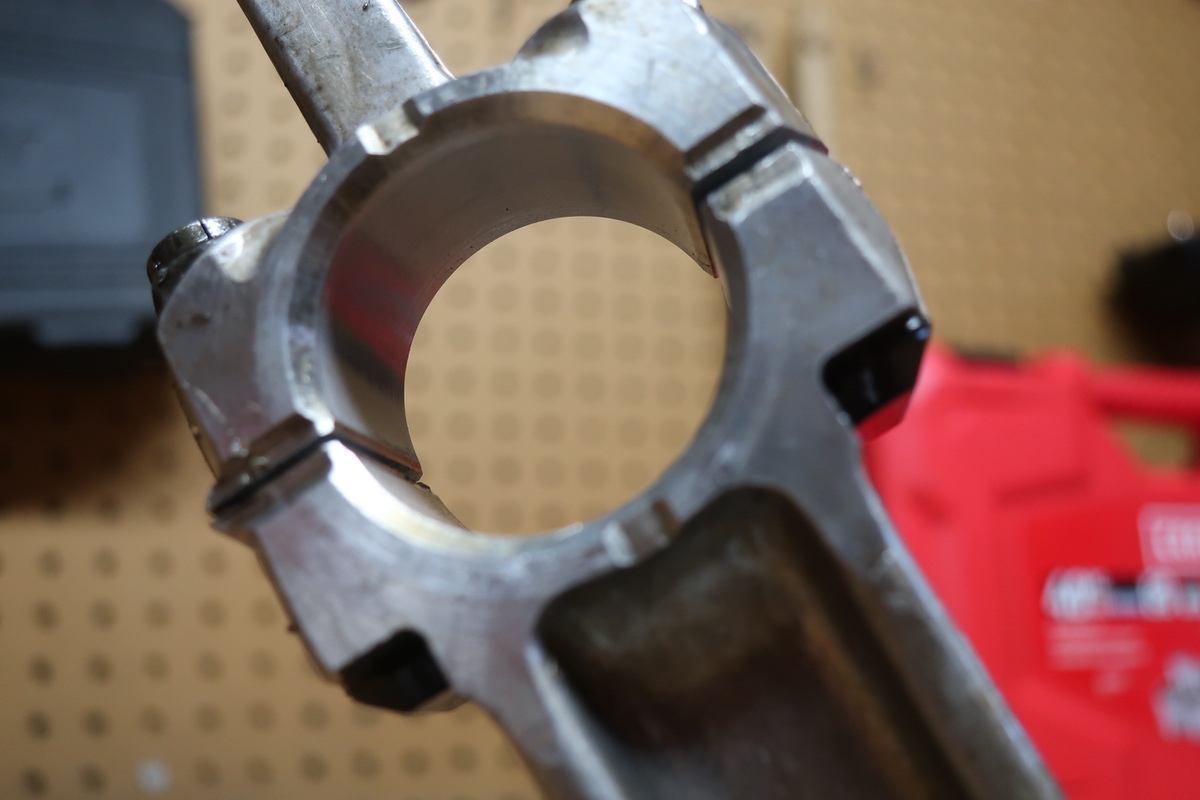
The crank looks awesome. The roller bearings are in great shape and the journal is freaking perfect. Look at how beautiful that thing is! After 50+ years of use in a kind of harsh environment, it looks like it was kicked out of the factory yesterday. The gear is what turns the camshaft, for those wondering.


The cylinder has light scuffing to match the piston, but there is no ridge and none of the scuffing is deep enough to catch a fingernail on. A bore gauge showed us that it is true and round and it maintains its diameter. With no ridge and our stringent budgetary restraints along with the fact that this is an old 12hp engine and not a race motor, we think we’re gonna be just fine with a touch from the three stone hone and plugging the piston back in there.
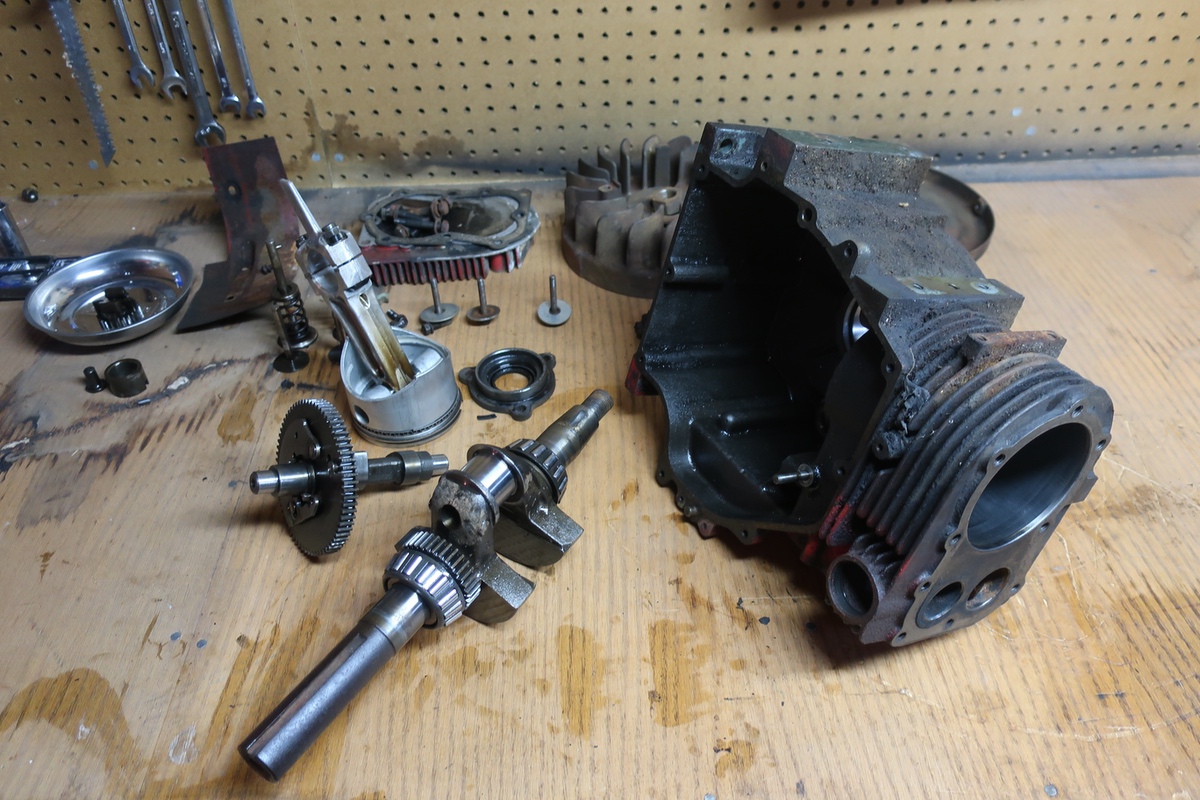
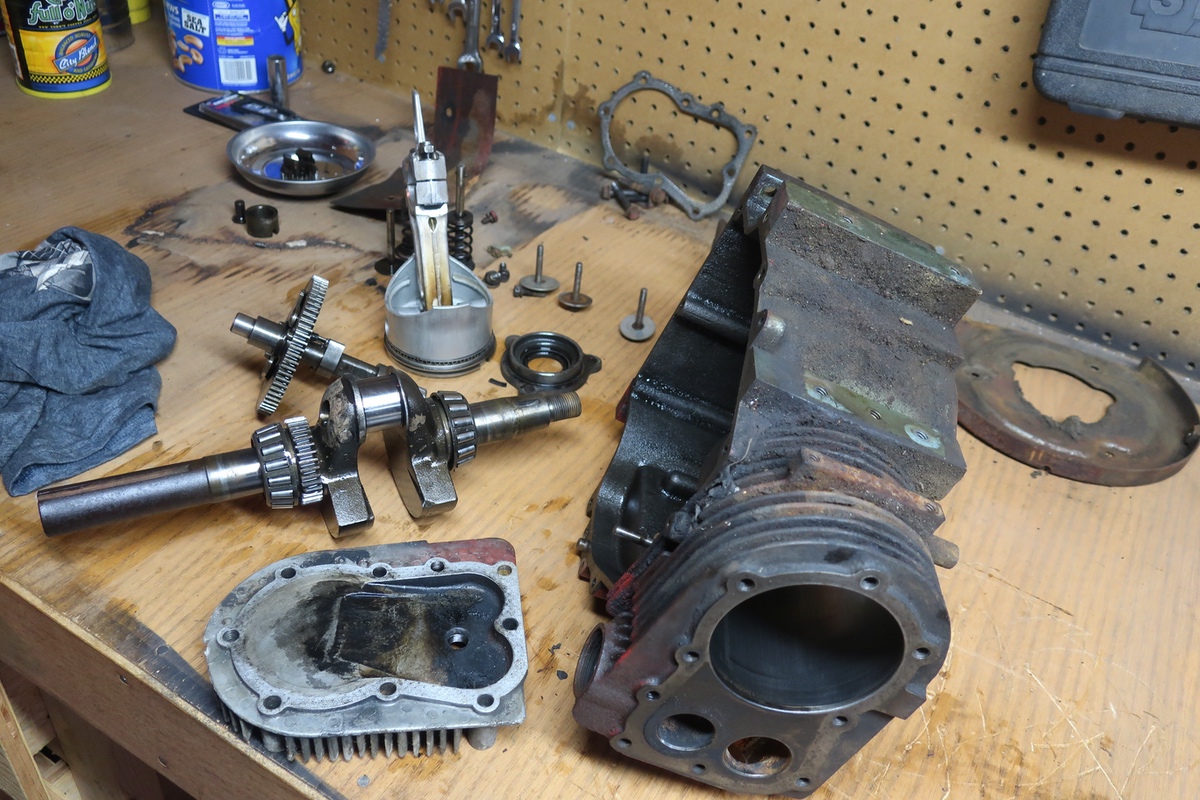

So there’s the guts and the block all laid out on our work bench. It was fun tearing this engine down and it will be even more fun to put it back together. Now, we were not going to work with that nasty, gross block like that. Also, we wanted to know if there were any bad surprises lurking under the grim and crud both on the outside of the block and some other areas that could use a deep clean. Off to Custom Auto Machine in Weymouth, Massachusetts to get that cleaning done. Owner Dana Hard maintained his social distance when I showed up with this gem.
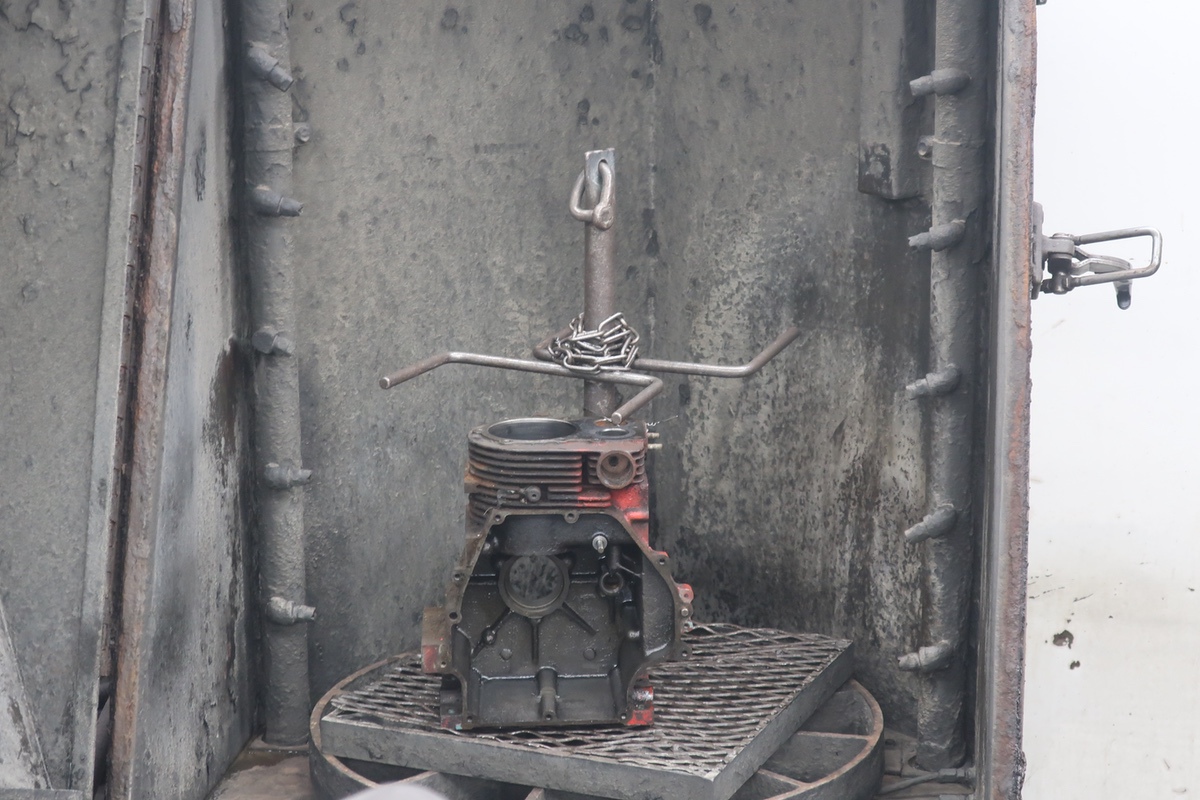
The block went into the tank and…..you’ll have to wait and see what it looked like after it came out. What did we find? You’ll see that in the next installment. We’ll take a look at what you can learn when you get your stuff deep cleansed and there are a couple of discoveries here. Big thanks to Dana Hard, Jon Wall, and Custom Auto Machine for giving this thing the scrub-a-dub-dub!


Are you certain there was no gasket on the side cover? They can be as thin as onion skin, typically a gasket set comes with several as they are used to adjust end play on the crank. I would have put the nut back on the crank before hammering on it so it will help restore any threads messed up by the hammer. Just my two cents.
Awesome project for you and your sons. Those old Kohlers were built like a brick outhouse. As long as they have enuff 30w in the crankcase, and air moving across the fins, they would go forever.
And what is the purpose of the “fin” on the bottom of that stout aluminum rod? An oil aerator, splash lube to the cam, or ?
Yeah, that is the dipper/slinger. Splash lubing the cam.