


(Words and photos by Scott Parker) – As anyone that has perused a G-body or Pro-Touring forum can tell you, there is an easy and established way to transplant a Tremec T56 into a G-body. In fact, just before we completed this install [on my G Machine project] even more conversion parts have been released. Originally we tried to reinvent the wheel and guess what? It came out square. Well our loss is your gain because we are going to show you not only how to do this install, but why.
Now to refresh your memory, the project in question is a certain 1983 Buick Regal T-type, dubbed “G Machine,” that I have owned for almost six years. It had been rotting in a field for some time, retired after racking up some 200,000 miles. I reimbursed the former owner for the gas, but he basically gave me the car with the promise of doing something cool with it. Well, I am a man of my word. Come hell or high water, I’ve been doing my best to make that happen with the help of Dave Rushen and the students of the Burlington County Institute of Technology (BCIT) in Medford, New Jersey. G Machine currently has a Detroit Speed suspension kit front and rear, Chevrolet Performance LS3 E-Rod, Grip Equipped 18-inch wheels, Falken tires, Wilwood brakes, and an 8.8-inch rearend conversion that we covered a while back.
In our last installment, AntiVenom built a T56 out of two badly broken units and a handful of spare parts. Step One was to install a clutch and bellhousing, then bolt that sucker up to the LS3. American Powertrain hooked us up with everything we needed including a stock replacement bellhousing and a Street Slayer single-disc clutch. Given our 424 lb-ft of torque, the Street Slayer gives a little bit of headroom to account for track abuse. American Powertrain says zero break-in is required and the high-grade Ceramix pads provide the highest co-efficient of drag available. Unlike the silhouette of your car, drag is actually a good thing since the clutch works on friction (just like brake pads). It has a sprung hub and provides a sharp bite, though it is still plenty streetable. The patriotic crew from Kentucky also sent us a Science Friction billet steel 168-tooth flywheel for the 6-bolt crankshaft as well as a slave cylinder. To top it all off, we also received a White Lightning billet shifter and 10-inch curved handle.
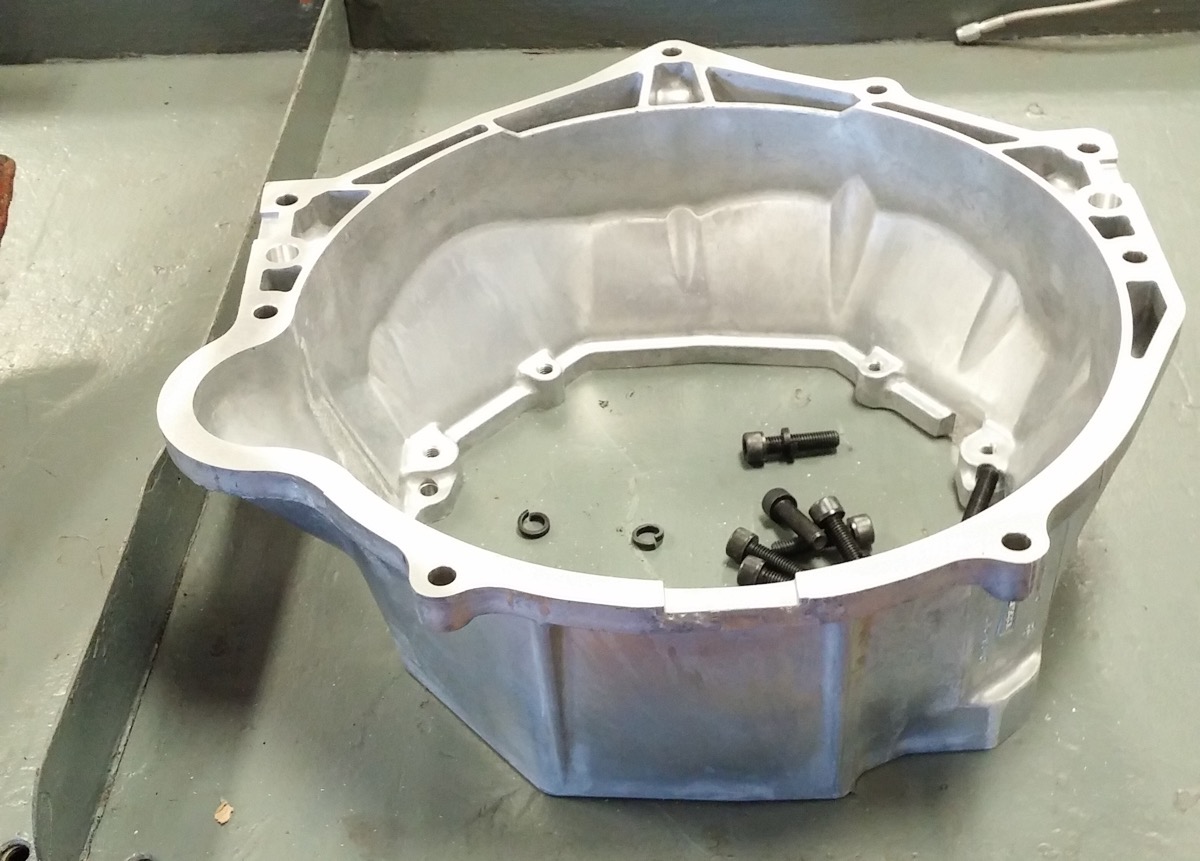
American Powertrain supplied us with a stock replacement T56 bellhousing to mate to the LS3. The stock units fit perfectly and are easy to install. If you have a high-powered combo or just see a lot of track time, an SFI approved version might be in order.
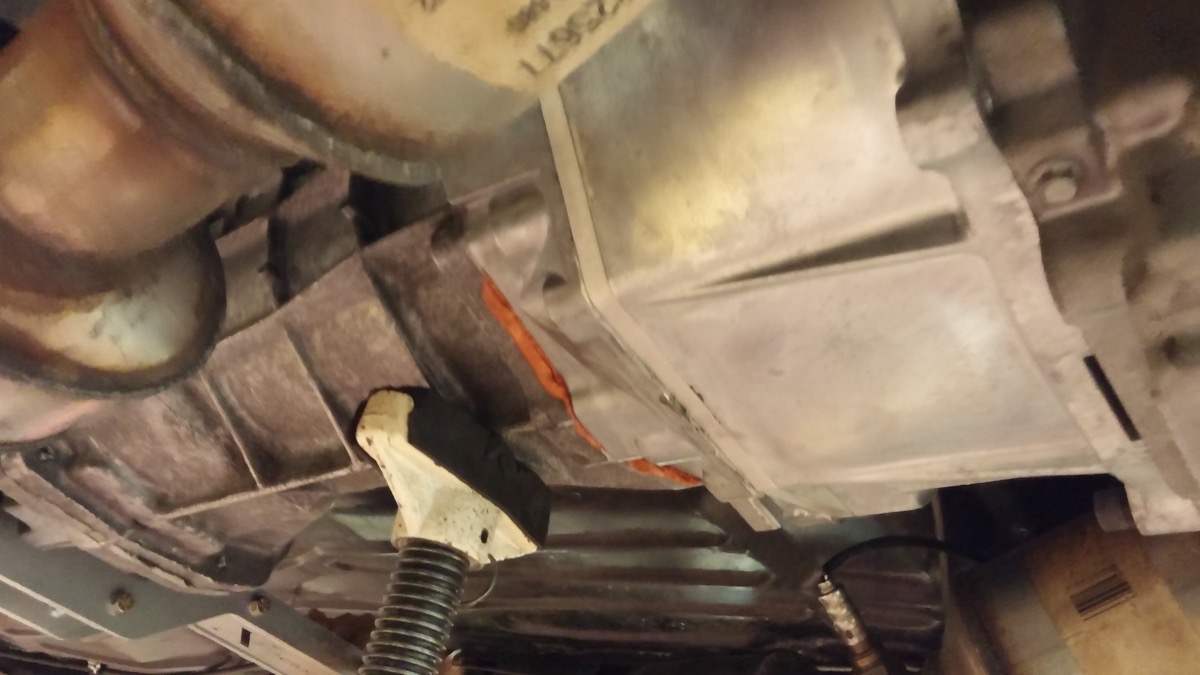
The two most difficult parts of installing a T56 into a G-body are the crossmember and the pedal/master cylinder. We went through several universal aftermarket T56 crossmembers to no avail because the frame rails are so far apart on the G-body. Of course the minute we finished modifying the stock crossmember, Holley came out with a pretty badass one that will mount literally any popular GM transmission. The ’83 Regal T-type came with a 200-4R behind its hot-air, turbo-6 that is similar in length to a 4L60/700R4, but does not share the same mount as the 4L60/700R4, 4L80, TH350, or TH400 let alone the T56 (or even a T5). To remedy this Dave Rushen and the BCIT crew fabricated a new mount and welded it to the crossmember. As for the pedal and clutch hydraulics, we had hoped to use either the clutch pedal from a Malibu along with an adjustable master cylinder from American Powertrain. Since I have had hydraulic issues in the past with factory T56 equipped cars, using some of the other aftermarket solutions out there with a stock master cylinder would be a last resort. Unfortunately what we found out was that even with a remote reservoir the Malibu pedal just wouldn’t work. It was not possible to mount the master cylinder high enough for a proper pivot point on the clutch pedal. The rod was at the halfway point of the pedal, creating no mechanical leverage to the master cylinder and making it difficult to push on the pedal. The answer was to call Bernie Duplan from SickSpeedMonte.com, who pioneered this swap over 10 years ago.
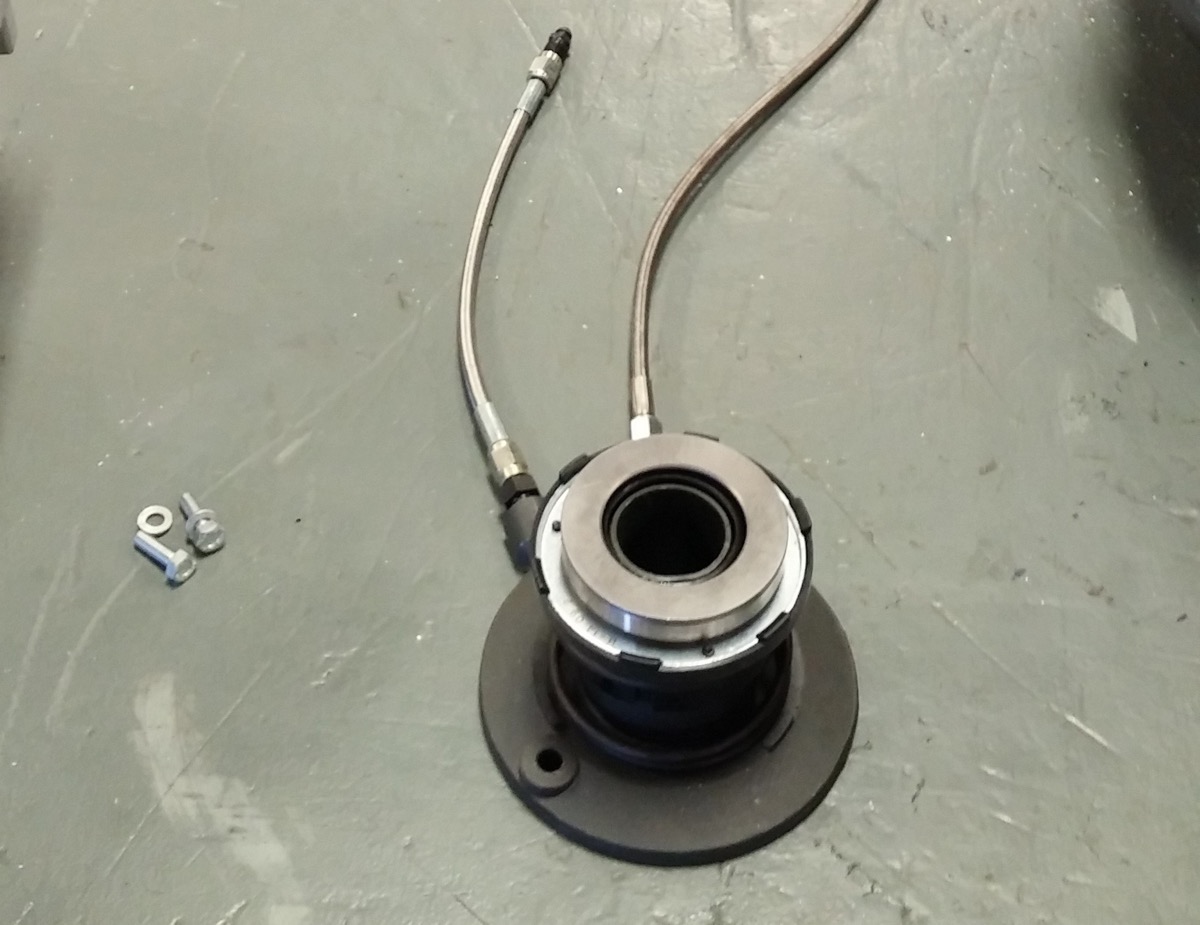
The slave cylinder also came from American Powertrain, and a necessary component of any T56 install.

The American Powertrain Street Slayer single-disc clutch is rated for 545-755 ft-lbs of torque. The Ceramix pads are a bit more aggressive than the Super Street’s Kevlar/Organic blend, but it is added insurance for all the track time this car will see. Also pictured is the Science Friction billet steel 168-tooth flywheel. Note: the LS3 has a standard 6-bolt crankshaft, but some engines like the LSA, LS9 and LSX crate engines have a different bolt pattern.
The Sick Speed Monte setup relocates the master cylinder on a bracket low to the floor, with the pushrod angling down from the top of the pedal assembly. It keeps the pushrod nice and close to the pivot point. After speaking with a few customers, it seemed like this was the way to go – even if it meant going to a stock master cylinder. But thankfully when I called Bernie, he was just about to release a new version of the pedal to work with a Tilton 75-Series master cylinder. Despite G Machine’s future in racing and its aftermarket clutch, I had every confidence that the Tilton master could do the job. The setup is sold as a complete kit through SickSpeedMonte.com with the clutch pedal, mounting bracket, master cylinder, pivot bushings, pushrod assembly, Grade 8 hardware, and instructions.
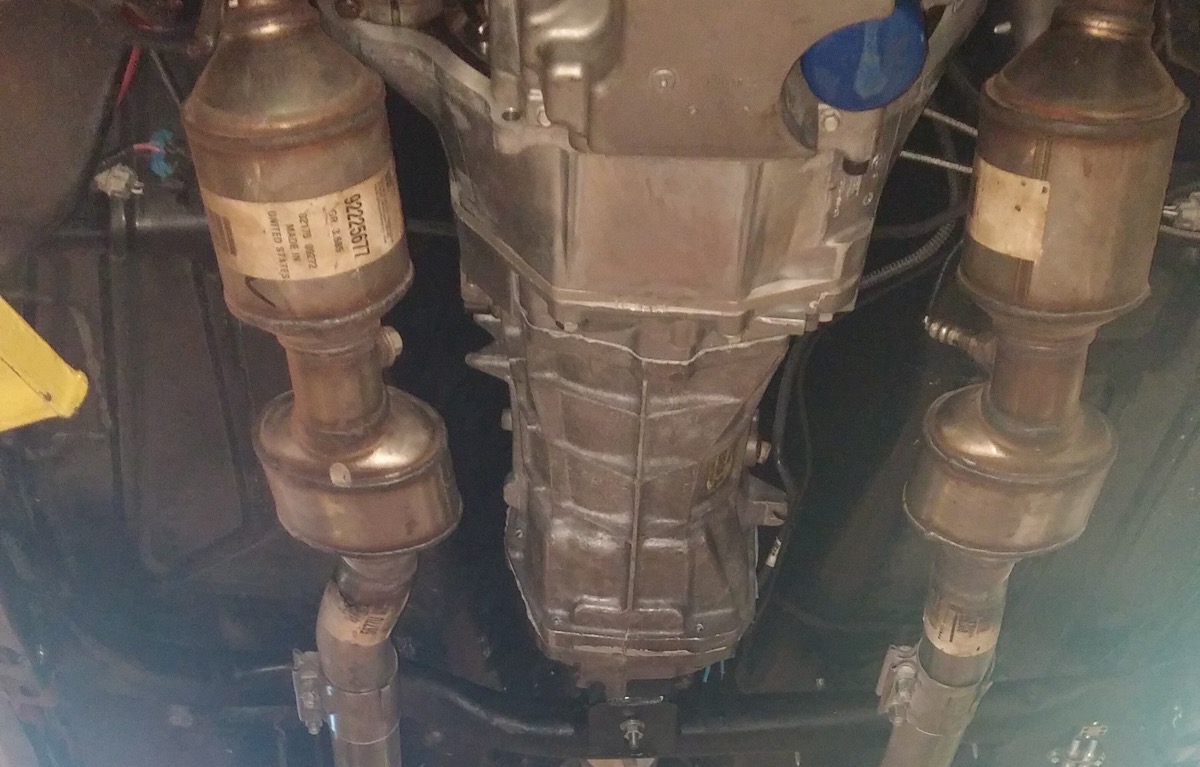
The final piece of the puzzle was the driveshaft. As you may recall from the 8.8-inch rearend install, the build required a unique driveshaft. We needed the yoke for a 27-spline GM transmission output shaft, along with the flat U-joint flange to mate to a Fox-body 8.8-inch pinion. The driveshaft itself had to be aluminum, since this was a fairly high-winding six-speed car. Luckily The Driveshaft Shop came through with a nice 3.5-inch driveshaft made from 1330 aluminum, not the extruded tube that owner Frank Rehak says resembles a Play-Doh factory. The standard 3.5-inch version will handle 600hp (plenty for the G Machine’s 430hp LS3), but you can upgrade the flange to a billet 1350 pinion yoke that is capable of 900hp. The G Machine required a length of 52.75-inches from the edge of the trans housing to the pinion flange, and (as always) The Driveshaft Shop was able to turn around our order pretty quickly and it fit flawlessly.
The crew at BCIT just finished adding some finishing touches to the G Machine as I await delivery in the sunshine state. A Lokar shifter boot will cover the hole that was cut in the new floorpan for the shifter, and a Tremec adapter was used for the speedometer cable that goes to the Dakota Digital gauges. I mention these last few things because, while they are not central to the conversion, they are certainly something to keep in mind if you plan on doing this at home. Read on to see this install in pictorial form, and stay tuned as we wrap up the build and work the bugs out. Hit us up in the comments section below with any questions!

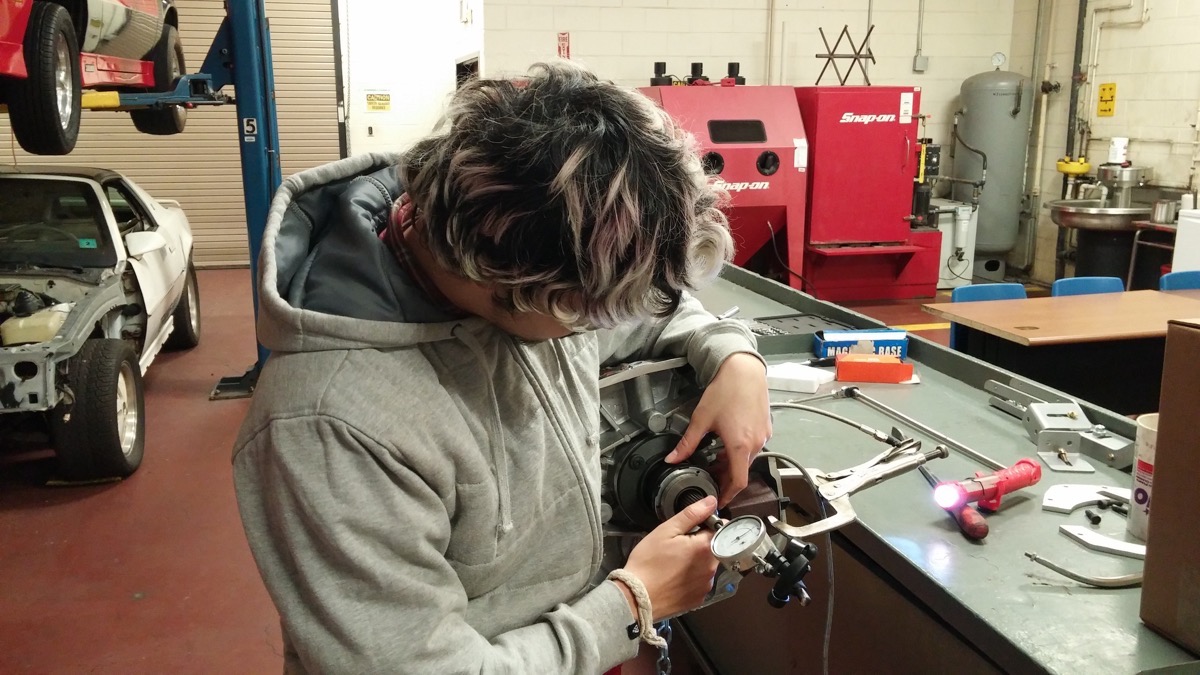
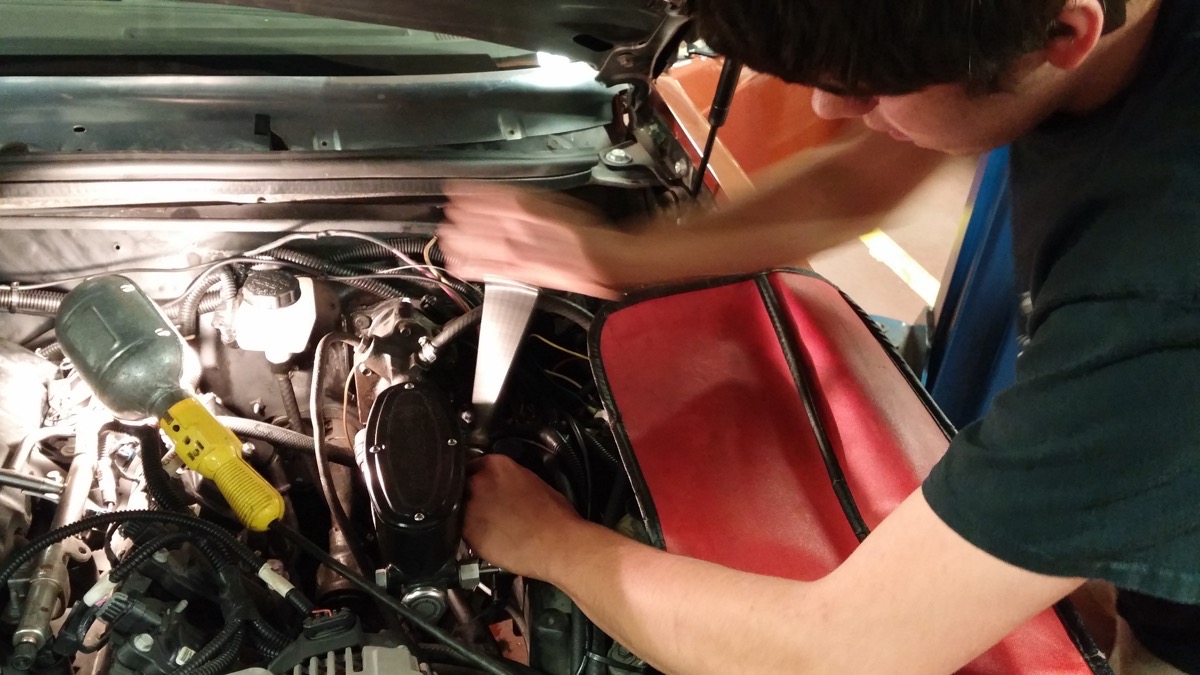
After bolting up the flywheel, the students at BCIT used the supplied clutch alignment tool when installing the clutch and pressure plate. The bellhousing went on prior to the transmission.
It is always a good idea to check the clearances. The slave cylinder can experience premature wear if it can’t collapse and extend properly.
A jack is used to hold the T56 in place temporarily while it is bolted to the bellhousing and the modifications are done to the stock crossmember.
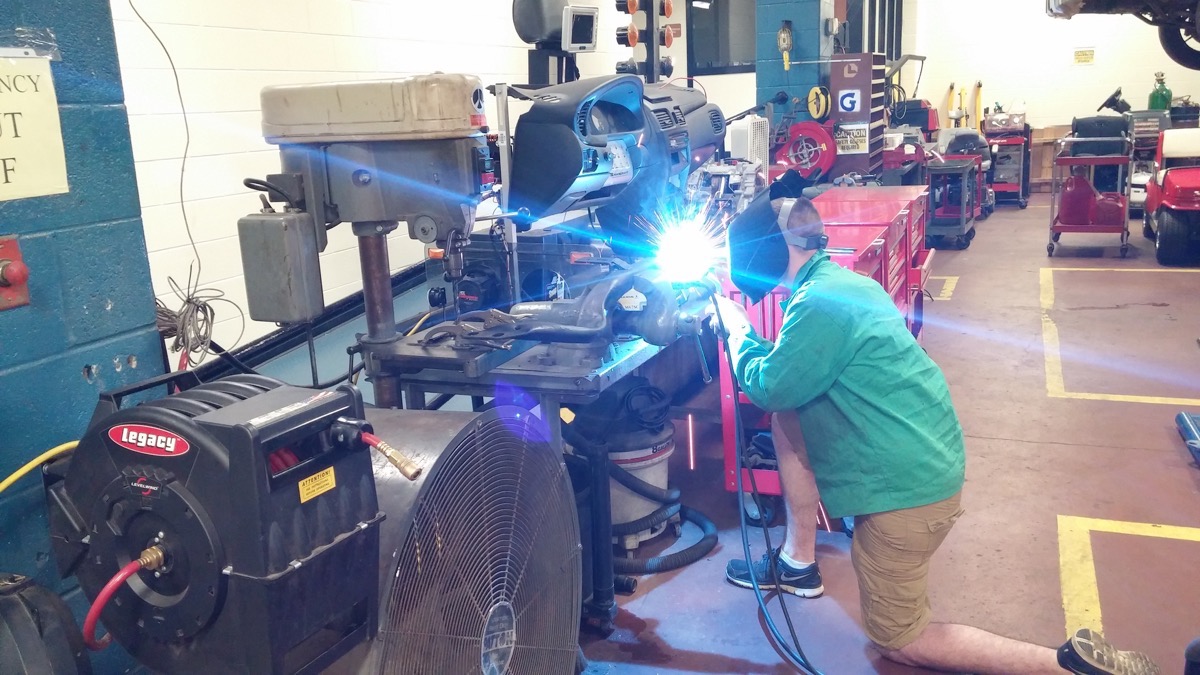
A new mount was fabricated and welded to the stock crossmember. It later had to be notched for the exhaust system as well.
To complete the install, a polyurethane trans mount (for a T56) was purchased from a local parts store and it was bolted up with the modified crossmember.
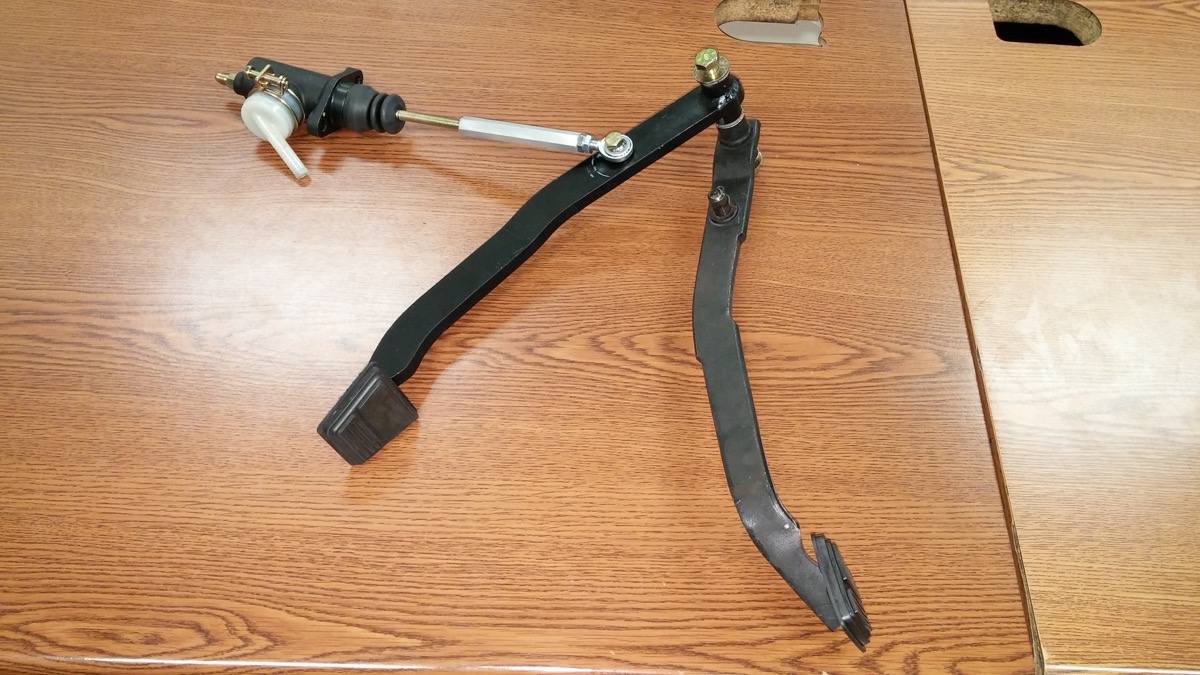
The new Sick Speed Monte T56 conversion clutch pedal accommodates a Tilton master cylinder, and provides the proper leverage via the pushrod geometry.
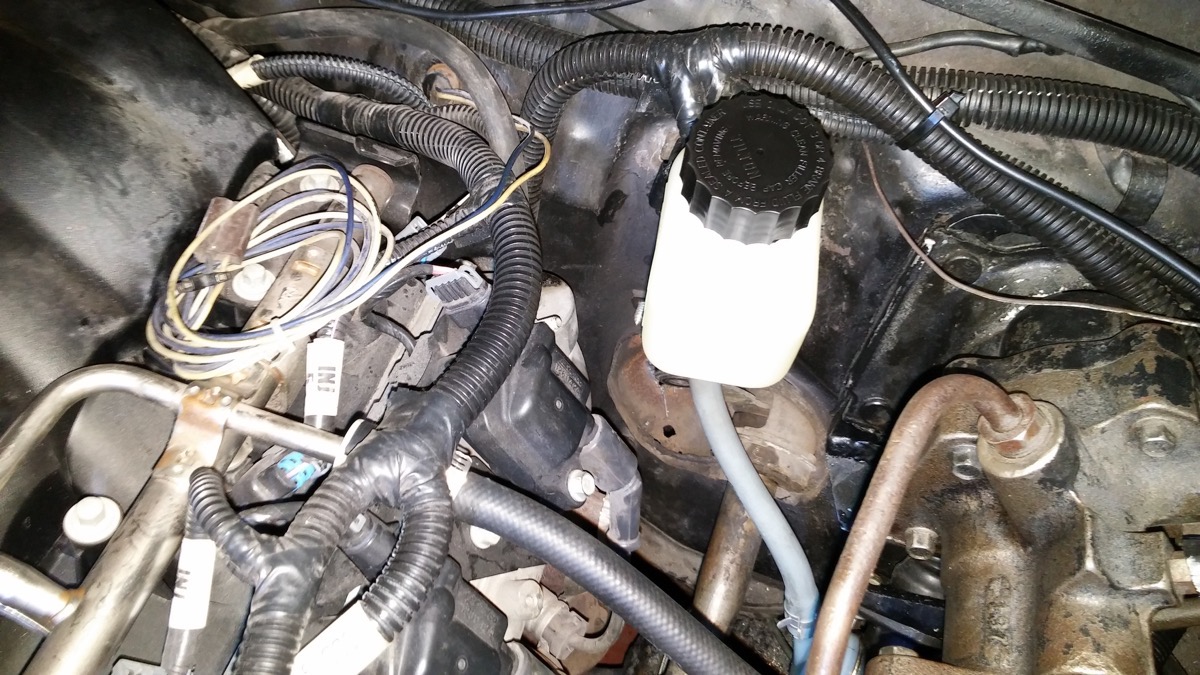
A remote reservoir for the clutch is essential to finding adequate room on the firewall.
To install the clutch master cylinder, the Hydroboost actually needs to come partially off. The students later took it all the way off to rebuild it.
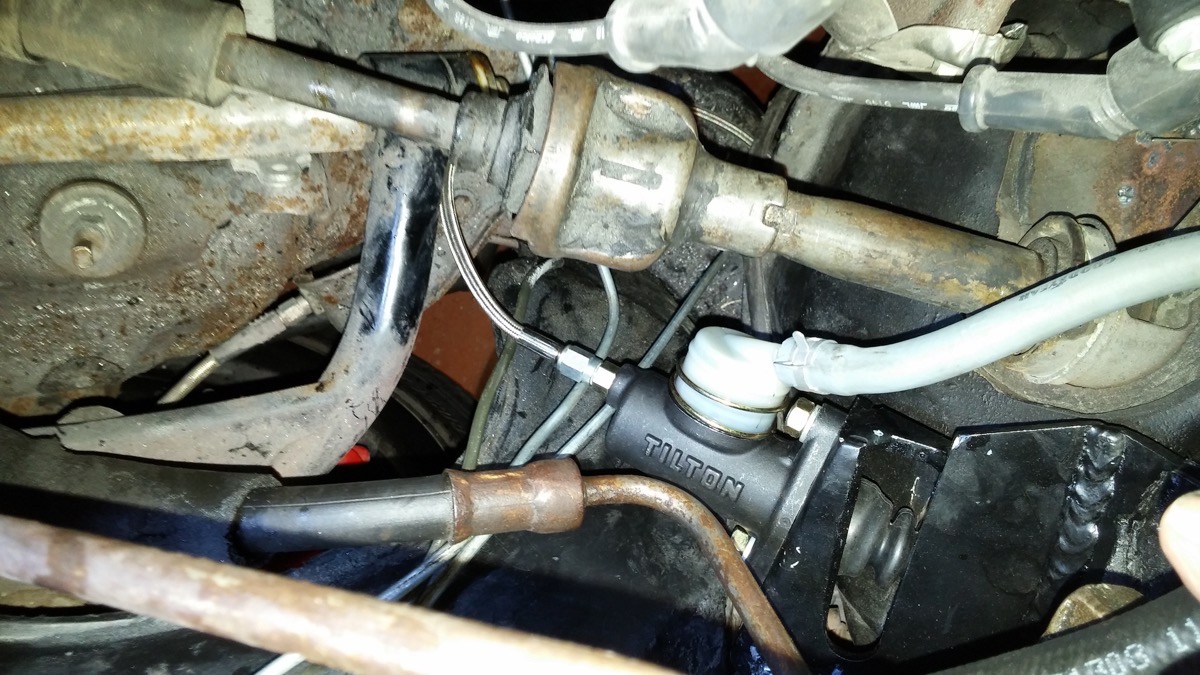
Here you can see the Tilton master cylinder fully installed to the pushrod on the other side.
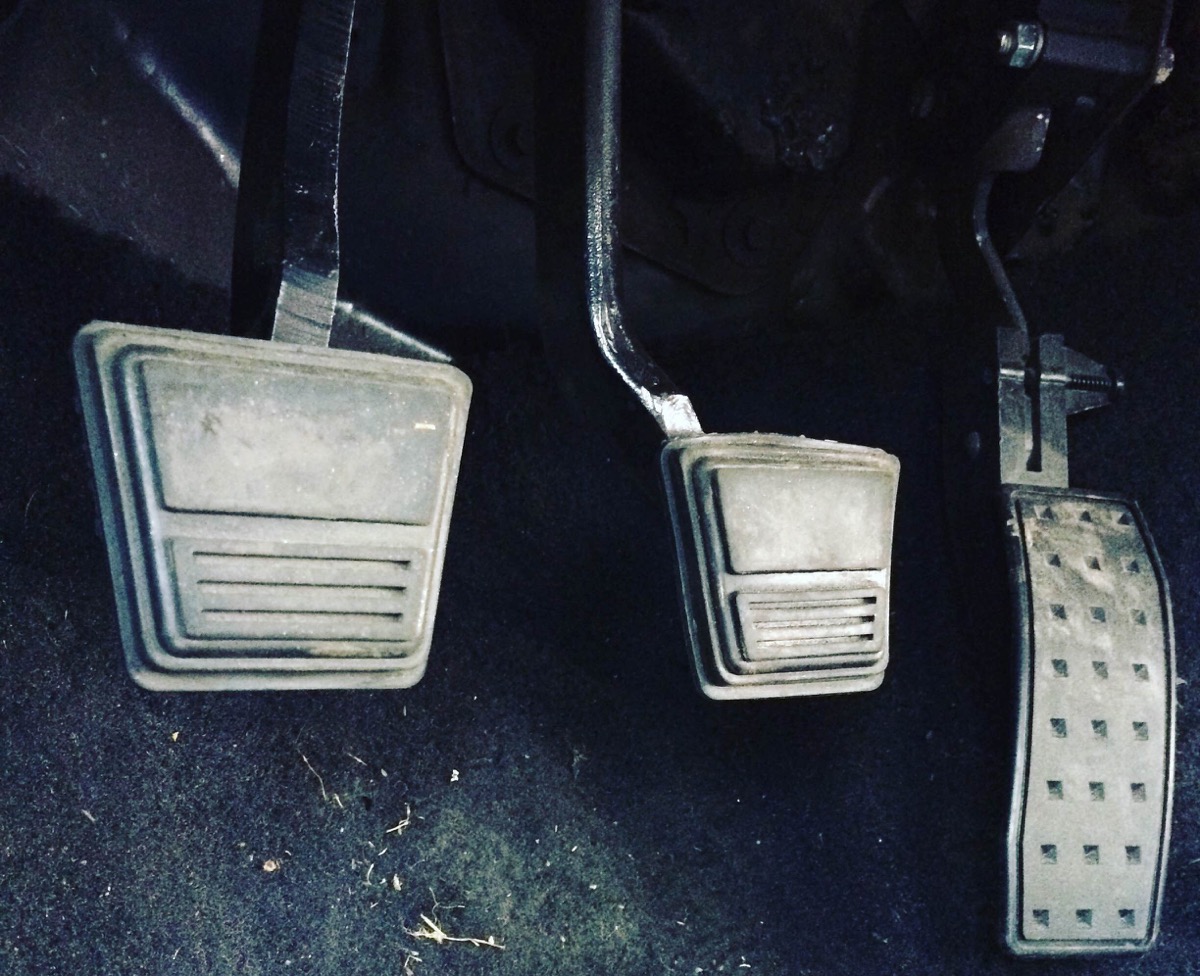
Even with the retrofitted electronic gas pedal, the pedal placement is perfect. It is extremely easy to heel-toe and the pedal effort is like an OEM car. Having the proper geometry makes all the difference.

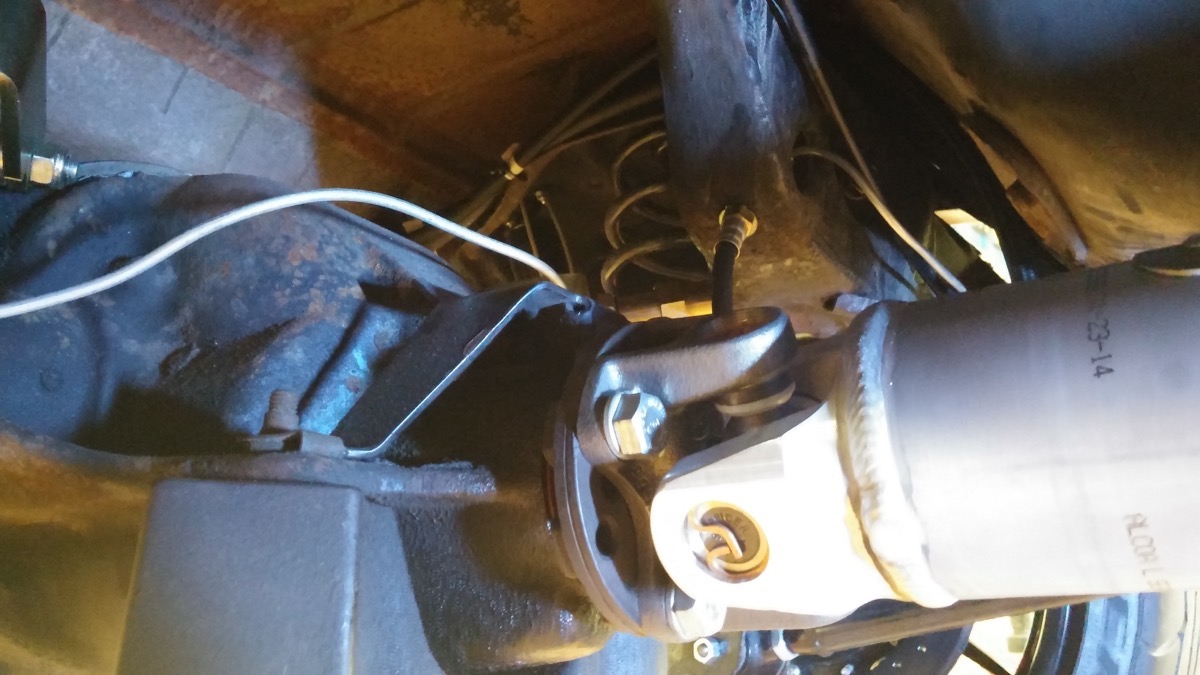
In case you forgot, G Machine has an 8.8-inch Ford rearend, which means it has this funny pinion flange. This is something to take note of, as well as the alignment of these holes, which vary per year.
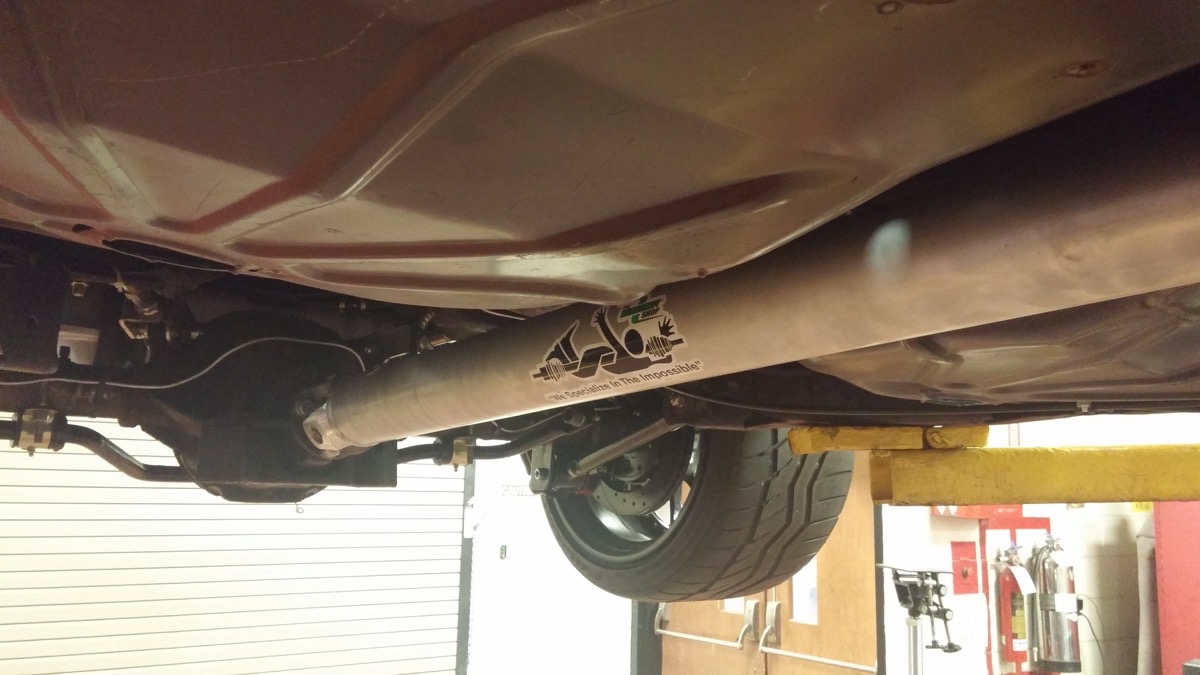
The Driveshaft Shop made us a custom 3.5-inch aluminum driveshaft that bolted right up to it.
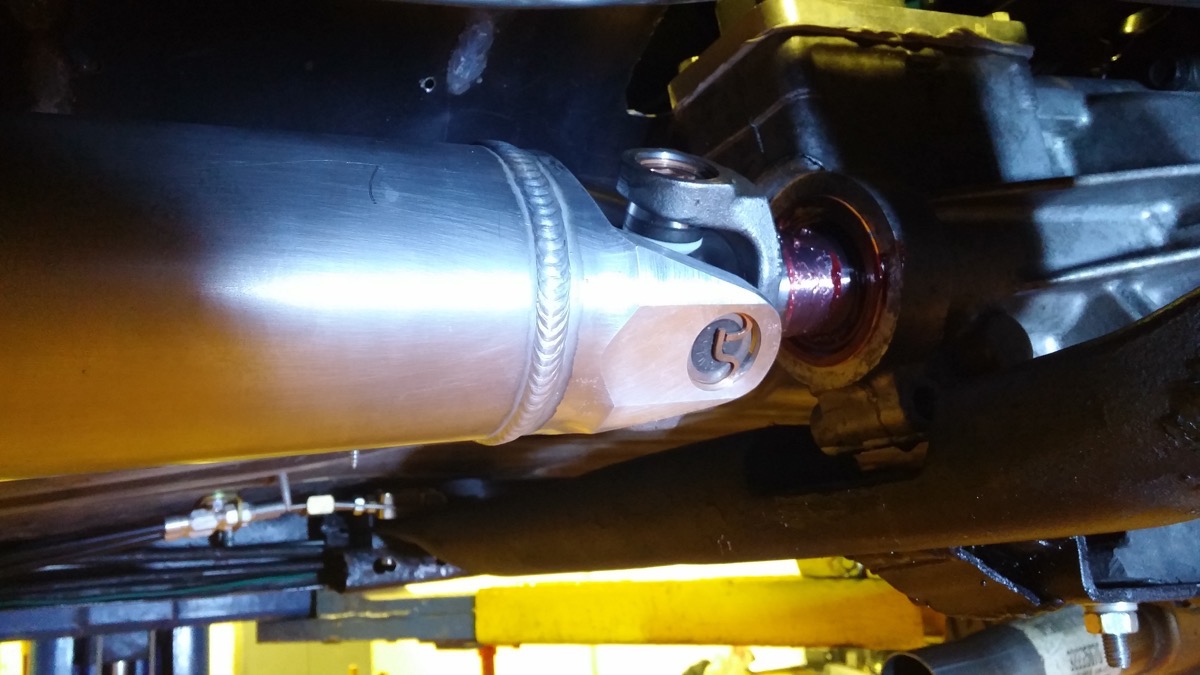
The yoke is specific to the GM version of the T56, which has a 27-spline output.
The Driveshaft Shop offers another version with a billet flange that will hold 900hp. If you have a forced induction combo that is probably an upgrade you will want.
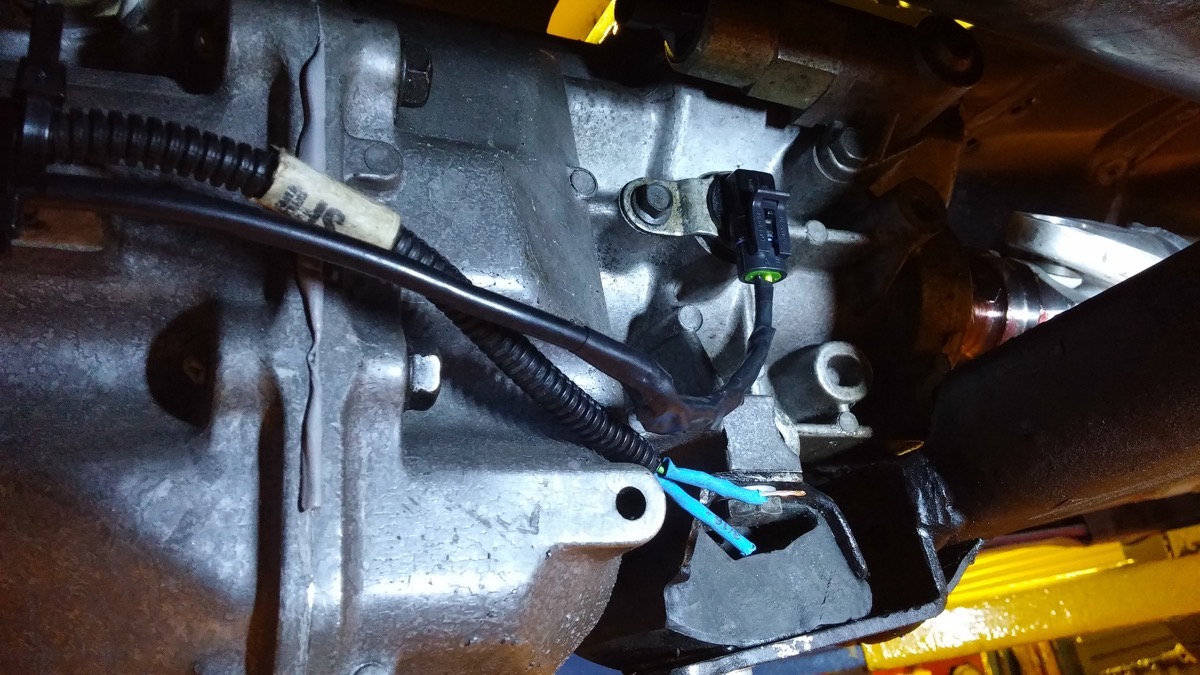
Before we move topside, we connected the sensor and harness for the speedometer. If your T56 is missing one, Chevrolet Performance offers Part Number 19329767. It simply twists in with a thin bead of sealant and one bolt torqued to 8-12 NM.
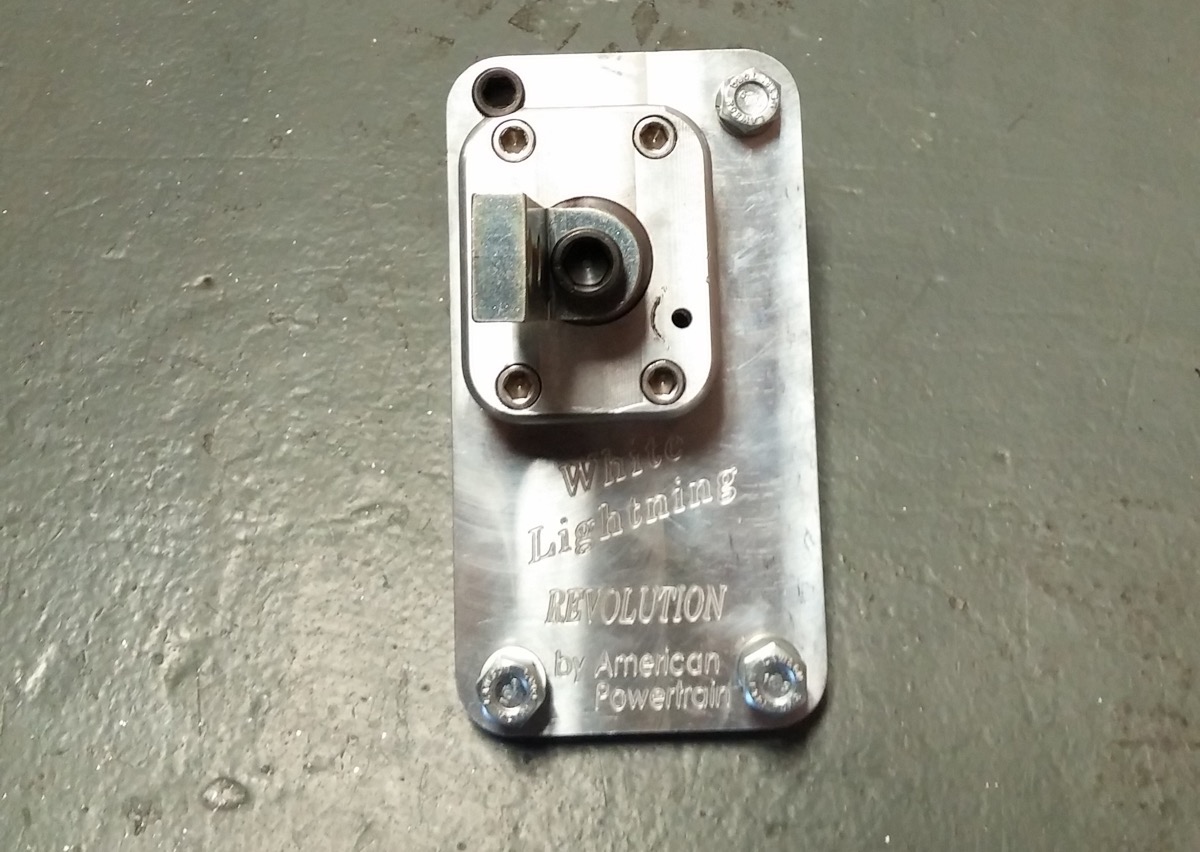
American Powertrain sent us the White Lightning shifter, which comes in three different versions for the T56/6060. For the rearmost position on the F-body/GTO style trans, you will want the 2-piece billet, 2.25-inch offset version. The long, curved 10-inch stainless steel handle was recommended for optimum placement.
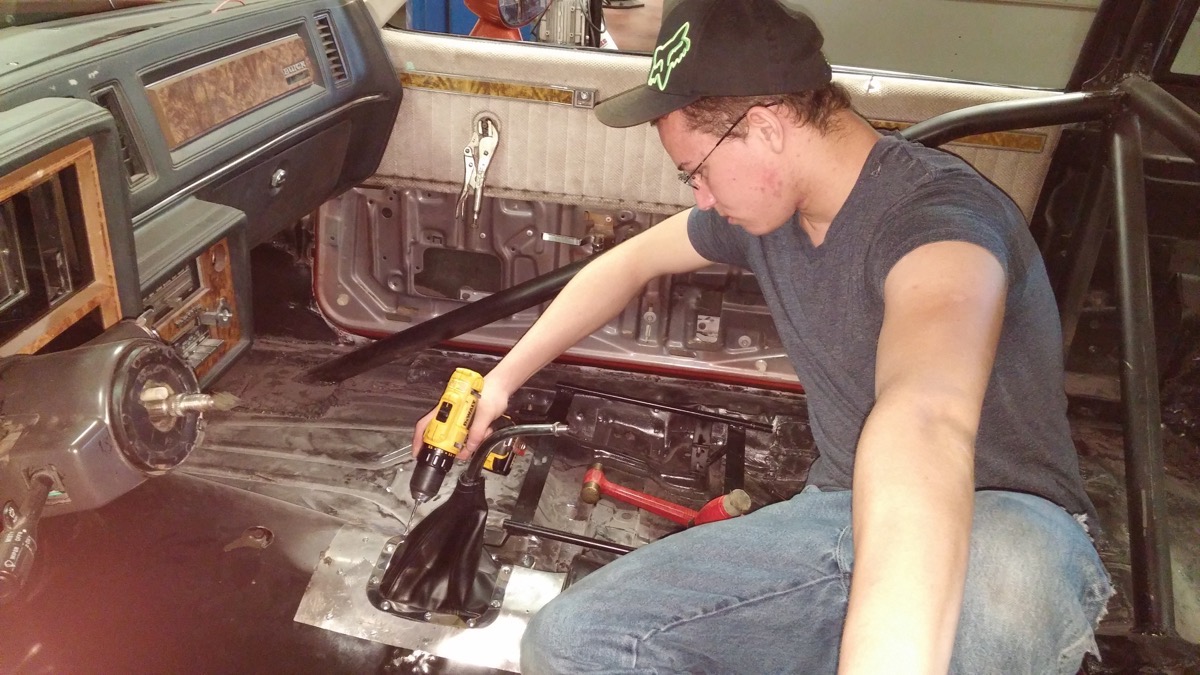
The students cut a whole in the floorpan for the shifter, and then used the shifter boot ring to make pilot holes to screw it in place. By putting all this in place first, it made it easier to cut a hole in the carpet and install later.

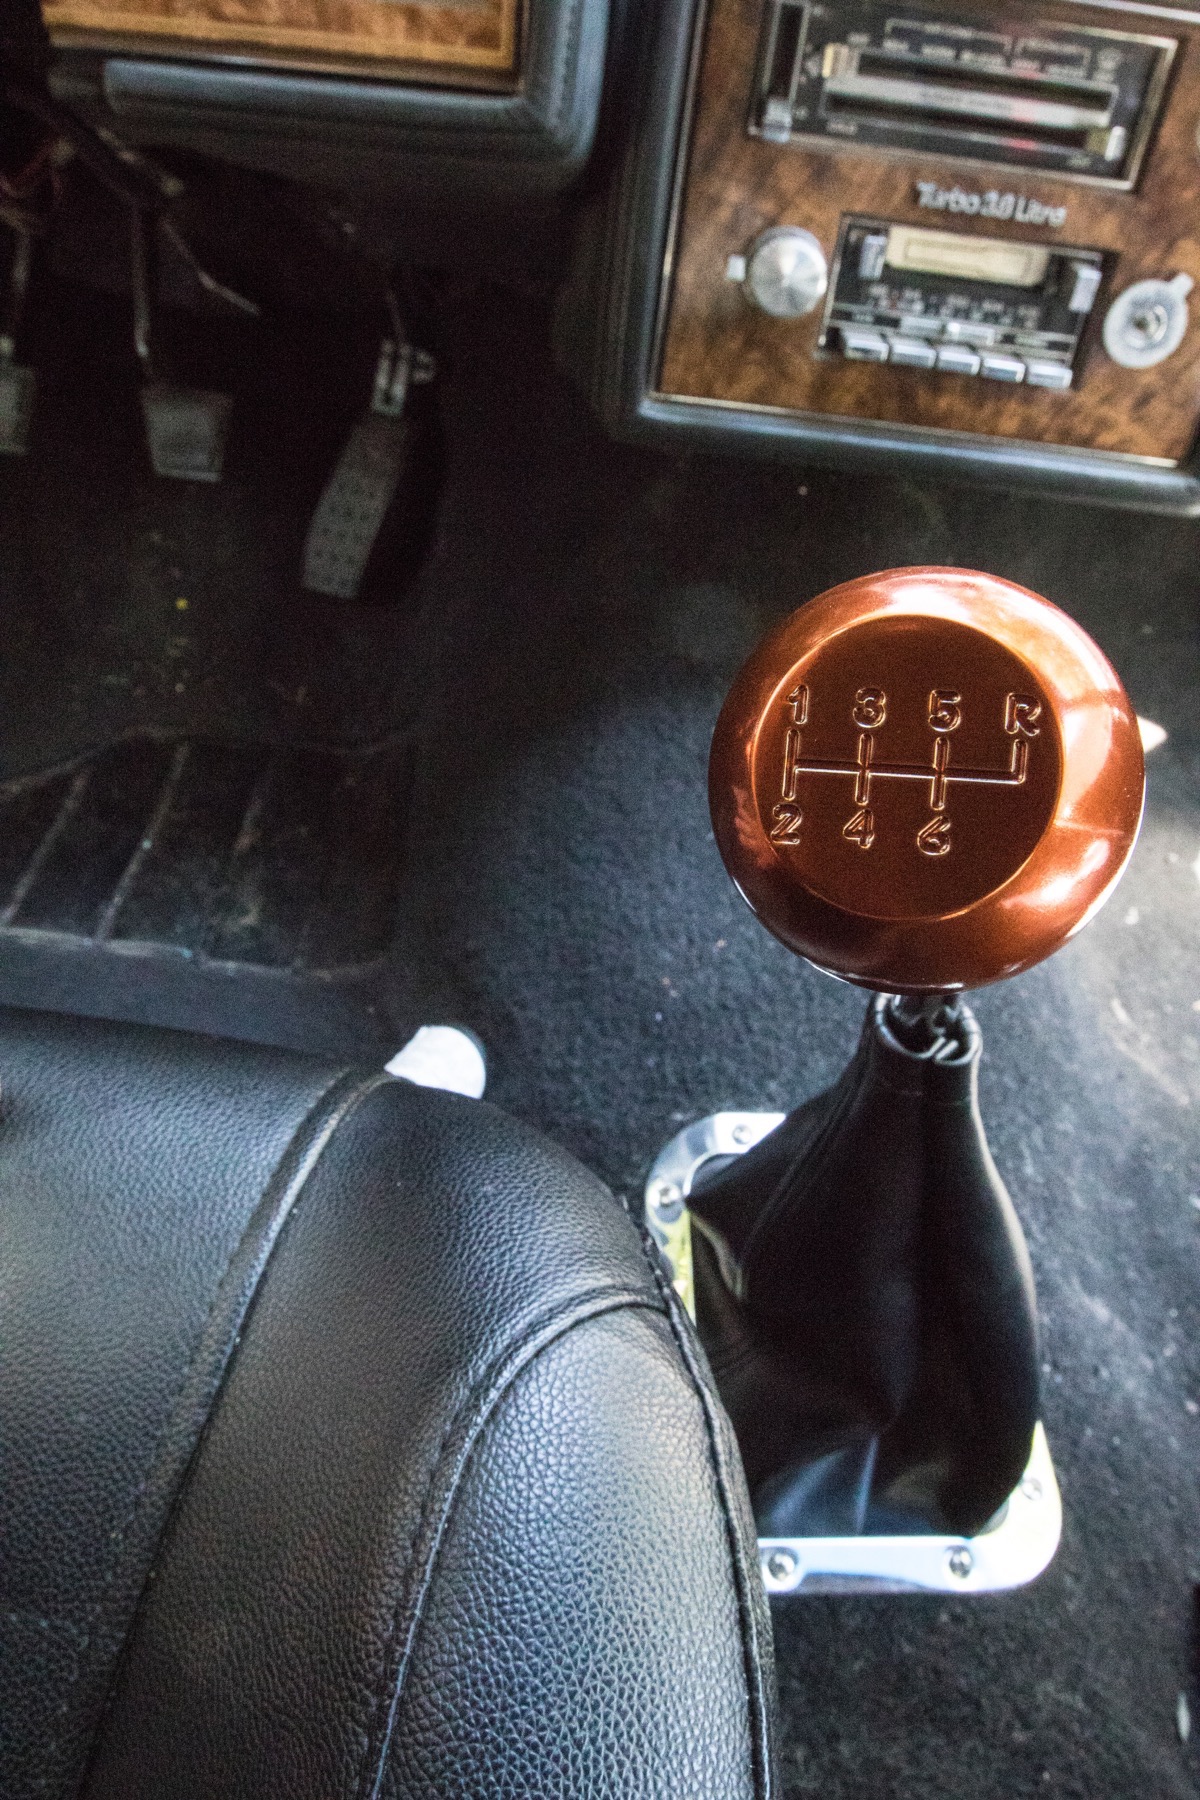
Here is the final installation with the Eddie Motorsports Copper Fusioncoat 6-speed shift knob, Lokar shifter boot and stainless steel ring. This is my usual driving position, which puts the shifter next to my right knee/thigh. For someone my size (6-feet-tall), this is pretty comfortable. If you are considerably shorter, you may want to use the mid-mount position or a short shifter handle. And if you are Jim McIlvaine-sized, the T56 Magnum (rather than an F-body/GTO T56) might be a better choice, which puts the shifter 1.5-inches further back.
Sources:
American Powertrain
931-646-4836
www.americanpowertrain.com
Burlington County Institute of Technology
www.bcit.cc
Sick Speed Monte
www.SickSpeedMonte.com


I may have missed it in the article, but what was the final cost for this install? I have an 81 Pontiac Grand Prix with an LQ4, GM Hot Cam, beefed 4L60E, and Ford 8.8 with 3:31’s. I’m very happy with the performance but the idea of a manual box in the car is very appealing. I can’t see getting out of this for less than five grand, more or less, plus my free labor. If that is the cost to get this done then I’ll learn to be happy with my automatic. BTW, congrats to the team that did the installation on the car. I bet it’s a blast to drive!
Awesome!!!