


(Words and photos by Kaleb Kelley) – Over the last week, we have been ironing out the final touches with the Hotchkis’ Total Vehicle System. All we had left were new leaf springs, shocks and sway bars. Before my dad and I started, we had to install the 8 ¾ rear end. Many of the parts weren’t compatible with the tiny 7 ¼ that was originally under my slant-6 grandma car.
We located an 8 ¾ rear end from a ’71 Dart via a friend of a friend in Missouri. At first glance, we were discouraged by the layers of rust, but after a trip to the sandblaster and a few coats of paint it looked much better. We removed the axles to get the old drum brakes and backing plates off and they looked great. The internals looked to be in good shape, but time will tell. When attempting to mount the new springs, we noticed that there were no shock mounting plates with the kit. The 7 ¼ rear end had a 2.5-inch diameter tube; however the U-bolts were made for the 3” axle tube of the 8 ¾. The problem was getting a new set quickly because time was of the essence. I didn’t want to order a part online and wait for days impatiently for its arrival. Thankfully, my dad called a good friend of ours and he had a set sitting in his large stockpile of Mopar parts.
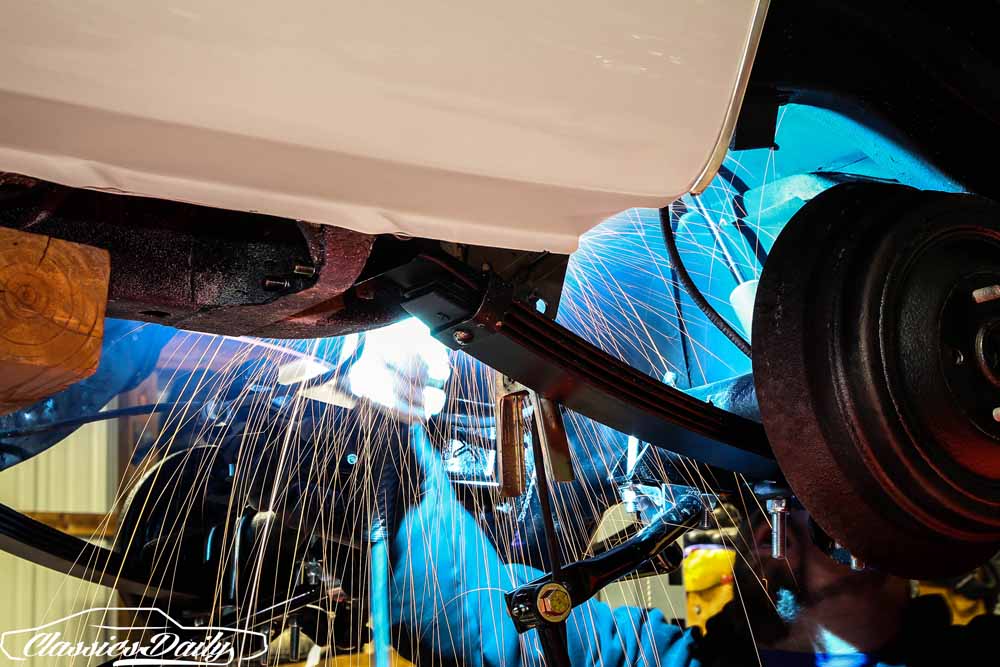
Installing the new leaf springs was as easy as removing them. When Hotchkis says that this suspension is bolt-on, they aren’t kidding. The only real modifications we had to make were the welding of the sway bar brackets and cutting a small portion off the upper control arm mount. After we got the new leaf springs on, we set the newly-painted rear end on the new springs. The U-bolts were so long that my arm needed a break after ratcheting both sides tight. The shocks were kind of a pain to get on simply because I went about it wrong. Instead of pushing the top onto the bolt and then putting the easy-to-reach bottom on, I tried it backwards. Compressing the shock and slipping the top on was nearly impossible after already having the bottom on. Take my advice and do the top first and then the bottom.

The new springs and their hangers were easy as pie to bolt in.
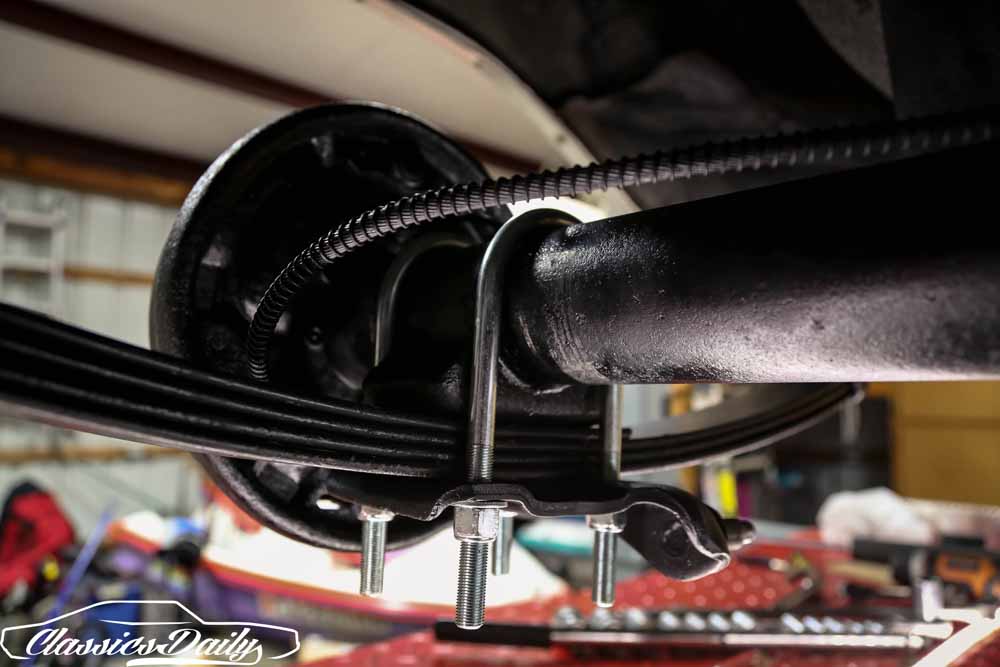
Kaleb had Popeye arms by the time he was done running these nuts down on the supplied U-bolts.
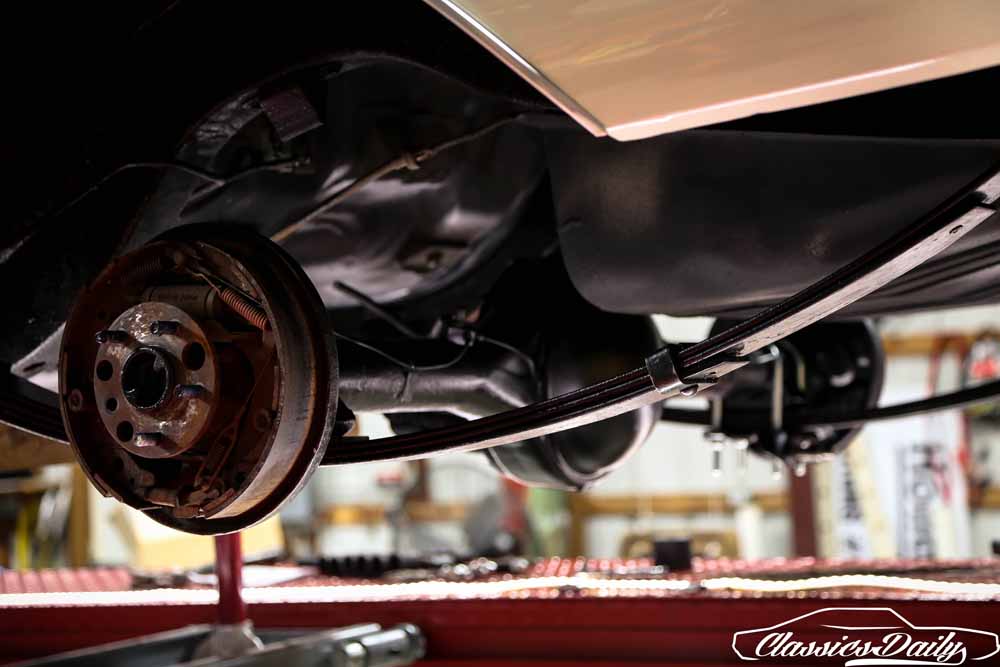
Keen eyed readers will notice that something is missing in this photo. Can you see it?
Next, we loosely installed the new rear sway bar on the rear end and put weight back on the suspension to simulate where the sway bar brackets need to be welded on. Hotchkis said to attach the dog bones to the sway bar and bracket and then adjust the bracket until the dog bones are vertical. After this, I cleaned the undercoating off of the area where we would be welding and marked out where the brackets should be with a Sharpie.
This is part of fitting the system. Make sure you take the time and follow the steps as advised so you get the best and longest lasting results.
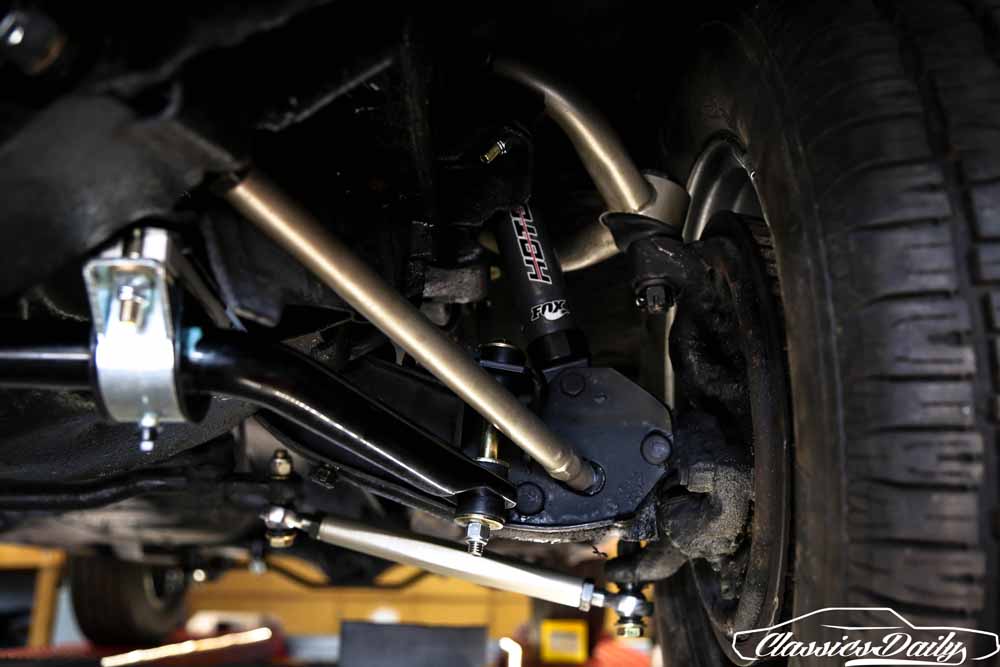
With some weight on the suspension, Kaleb got an idea as to where brackets would line up and where stuff would need to be welded.

The monotube Hotchkis shocks by Fox will provide insanely better ride quality and handling than the stock stuff or a set of Gabriel Hy-jackers!
We followed the instructions and mocked up the brackets for the front sway bar to be level with the top of the control arm, NOT the ground. Then we moved them towards the strut rod until they were an eighth of an inch away. After marking their position, we called it a night. The next morning, our friend Steve Campbell welded the brackets on. He MIG welded them and let me tell you, those brackets are not going anywhere anytime soon. After he left, I cleaned up around the edges of the welds with a wire brush and my dad sprayed some paint and undercoat to avoid rust.

Steve started working up front and welded on the brackets up there first. These are pieces that need to be measured right and attached right. If you are not comfy with the welder, find someone who is. There’s no shame in calling in a guy like Steve who will get these things attached once and forever. Booger welders need not apply.
Steve then moved to the back and glued the brackets on back there as well. Again, Kaleb and his pop measured them up and Steve got them stuck in place.

The old adage “measure twice cut once” also applies to welding. If these brackets were in the wrong place, there is no “sway bar stretcher” to make them fit.
After church on Sunday, we headed out to the shop to finish attaching the sway bars now that the paint had dried. First, we finished up the rear sway bar which was cake. It was already attached to the rear end from the night before. We attached the dog bones to the brackets then tightened and greased everything up.
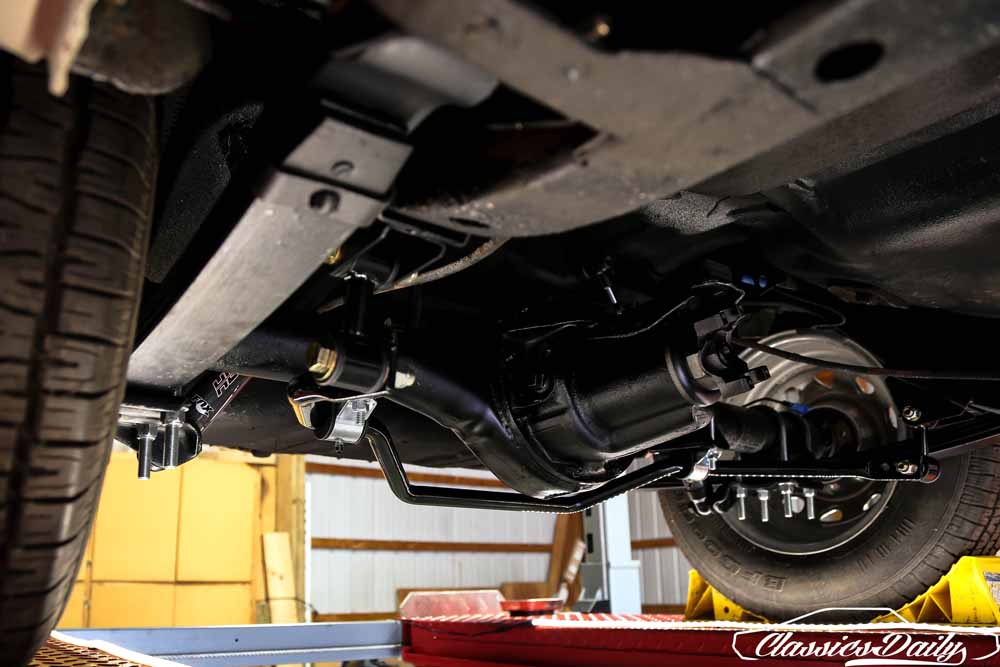
Here’s the rear sway bar all attached and buttoned up. The “dog bones” Kaleb mentions are basically the end links for the rear bar. You can see one on the right side of the frame here.
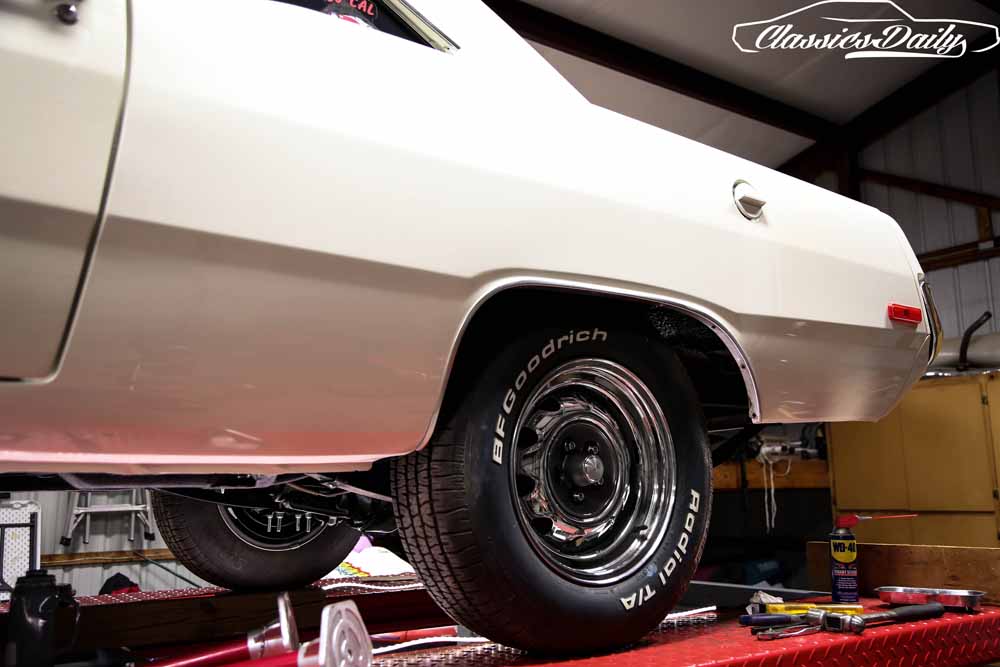
Form and function. Car guys see this and smile.
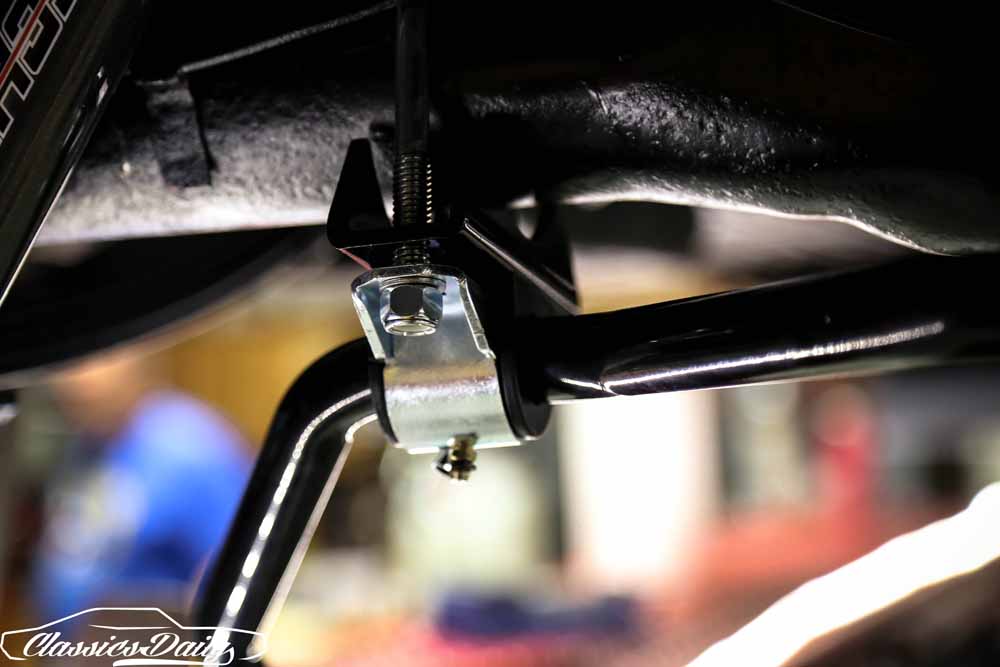
We got a little over eager in the front when we failed to read instructions because it seemed so straightforward. The extra parts sitting on the floor 10 feet away should’ve been an indication that we were missing something. We put the sway bar through the K-member and then attached it to the end links. We knew something was wrong because it was sitting on the K-member. I grabbed the instructions and started reading, then realized we totally forgot about the subframe bushing mounts. We had to remove the end links and install the subframe bushing mounts. Hotchkis put spacers inside the package to offset the sway bar from the top of the subframe. Only one large spacer was required to center the sway bar, but two smaller ones were included if you needed more.
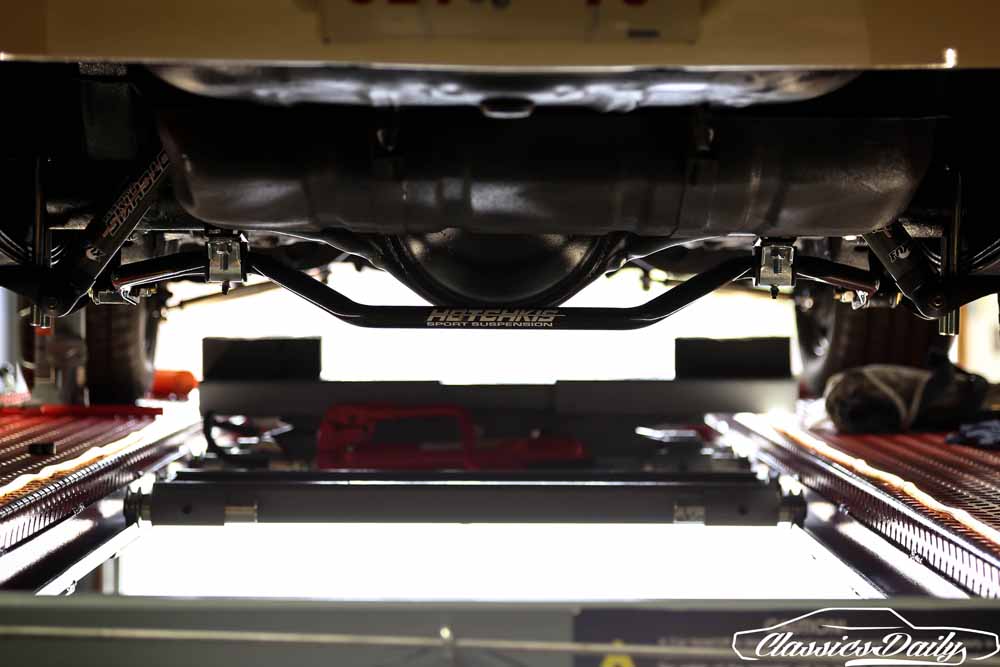
Here’s a look under the car with its shiny new bits. The sway bar looks good under there.
From this video you can see the mounting tab that we welded on as well as the new Hotchkis components that will make this car a real fun rig to whip around.
Thankfully, the rear install was simple. The front sway bar would’ve gone by much quicker if I had simply read the instructions, but I learned from this mistake. The instructions and products were top notch and one reason that Hotchkis is the #1 company in my eyes for Mopar suspension. We noticed the alignment was off in a big way when weight was back on the suspension. The car had so much negative camber that I could’ve rolled into a JDM stance meet and fit right in. Hotchkis has provided what the camber, caster and toe that they recommend in the instructions for when I get it to the alignment shop.

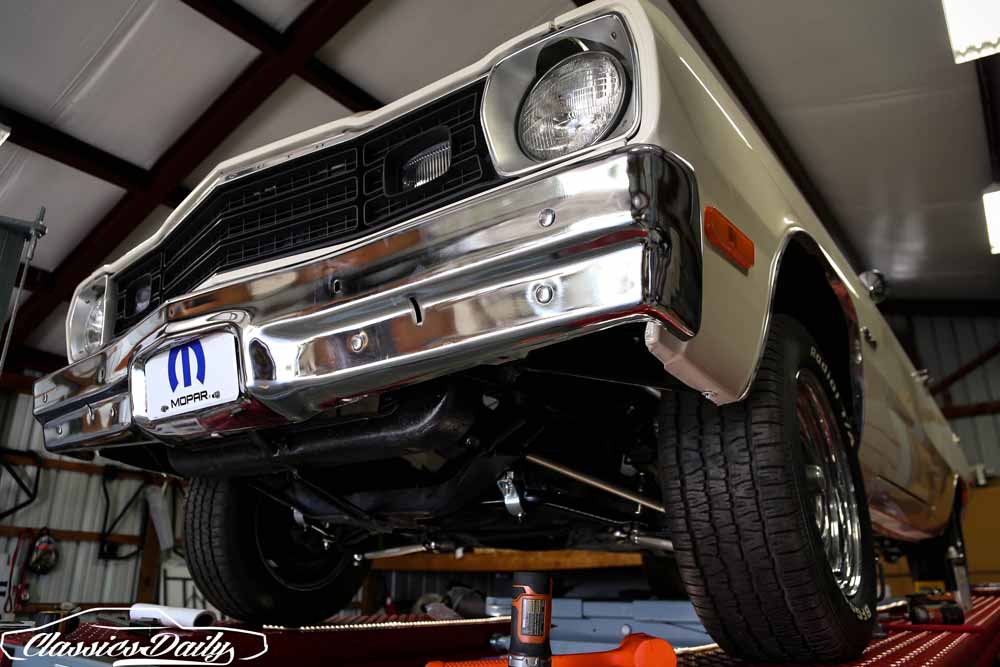
Next stop is the alignment rack!
My dad and I have been in the shop almost every night and I bet my sister and stepmom forgot what we look like. I’m so appreciative of my dad’s help. He has much more knowledge and experience than I do. I would’ve probably taken twice the time to do the same work without him there. Speaking of my dad, stay tuned to hear the epic upgrades coming to the ‘Cuda soon. Let’s just say that boost, fuel-injection and a new stroker motor may be involved. Soon I will be swapping Wilwood disc brakes on the front and rear along with the Hotchkis subframe connectors. Keep an eye on the site to see how that goes.
Check out Kaleb’s own website at ClassicsDaily.net
Click here to learn more about the Hotchkis Components being installed here by visiting the Hotchkis website!
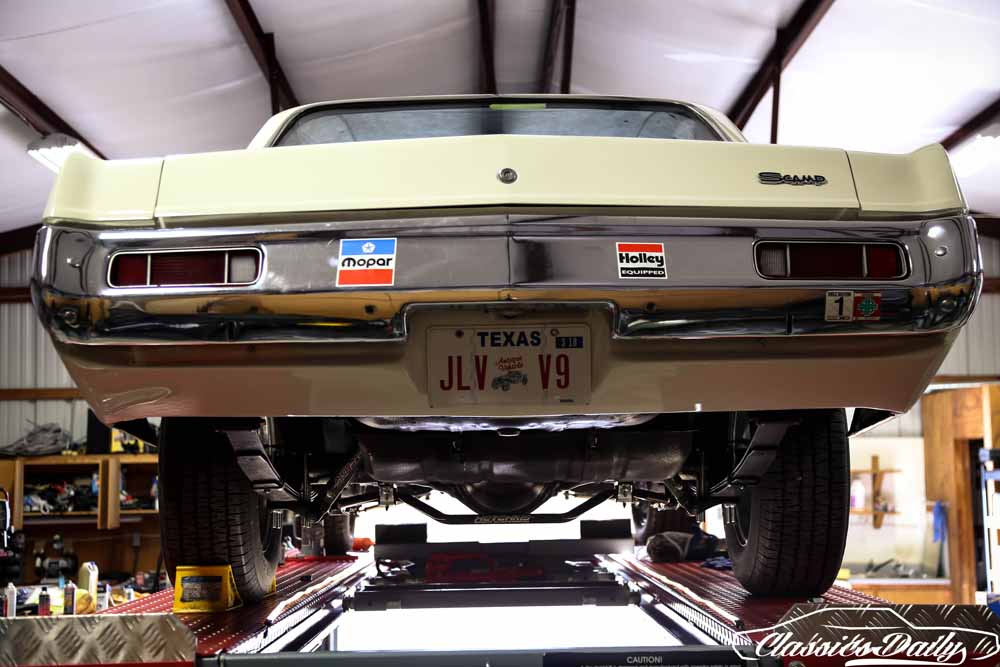


The fifth wheel stud is missing!
I’ve got to wonder why so many aftermarket A-body rear sway bars mount to the axle and not the subframe. You’d save a decent chunk of unsprung weight that way. Mopar Action figured out how to do this with a Dodge Diplomat rear sway bar and some welding.
Good work, nice car, excellent choice of products. It is getting extremely difficult these days to find a suitable candidate to update. Much needed alternative to the GM,Ford builds. Well written, too.
Reminds me of my 66 Mustang. I installed Street or Track tubular suspension and left the drum brakes in front. I’m in the process of doing discs though. Cool build none the less, never can have enough MOPAR and that’s from a Ford guy.