


Project Isolation Restoration has turned a fun corner. I’m now in the mode of actually putting stuff back together and making it nice rather than taking stuff apart, cleaning it, and mending it. Parts are arriving and one of the first things to come in was the rebuild kit for the carb on this old Tecumseh HH120 engine.
The first question is probably, “Why not just buy a new one?” and the’s two answers. The first is that a new one is like $90.00 as best I could find and I don’t want to spend that money and the second is that there’s no rush on this thing and rebuilding carbs is fun. I had never taken apart a Walbro LME before but other people have so I checked out some websites and photos and made some notes before blowing this thing apart.
The LME is a neat little carb and the thing I really like about it is the fact that it has that long curving throat on it that the air cleaner fixes to. It provides a unique look and will be totally bitchin’ when the engine is back together and painted up. So, let’s check out our ancient carb and it’s return to beauty and life!
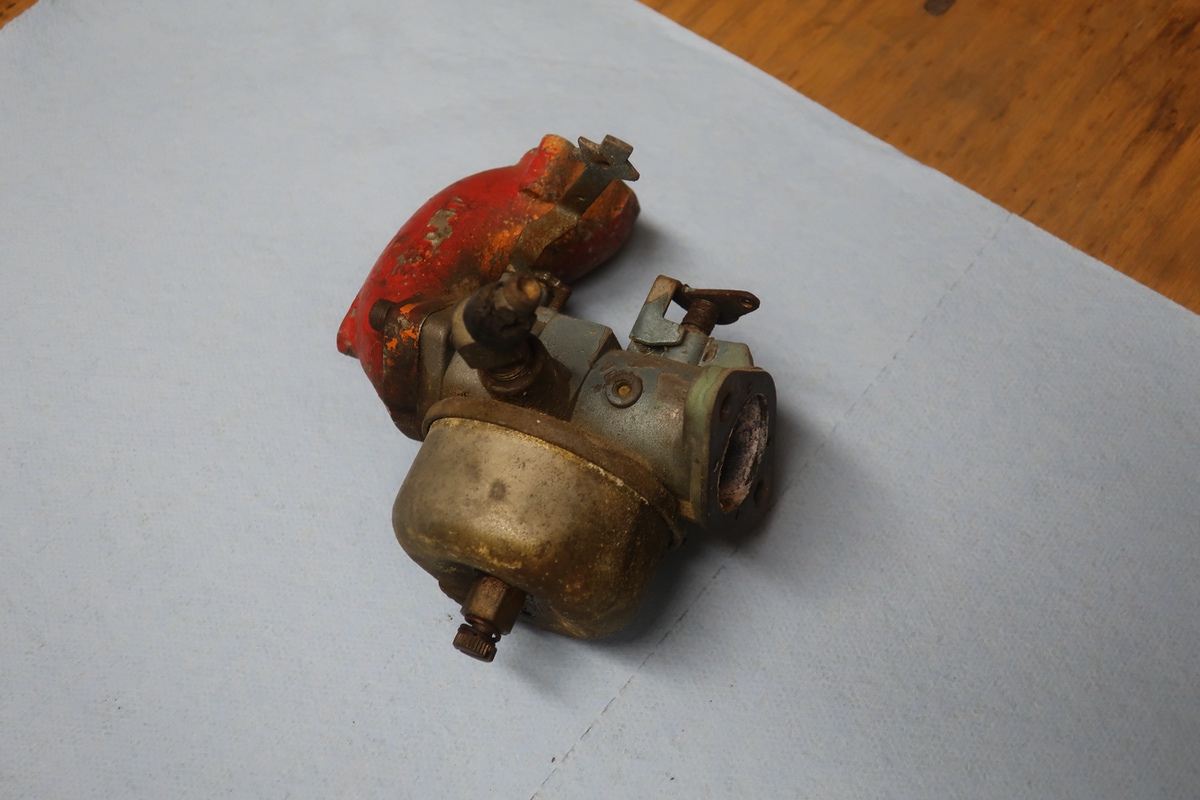

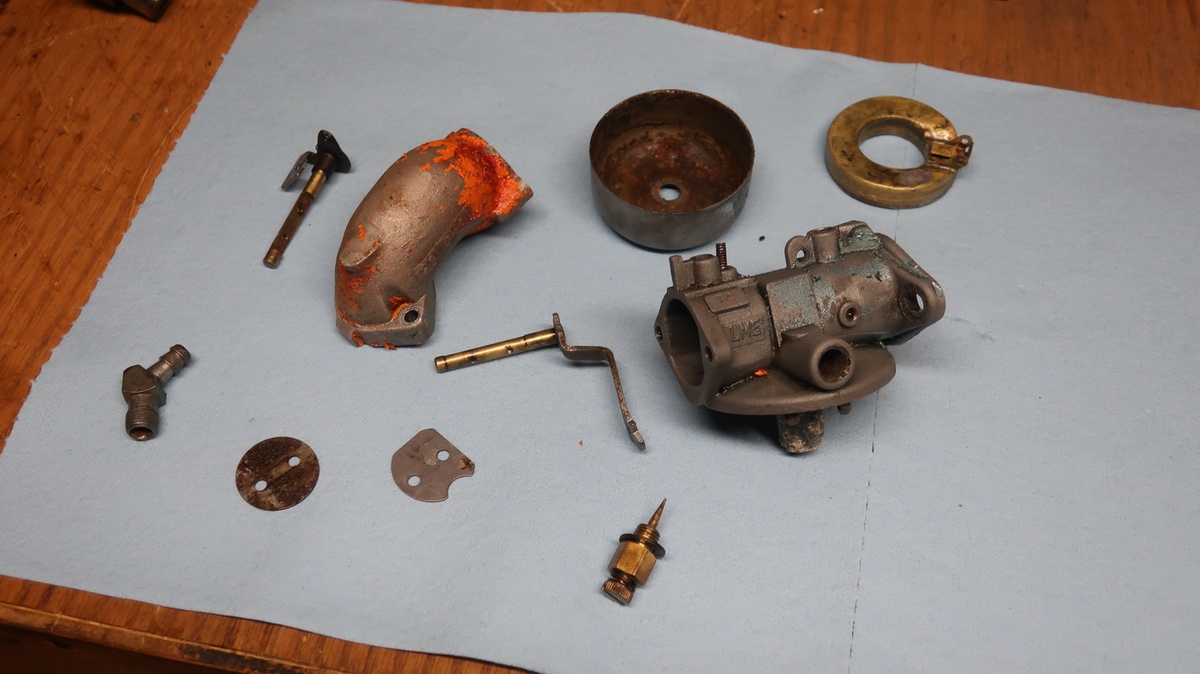
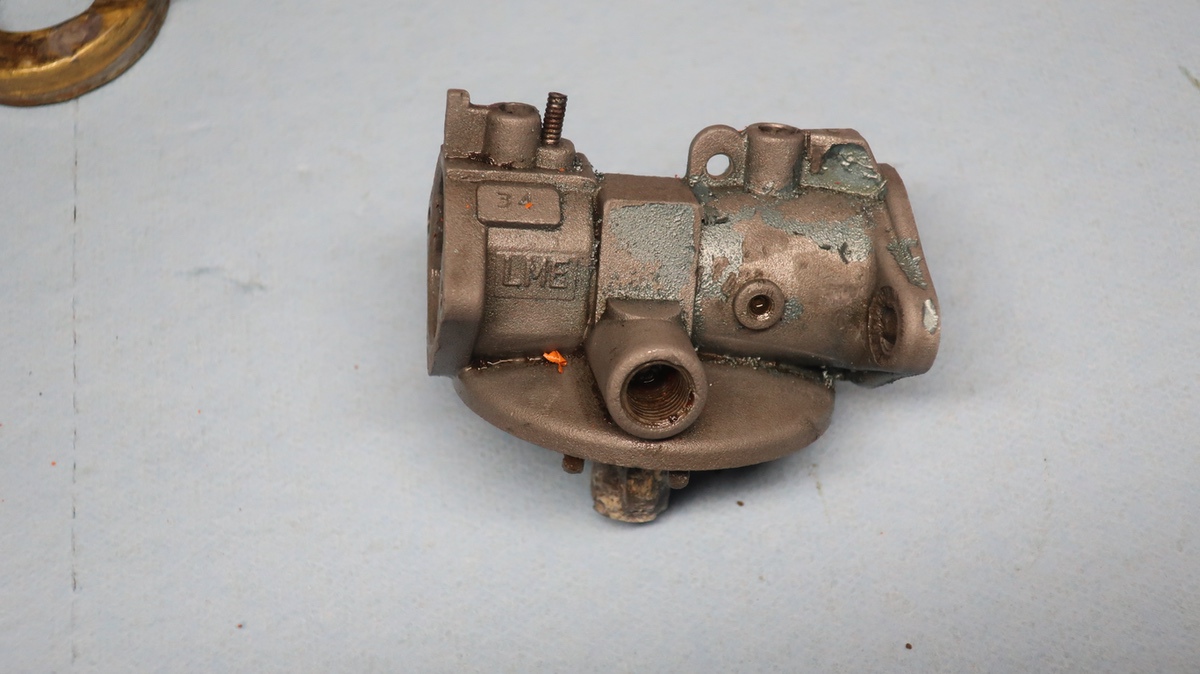
So here’s the patient. The little and old Walbro LME carb. I was able to get a rebuild kit for like 10 bucks. There are a load of places that sell parts of carbs like this, so a simple Google search will get you what you need. There are similar models of this carb and the kit works with a few versions.
The color may be weird to you but it follows the same pattern as the rest of the engine. The blue is the original Tecumseh color. The red/orange on the inlet throat is the Sears Suburban lawn tractor color that was blasted on it when Sears jammed the engine into one of their machines sometime during the LBJ administration.
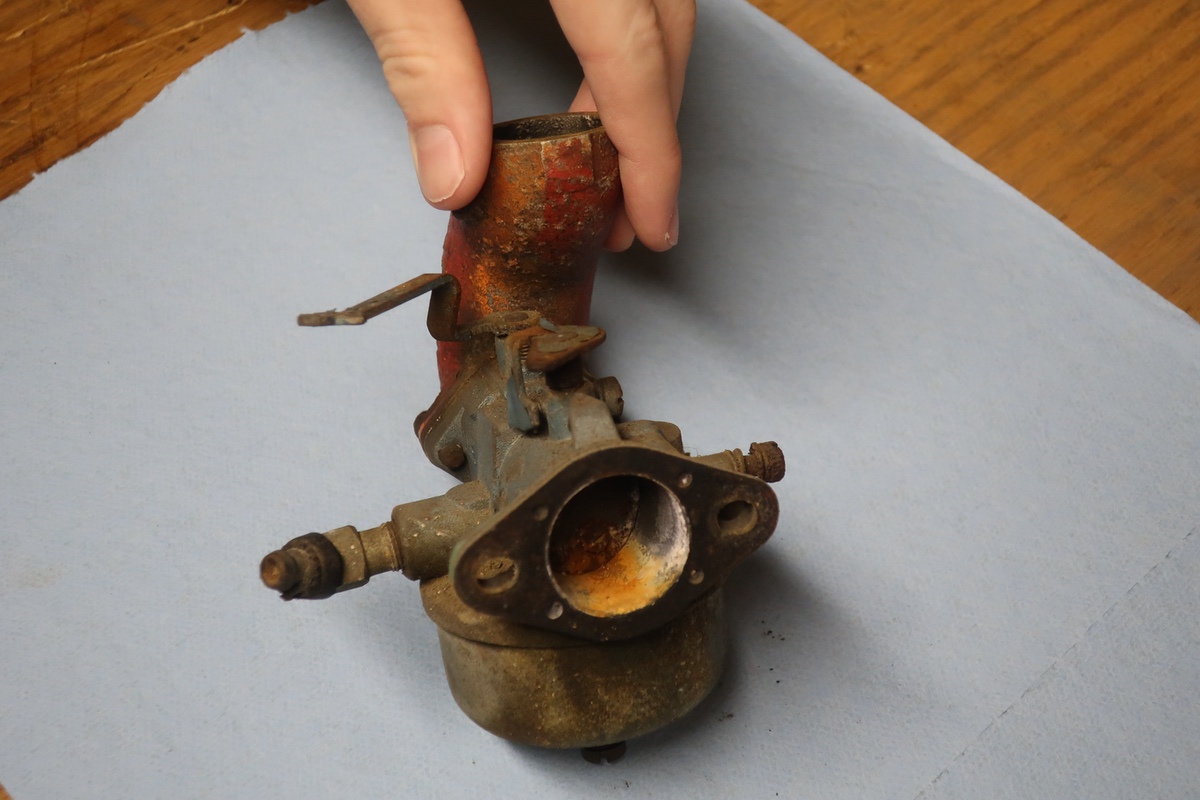
Complete and a little crusty, things were not looking all that bad.
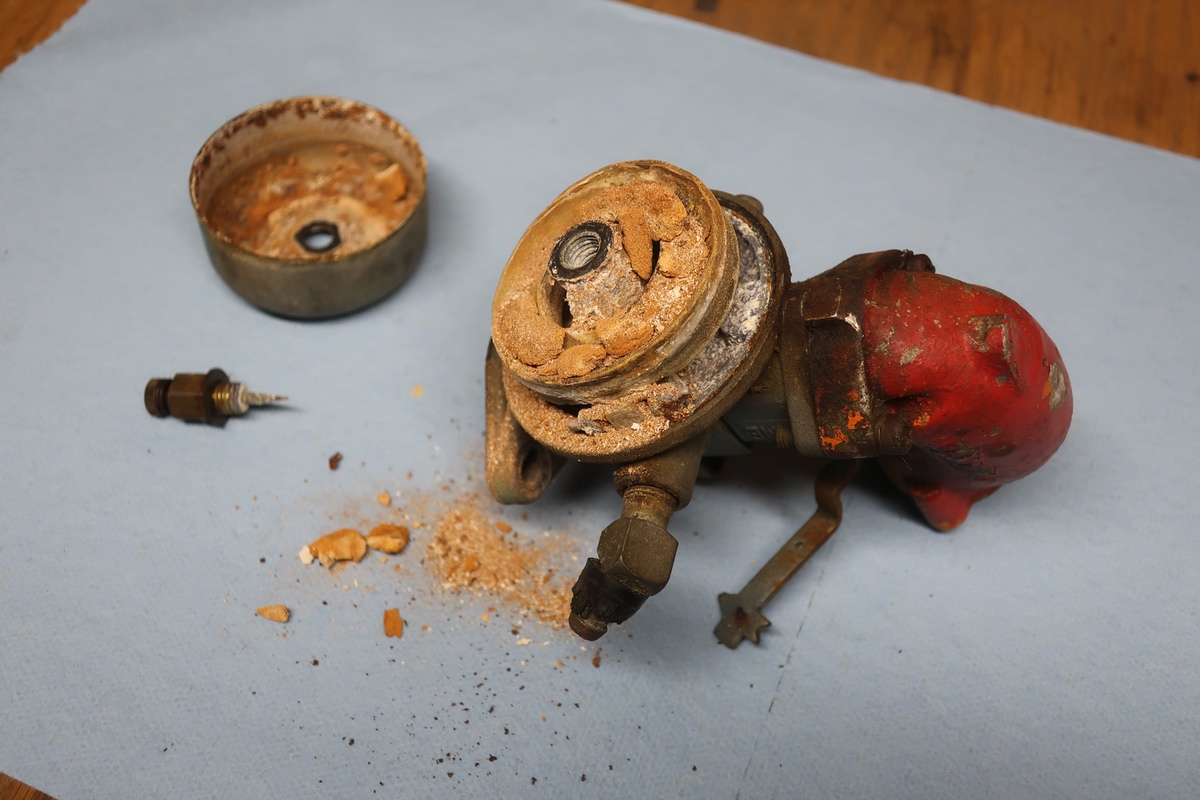
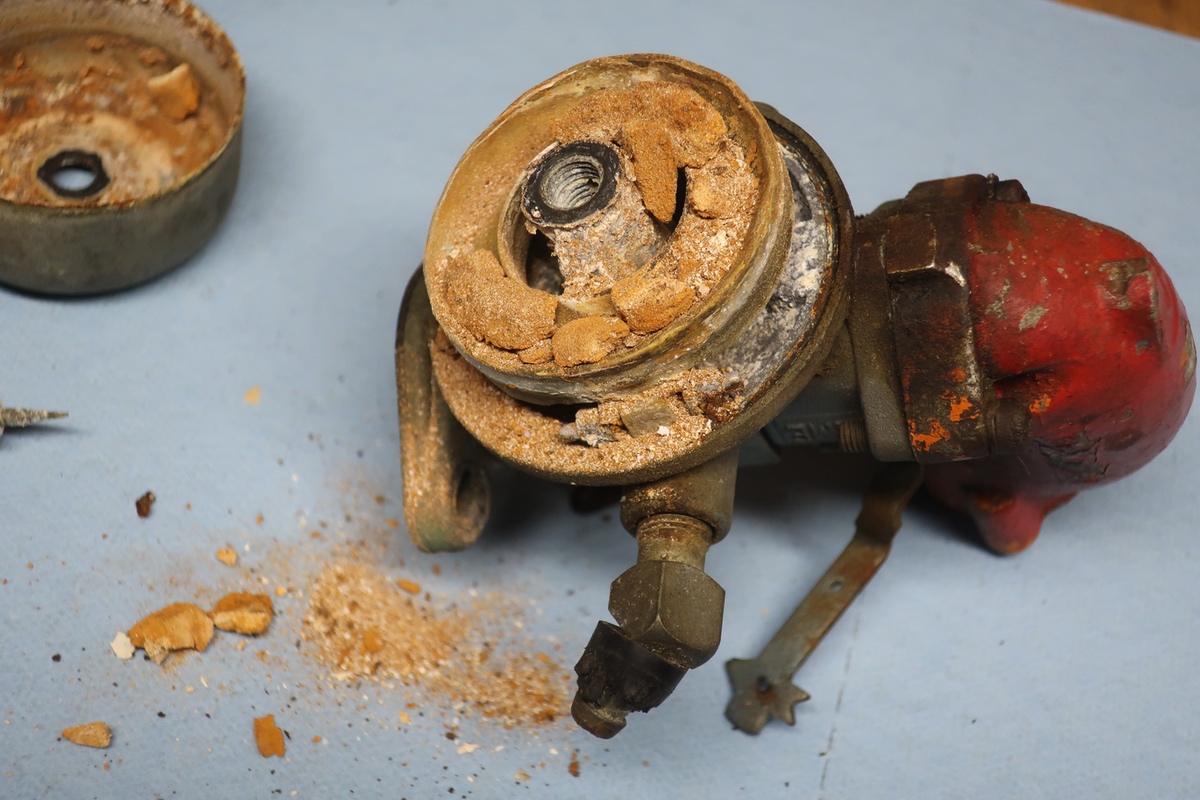
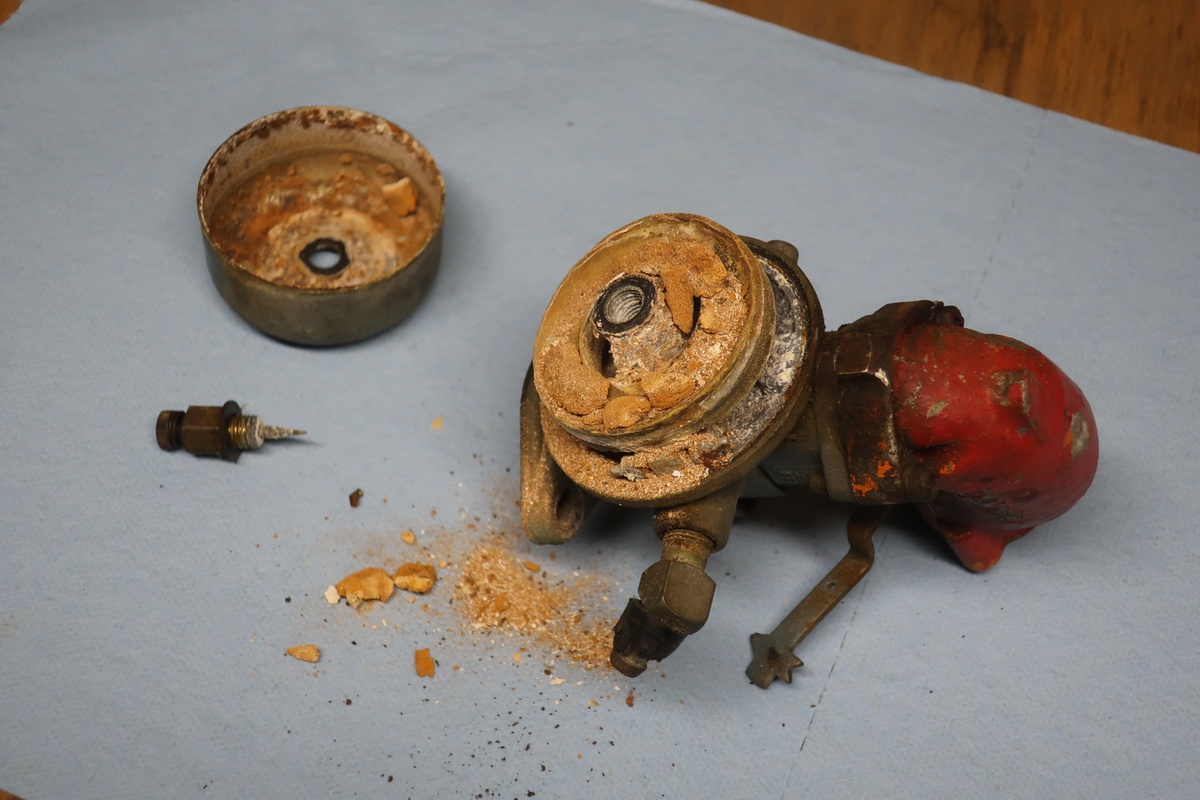
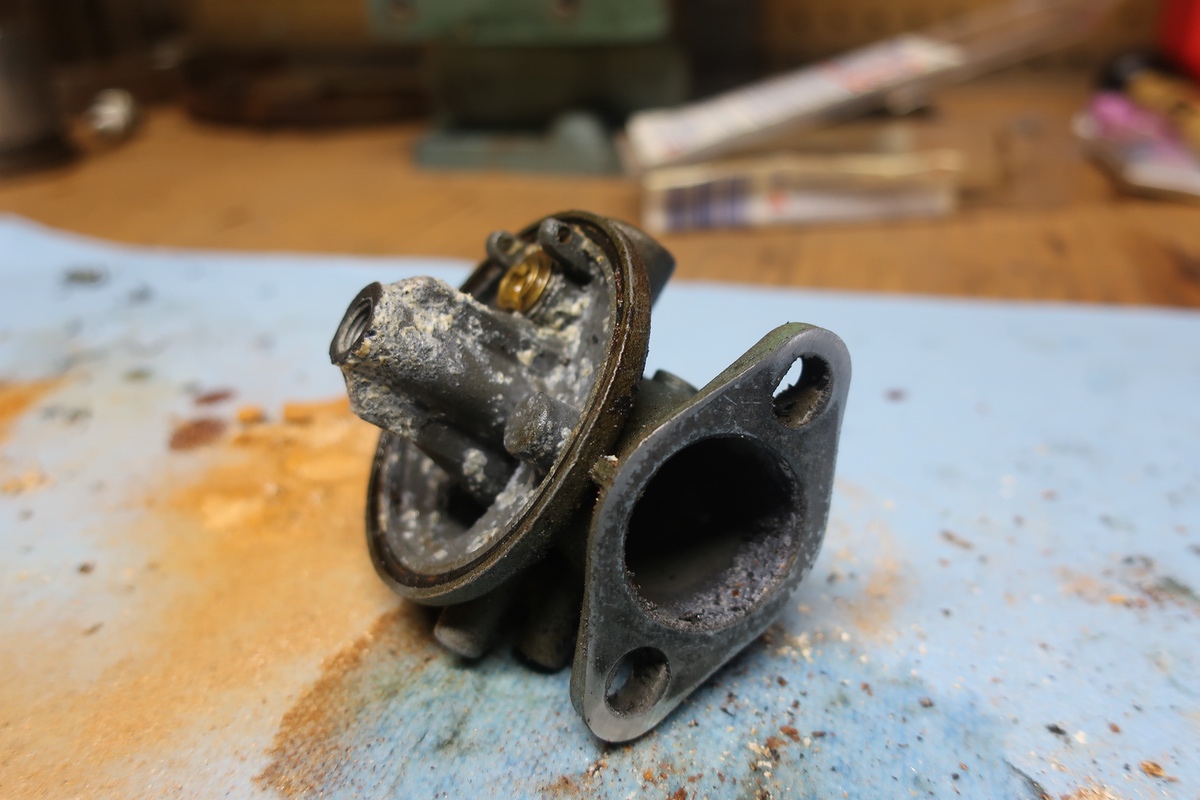
Removing the float bowl was an eye-opener! This thing was 100% full of absolute garbage and I’m glad I did not try to fiddle with the engine to get it to run when I got it. It would have just been a waste of time and a mess with all this crud in there. I’m not sure if this is the crusted remnants of “new gas” that dried up over time or some sort of crazy sediment that just built up over the life of the tractor. Either way, she nasty!

The next stop for the fully disassembled carb was into the bucket of carb cleaner for 24 hours. This would dissolve lots of the gunk and at least allow us to have a somewhat clean piece to work on. Into the can it went and there is stayed, swimming for a full day.
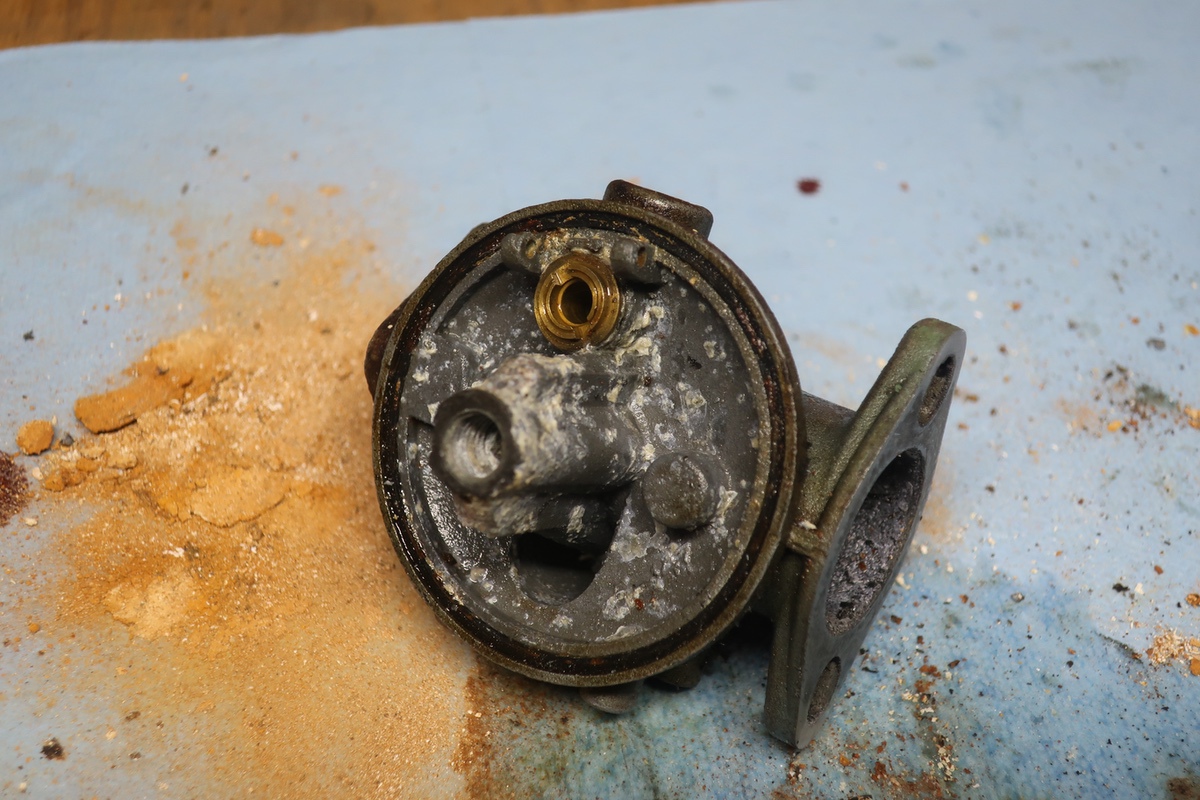
After a swim in the Gunk, our situation was a lot more clear. Lots of the paint vaporized, passages that I could not see down were now flowing air freely, and even the stuff that was not totally clean were well on their way. There was some corrosion around the area where the main jet is and we’ll see more of that in a minute. The float bowl itself was still pretty nasty. Lots of crusty rust inside it. This called for a second bath in a different product.

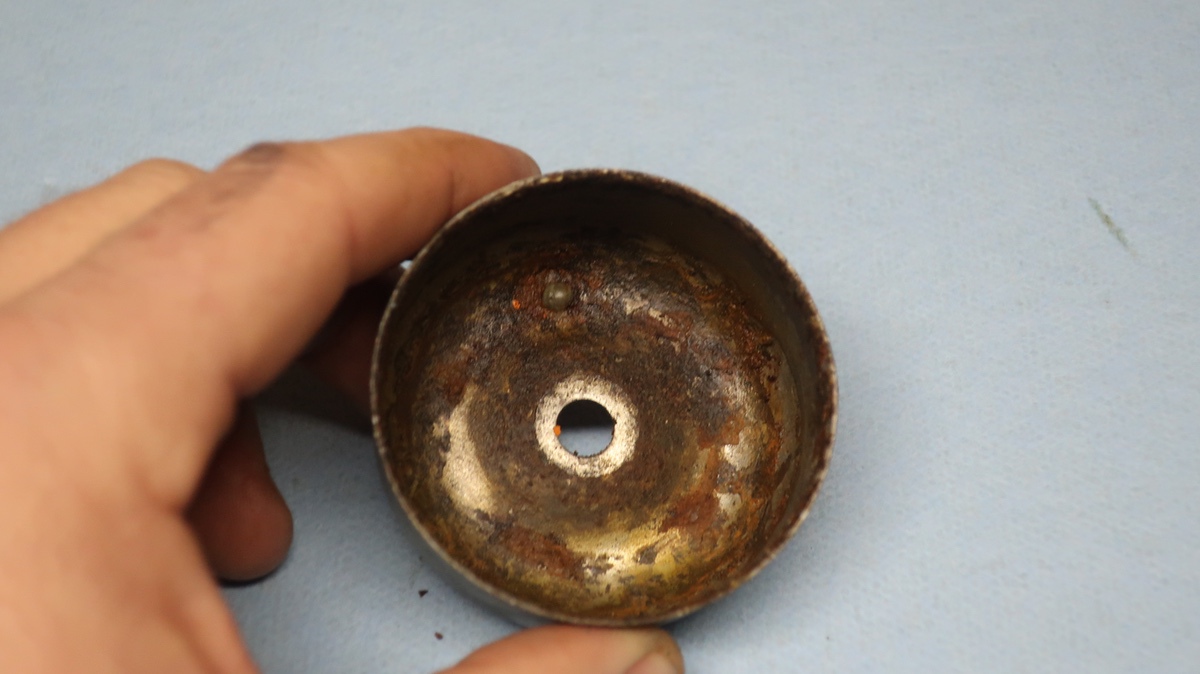

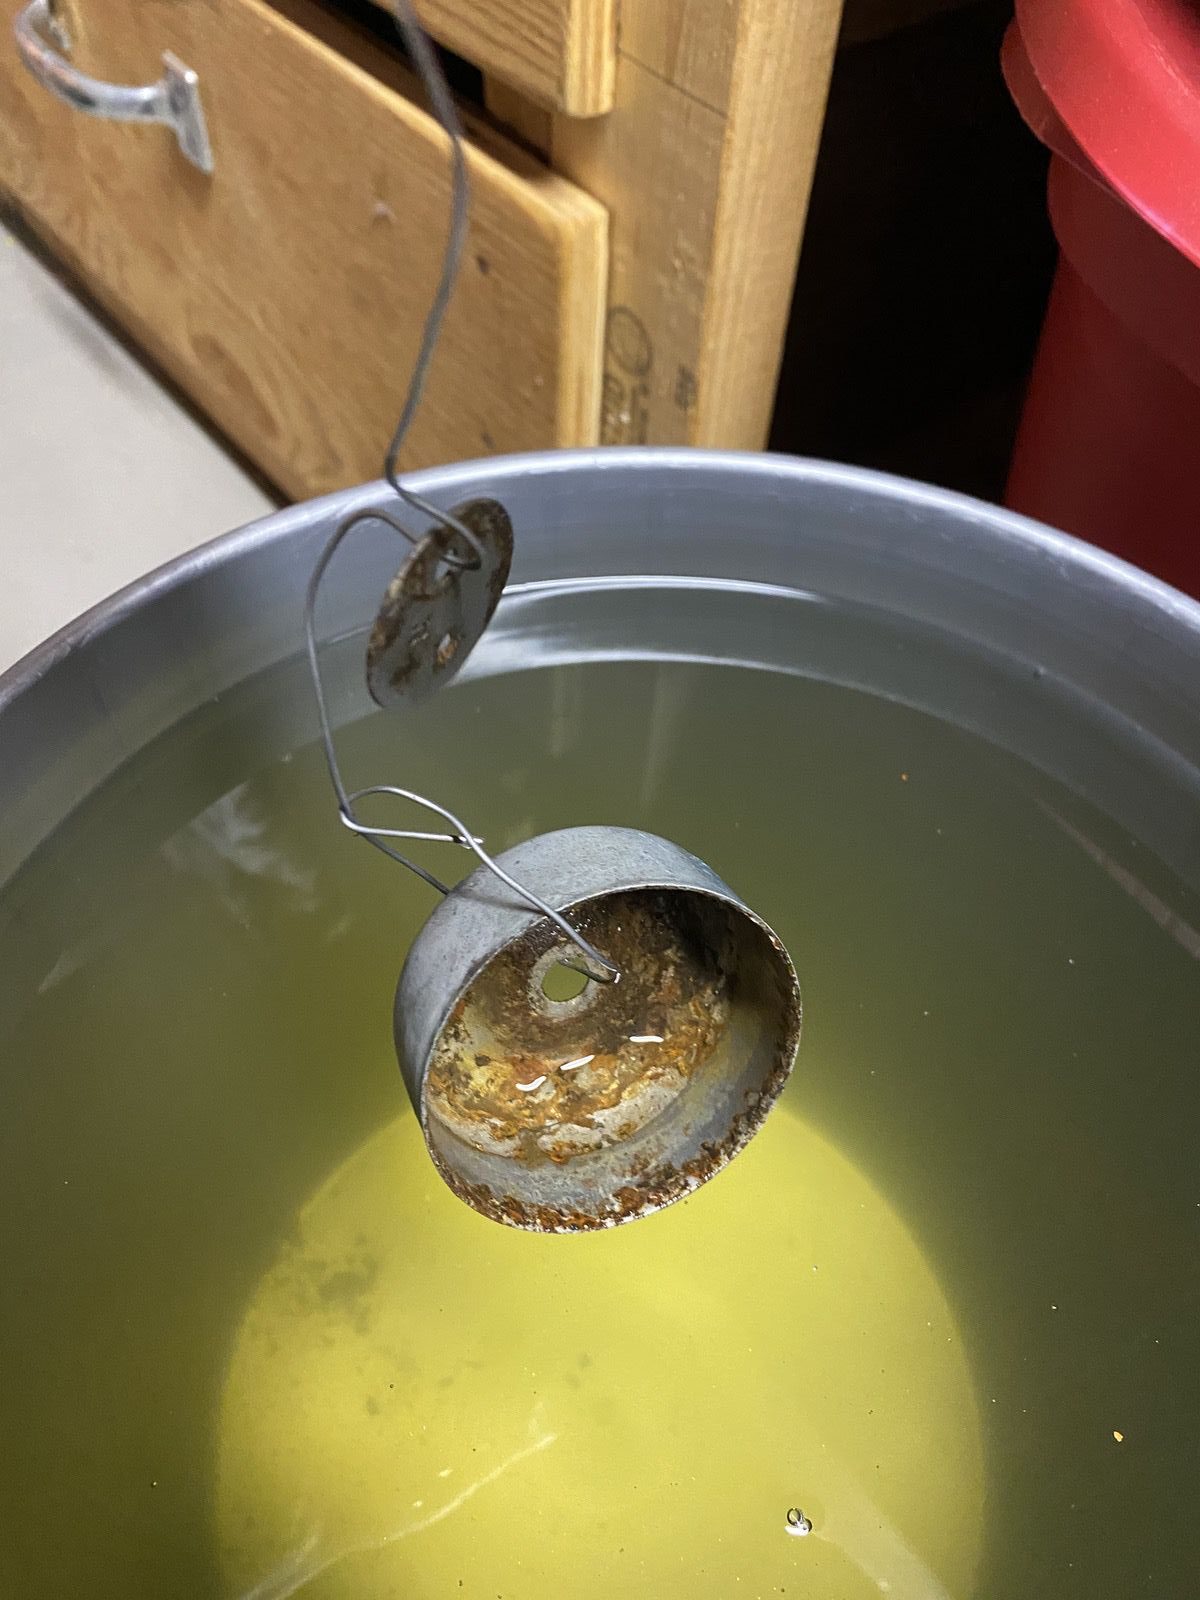
Thanks to the fine people at Evapo-Rust I received a five gallon bucket of their awesome rust remover. The choke blade was super rusty as was the nasty float bowl in the carb. Much like the magic of a pail of carb cleaner, Evapo-Rust is a product that could not be easier to use. I used some bailing wire and lowered the float bowl and choke blade right in there for 24 hours. Didn’t look at it, move it, or touch it. The result?
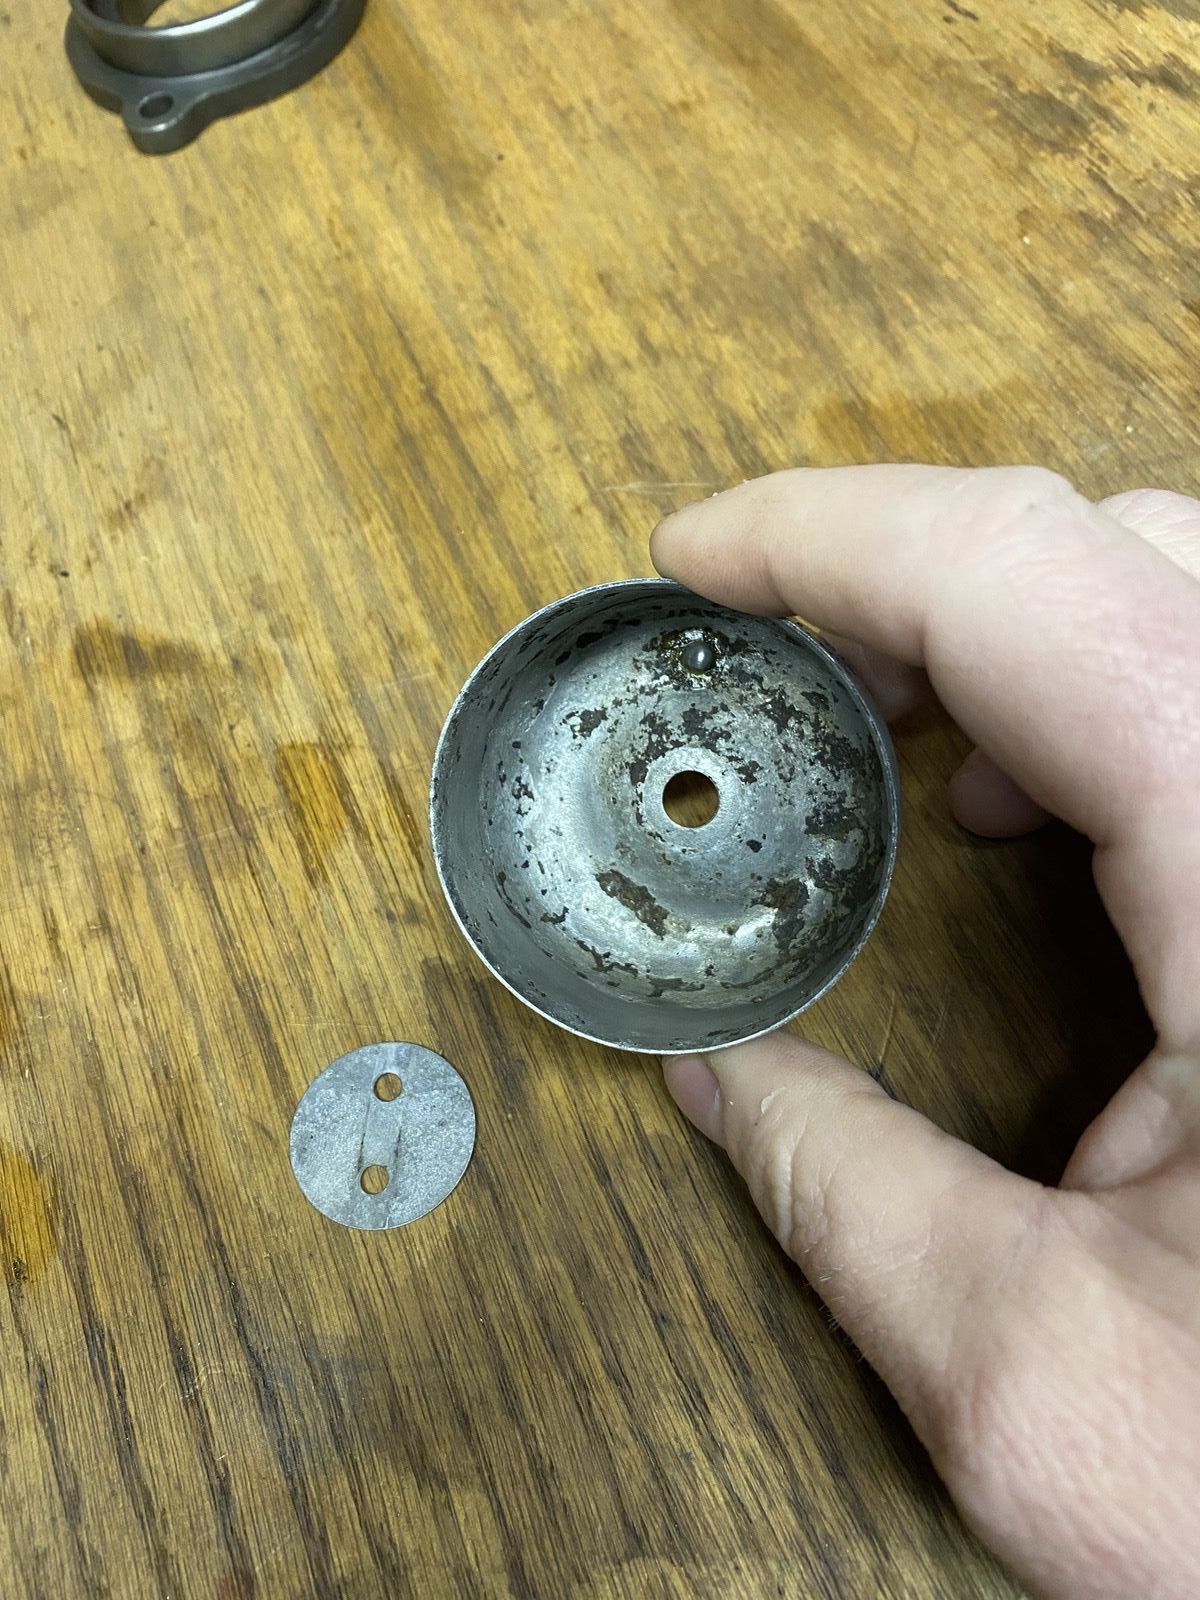
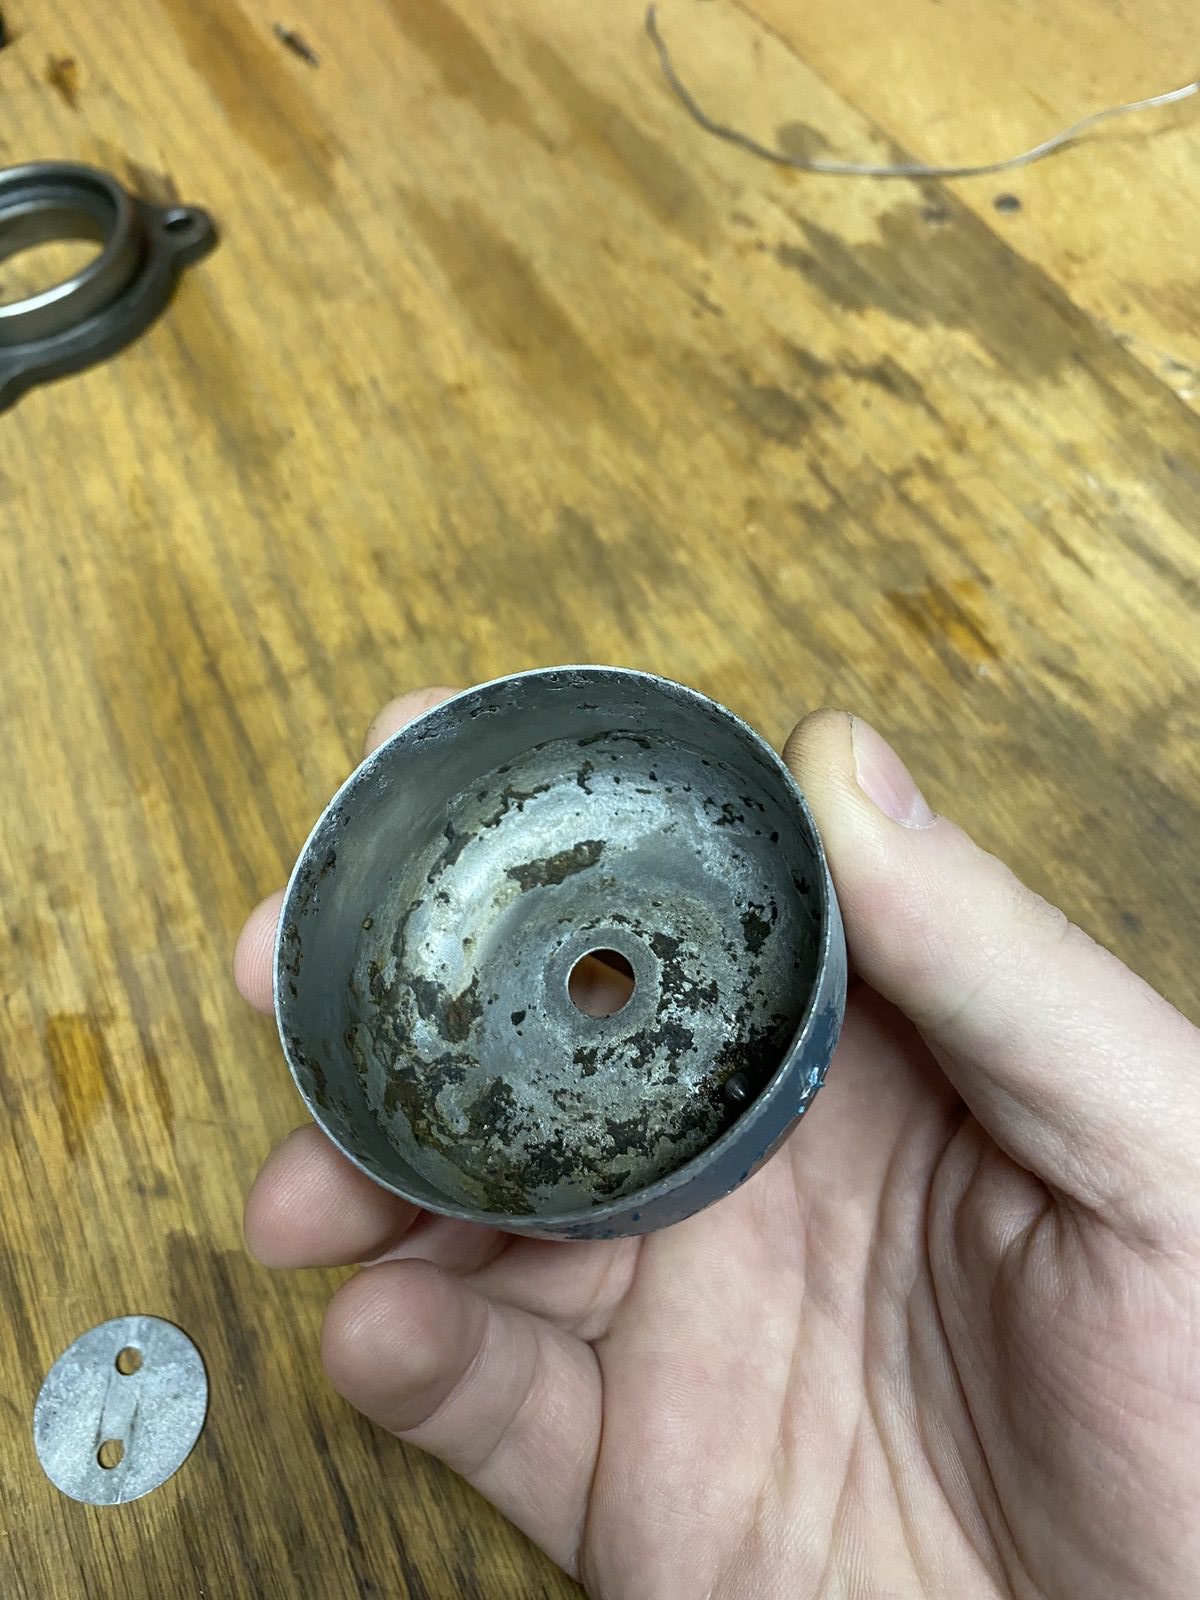
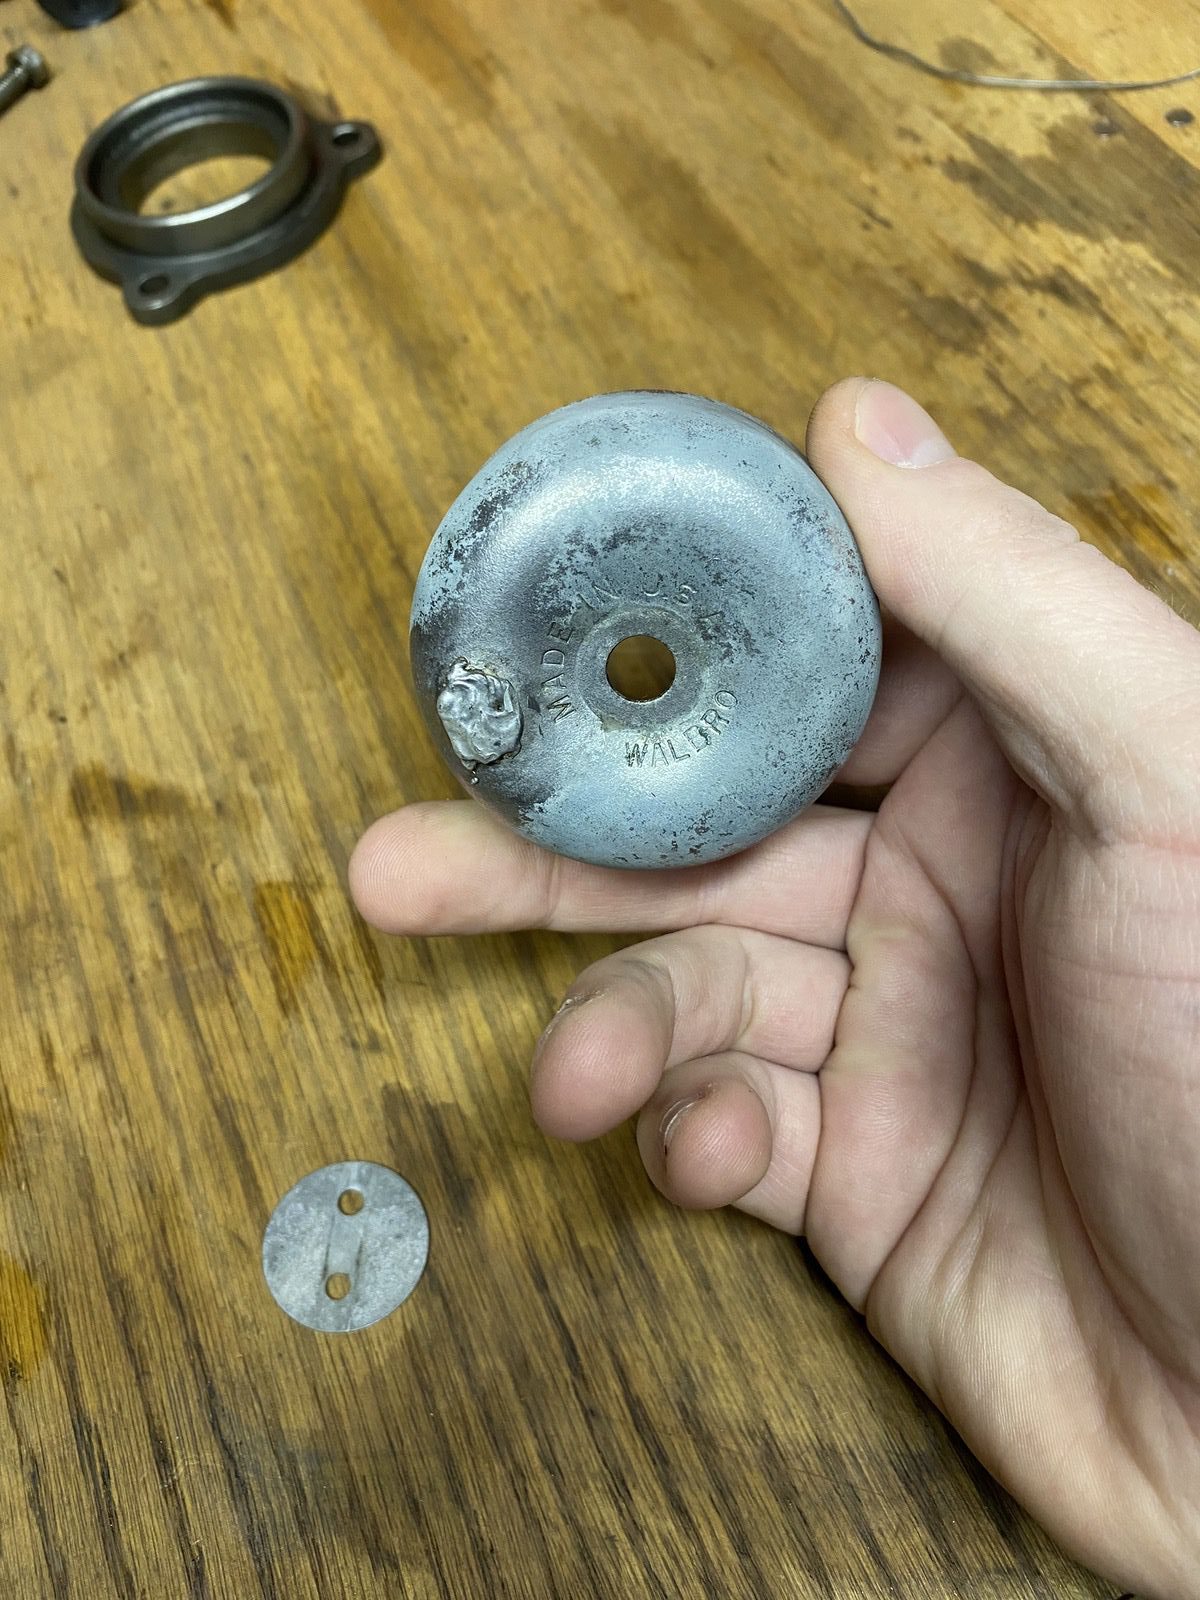
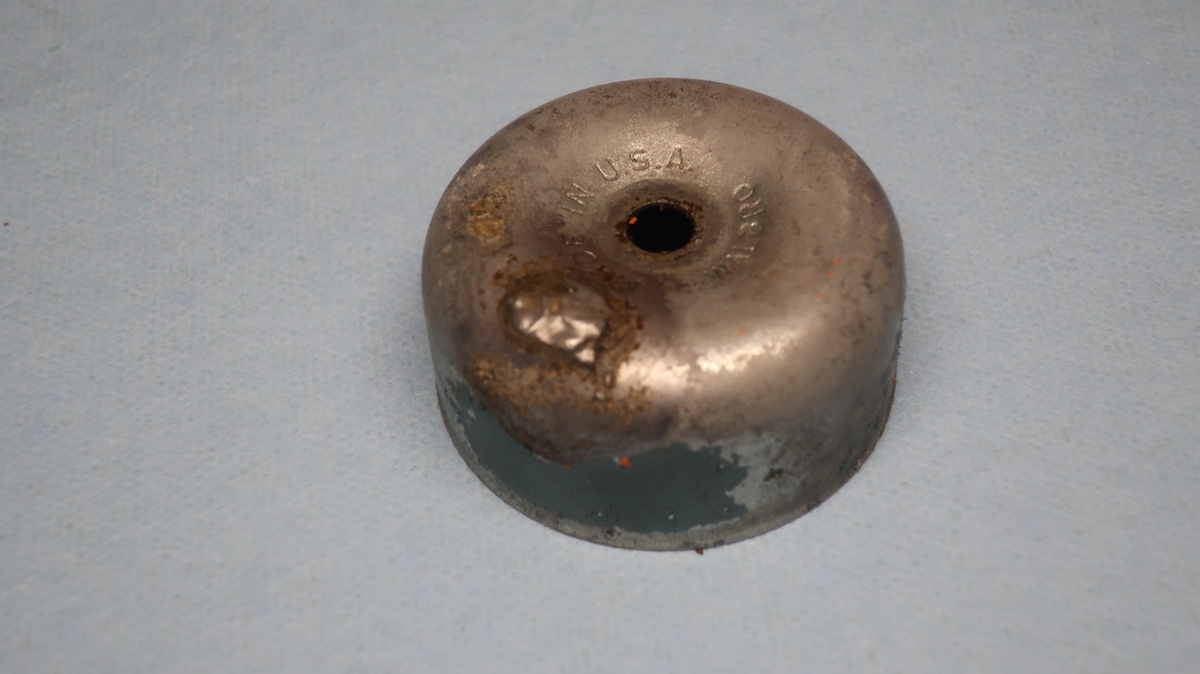
The results were awesome! The rust was nearly 100% gone and the choke blade was rust free as well. One of the things I found when this was all cleaned up was the fact that someone had likely lost the little bowl drain screw along the way and instead of replacing it, they just soldered the hole shut. I have debated cleaning this up but it’s kind of a cool part of the engine’s history and because of that I am going to leave it that way. A little nod to the past. The Evapo-Rust showed it teeth here and you’ll be seeing plenty more of that during this series.
With the parts either de-crudded or de-rusted now, it was time to really kick the cleaning into high gear. Hey, like I said, I have time!
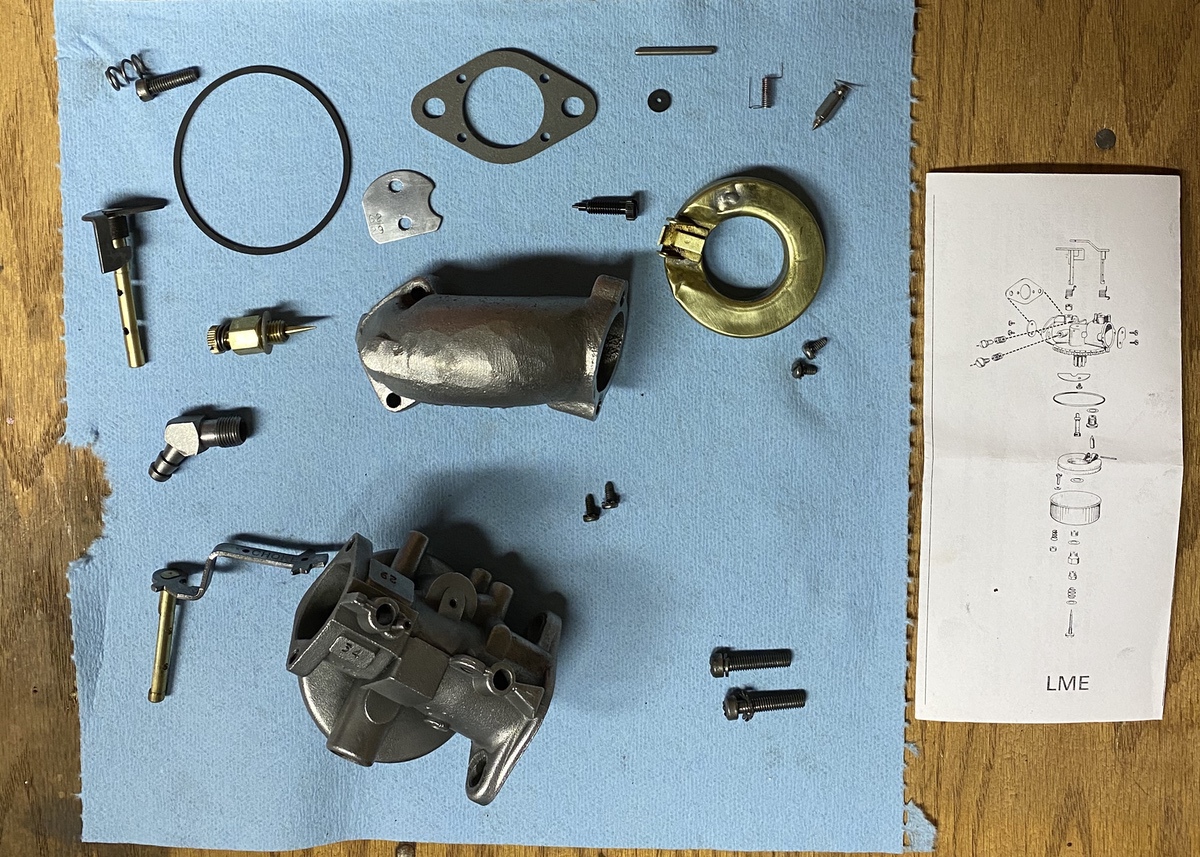
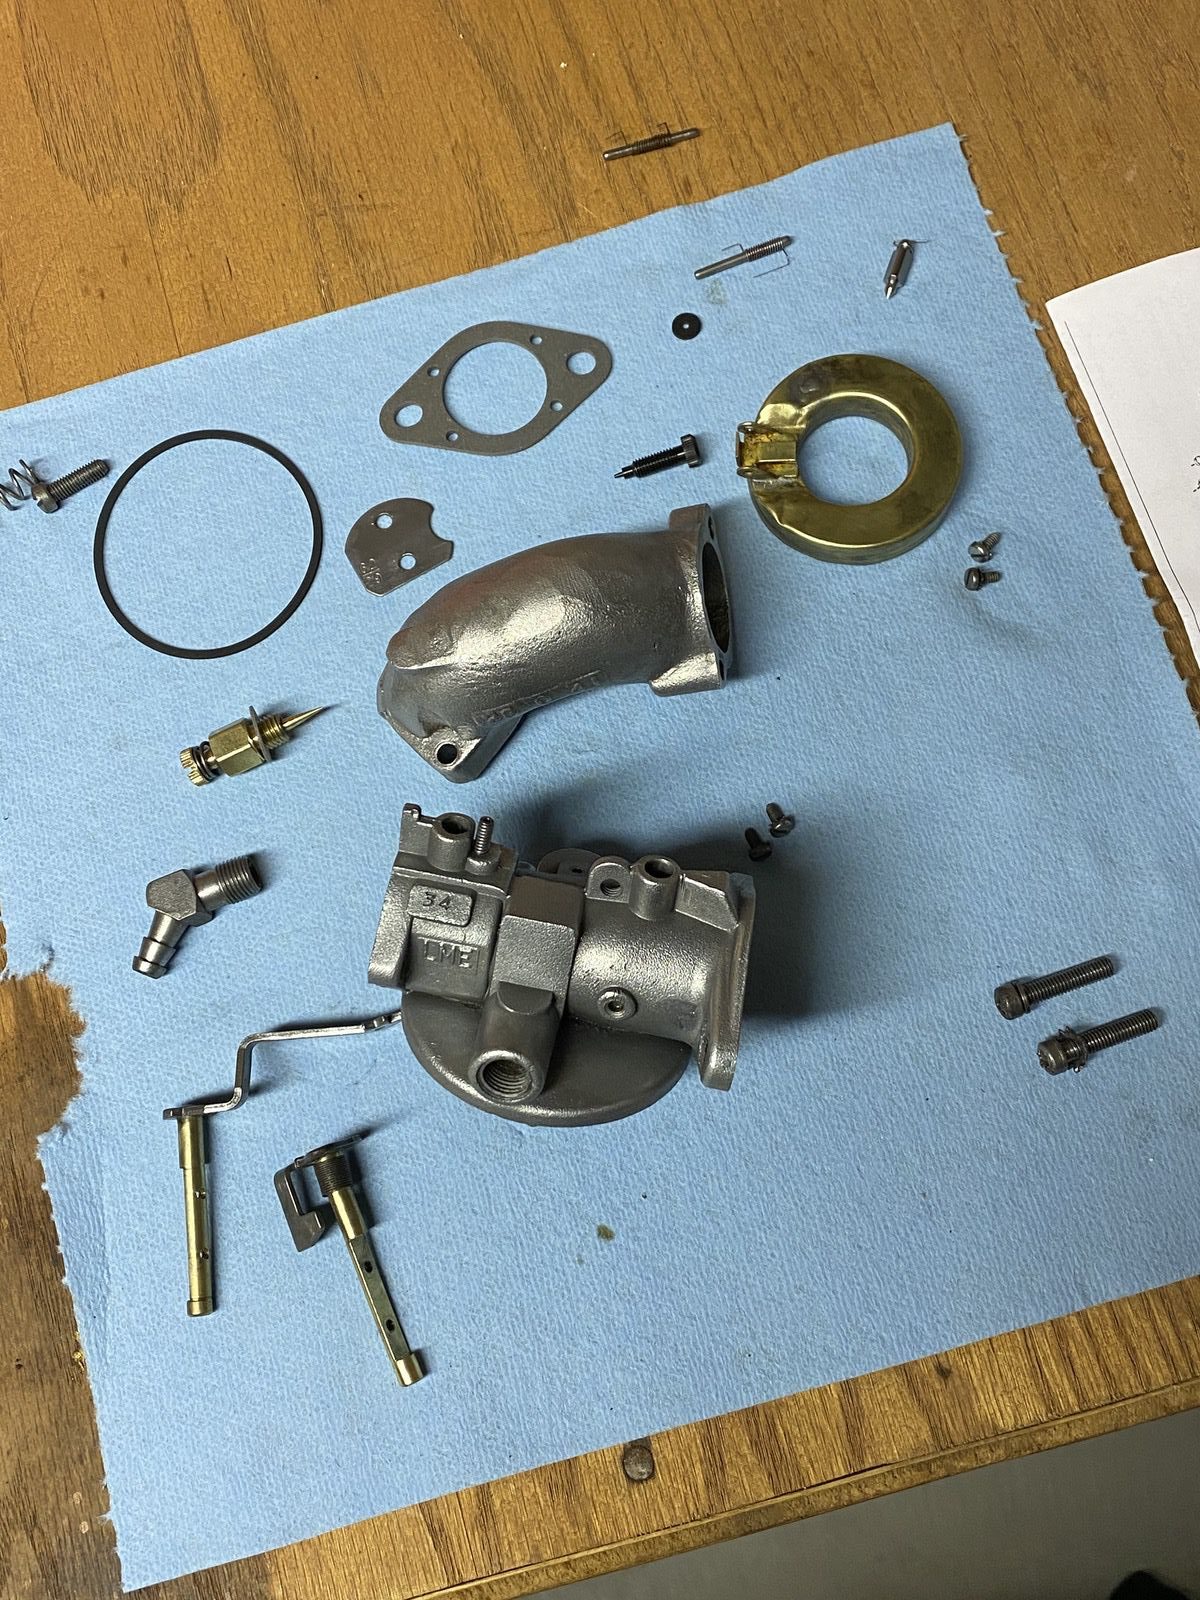

Here’s the result of plenty of time with brushes, a brass wheel chucked into my drill press, and a case of OCD. The thing looks better than brand new (in pieces, anyway!) and it was time to start screwing it back together. There’s not a lot of rocket science here but there was one part that was interesting and slightly tricky to get right.

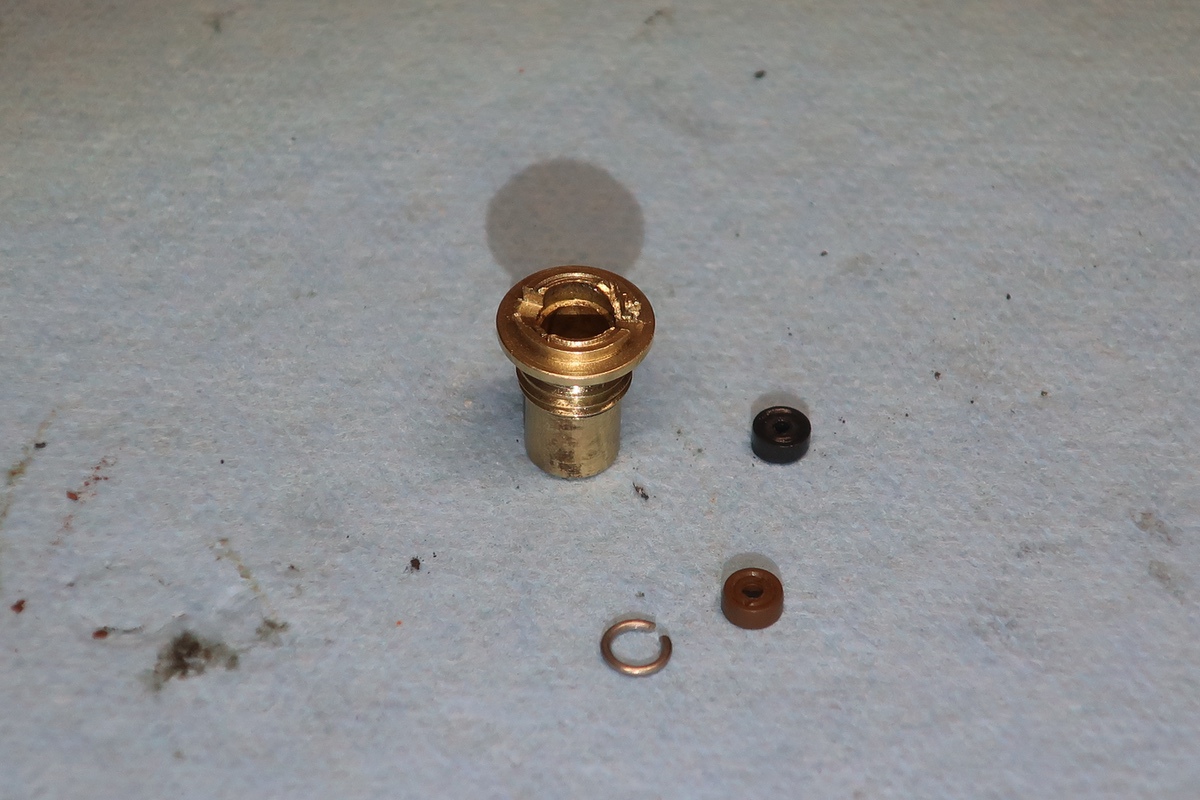
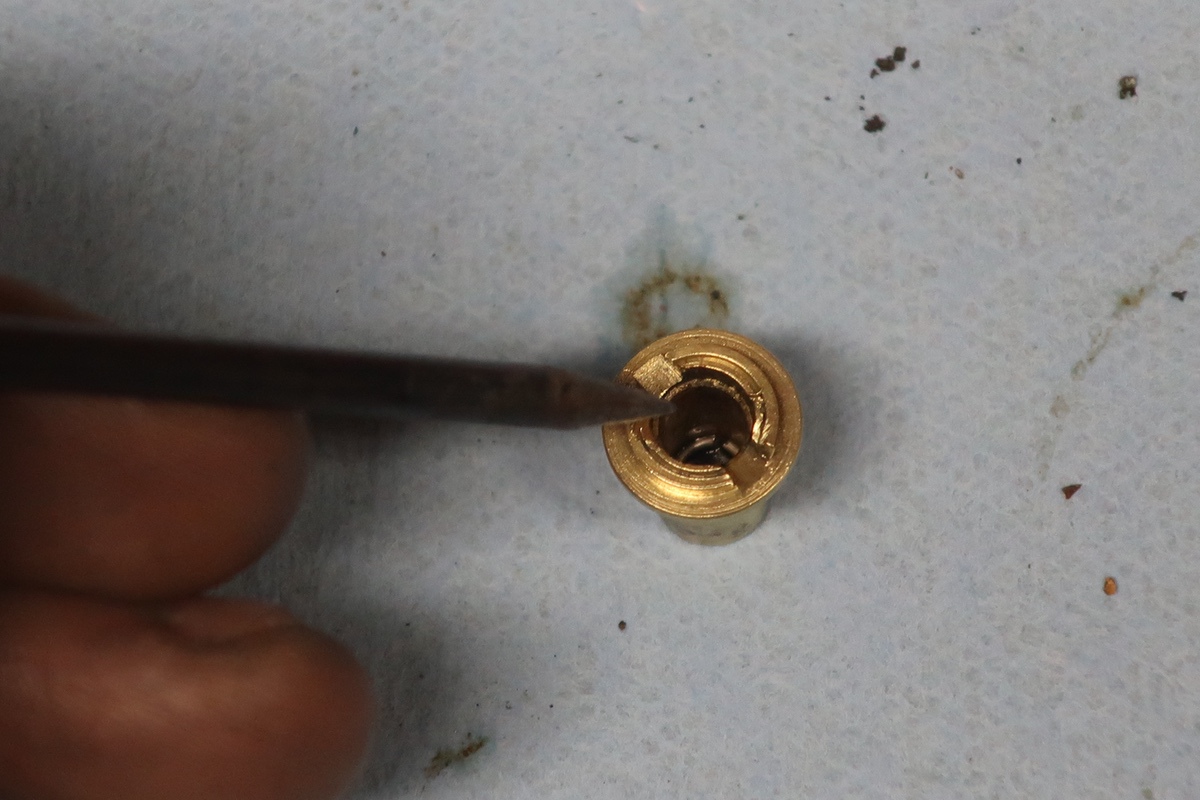
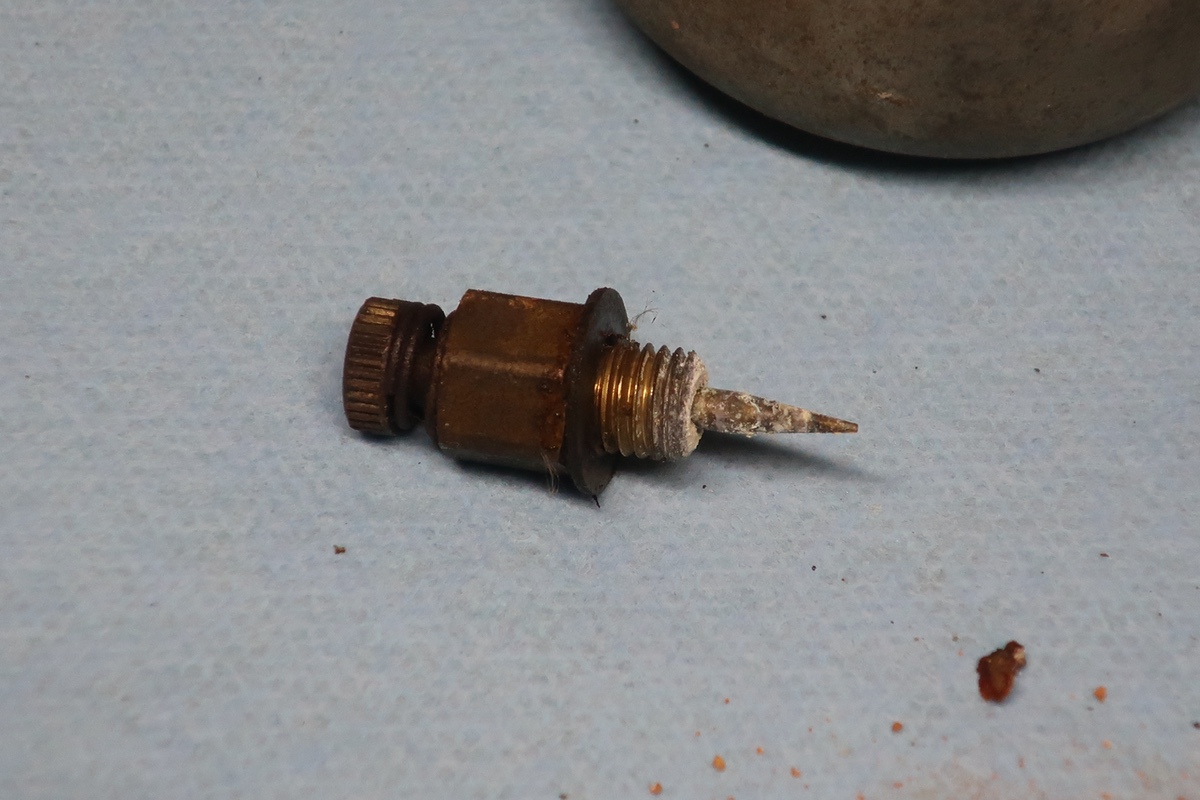
Replacing the seat was an interesting part of the process and really the one thing that went beyond “just screw it back together”. See that tiny little ring in there?! That’s what retains the seat in the carb. I used a mechanic’s pick and a couple of finger punctures to get that guy out of there. You use a small drill bit to force the new seat into place and then you work the new clip in there. The fact that I did not lose this thing is a modern day miracle. It is tiny and slightly tricky but after a few minutes it was all back together and happy.
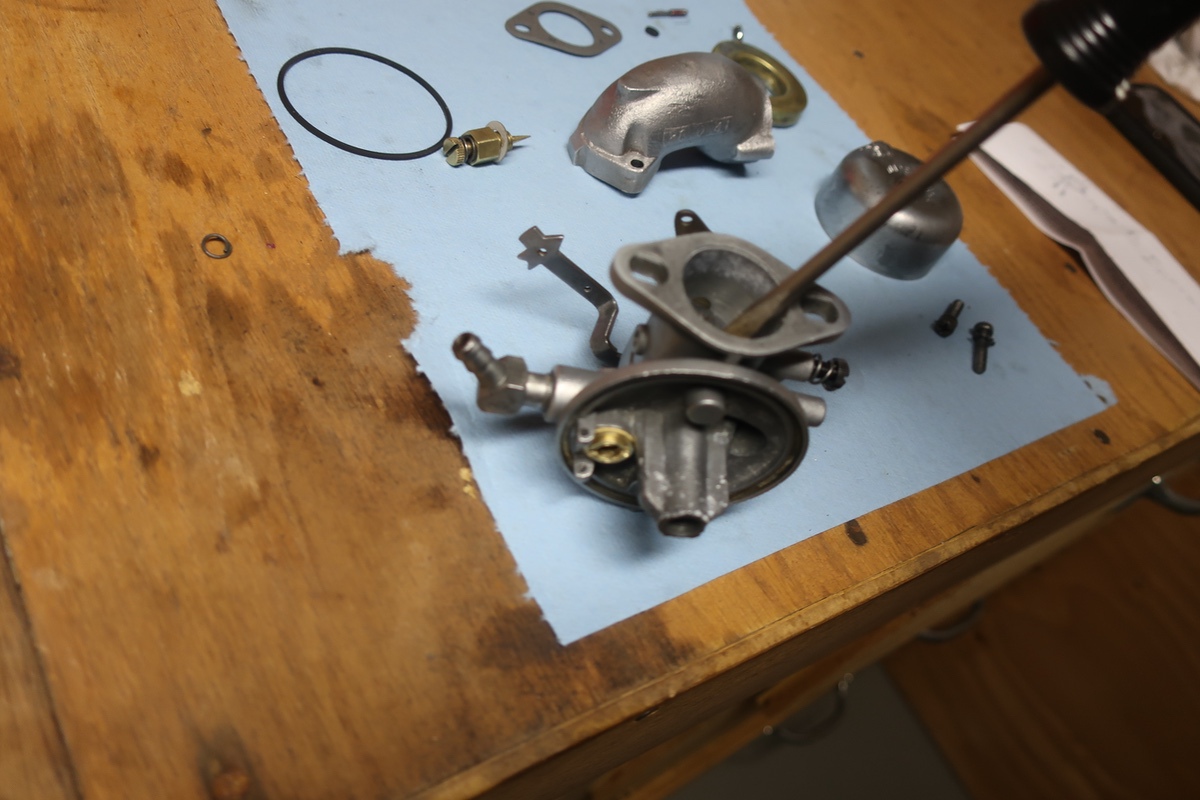

From this point forward it was just a matter of doing the normal carb reassembly stuff that everyone knows. I screwed stuff back together, set the float depth/travel, and just generally enjoyed the quiet and straightforward job of tightening screws and making things right again. The adjustment screws were set at the prescribed factory settings and will be tweaked once the engine is running. I also checked the play in the throttle and choke shafts as that’s apparently a problem with these. Bushings are available but there’s not much movement in either shaft so I am calling them good (enough).


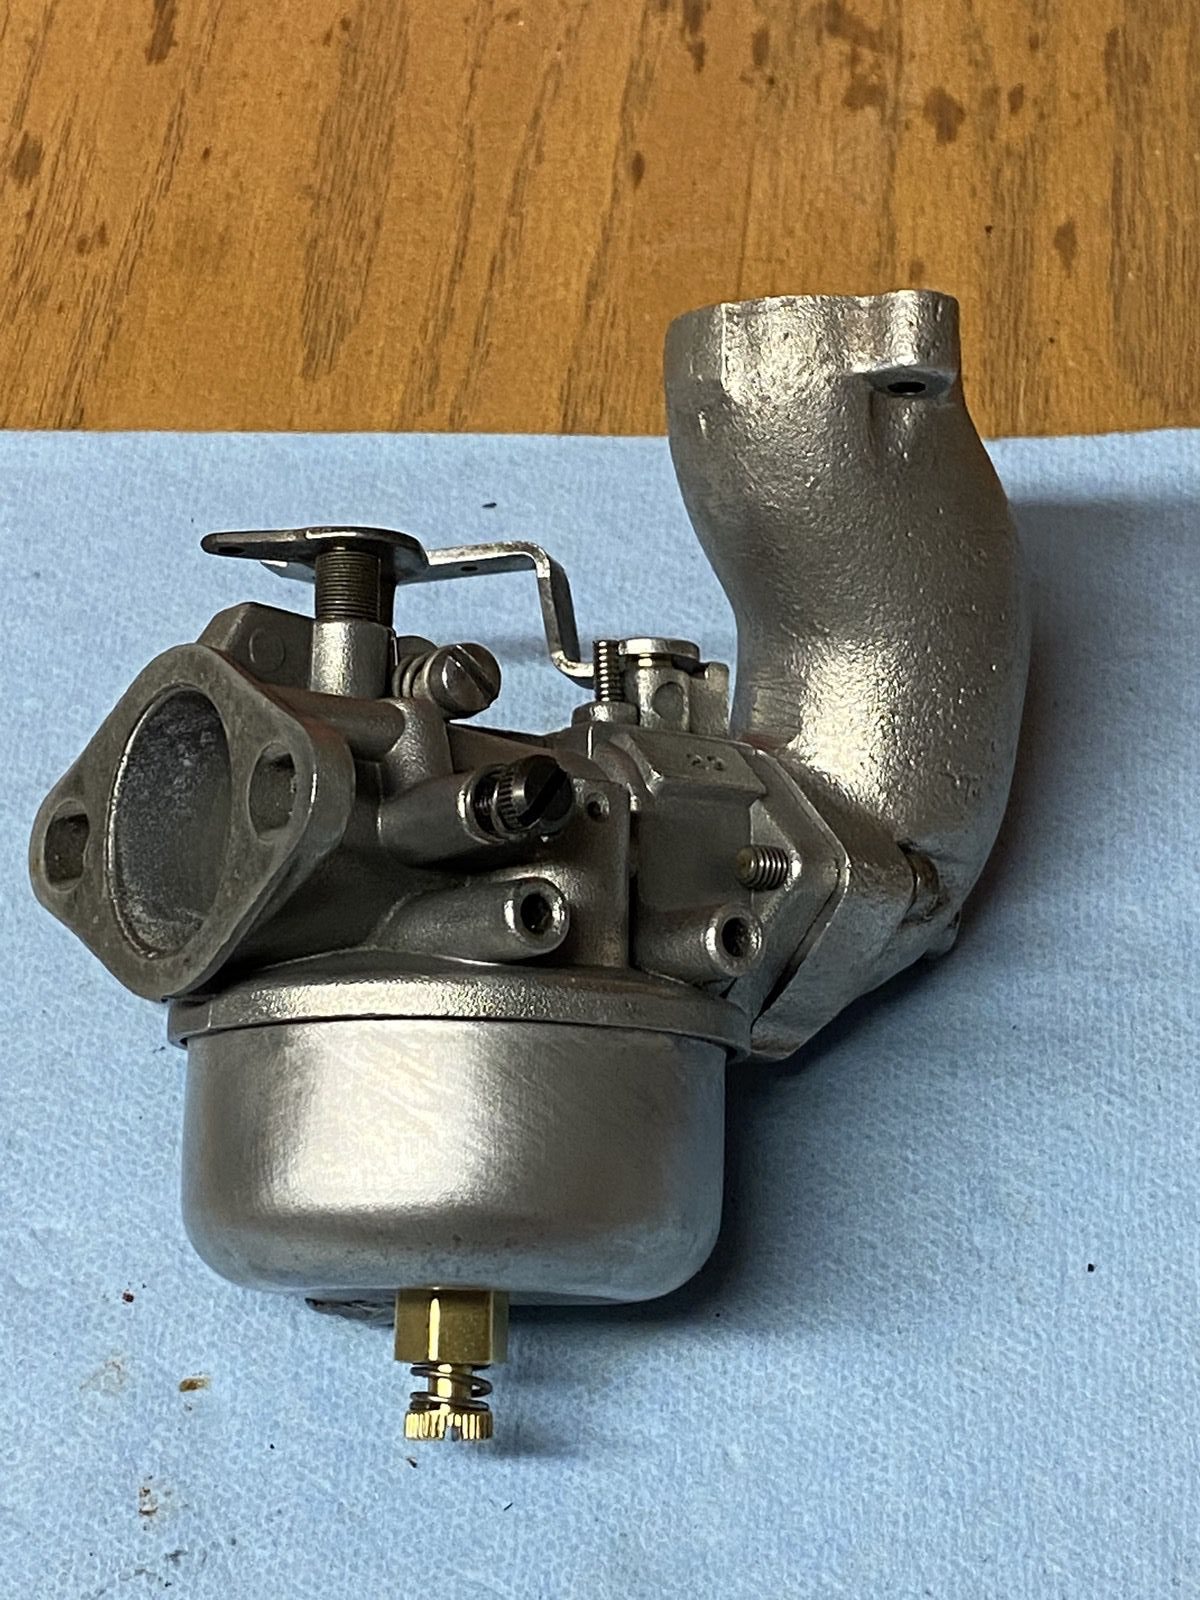
Here’s the end result. A nice looking, shined up, clean Walbro LME carb. Again, not a hard job but a satisfying one. The next time we talk about the engine, we’re going to be making the block and the rest of the package more spiffy looking and jabbing parts back together! Woooot!


I LOVE this project! The detail, the photos, the fact you are doing it in your basement on a budget, Its awesome seeing it come together! Makes me want to find a similar project and do the same!
I’ve found the trouble with these carbs is wear on the throttle shaft and bushings. It will leak air and it will never idle correctly. If yours has no wiggle you should be good.
$18.49 Brand new 1 year warranty.
https://www.mechanicsurplus.com/products/58470478?gclid=Cj0KCQjw-_j1BRDkARIsAJcfmTGdW3OH-V7cbMcC4XtXIV8JhMMDjm5ybqFiwekKiTg5rbpYe3Vx0PIaAj3aEALw_wcB
Wrong carb for wrong engine family. Thanks for playing.
I bought mine on E-bay for $9.83
the float is in bad shape, water has frozen in the bowl and crushed it into its self
So are the boys still involved with the project?