


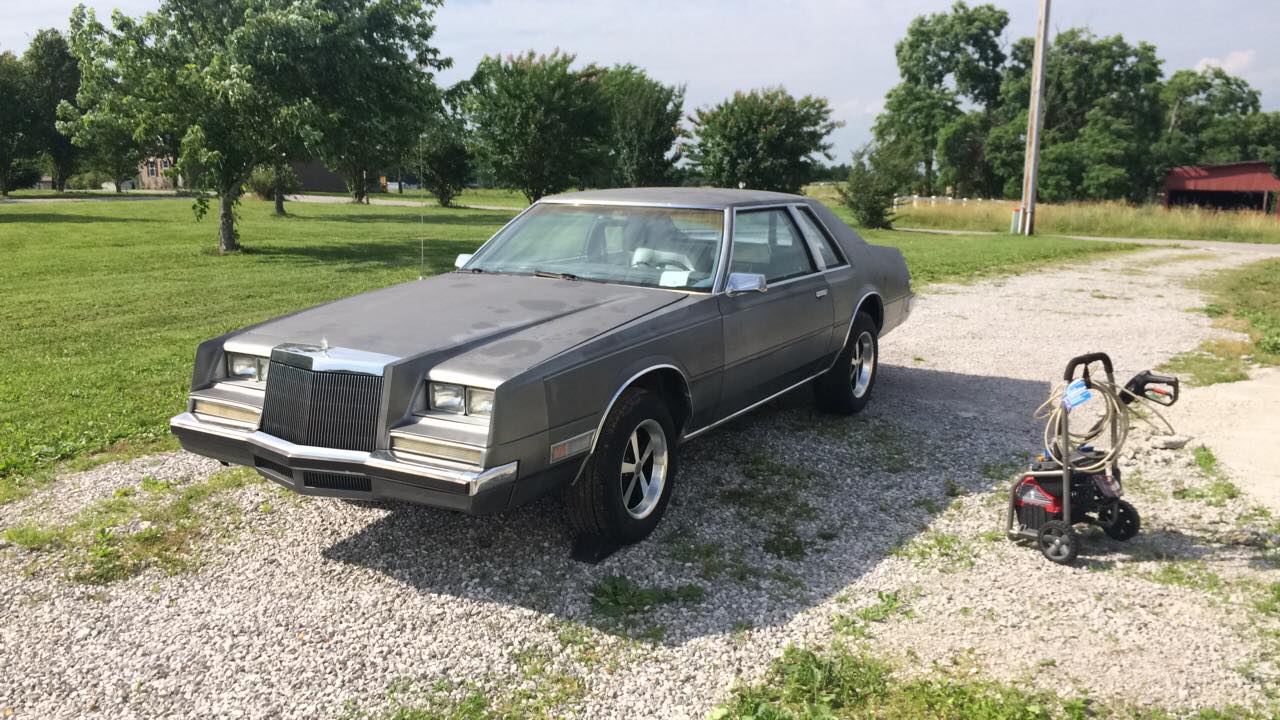
When I got to work on the new engine for the Imperial at the beginning of the year, I had been hoping that I would be cruising around in the car by now. As you can plainly see, that hasn’t happened. Even the best laid plans are subject to change at a moment’s notice, but work has been ongoing on the silver sled that has moved the car not only out of the garage for a bit for the first time in months, but in the path of the pressure washer for the first time…um…I’m not sure when the car last got a bath. Oh, yeah, that’s right…when I pressure-washed tons of mud dauber nests off of the car. Here’s a rundown on what’s been going on in the shop since the last update!
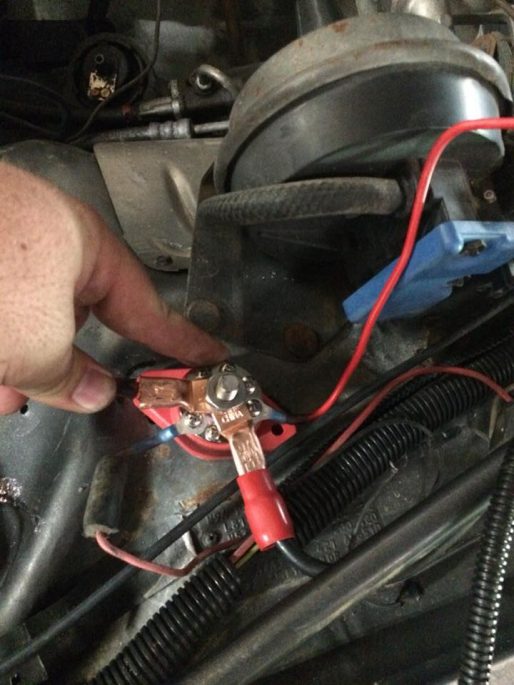
The fix for the absolute mess on the driver’s side of the underhood wiring bundle was a terminal block, which I mounted next to the cruise control system. I’m not completely happy about the bare terminal post, but for now, it’ll work and it’s nowhere near the hood’s metal.
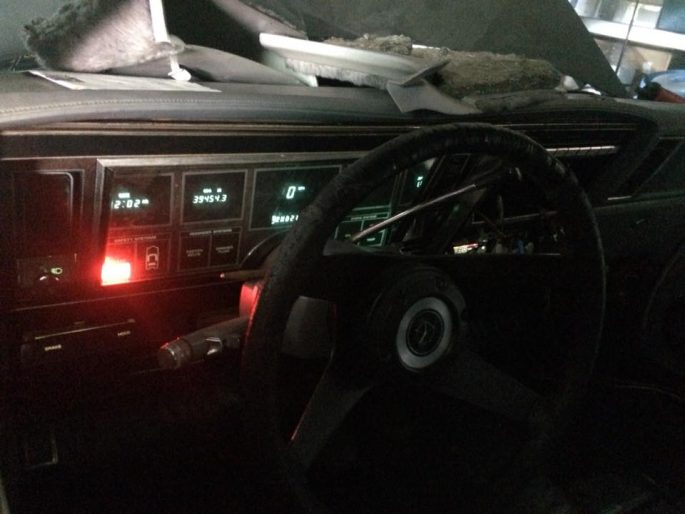
Power-on tests with both the jump box and a battery checked out good. And yes, my dash lights still function. That’s a win all by itself. What isn’t functioning is the fuel gauge, still. I’ve abandoned that project for the time being and will return to it after the car is running and driving.

I did start putting in some of the items I removed when I was preparing to sell the car last year, such as the sound system (fully functional again!) and the tachometer. During the hunting I found a second reason why the HVAC system didn’t function: the seven-point vacuum hose connector was dust, with not one line connected to the switch panel. Luckily, the lines look good, so this might be as easy as replacing the connector.

Another item checked off of the list was the repair of the emergency brake cable. I had to replace the entire unit after I snapped the original during the engine removal back in 2014. This meant that I had to take on drum brakes, not a strong point…usually this ends in blood and anger. This time, it was just sweat…the cable offered no problems and the e-brake is back to functional. The 11-inch drums still look great, too, so the rear axle is done.

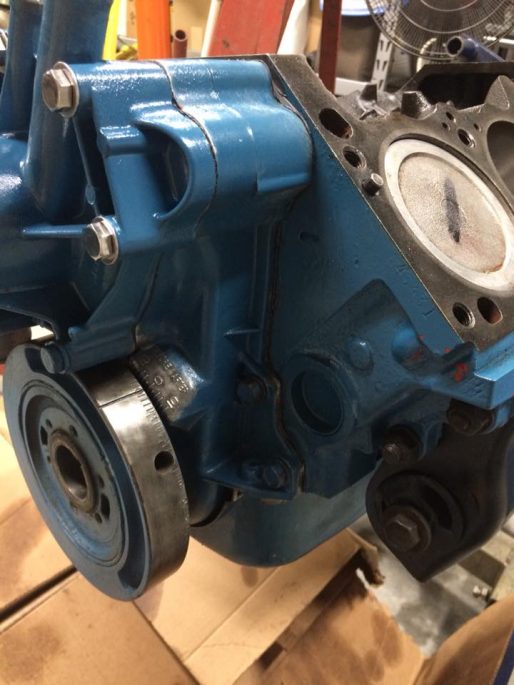
Work has been going on with the 360 since the car was pushed out of the shop. A brand-new Cloyes timing chain set was installed and the assembly of the front dress has been started. We’ve been going through three totes of parts, some old stuff from the old 323ci I saved and two crates that Eric Rood brought down when he brought me the engine.

Unfortunately, we hit a snag…you see the giant bolt that I’m holding? It’s a Chrysler crankshaft snout bolt for sure…but it is not the bolt for the damper. And nowhere in any of the three boxes or the Imperial itself is the right one. I removed and re-installed the damper to make absolutely sure that I hadn’t screwed up the installation and I was vindicated. Nothing in life is more irritating that being an inch too short, so we’ve got a new bolt en route.
So, an hour after I came in from the shop to get to work, here’s the latest and greatest update: the car is ready to take the engine as soon as I get the engine together. One freaking bolt is all I’m waiting on right now to finish up the 360. The heads are waiting, the intake and carburetor are waiting, and I’ve got stock exhaust manifolds that will undergo the torture test when we fire the beast off and do the break-in for the camshaft. I’ve still got some nerves about everything working properly, sure…those won’t settle until the break-in is over and the engine is still alive. But it’s close…so damn close!


Good going! Keep it up!
I thought Mopar fans were used to being a little short!
/hides
Starting to look like a car again! I have those terminal blocks all over my builds – cut a length of fuel hose to fit on the stud and most of the shorting potential is gone! There’s ALWAYS a fix!
Dan
Drum brakes needn’t be difficult. Brake spring pliers, and the screwdriver handled tool to remove the keepers on the springs that hold the shoes to the backing plates make it much easier. In the old days I’d do one side at a time, so I had a reference when I’d inevitably screw up, but now we just take a pic with a phone.