


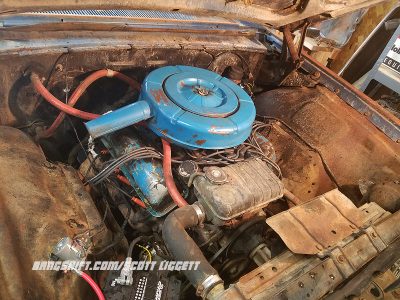
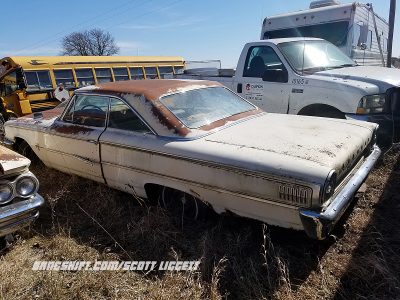
(Words and Photos by Scott Liggett) When we last left Project Mud Bomber we had rebuilt the brakes, replaced the shocks, had the gas tank cleaned and lined. We also cleaned over 250 lbs of mud off the bottom of the car and did our best to degrease the giant lump under the hood.
At this point the car did run and I could drive it around the block. While waiting for the gas tank to get back from the radiator shop, I used a 1 gallon gas can for a tank. That meant I couldn’t drive very far, but the car didn’t run well enough to go any distance anyways.
The original 352 FE showed promise and ran smooth, but it was obviously running overly rich. My buddy, Carson, rebuilt the Autolite carb, replaced the fuel pump and gave the ignition a full tune up. The ignition and timing were spot on, but the carb needed to be looked at to see what was wrong. With a new gasket kit installed, I thought it was just an adjustment that causing the problem.Turning in the idle mixture screws all the way in made the engine run better, but the engine shouldn’t run at all this way. This meant that carb was leaking fuel somewhere it was not supposed to be leaking.
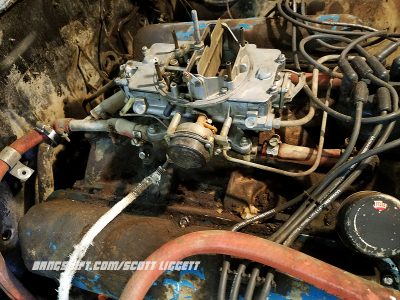
I ran the engine a minute or so, then pulled the carb off. It was all wet with fuel at the bottom around the discharge for the power valve.

I pulled the cover off the power valve and it looked OK. The diaphram did not show it was leaking. Turns out the gasket included in the kit was hard as rock and leaking. Since these Autolites share a lot of stuff as any Holley carburetor, I dug into my carb parts stash for a new power valve gasket. All was good. Carson’s carb build job turned out spot on.

With this success, I took the car for a drive around the neighborhood and stopped to fill up my 1 gallon gas tank, plus a second 3 gallon tank, just in case I ran out. It was pretty darn cold that night, so I tried to use the heater. I could hear the fan running full blast, but there was hardly any air moving. Also the lever for the heater control was jammed. There also a faint smell of burning antifreeze coming from under hood. I called it a night and was happy the results. I had a car that started and drove pretty darn good.

But, clearly there was still some work to be done.
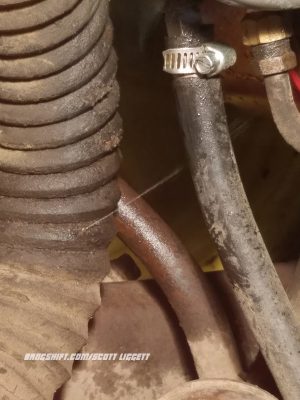
The burning antifreeze smell was easy enough to find. The lower radiator got a pin hole in it and would pee antifreeze as soon as the cooling system pressurized. Now, to figure out the lack of heat.
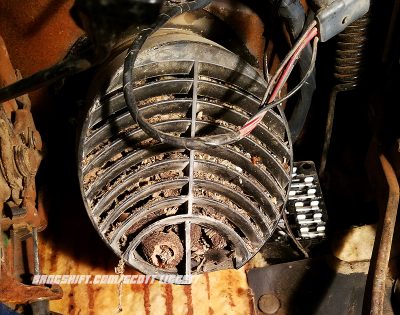
What I found when I went to fix the heater quickly became a comedy. I pulled off the heater box and found it was packed full of nuts. So much so, that the air door to control the air location was completely jammed. Damned squirrels. After pulling 10 lbs of nuts out of the heater box, cleaning and reinstalling it, the heater worked fantastic.

Later, I was under the dash and saw that the foot well vent was also packed with nuts preventing it from opening, or allowing air to move. Damned squirrels!!
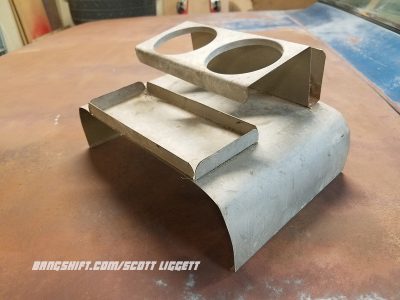
A buddy dragged me to a junkyard three hours away that I have been hearing about every since I got back to Nebraska. What was just supposed to be a day of looking at cool old iron in this out of the way junkyard, turned into finding a couple nice parts to add to the Galaxie. The first was just an old metal cup holder.
Looking further, we came across a nearly gutted ’63 Galaxie 500 XL. It had a nearly complete Hurst Indy 3 speed shifter.


Thankfully, we were able to get the shifter out of that XL without going all gorilla ripping up the floor.
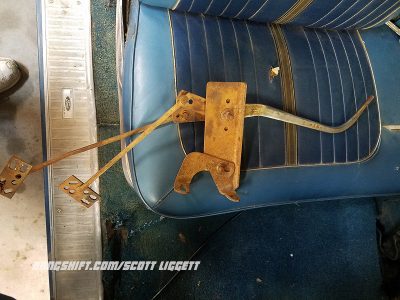
I totally took the shifter apart, cleaned it, and it painted the not plated parts, then reassembled the whole she-bang with a new white shifter ball.
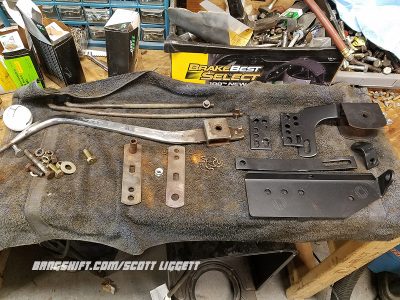
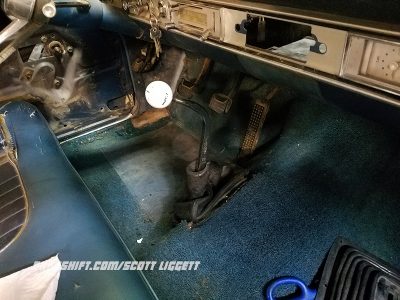
With a nice shifter boot I found from a S10 pickup during another junkyard jaunt, I cut up the nice floorboard to install the new shifter. No more 3 on the tree for this car. This was so much better.
After driving a while, I discovered why the back of the engine had 3 inches solid grease and dirt. The back of the intake was leaking like a sieve. There didn’t appear to be any gasket or sealant all along the back of the intake. After hearing about how ridiculously heavy these FE iron intakes, I was not looking forward to this fix.
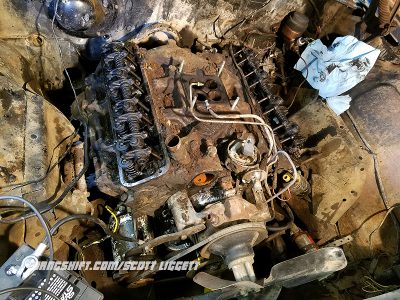
This picture shows the halfway point of 4 solid hours of chipping, scraping and brushing away petrified grease off that 352 intake. But, greasy engines are something that drive me absolutely crazy. I hate my engines all filthy.

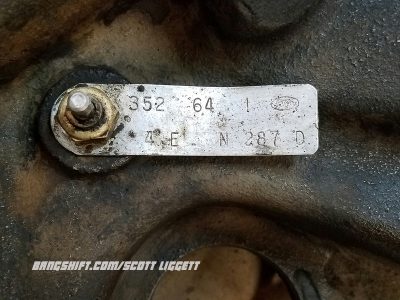
Under all that grease I found the temp sending unit and the engine’s original tag. This shows that the engine was really a 352 dated in May of 1964. I have been told these are usually long gone by now.
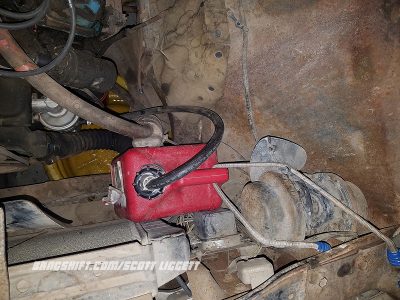
After another 8 hours of cleaning, I repainted everything I took off the engine. I guess I am weird like that. I also cleaned up the radiator fill tank, without going crazy trying to polish it.


My friend, John, dragged me back to Watt’s Repair and Salvage to buy a C10 he was lusting over during our last trip. We thought it would take a long time to get running and driving, but it was in better shape than we thought. That gave us to crawl around in the yard again. We found another 63 Galaxie in the yard. This one had vintage Cal Custom finned aluminum valve covers. After a bit of negotiating, I brought these home for my Galaxie as well.

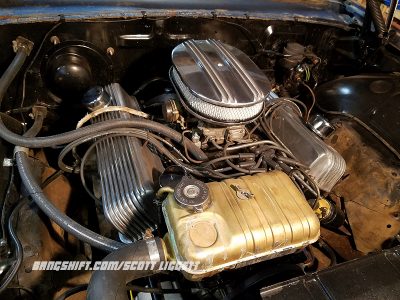
After spending a few hours cleaning and polishing the valve covers, I installed them with a new Cal Custom finned air cleaner. What a difference than a few months before. The engine was finally looking presentable and was running great.
Not a day later, the original generator started making horrible noises in the way of its belt pulley split in half. Looking at the $400 price tag for a new generator with a pulley, I hopped over to Napa and got one of their 60 amp 1 wire GM style alternators. It worked great.

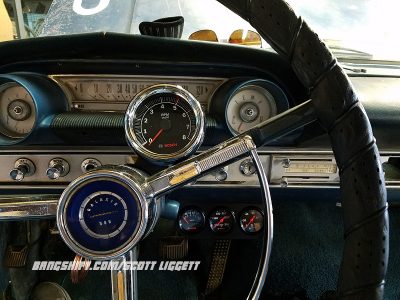
The last mechanical add on I did was a tach and gauges. I came across the Bosch versions at the local Advance Auto Parts store. They had the look I was wanting and worked great.
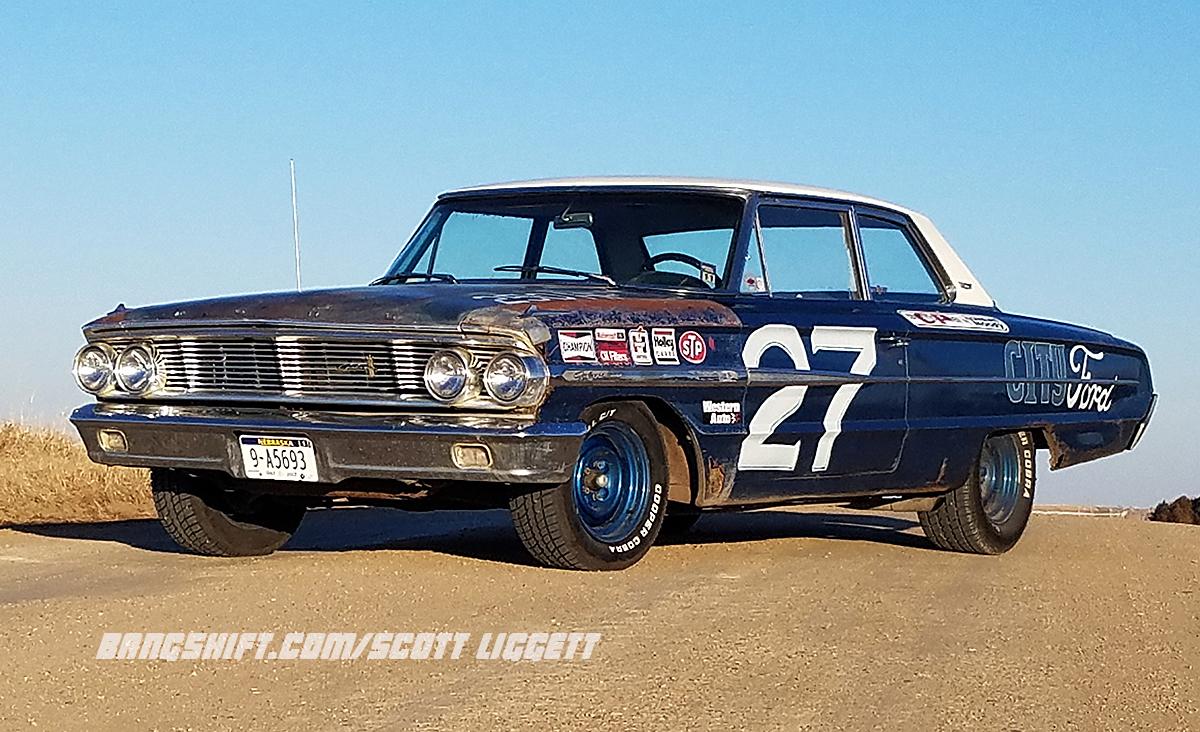
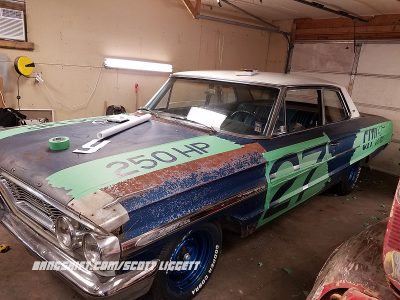
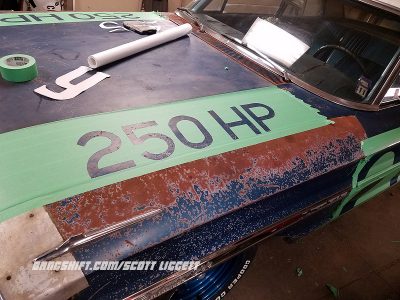
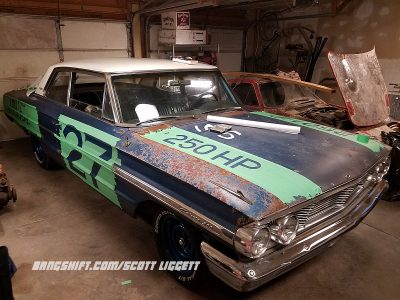
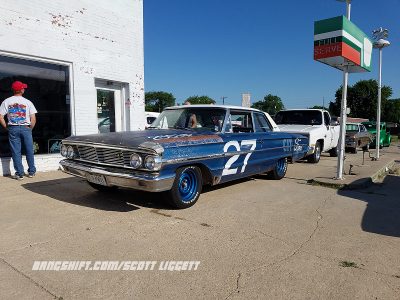
With Tour Nebraska quickly approaching, I wanted to one last thing to the car before that weekend. I wanted to give it the NASCAR Bomber vibe I always saw in it. After a trip to Hobby Lobby for a big roll of paper, I got my artsy side going to design numbers and names. I started with the original horsepower number the 352 had from Ford in 1964. I then picked a number I liked for the doors, and was easy to make. Lastly, I came up with a sponsor name. Since this isn’t really a race car, and I didn’t want to take a name that was known, I came up with a fictional dealership that could have been anywhere in the country, City Ford.
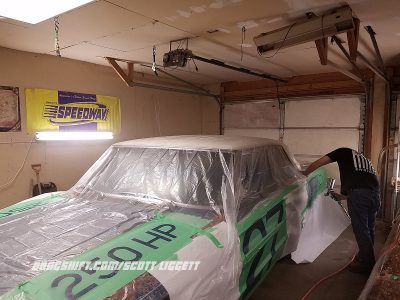
My good friend Josh Sikes is a talented body and paint man who helped me paint the new wheels for the Ford. With the offer or bribe of pizza and beer, I convinced him to help me transform the Bomber to look an old veteran of dirt track racing. It took a couple nights to complete, with one night just for all the masking and taping.

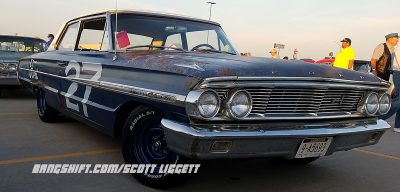
Less than a week later, we were in York Nebraska for the start of the Tour Nebraska 2017. With nearly 500 vehicles belonging to the members of the Nebraska Rod & Custom Association, we cruised almost 1000 on the back roads of this great state over the 3 day weekend.
The old farm derelict ran fantastic with one exception. She really like her oil to the tune of 2 quarts every 50 to 60 miles. Halfway through the first day, I started adding 1 quart of Lucas Oil Stabilizer and 1 quart of 20W50 at each time. The Lucas Oil Stabilizer really helped with oil pressure, increasing it from 30 psi to 40. We knew when we needed to add oil when the engine went to idle and oil pressure bounced off zero. But, we did manage 18 mpg over the trip in that big girl running 65-70 mph. Overall, I was happy with her.


I had one last detail to do to complete the look of the old circle track race car look. I wanted to add NASCAR contingency decals to the fenders. I found a website that had copies of real ones going back to the 1980’s. I picked out several that looked vintage enough for the 1960’s and ordered them up. Lastly, I got a couple Holman/Moody decals to complete the look.
Scott Liggett


How fun! What a cool project!
love it !!
Looks good!
See not a huge money pit.Looks great and you don’t have to be afraid to drive it any place.Very cool ,
I like it and I wish the pictures weren’t compressed to 1990s internet standards. 🙁