


The fabrication work continues hot and heavy on Project Violent Valiant and today’s installment will show you how Kevin Tully made and fitting the car’s firewall. With the addition of the big, aluminum block 413 that will power this car, the new chassis, and well every other damned thing that he’s touched on this car, the stock firewall was not going to cut the mustard. As you’ll see in the photos and captions below, starting with just a few flat sheets of steel, Tully bent, rolled, cut, welded, and shaped this firewall using some basic tools and his own skills. That’s probably the coolest thing about this part of the project for us. Seeing something go from a simple piece of flat metal into an integral part of the car is really, really neat.
It took Tully some time and we’ll go into more detail below as to why but the planning process in creating a firewall is critical. Tully had to account for where wires and other stuff would have to pass through, he had to account for the positioning of the master cylinder for the clutch and the braking system on the car, roll cage down bars, and where things like the Vintage Air system and other parts would mount. The idea here is to make something that is functional, strong, and visually appealing. Let’s see how he went about it and what the finished product looked like. Also, we’ll take a look at Tully’s modifications to the factory steering column which he is going to keep in the car because he digs the look and it is nicely positioned for the header building process among other things.
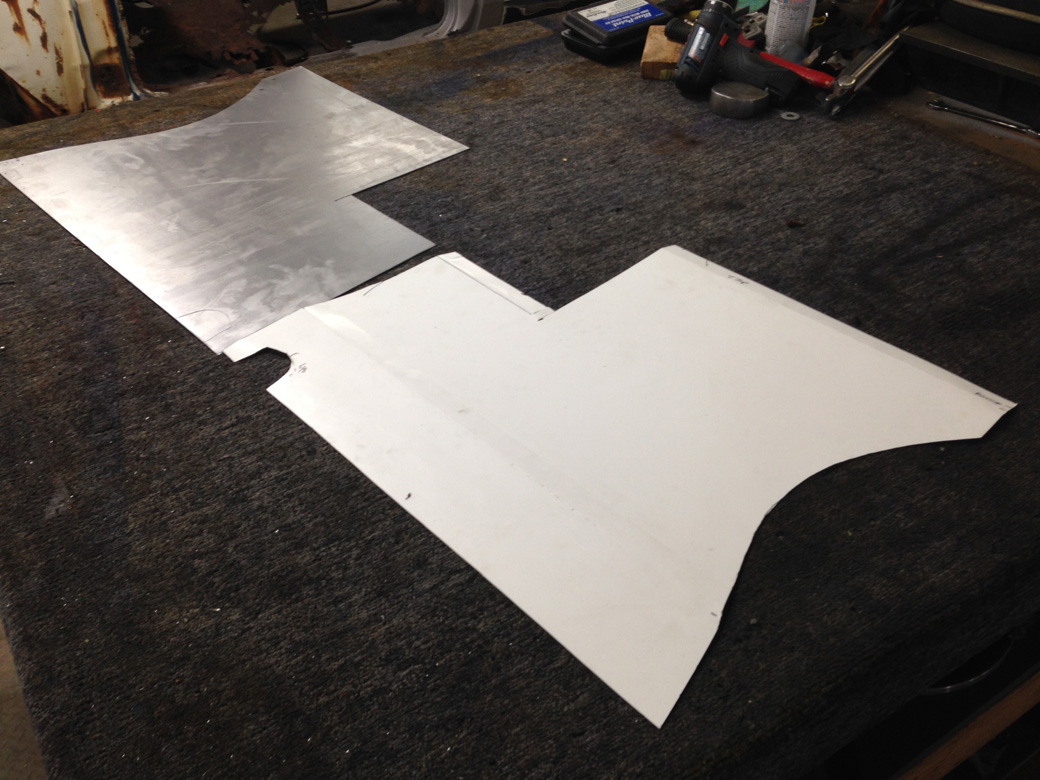
And here’s how the process starts. These two sheets of steel were rough cut to the basic shape of the firewall and you can already see some a small notch made in the top and the basic opening for the transmission.

You can see that some basic shaping has begin with the way that the panel is kicked up on the side closest to Kevin. Here, he’s running the panel through the bead roller. The three rolled lines will make the panels lots more rigid and they do add a nice finished look.

Both of the pieces were treated to some quality time in the bead roller.
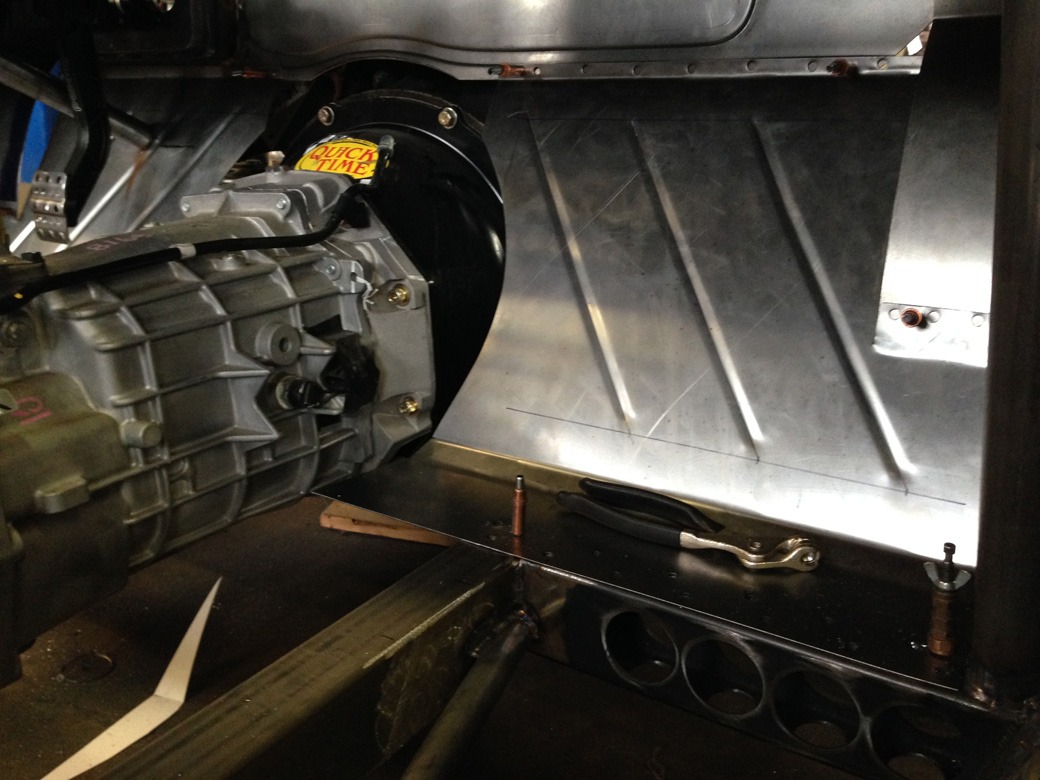
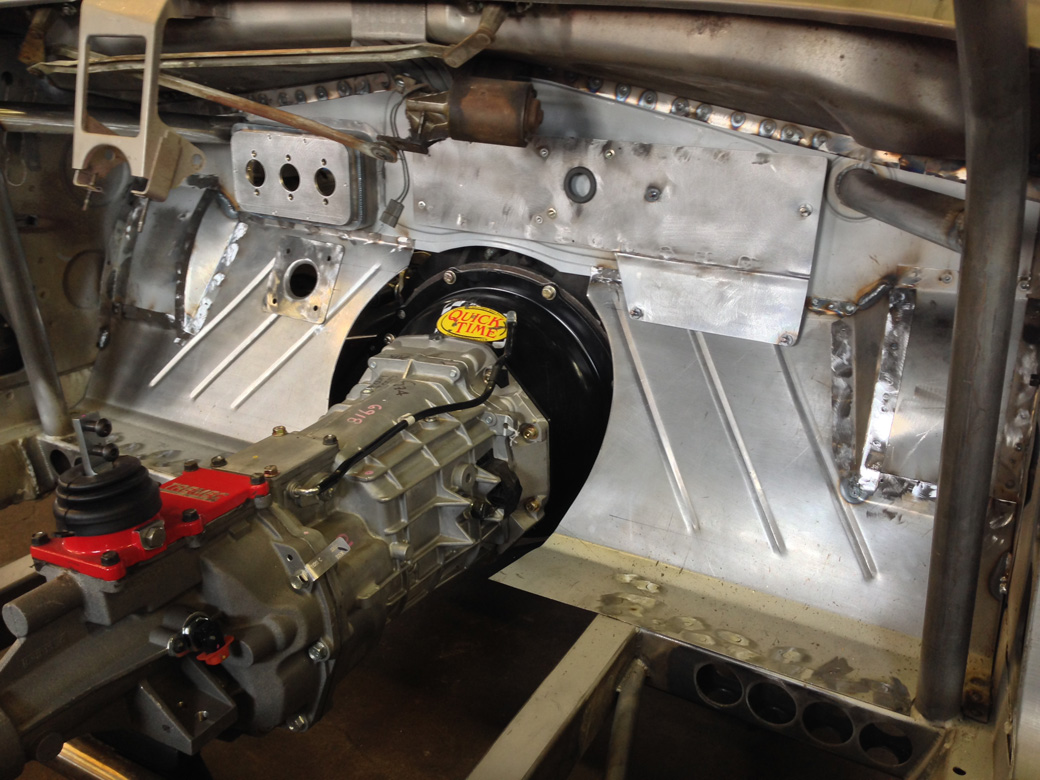
Here we can see the panel as it fits in the car with a more finished radius cut into it around the clutch can.

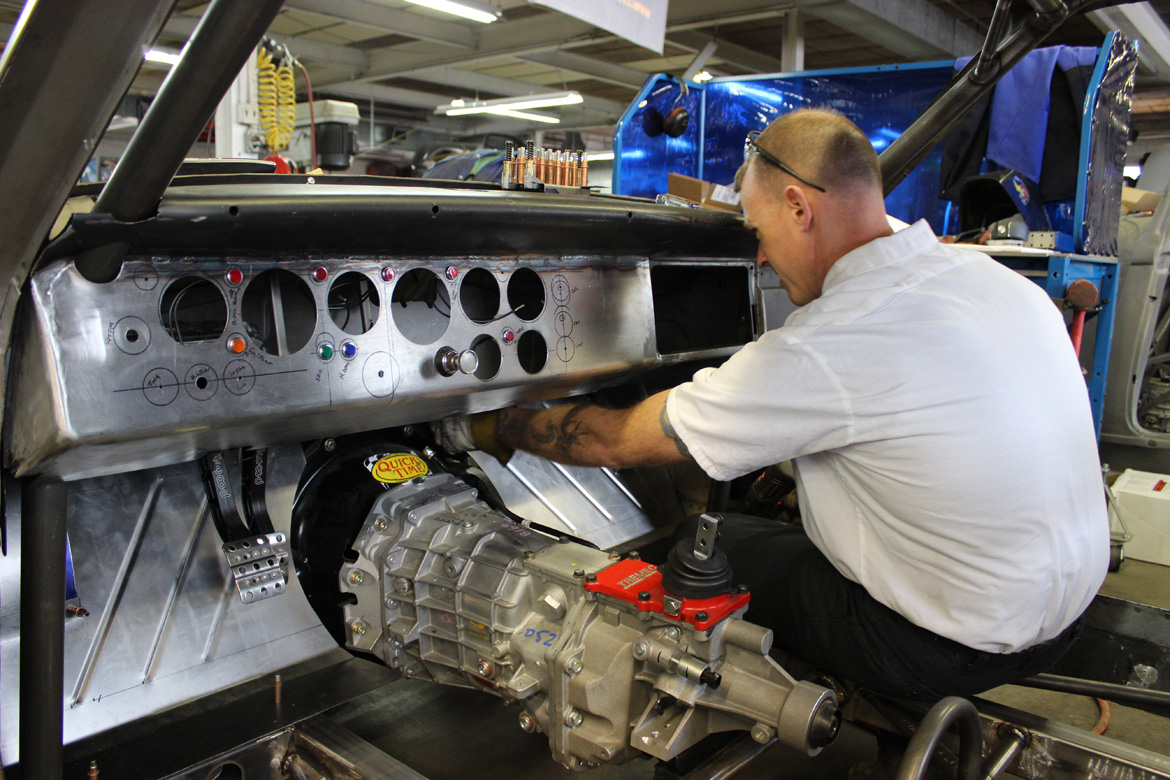
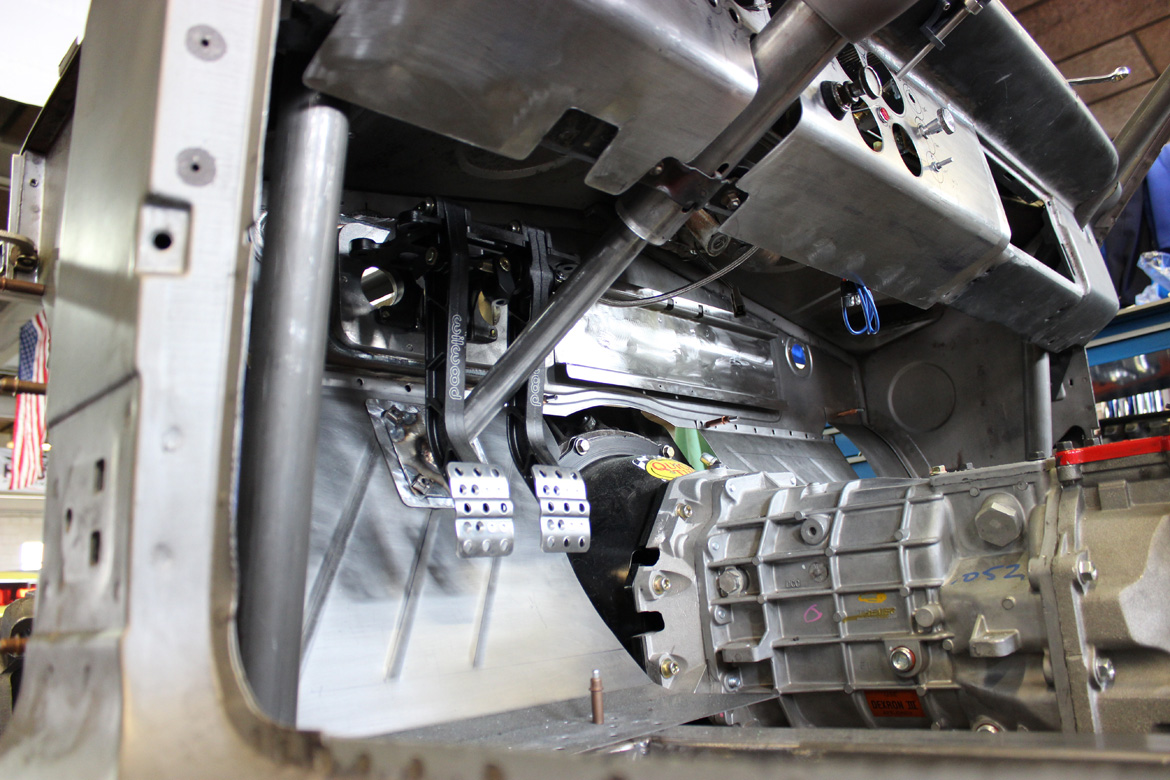
Here’s the driver’s side and it looks pretty boss, especially with the racy Wilwood pedals hanging down from above. Interestingly, those pedals posed the first challenge in this fabrication project on the fitment front for Tully. How? We’ll show you.

Wilwood provides this robust steel plate to mount the master cylinders for the brakes and clutch on. It is nice and thick and designed to no deflect when the pedals are depressed. Kevin cut the necessary area to fit the panel and laid it in there.

Ruh-ro. The large 413 was right up in the mounting plate’s business and Tully knew that this was not going to be suitable as a long term solution so he decided to do what he does best…cut and weld baby!
By building a recess and moving the mounting plate back there is no issue with interference and everything will fit happily. It did move the pedals back toward the driver a small amount, but since the seat has not been laid out in the car, that can be accounted for.

Kevin decided to go old school with the gas pedal using this piece that has the added safety net of a toe loop that a driver could use in the event that the throttle got a little on the sticky side. Kevin prefers using mechanical linkage rather thana throttle cable so this one both looks the business and could be the last line of defense in an emergency situation.
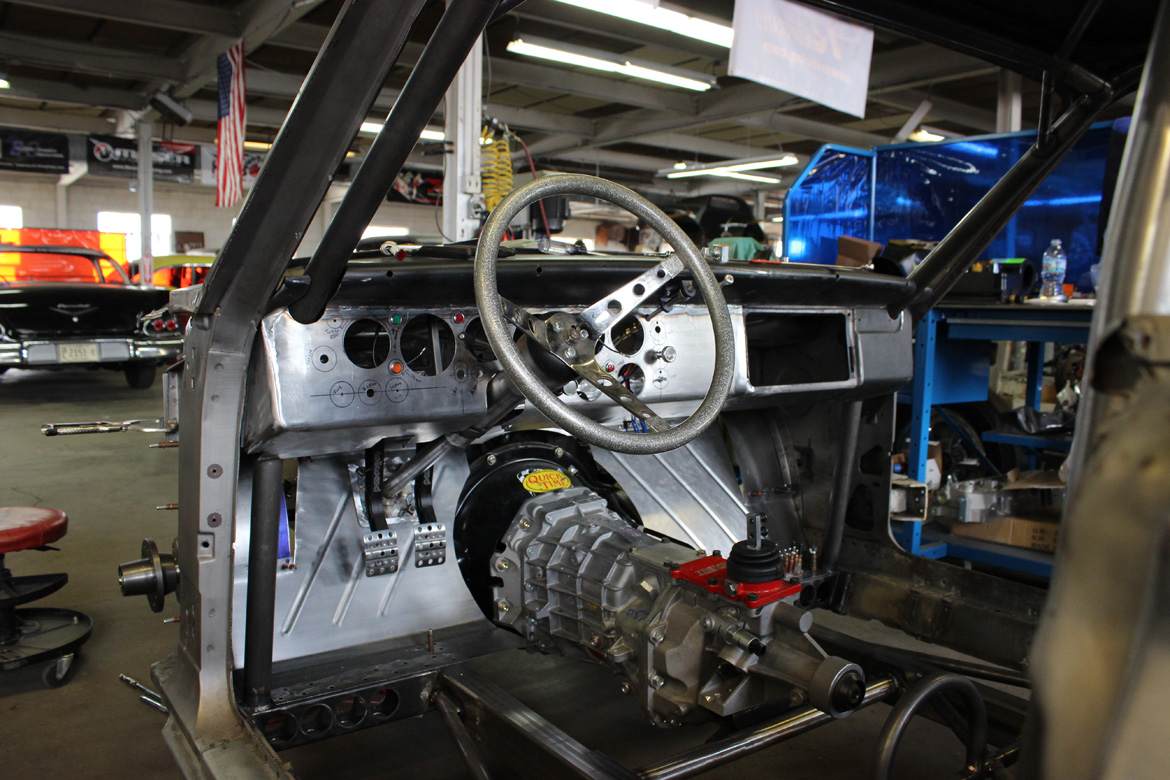
So here’s a look across the whole firewall where you can see the opening for the steering column to pass through and the recessed mounting area for the pedals that Tully added for engine clearance on the other side.
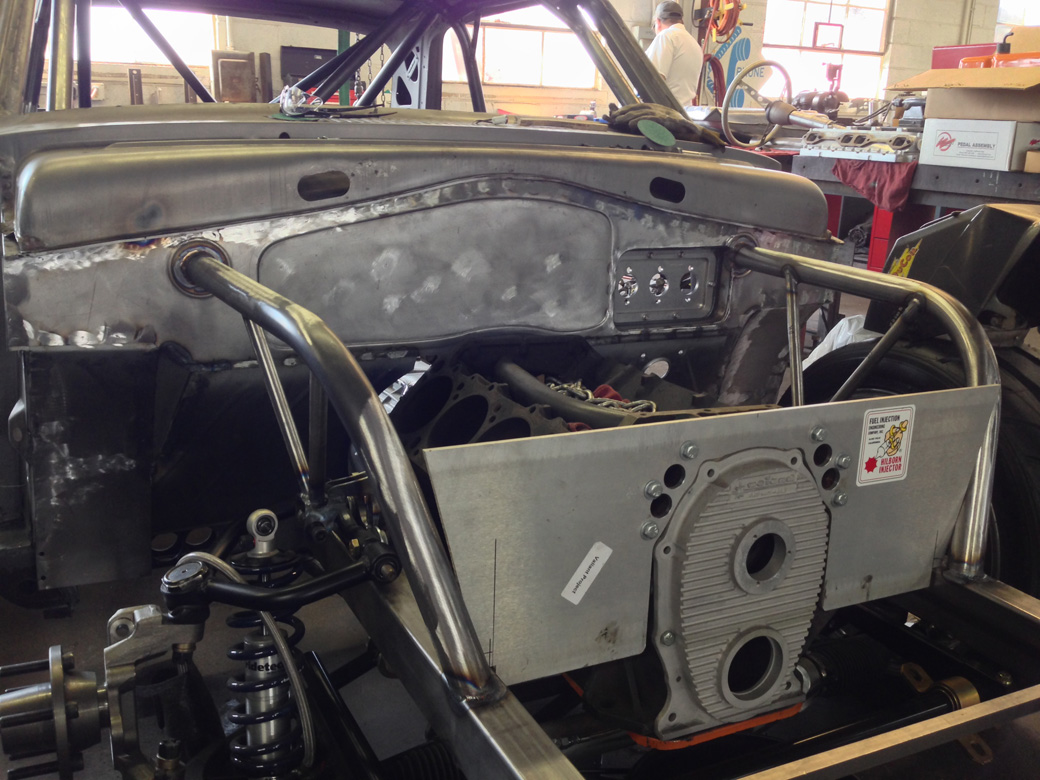
Let’s take a look at the “other” side of the firewall as we have been concentrating on the interior angle of things. Looks bitchin’, right? Tully tells us that following with Chrysler tradition, the engine bay will eventually be painted the same color as the exterior of the car.

Because welding porn…
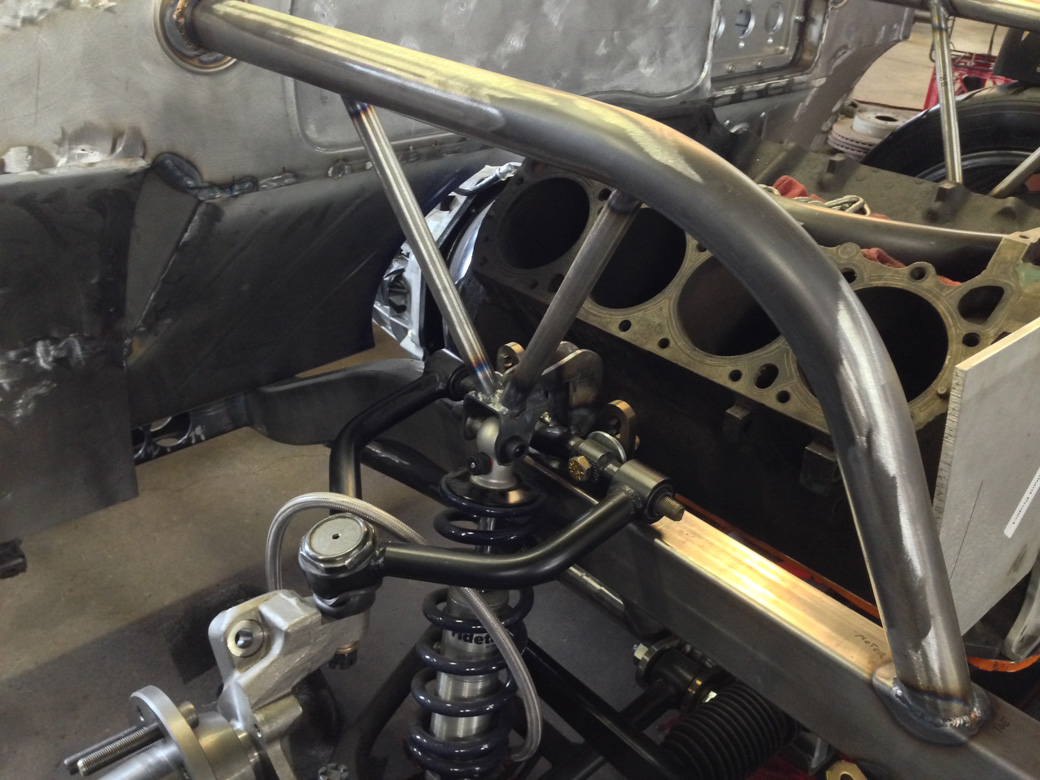
This shot give you an idea of all the different angles, parts, and piece that go into making the firewall work.

Another look at the rather complicated corner work required to get everything sealed off between the engine and passenger compartments.
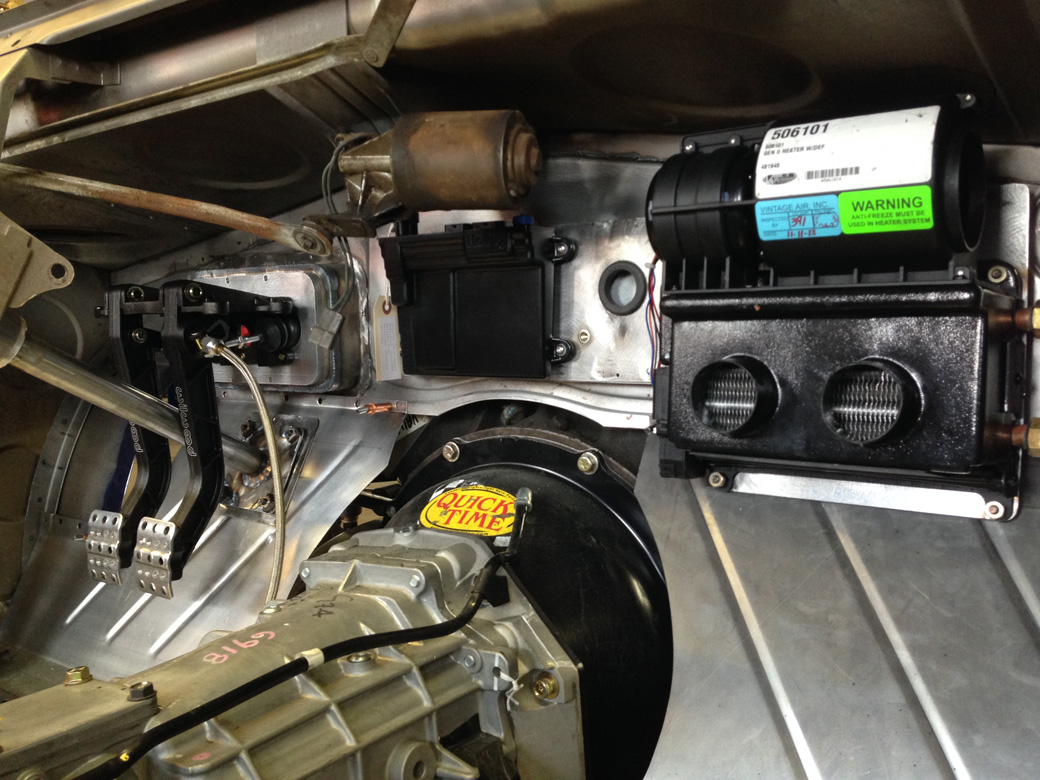
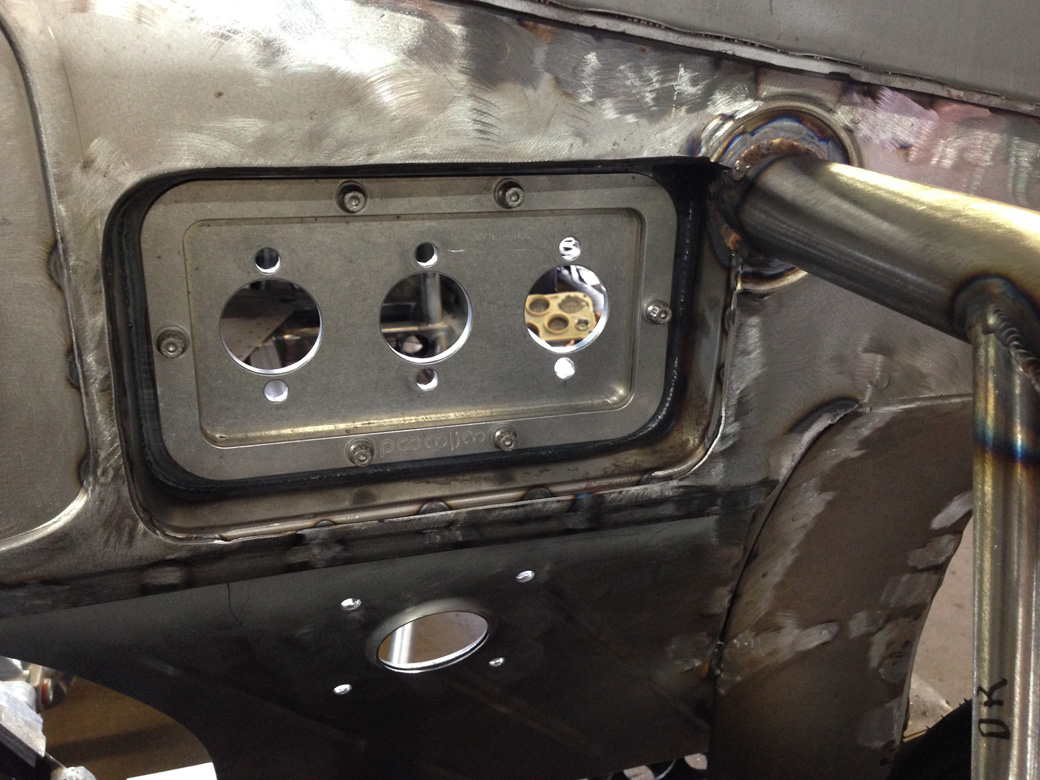
- Here’s how “busy” it gets with the pedals, Holley EFI computer, and Vintage Air system mocked into their future positions on the freshly fabricated firewall. That grommet you see is the pass through for the electrical stuff and we’ll go into more detail on that because is is built in a way to keep virtually all of the wiring hidden and sanitary.
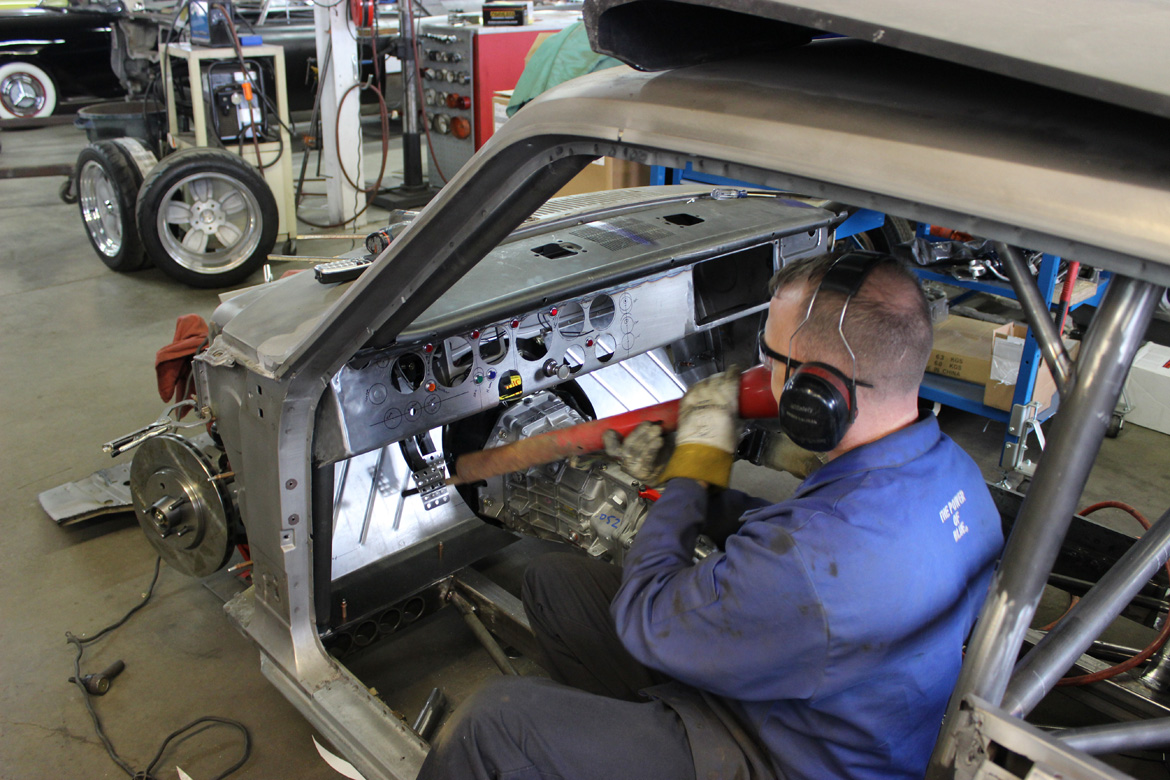
Like we told you, Kevin plans on retaining the factory steering column because of a couple reasons. Firstly, the believes that the styling of the column fits the car and looks mo’ betta’ than a modern aftermarket piece, and (b)…it fits with a little tweaking.

Kevin had to tweak the size of the actual opening in the dash to get the column exactly where he wanted it. We enjoy running photos with sparks present because we are simple.
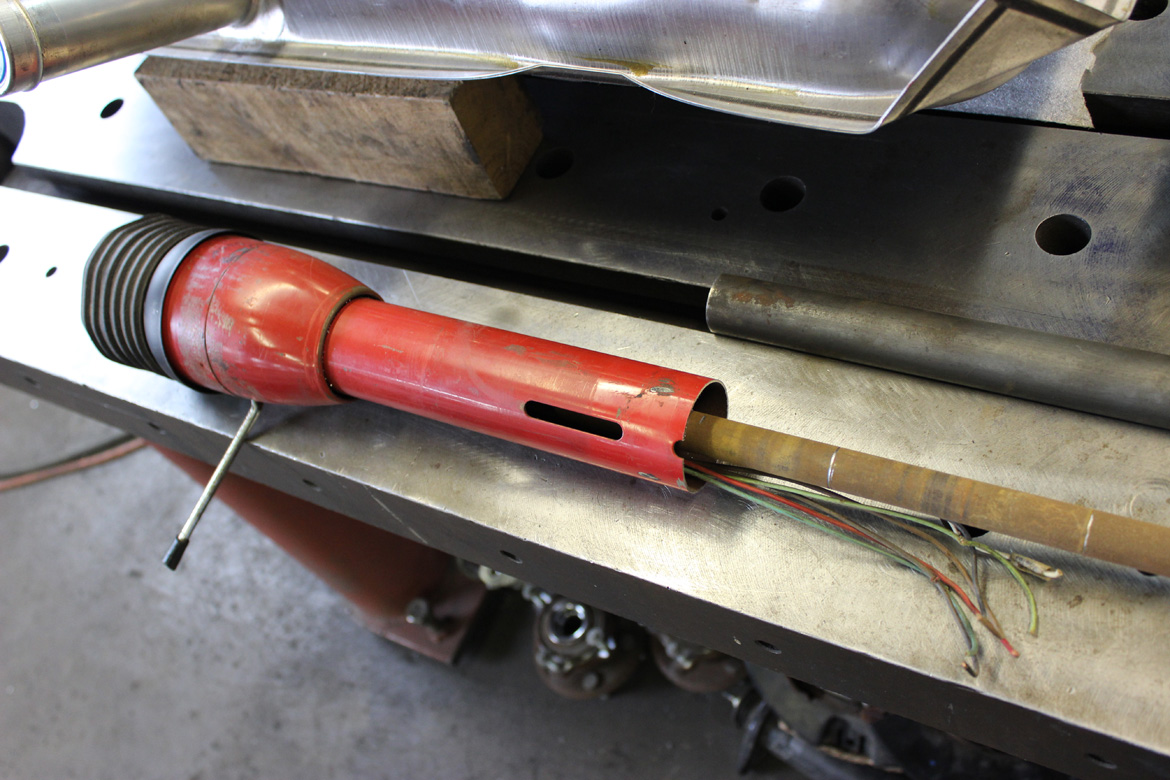
Like most stuff on an early 1960s Valiant the column was pretty simple. Modern columns tend to have a bigger “bell” at the top and Tully wanted to avoid this. It was on the business end of the column that changes had to be made.
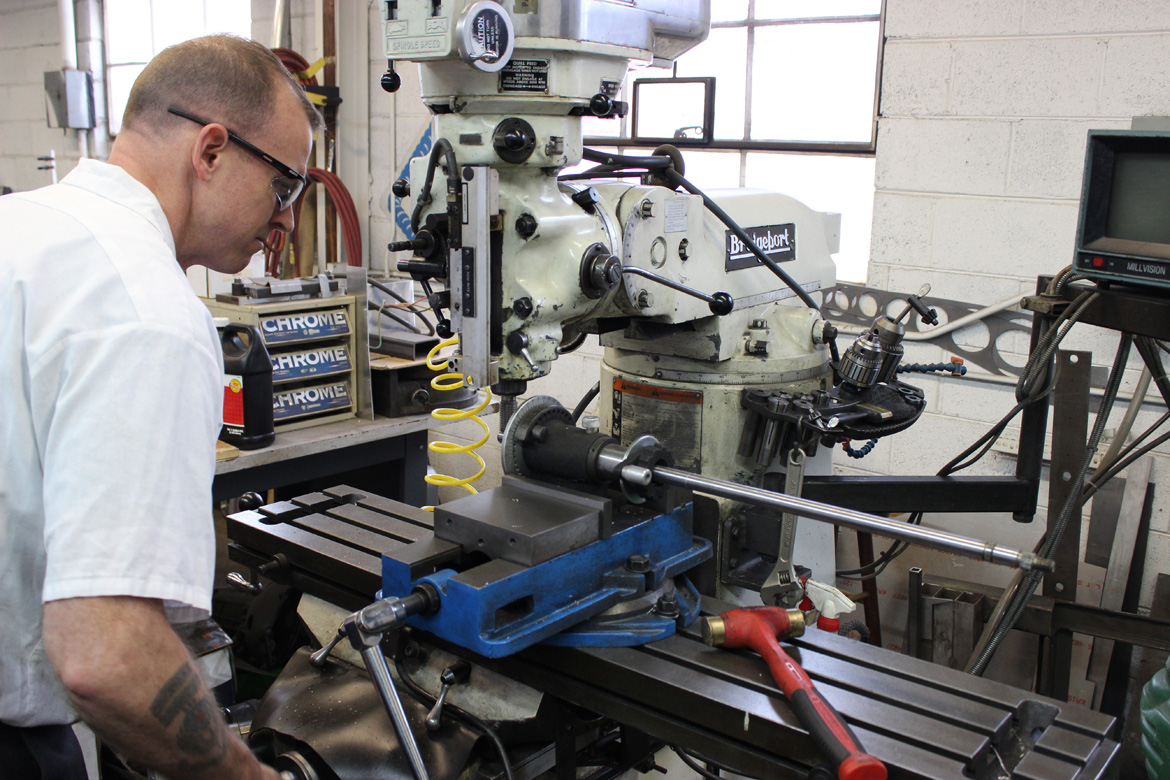
Using his trusty Bridgeport and a cutting head, Tully needed to modify the end of the steering shaft into a “double D” shape to mate up with the universal joints he is using in the system.
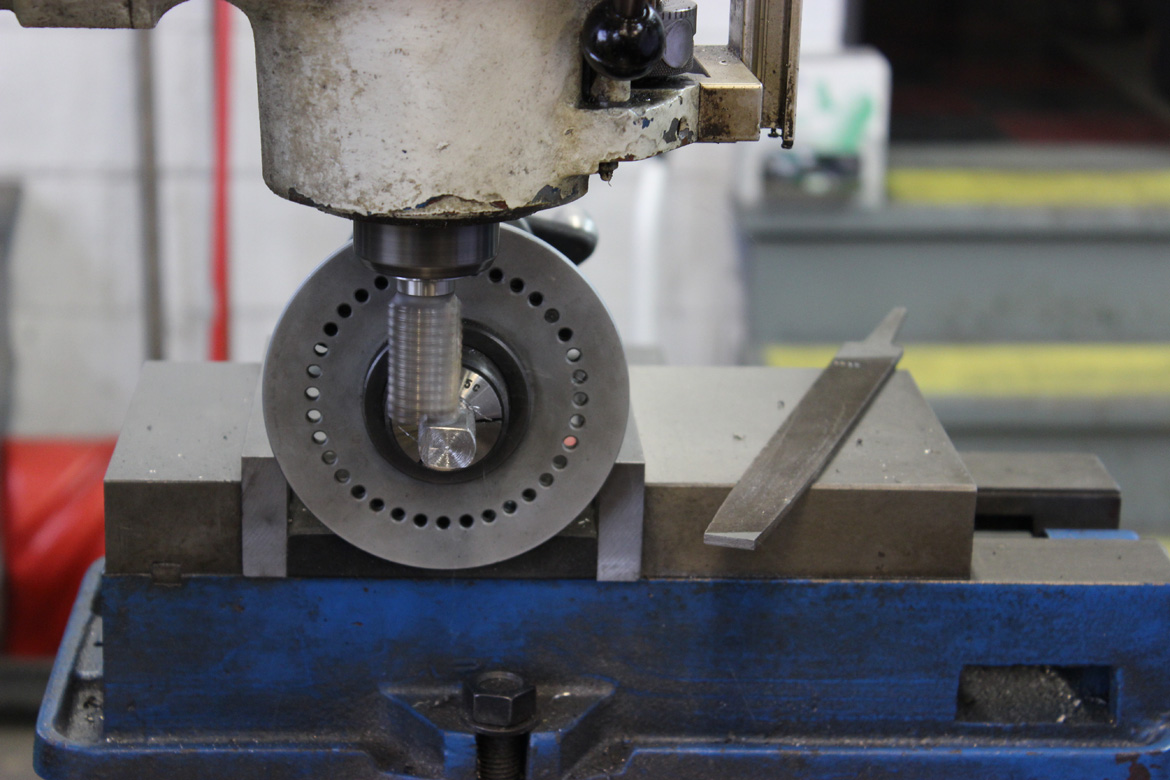
Here’s the “double D” taking shape as Kevin gingerly removes and shapes the steering shaft on the Bridgeport. We likey.
Looks good under there and we think that the transmission is begging to be BangShifted!
Next update we’ll show you the actual formation and layout of the dash and the classic Stewart Warner gauges. This thing is starting to really look like a car!
CLICK HERE TO FOLLOW THE WHOLE VIOLENT VALIANT BUILD BY KEVIN TULLY AT HOT ROD CHASSIS AND CYCLE


I always look forward to seeing project “Violent Valiant”, and I look forward to eventually seeing it in person. The amount of metal craftsmanship in this car is incredible. Keep up the good work.
What trans is that in the car?
A Tremec Magnum T56 Doug.
can’t wait to see it .whole i’m a big mopar and ford fan to many gm’s are cookie cutter!
When you’re building a car that most consider to be the ugliest thing known to man violence is a given.
Did you have to call wilwood to order that master cylinder mounting bracket?