


We’re back with another update on our 1940s mongrel N-series Ford tractor project. If you have not been following since the start, we scored this tractor on the cheap and made it run and eventually we are going to build an 8BA flathead V8 for the machine and do the swap that thousands of farmers have done over the years to get more grunt from their N-series. Why? Because they’re cool and we have always wanted one! The other main goal of this project is to have some wrenching time with the boys and teach them some basic mechanical stuff before graduating onto more advanced projects.
Henry’s Hot Rod intro story
Henry’s Hot Rod we make it run and do stuff
Henry’s Hot Rod world’s easiest exhaust install
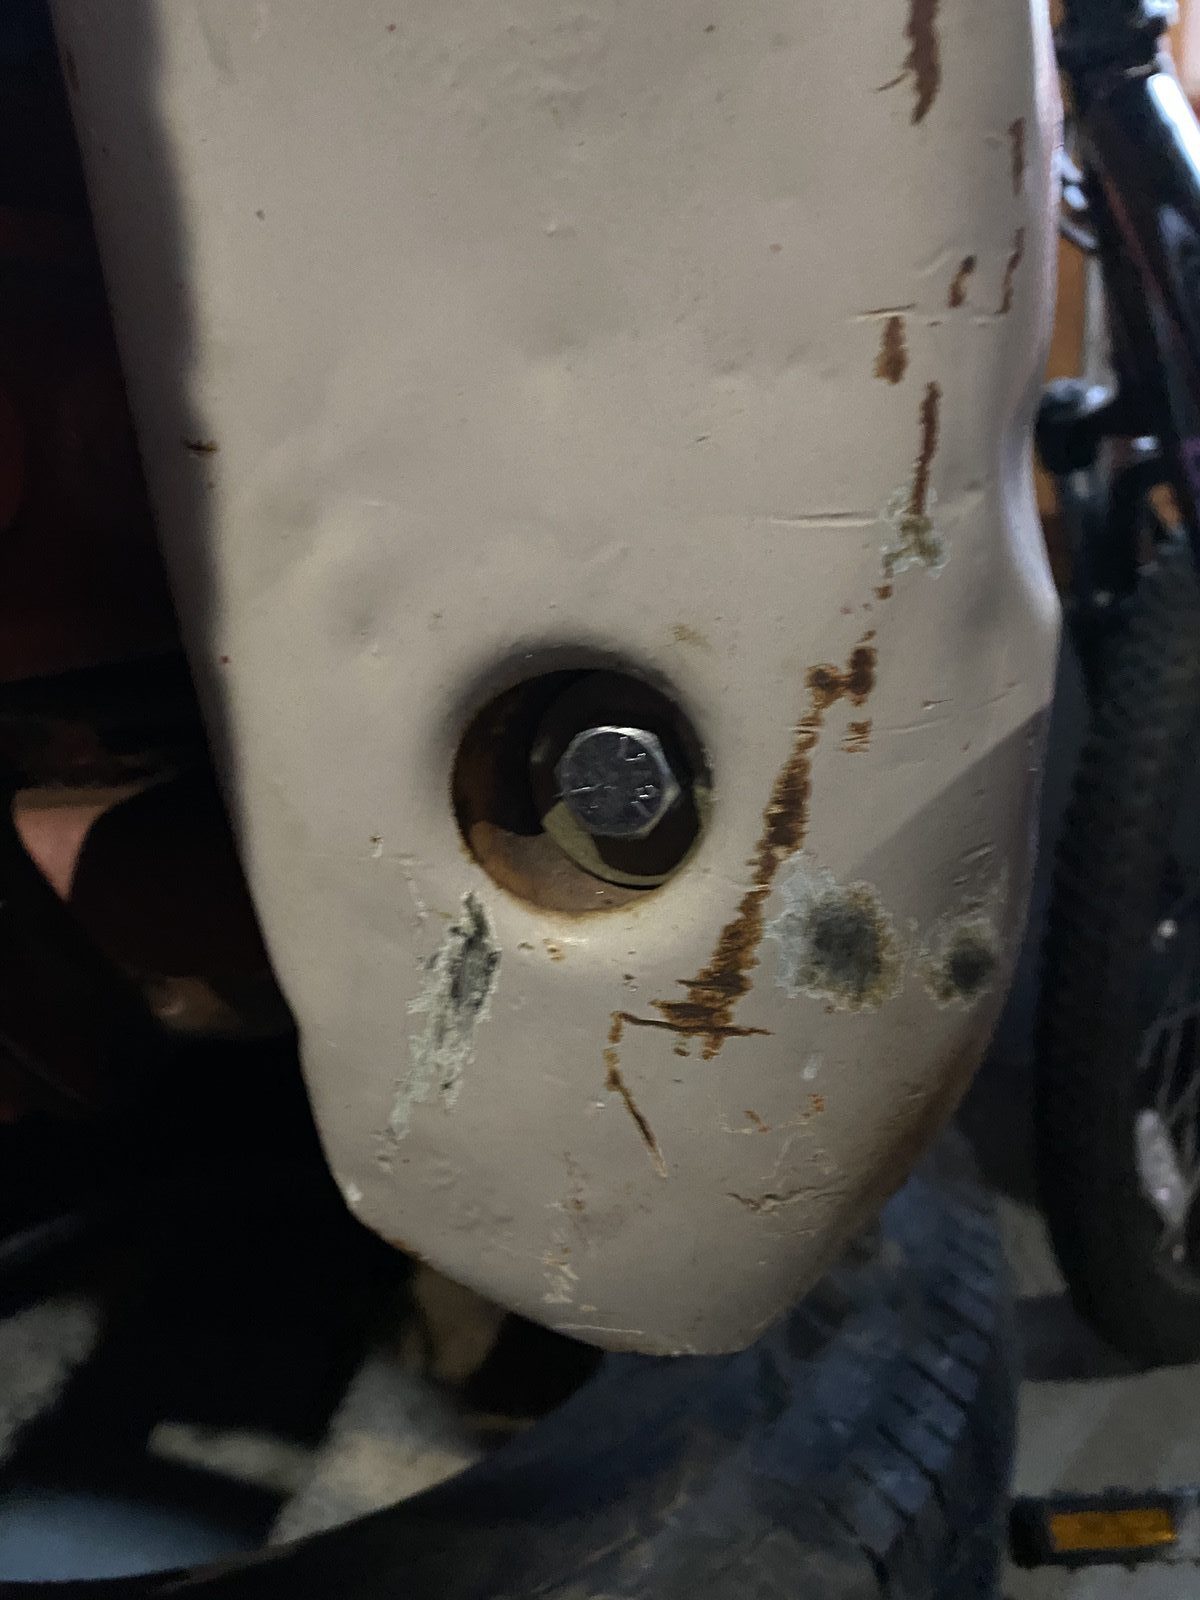
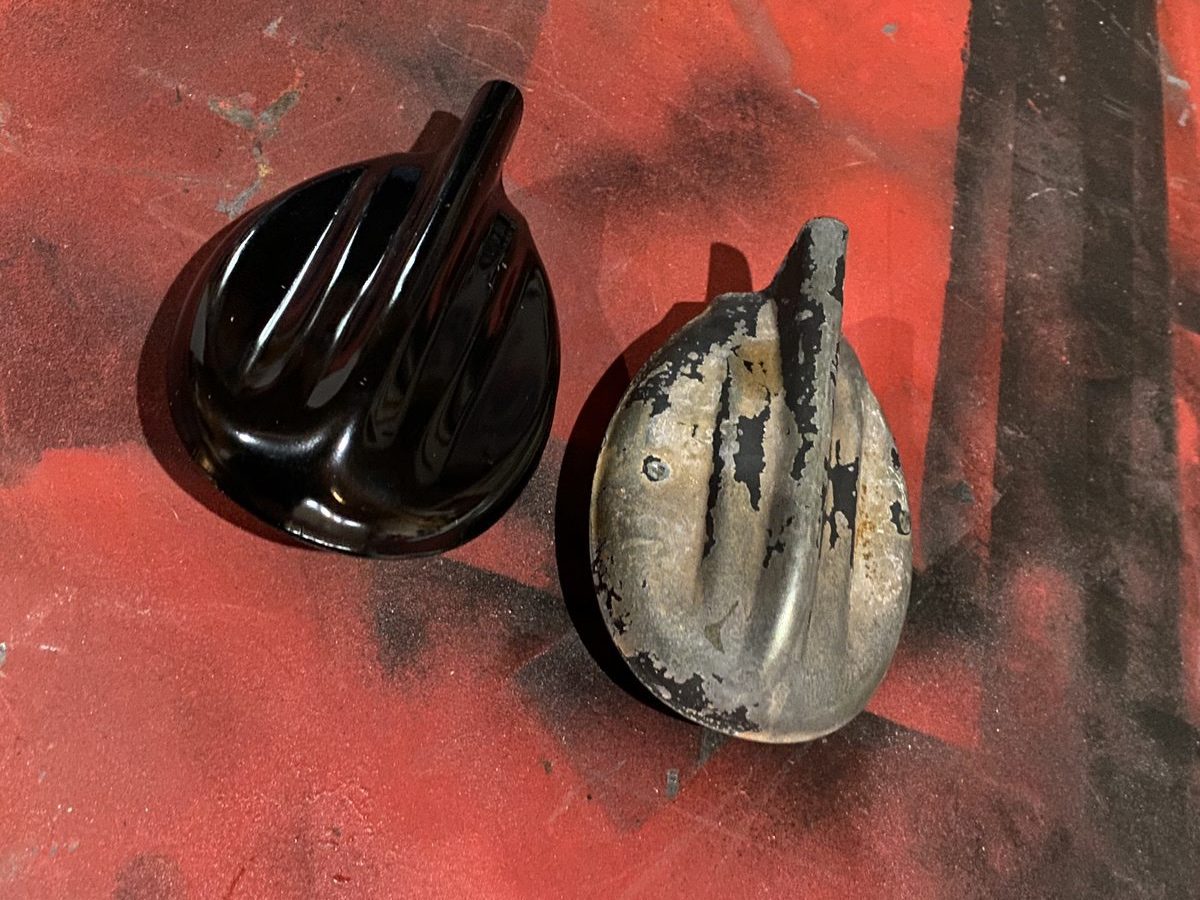
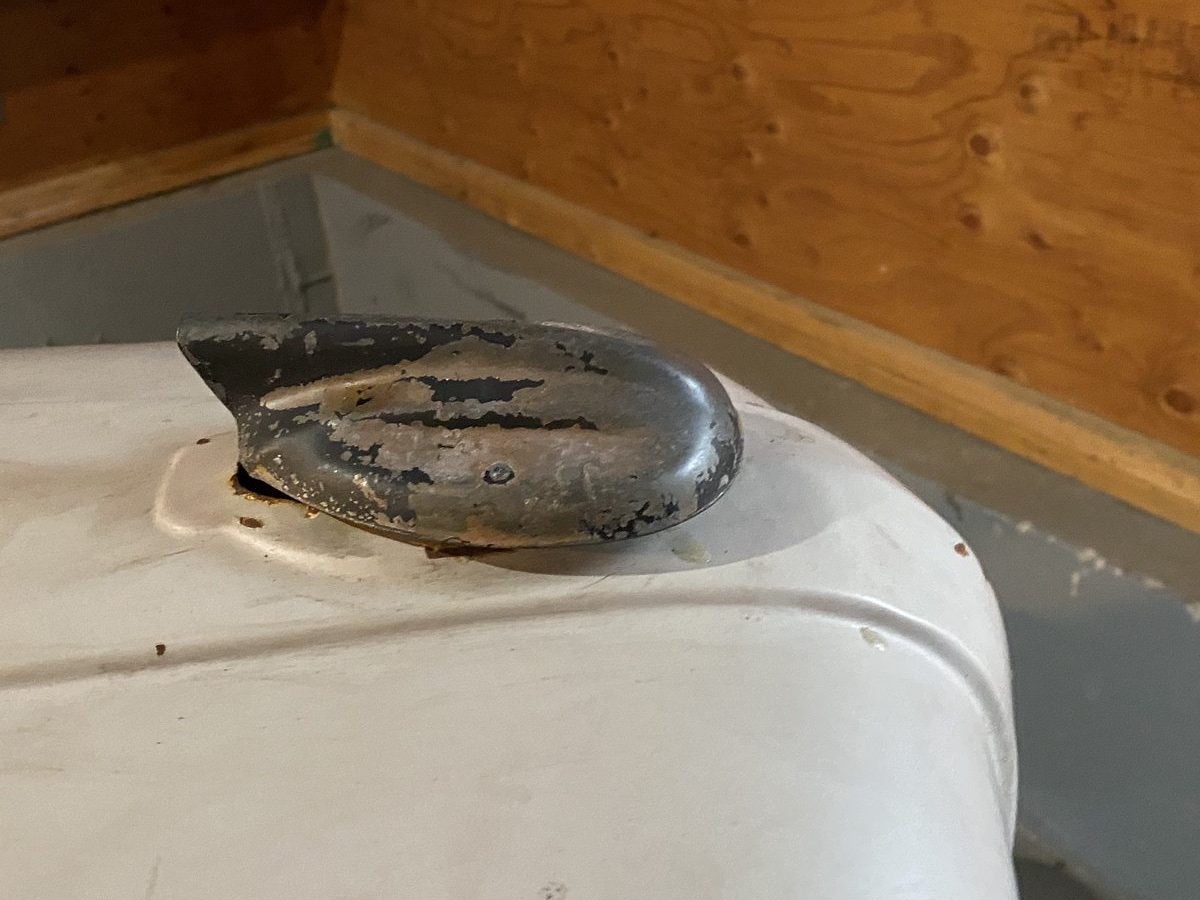
So my son Tom and I have been chipping away at little stuff on the tractor and getting ready for the larger job of fixing the rear brakes which are all but junk from years of oil leaking through the seals and making when we perceive to be a greasy, sloppy mess inside the brake drums. We’ll get there in a second. Also, when I say little stuff, I mean little stuff. Like actually bolting the nose on.

 \
\
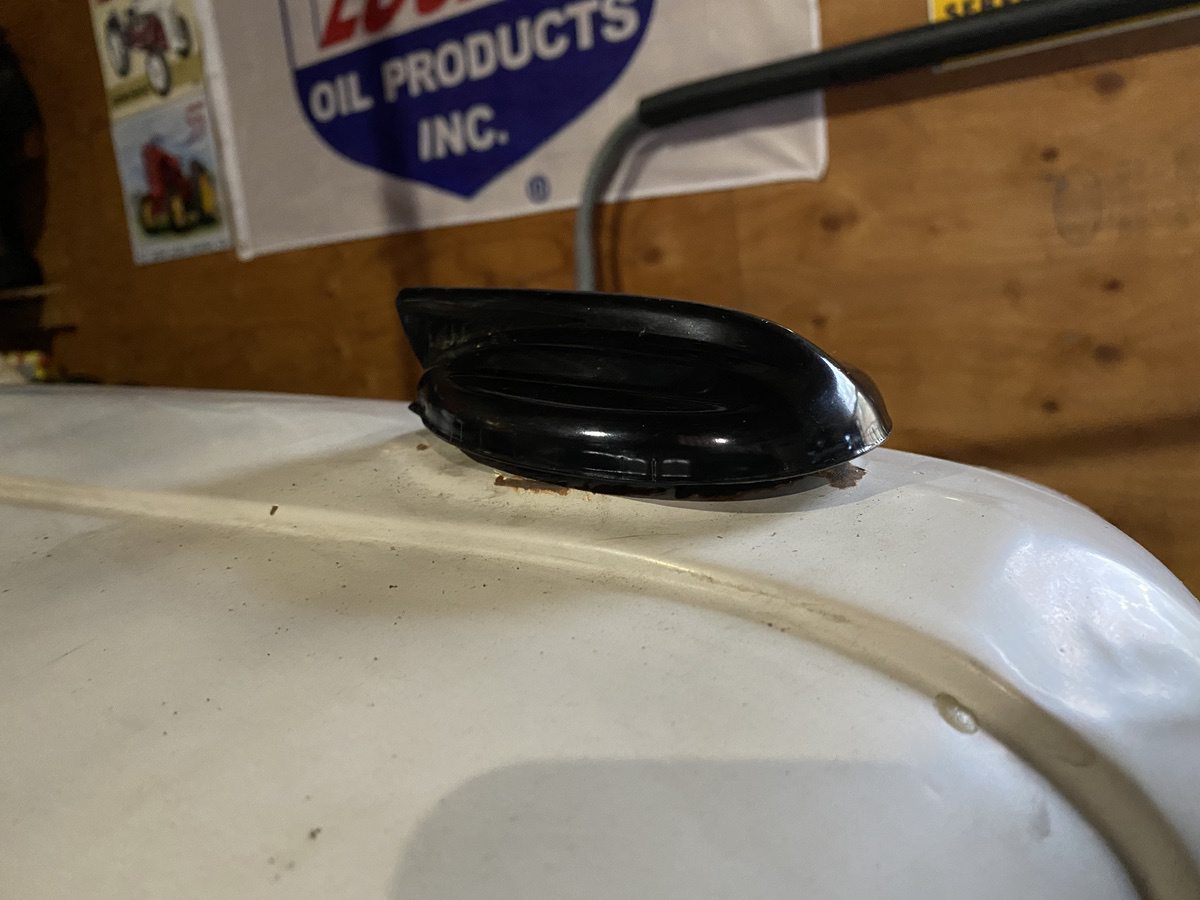
Adding a radiator cap that actually fits and properly seals

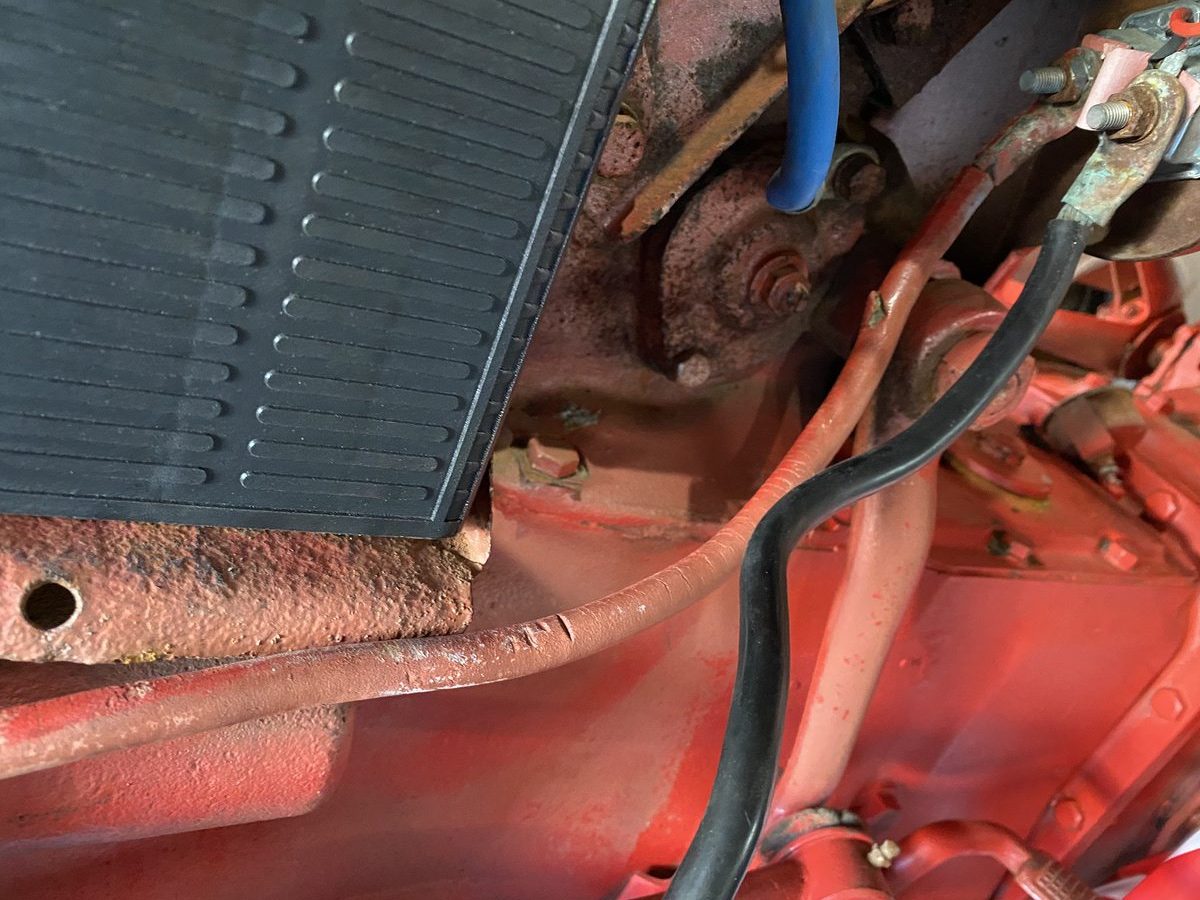
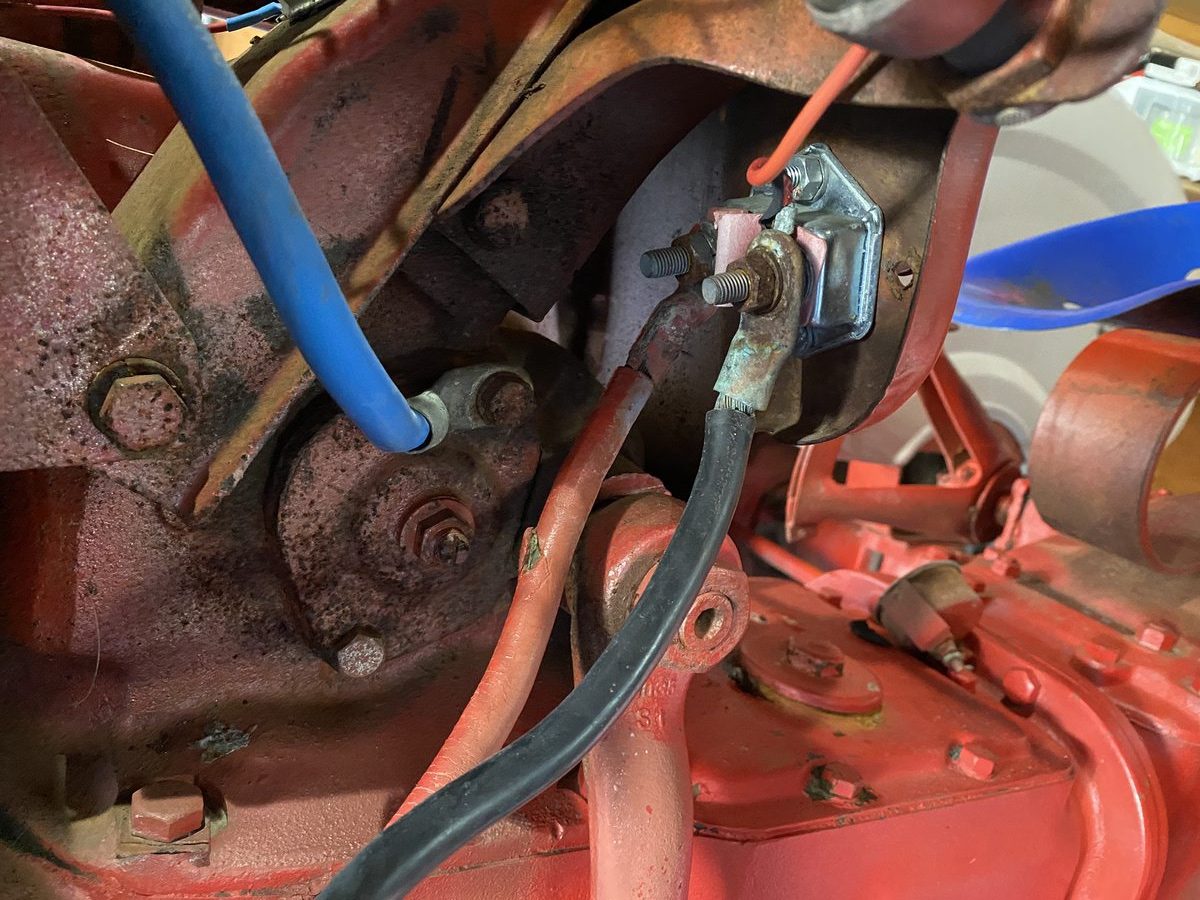
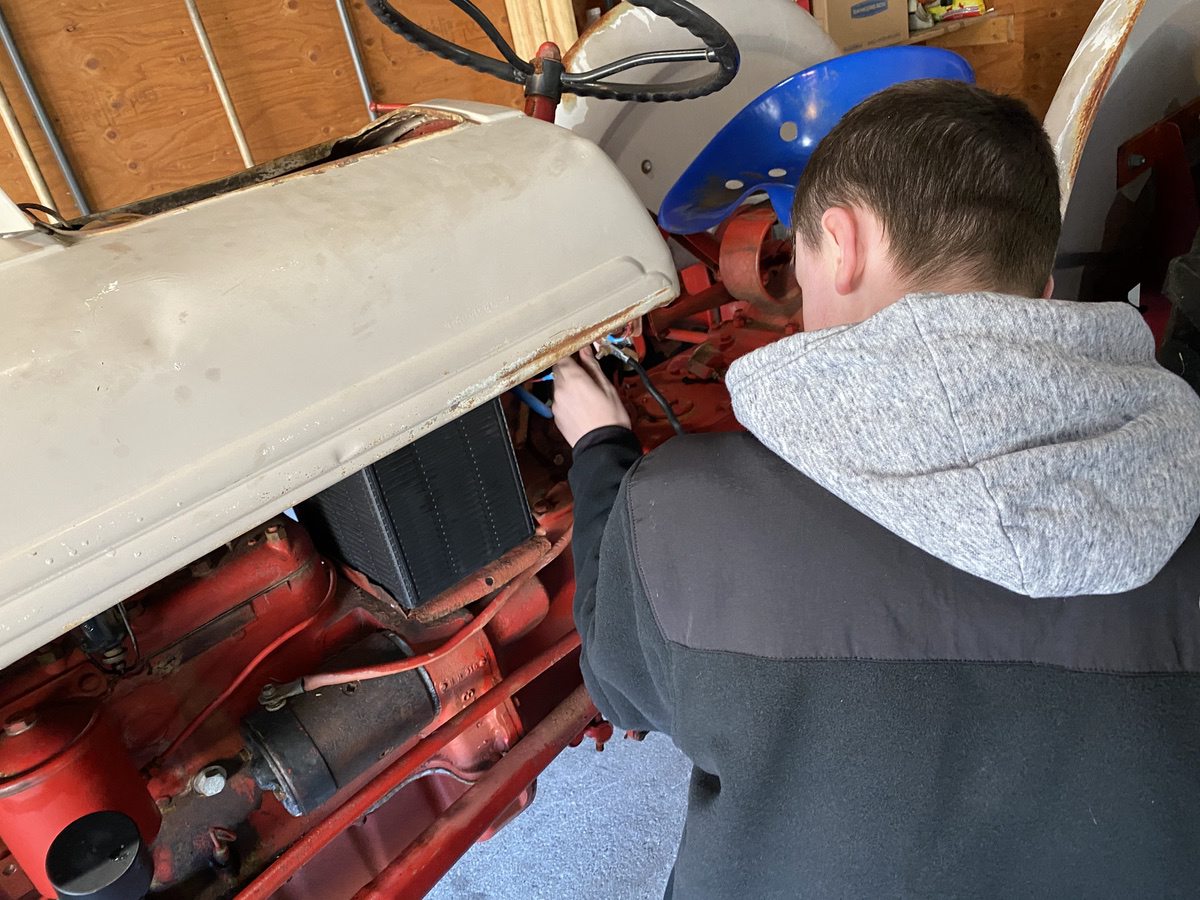
And actually connecting the charge wire to the back of the generator. When we do the engine swap down the road the whole tractor will get a fresh wiring harness. We had figured that the generator was non-functional and that was why the charge wire was not present and accounted for here. That wasn’t the case. Once we hooked it up, everything was working great.

Along with the generator hook-up we also swapped out the battery cables for some fresh ones. The units on the tractor were all cracked and gouged and stuff. Tom handled this straightforward operation.


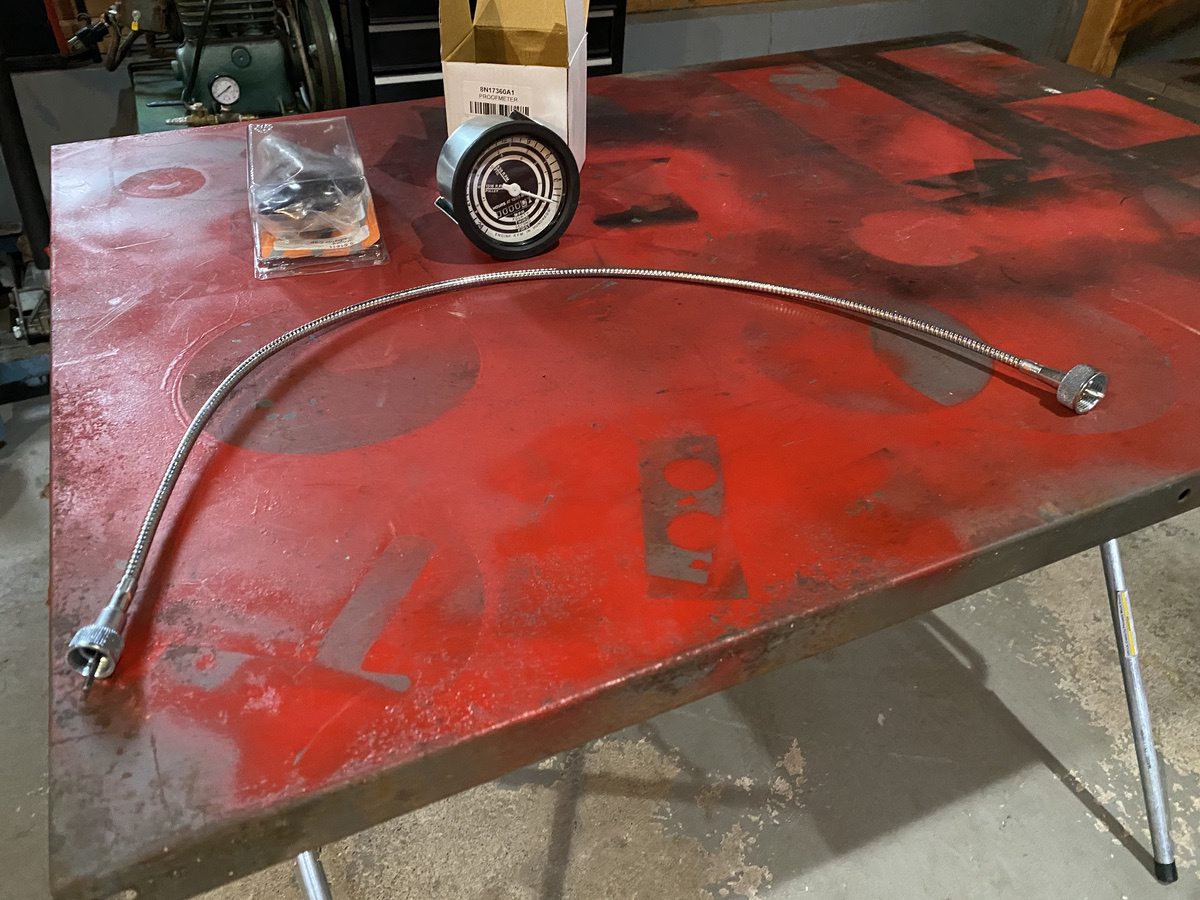
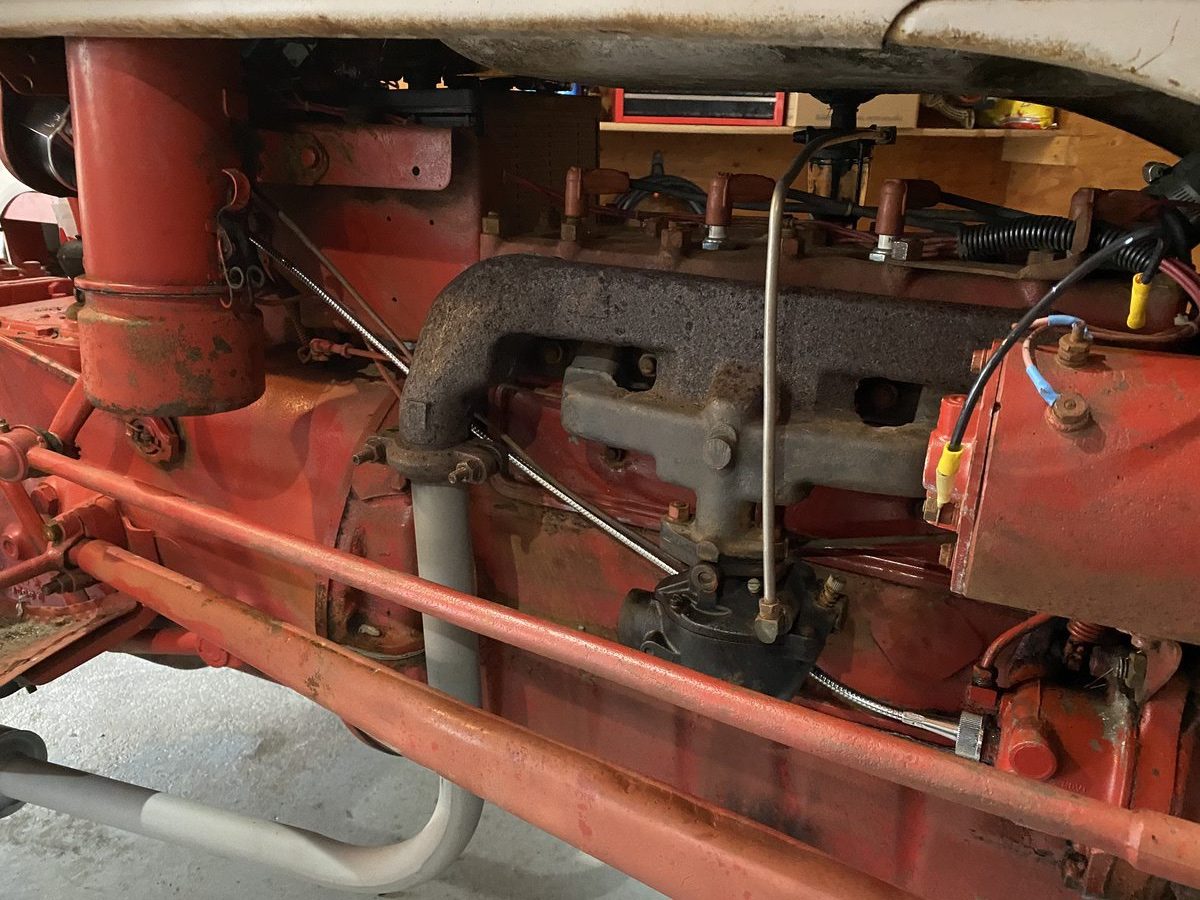
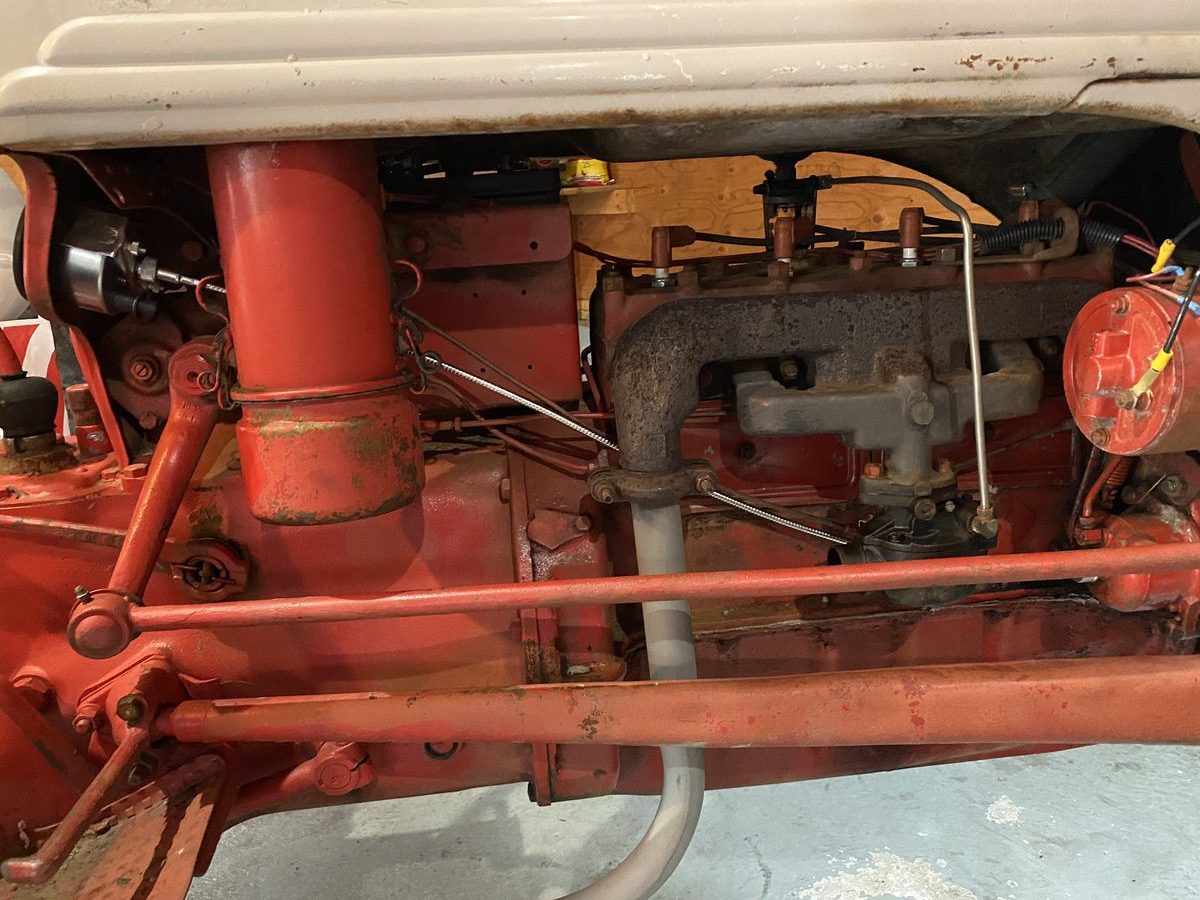
Next up, as we were waiting for our brake parts to arrive in the form of shoes, springs, and that good stuff, we decided to do some gauge work. This tractor has an 8N dash and as such has an opening for a Ford Proofmeter which is a tach and hour-meter that was offered in the later 8N lineup. The install, like all the other stuff here, is really simple. It’s a mechanical driven unit that runs off the governor at the front of the engine. There are options on which type of cable drive to buy. We splurged and went with the OE style steel one because the plastic ones we saw look like Chinese garbage.
Tom was the lead man on this one as well.

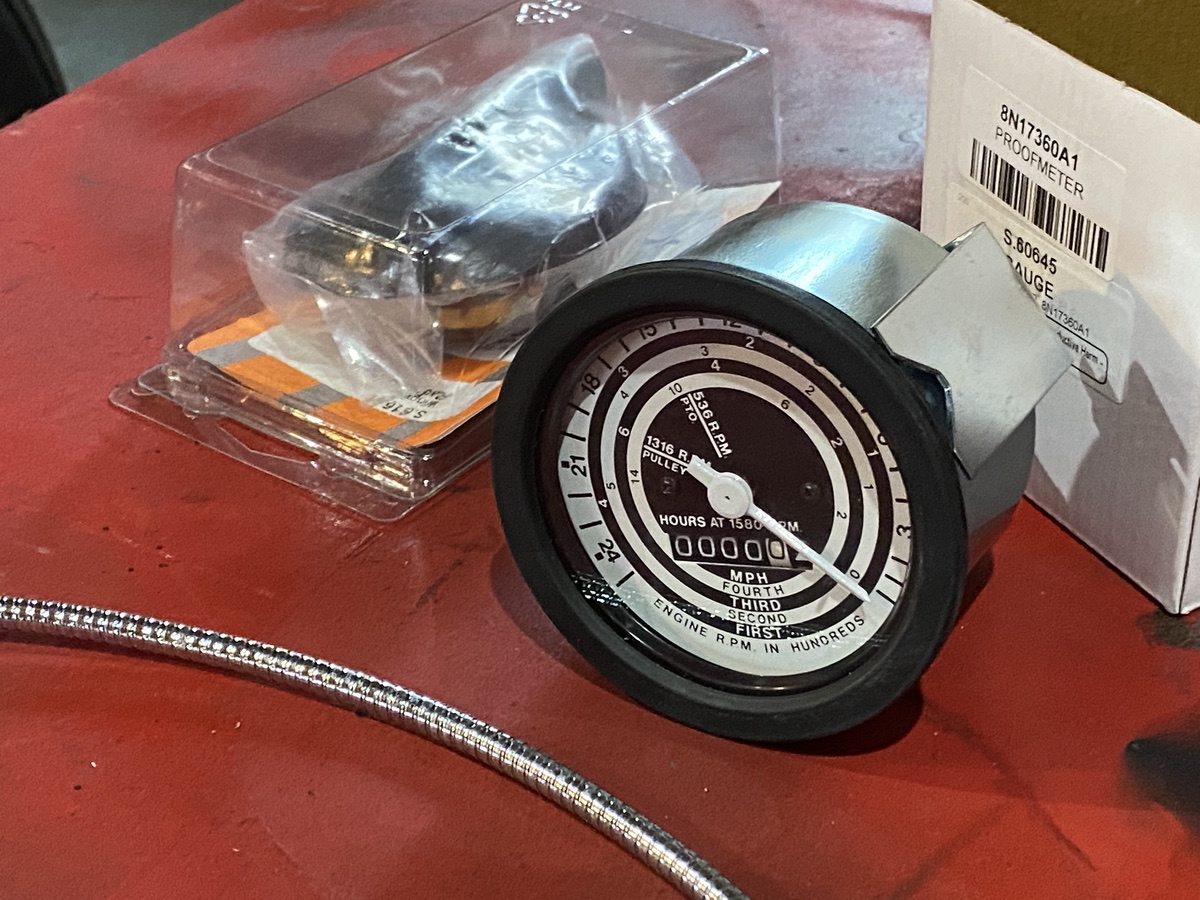

After taking the mounting cup off the back, installing the gauge is as easy as popping it through the hole and then sliding the retainer cup back onto the studs and locking it down into place with the supplied nuts.


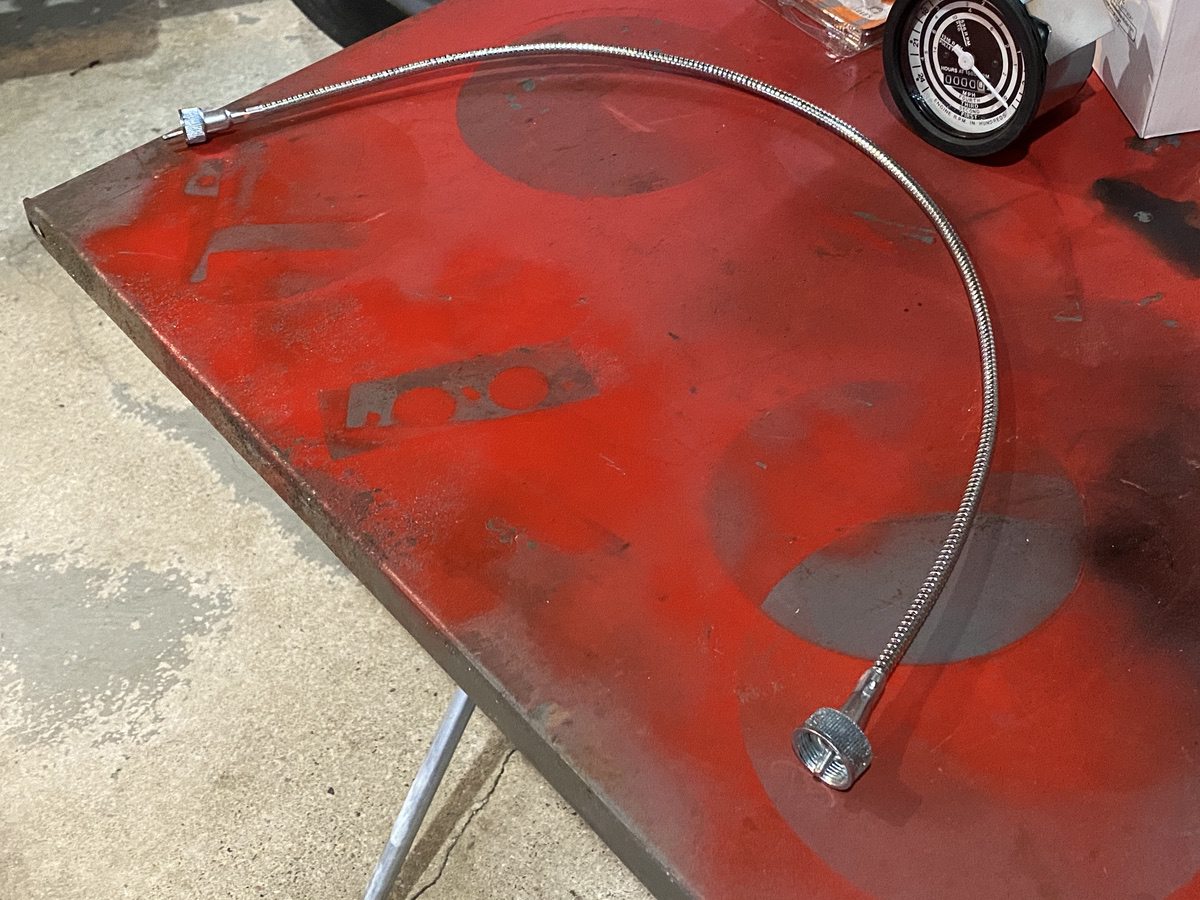
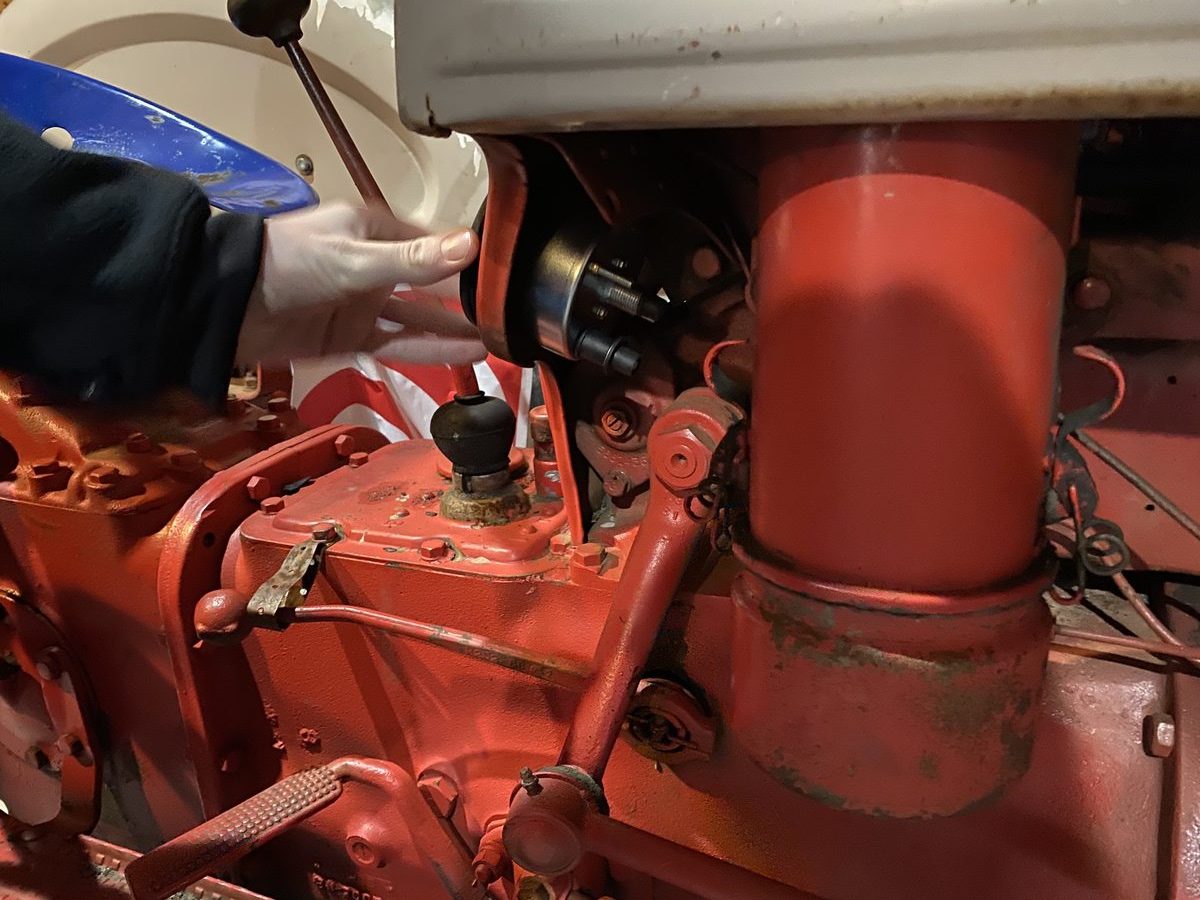
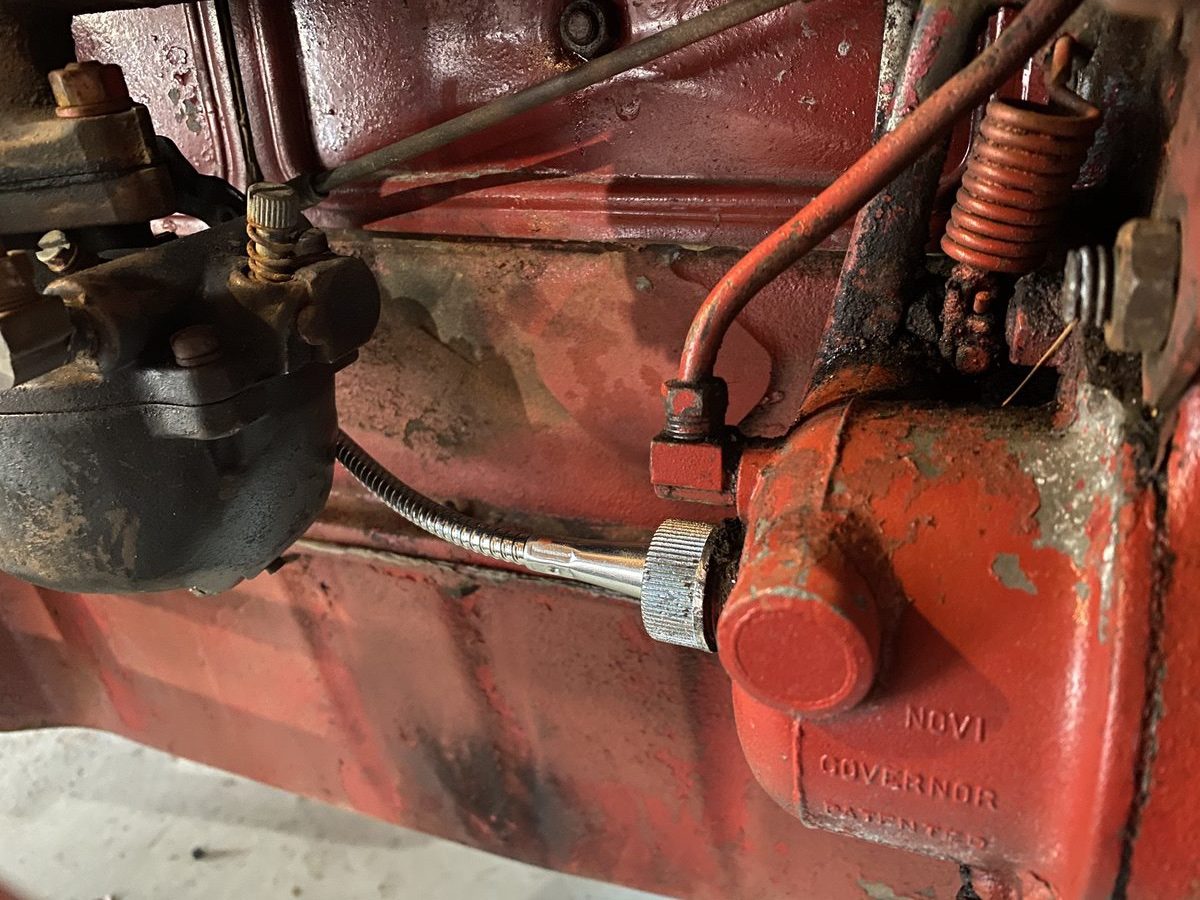
The governor on these engines is right up front and you can see the cracked plastic cap which is “protecting” the threaded nipple that the cable drive will screw into for the Proofmeter. There’s really no trick here other than making sure that you do not kink the cable or bend it in too tight a radius somewhere on the way from the dash to the front of the tractor. We used some channel locks to cinch the cable down on both ends.

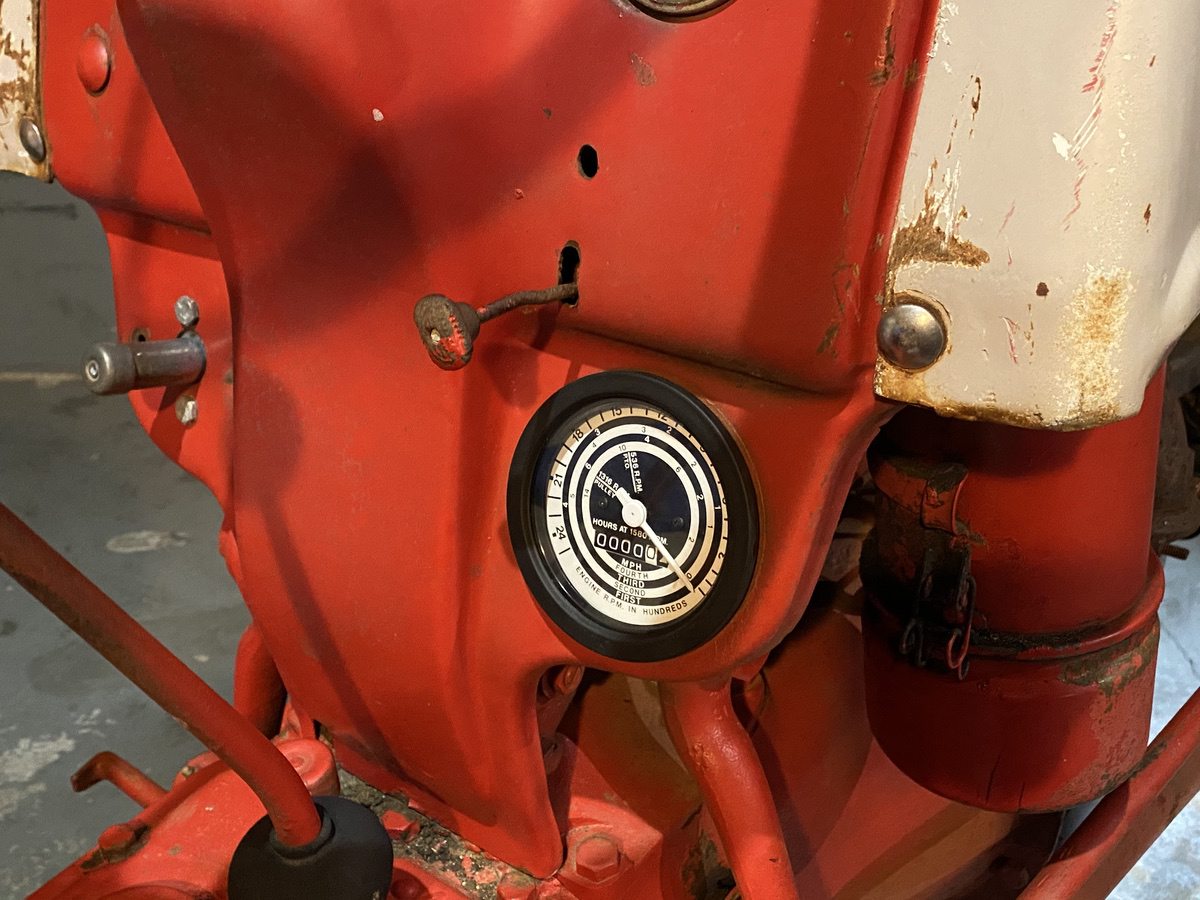
The fun part of the Proofmeter job for Tom was the payoff. It is one thing to install the gauge and another to see it work, right? Well as one thing always leads to another, the installation of the Proofmeter led us to discover that the throttle quadrant was out of adjustment and we were not seeing the 2,200rpm redline “full throttle” RPM of the tractor unless we took the handle and twisted it off the end of the quadrant. So we took a hot second and made that adjustment by tweaking the throttle rod and properly positioning the arm on the quadrant rod itself. The result?
With that, we had a few days wait until the brake parts I ordered arrived at the house. We were excited for the brake stuff to get here because once we get the brakes actually working, we can stretch this thing’s legs a little bit and get things like the Overdrive working again. So this would turn out to be an adventure.

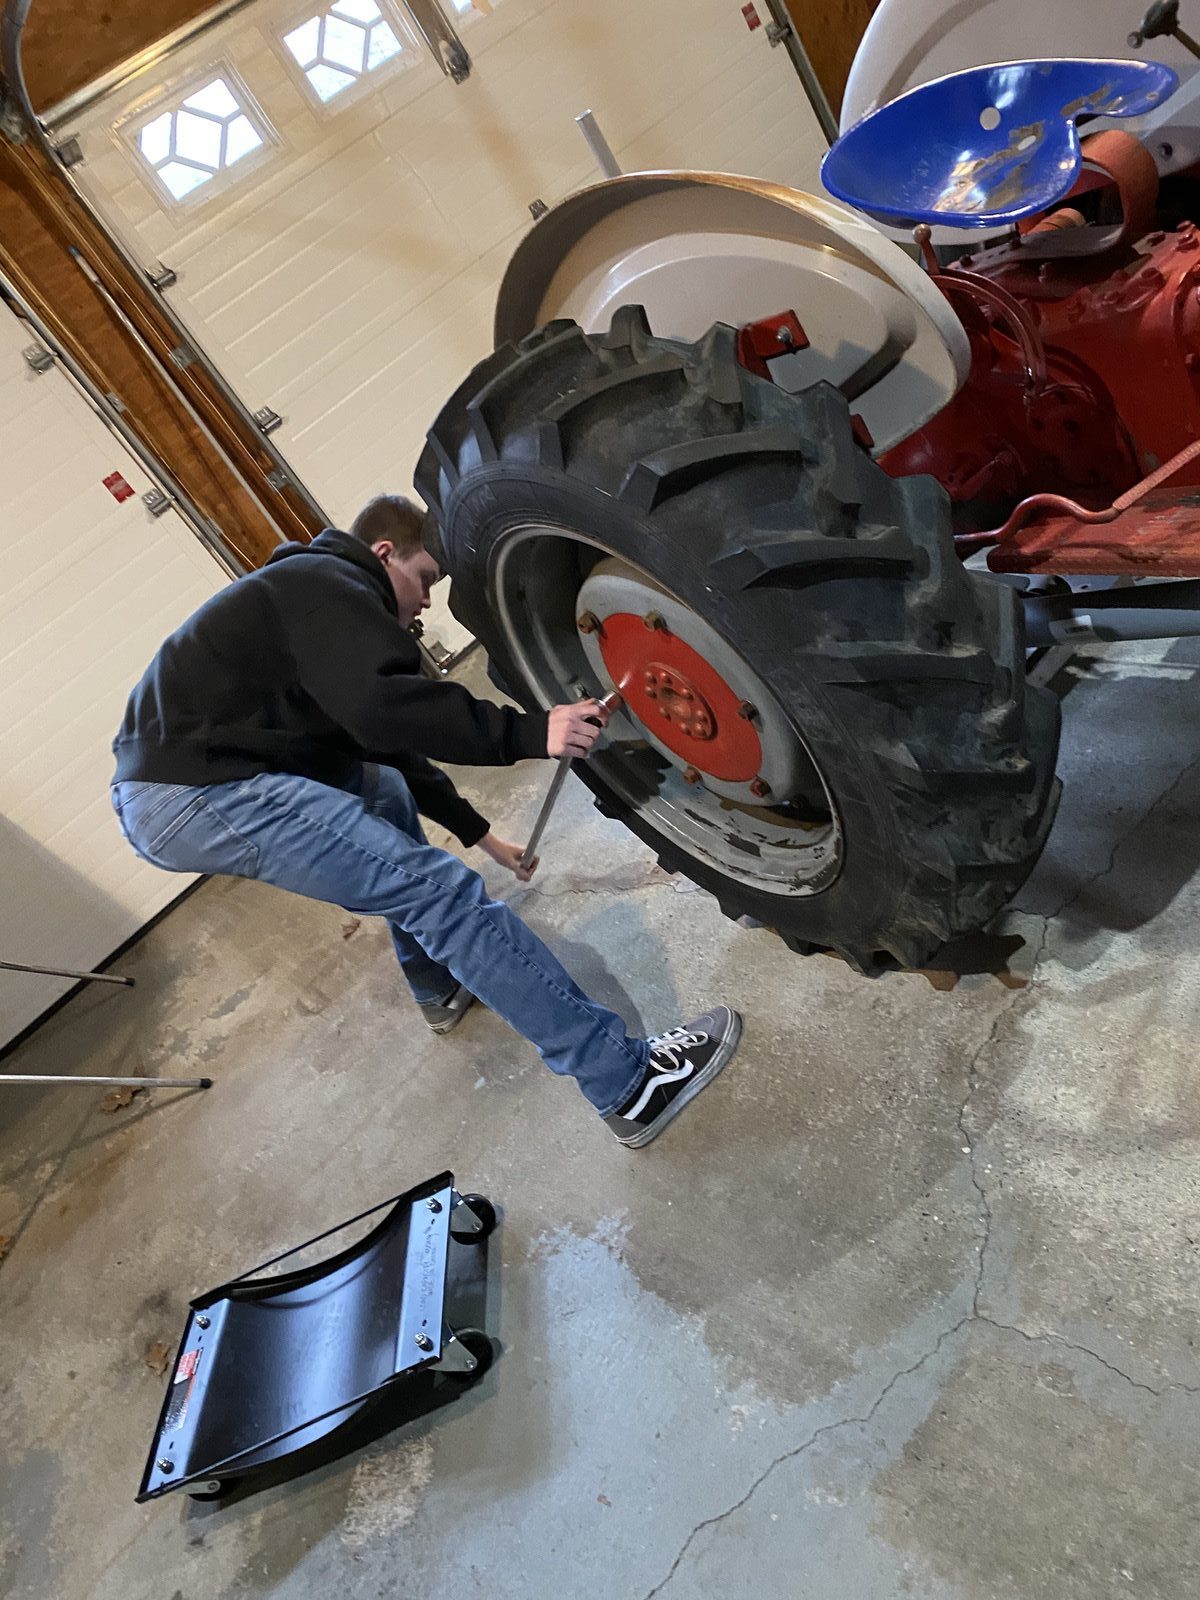
The first major discovery we made, which was made in a nick of time is that the rear tires of this tractor, like many others, are water filled. Because of that, they weigh a TON. Before I pulled it off the studs I rocked the tire back and forth and heard the water. The 8N I grew up on had water filled tires as well. It aids with traction, for obvious reasons. Tom and I wrestled the tires off and carefully got them aside.


With the tires off we got a good picture of how leaky these things had been for a long, long time. The brakes did “work” in the sense that we could always hear the shoes trying to press against the drum but when everything is oil and greased soaked, they do nothing.
The next step is to remove the nuts on the backside of the brake backing plate and pull the whole axle/brake assembly. These things are not light!


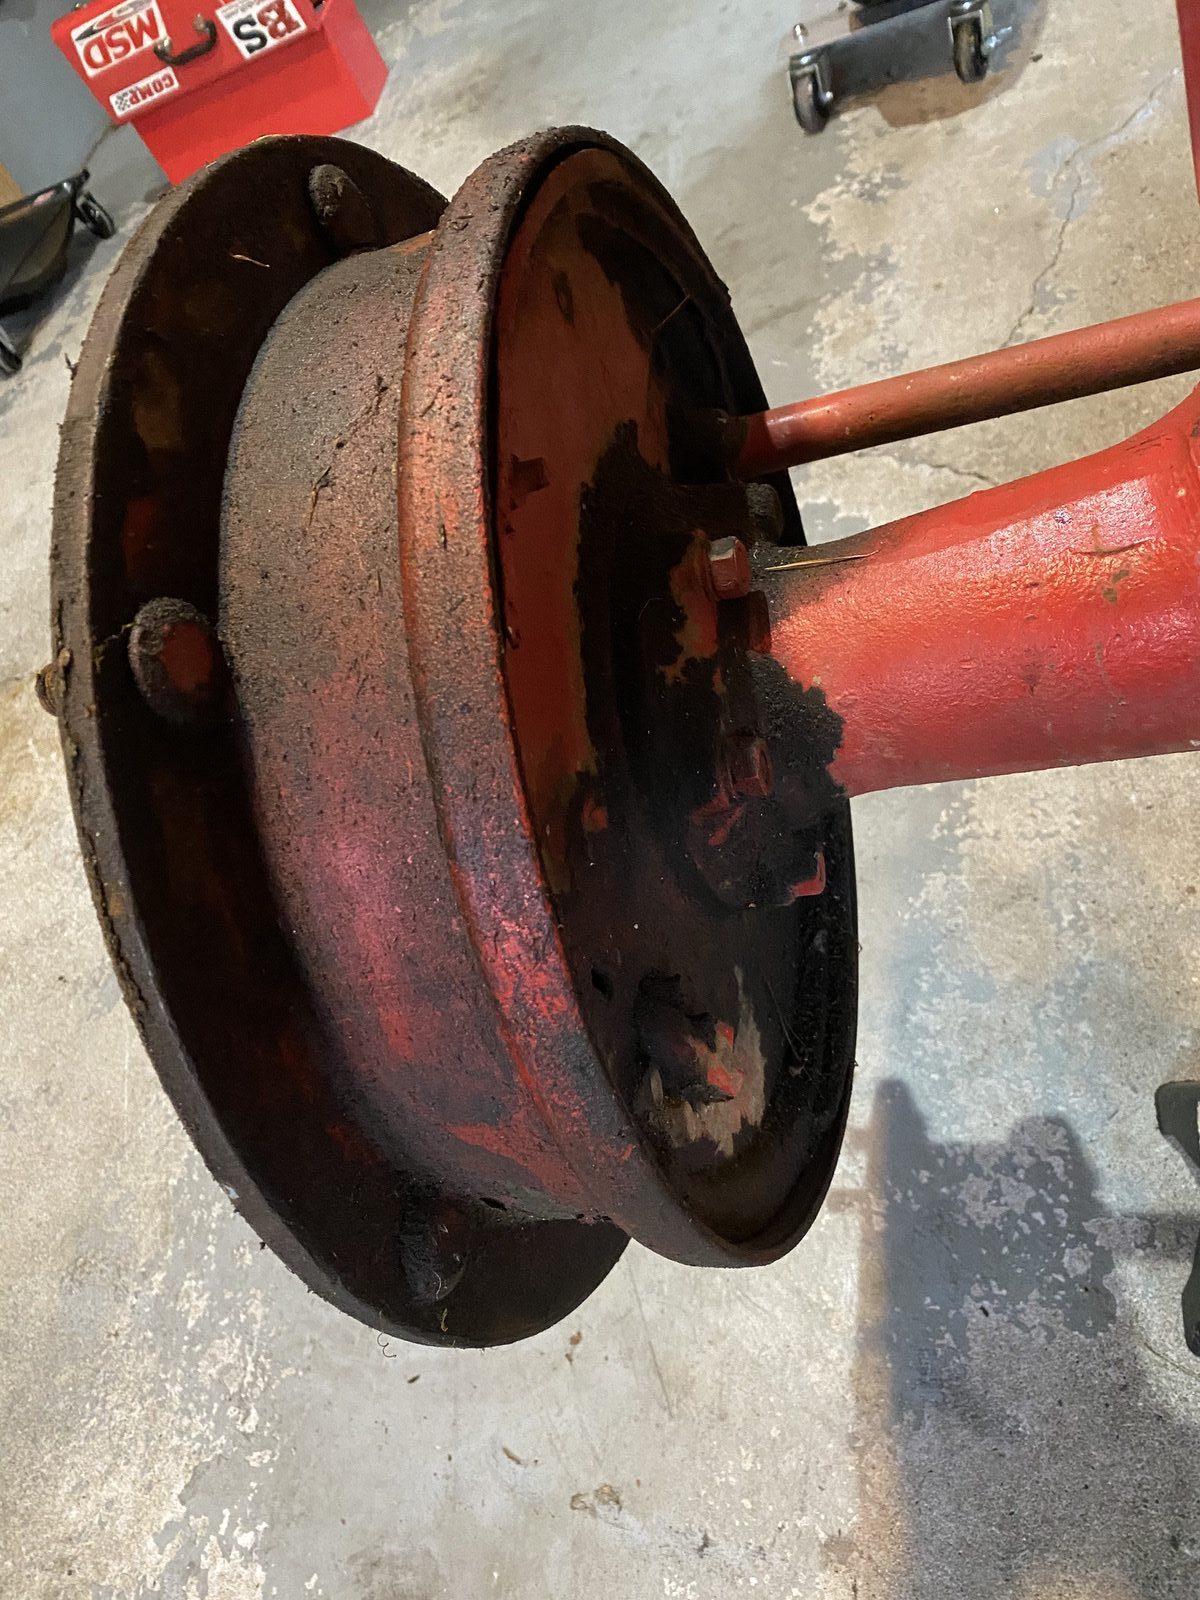
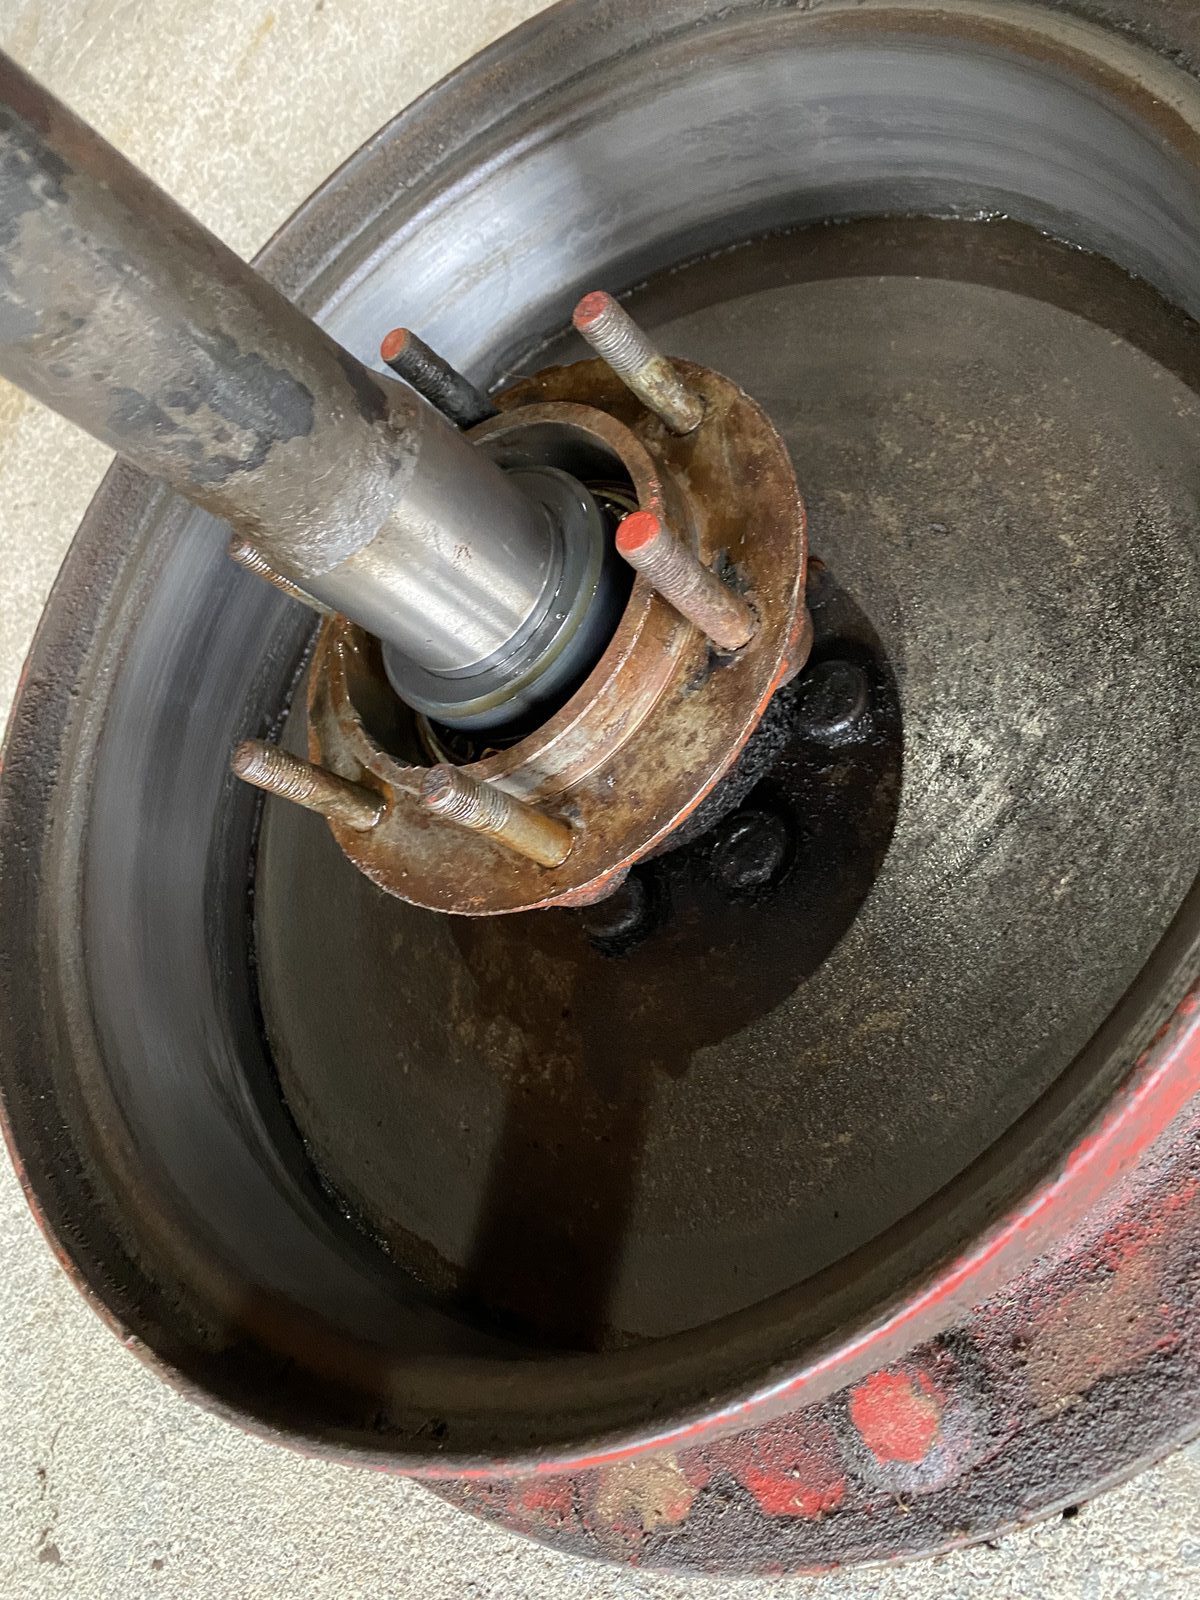
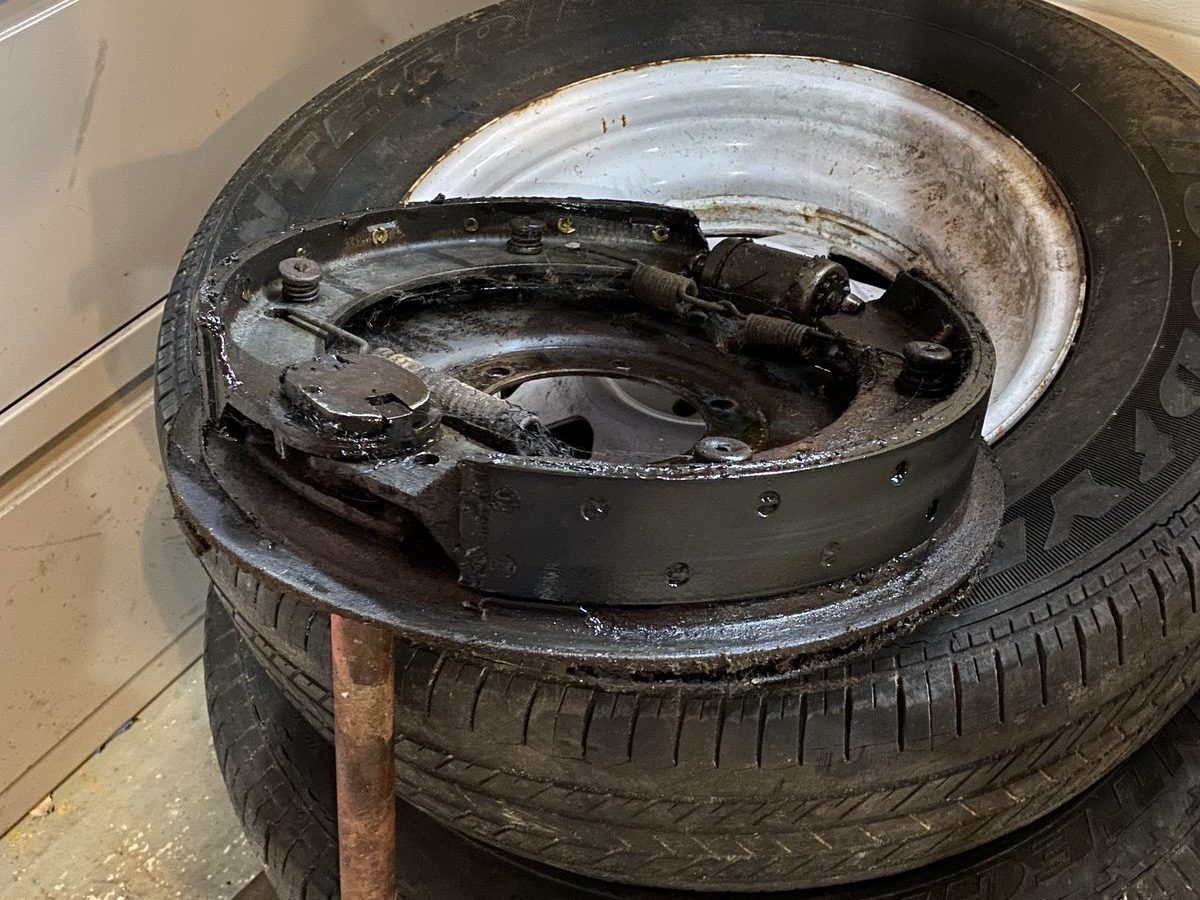
The backing plate lifts out of the drum next and you can get a look-see at what you are working with!

Both sides looked this nasty. So the first order of business was the fun job of cleaning these things as best we could. Now, unbeknownst to us at this moment, we were heading for a shock, but stick with me, because to this point in time we were seeing just what we expected to see.

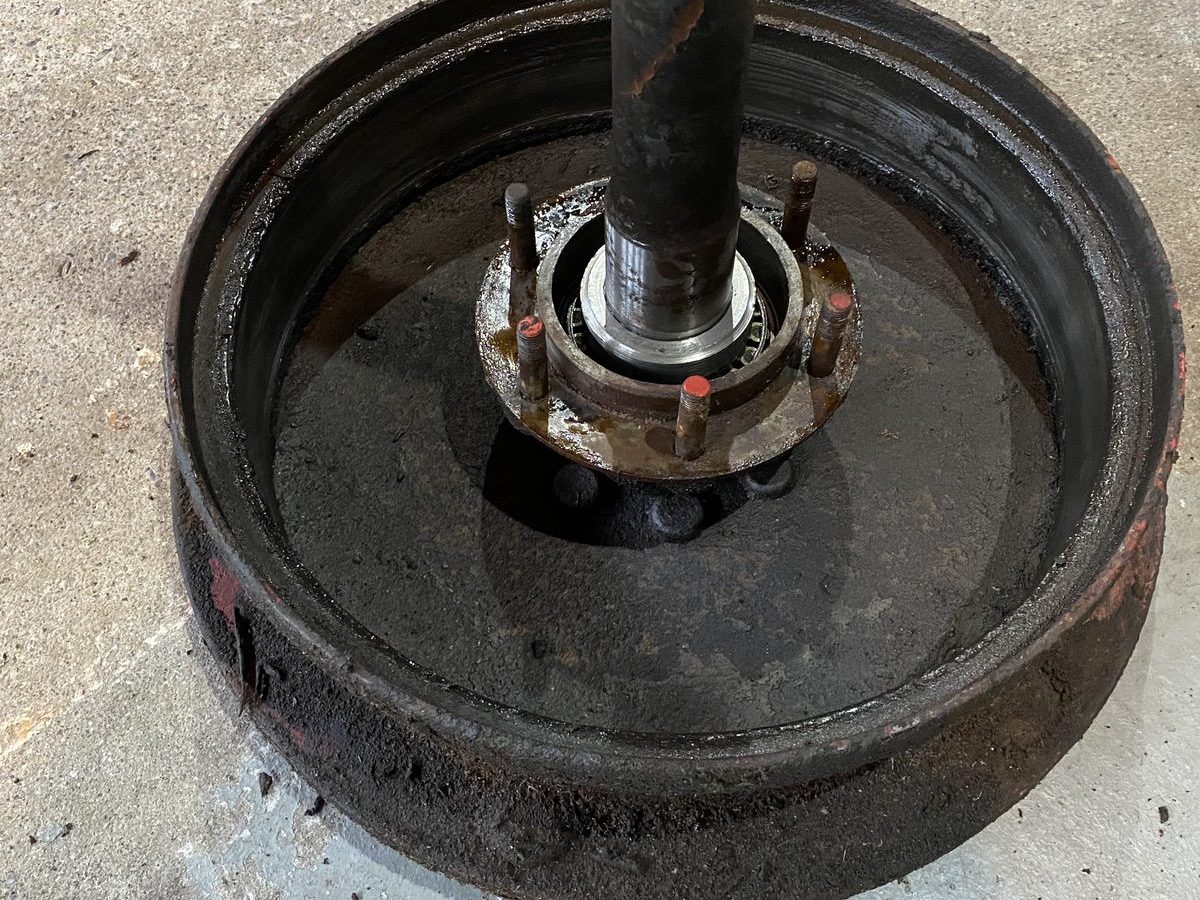
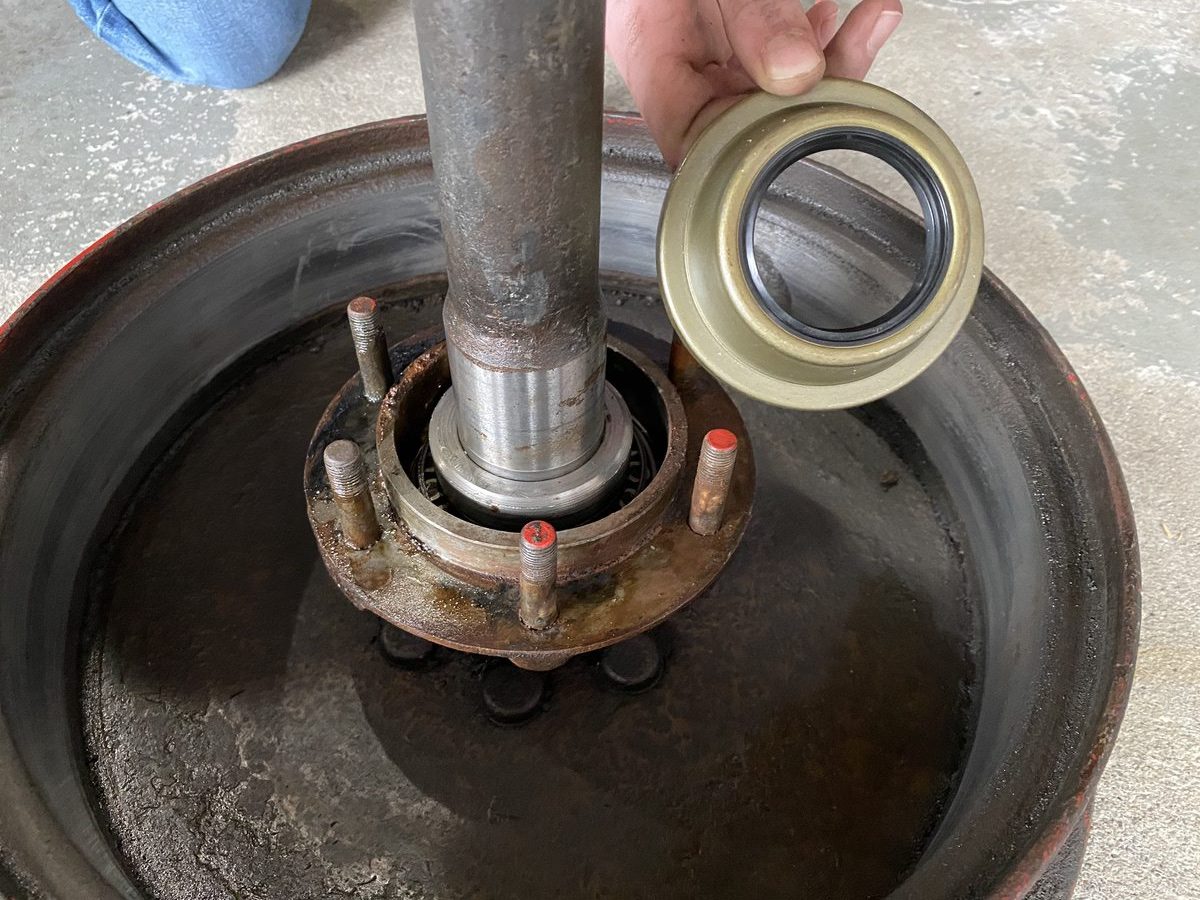
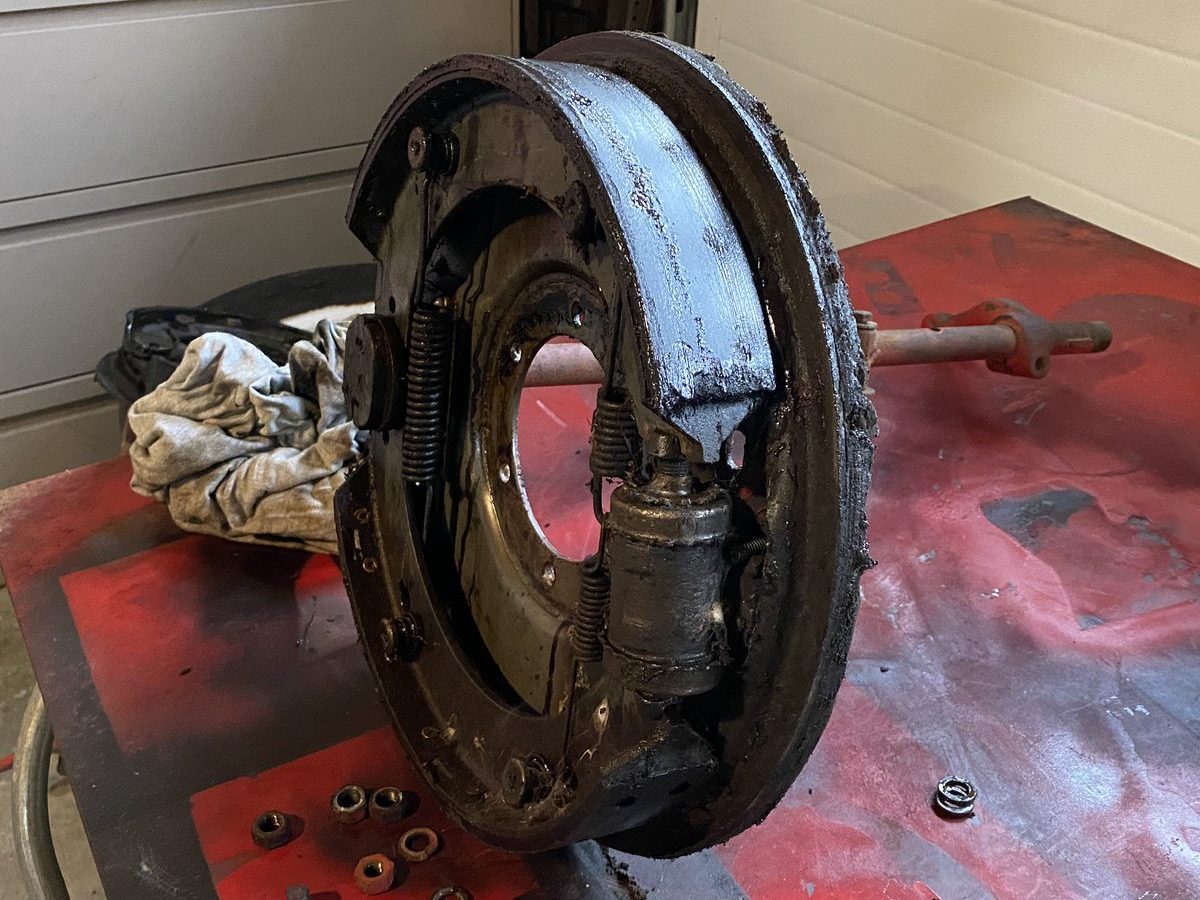
After getting the drums clean, the next order of business was to make sure we didn’t do all the stuff for nothing. We repacked the bearings and installed a set of “Sure Seals” which is a popular repair on these tractors. They are a large umbrella style seal that slides down over the axle and does not require the factory collar to be chiseled off and loads of other work. It’s the “easy” way out, but many, many people have had success with them, so it’s the way we went.


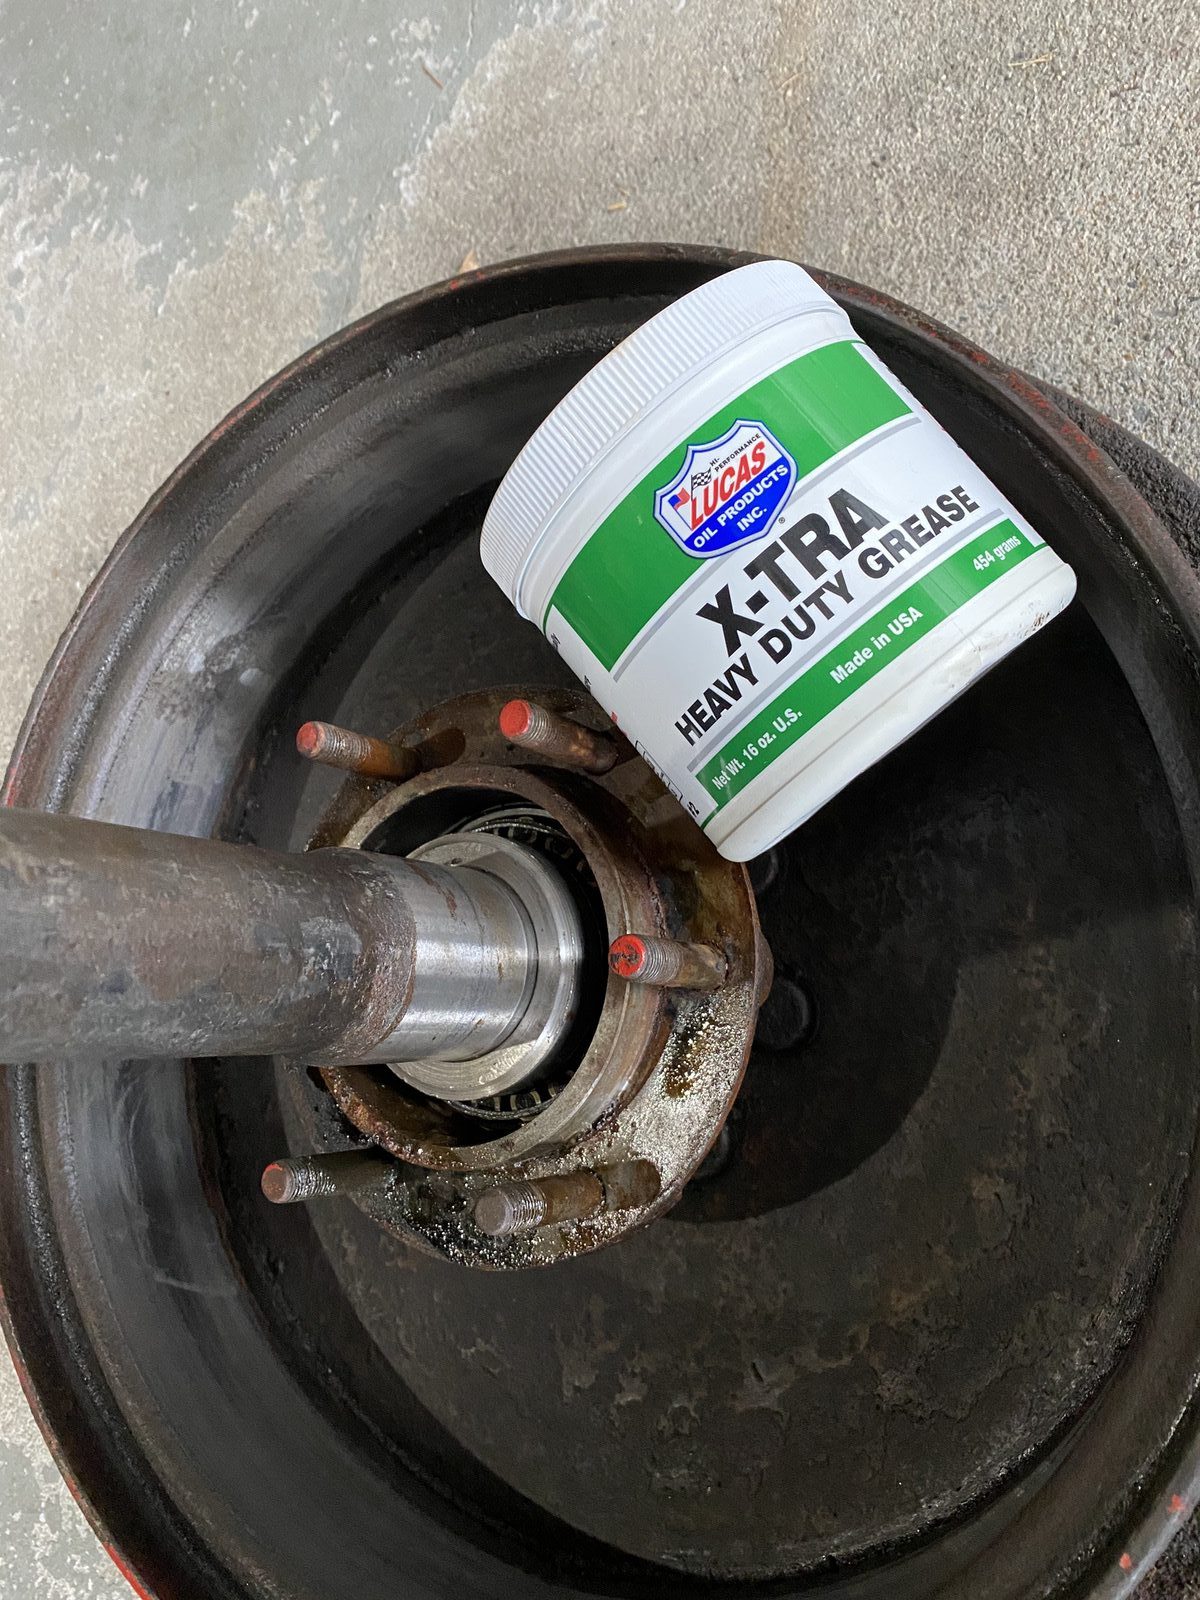


At this point we were looking pretty good! The bearings were greased, seals were installed, and now it was time to do the gross job of cleaning up the brakes themselves, installing new shoes, and putting it all back together. No sweat, right? Wrong.

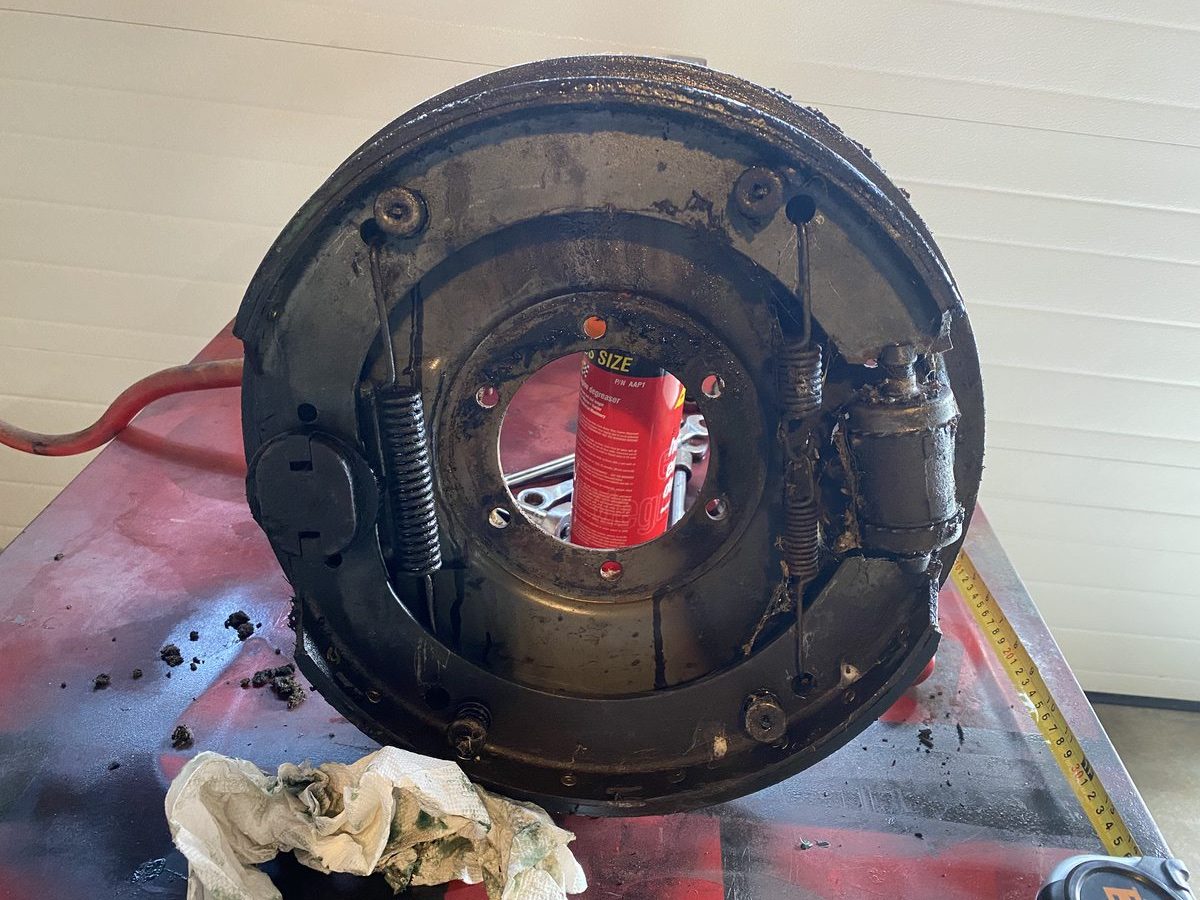
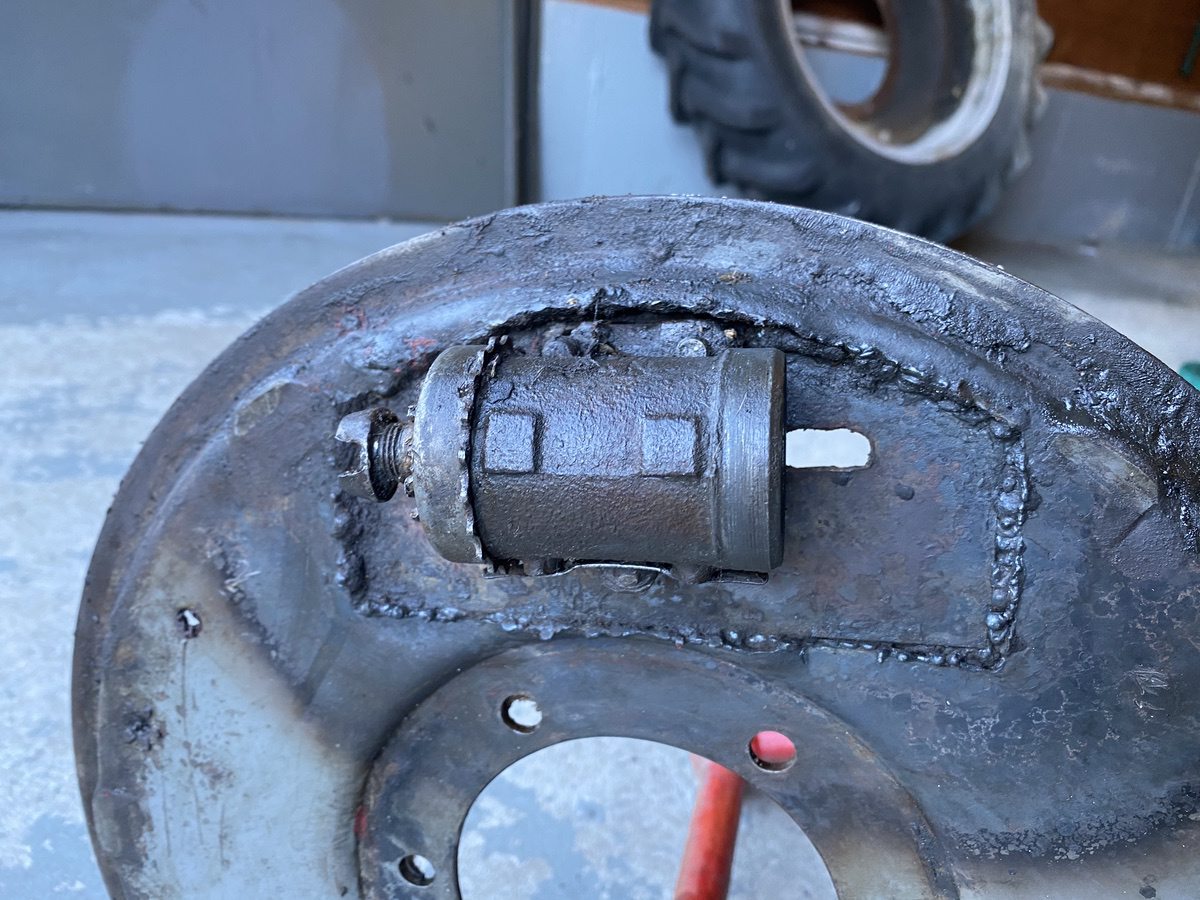
Outside of the greasy nastiness, do you see it? This tractor has manual brakes. There is not a hydraulic line on the whole thing. Someone, at some point, likely on the farm needed to fix the brakes and got REALLY creative They torch cut out the manual adjusters and installed HYDRAULIC WHEEL CYLINDERS! The only thing these are doing is providing a pivot point for the shoes.The large cam actuated by the brake pedal is actually moving the shoes. Why on Earth would anyone do this?! Yeah, sure they had the parts laying around but jeez. Well the good news is that they “work” in the sense that when the brake level is rotated it forces the shoes out. Not wanting to spend the time and money to find the correct (we’ll get into that in a second) backing plates, we were going to install our new shoes and laugh about just how mongrel this thing is.

Well, that ain’t gonna work. At this point, I was figuring we had trouble for the foreseeable future. Why? There’s not a single number stamped on these brake shoes other than the Ford script. I have no idea where they came from, what they fit, or how to find new ones. The major problem with finding new backing plates for the brakes is that this is a 2N axle which has 8N brake pedals. If I find 2N packing plates, the 8N pedals are not going to be right and if I find 8N backing plates, I’m reasonably sure they are not going to fit the bill either. Soooo….what’s the move.
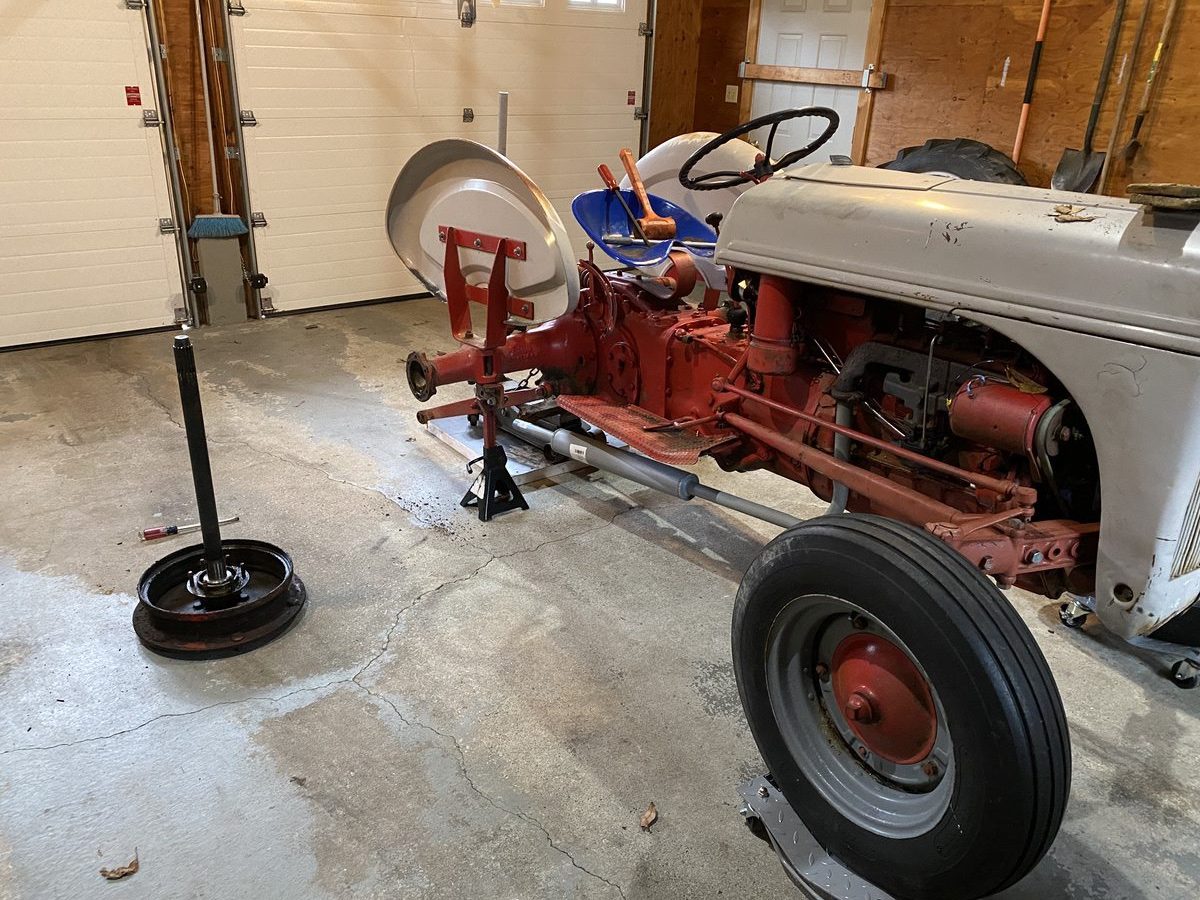
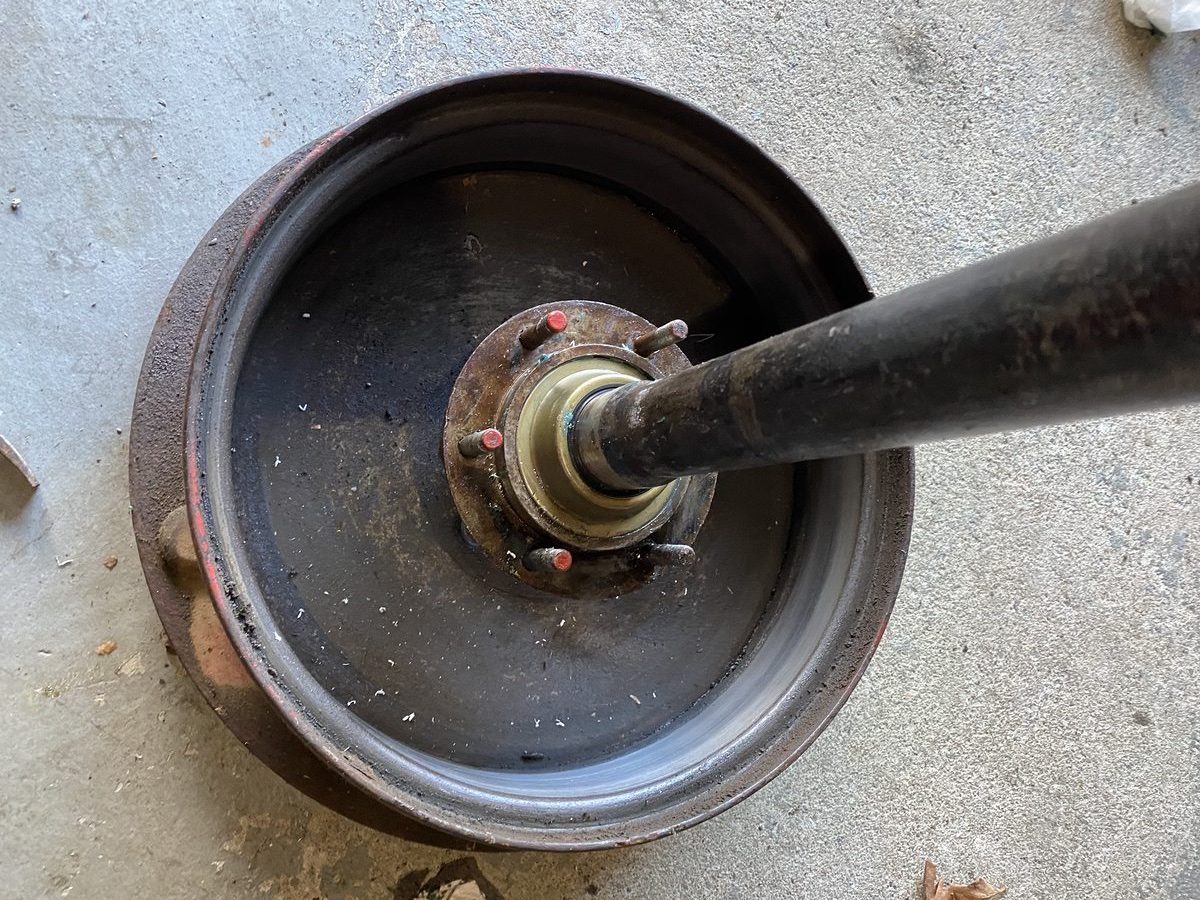
Thankfully with some thought, I starting calling friends and Then and Now Automotive in Weymouth, Massachusetts has the shoes and will be relining them. Once I get the relined shoes back we’ll finish the job. For now, the tractor has the axles slid back in it, the wheels and tires on, and it’s rolling around on its wheel dollies.
While putting the “wrong” shoes back in may offend some of the tractor purists, the reality is that this system worked for a lot fo years on this tractor before the axles leaked all over them and it will work again. The rest of the tractor is a wild mashup of parts and this will continue that trend. Talk about a farmer’s surprise!
So at this second, we’re waiting on our relined shoes. After we get them back we’ll be making this thing stop as well as a tractor with 500lb tires can!


A day in the shop is a success when you have the same number of fingers you started with.
Brian – be wary of those “water” filled tires. In my experience, most tractors that live in climates where freezing temperatures are possible have their tires loaded with a calcium chloride solution rather than straight water as it remains liquid far below 0* F. Does the trick quite nicely but also is highly corrosive, especially to the insides of the rims and valve stems.
Water alone would render the tractor pretty hard to live with once it freezes – try imagining a tire that’s 500 lbs out of balance. Even at tractor speeds the experience could be quite surprising, and not in a good way.
Helpful hint – always inflate or check air pressures in loaded tires with the valve stems at the top of the tire’s rotation. Having the stem below the fluid level will not go well regardless of what the tire is filled with.
change the water filled tires to the new stuff. aka beet juice. rims and tubes don’t rot away
Great series! Thanks. Good to see the progress being made!
…One point before you get to having fun with the tractor, how about putting a hanger clamp on the exhaust tailpipe please?
There is a fair amount of weight hanging off the exhaust manifold connection, and would be a failure point bouncing around without a support clamp.
This a wonderful way to get your son involved in wrenching… got to show them right!
JTH
The brakes on my 44 2N haven’t worked for years. Total flat lander so it does matter. This is very helpful to get them functional again..
Get rid of the water. No need to have it on a project like this.