Tech Story by Scott Liggett:
We bought a GM 12 bolt posi a while back at Long Beach Swap Meet. It looked OK, but we wanted to check out the the clutches before we stab this posi into our 12 bolt differential that is destined for our project 65 Impala SS. GM and Eaton clutch type posi differentials are fully rebuildable with several companies making replacement and upgraded clutch packs. Preload springs and pinion gears are also available. But, if you need all that it would be cheaper to buy a brand new posi from Eaton.
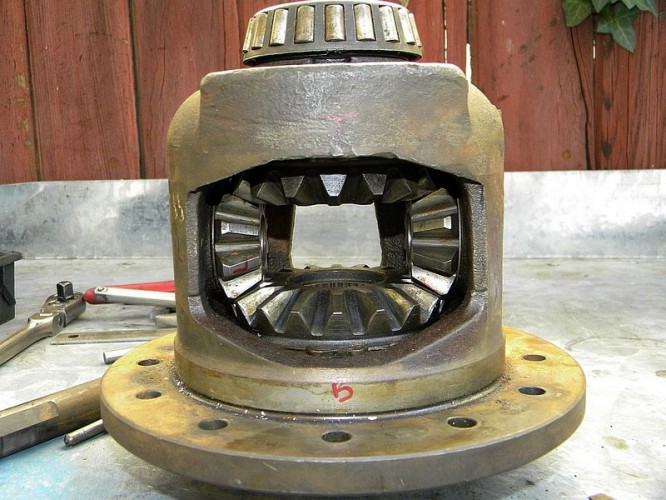
Our case appeared to have been disassembled once before by a blind man with a sledge hammer from the bash marks on the case and chisel marks around the pinion shaft. The good news is that the pinion shaft and pinion gears looked great. The first thing needed to be removed is the pinion shaft retaining bolt, then the pinion shaft should slide out of the case easily. If not, a few taps with a hammer and drift. should get it out.
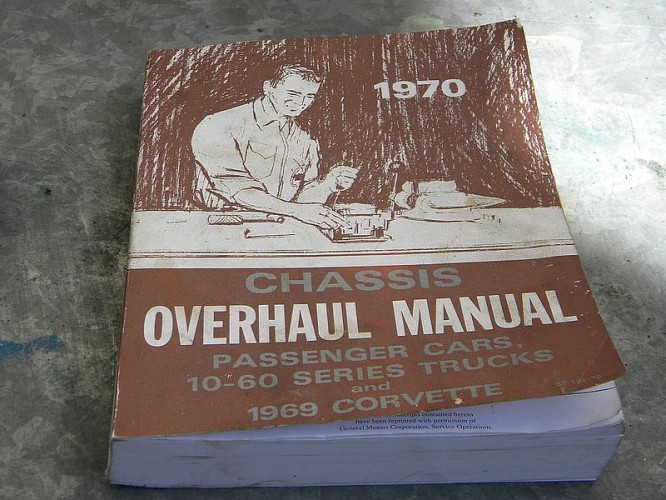
At this point, we decided to get some instruction from our 1970 Chevy Chassis Overhaul Manual. The instructions were quite easy and didn’t require any special tools.
Spin the case around to the smaller of the two holes on sides. This is the observation hole. Use your hammer and drift again to tap the preload spring retainer part way out. Only tap it out far enough to get a 1/4x 2 in long bolt through each of the springs and retainer plates. Tighten a bolt on each bolt to keep them flying across the shop, or into one’s face.
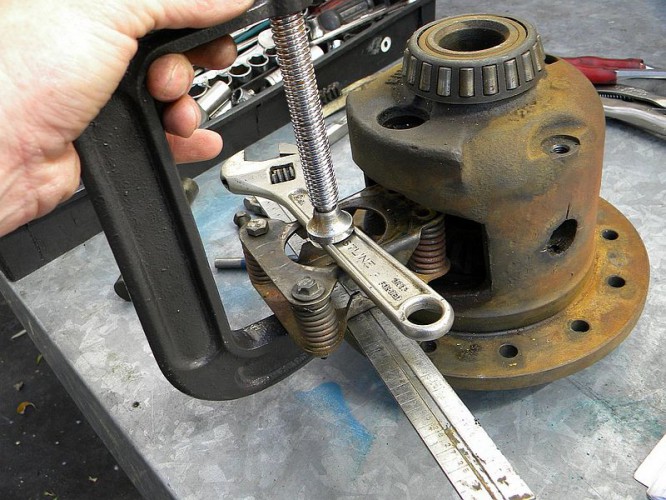
Slowly tap the preload retaining plate a bit farther in order to get a C clamp on the assembly. Once tapped out about half way, the Overhaul Manual says to use two pieces of steel flat stock across the middle of the retaining plate and the C clamp to hold together as you tap it the rest of the way out. We didn’t have any flat stock, so we improvised. An old steel ruler and a crescent wrench were used instead. Probably not the safest, but we were in a hurry and didn’t feel like digging through the shop for something better.
Once it’s completely removed we removed one of the 1/4 in. bolts out of the front springs and put it in the opposite side rear spring to keep the retaining plate together and set it aside for now.
We marked the side and pinion gears in relation of the access hole on the case in order to keep the parts correct.
To remove the side and pinion gears, we rotated them in one direction toward the observation and access holes. The smaller pinion gears came out with their thrust washers. Keep each washer and gear together so they go back in together later. The side gears will practically fall out on their own. The side gears have shims that need to stay with their side gears. The clutch packs and clutch pack guides can now come out of the case.
We separated each of the clutch plates and discs, inspecting each one for wear and excessive heat. We lucked out and our swap meet scored posi’s clutches were in great shape. They still had nice cross hatching and no signs of overheating. We decided that our didn’t need replacing, so we decided to put it all back together. If your posi’s clutches need replacing, replacement and performance clutches are available on Ebay, Summit Racing, Jeg’s, Randy’s Ring and Pinion, and others.
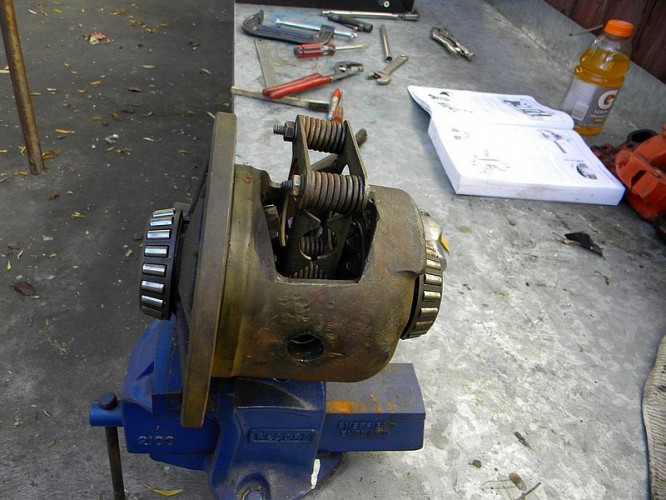
Before you reassemble your posi, check the preload springs for distortion, or weakness. New ones are available as well in the standard 400 lb rate, or the upgraded 800 lb rate. We first reassembled the clutch packs and guides and reinstalled them into the case first. Then the side gears with their respective shims. Then came the pinion gears and thrust washers. These had to go in together as we had to turn the side gears to move the pinion gears into their positions at the same time. Lastly, the preload retainer and springs need to go in. We put the case in the bench vise for this.
Tap the retainer in part way leaving enough space in order to remove the two bolts holding the front springs. We used the C clamp to take pressure off the bolts to remove the nuts. Then, we tapped the spring retainer back into place so it lined up with the pinion shaft hole. Slide the pinion shaft back into the case and screw in the shaft retaining bolt and your done. Go open a beer and pat yourself on the back for a job well done.


Looking good Scott.
Ooh, the comments are ledge-able without glasses!
Nice.
Curious why the previous rebuilder would hammer on the cross shaft with a chisel, leaving that big gouge.
And is that big gouge on the case by said cross shaft hole a potential starting spot for cracks?
When these things die, what kills ’em?
When I did this to the Moroso Brute strength, I don’t recall how I got the retaining plate and springs out (or back in!) – but I do remember the shims for the side gears kept wanting to slip out of place … so I put a blob of grease on them to hold them in place during reassembly. I figure the grease dissolves shortly after driving around a bit.
All kinds of things go wrong. Gears break or get welded together, clutches get toasted.
I used to build posi units for a living. Eaton knock offs that rhyme with Ura-grape…ok they were Yukon Dura-Grips. Also rebuilt many Eatons. The side gear shims = use grease to hold them to the gears and slip them in as a unit rolling them in with your thumbs. Removing the spring pack, or reinstalling them? I used a set of large snap-on big channel pliers. C-clamp is too slow if you are building 100 units a day.