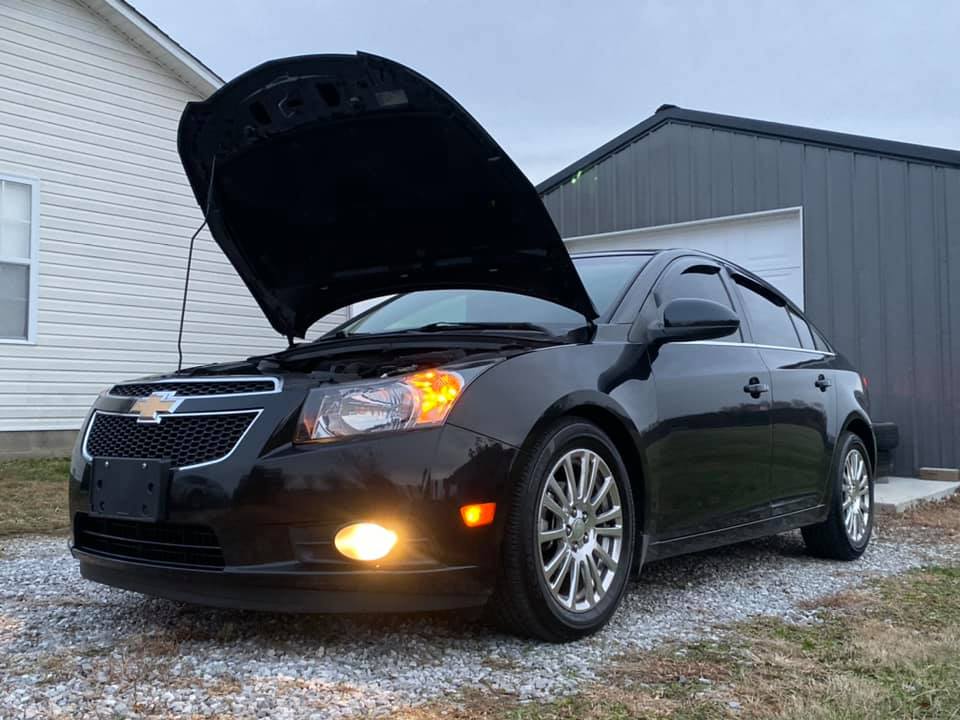
This April, I finally caved and bought a fuel-mileage machine, a 2012 Chevrolet Cruze Eco. 1.4L turbo, 148 horsepower, 40 MPG average with the air conditioning on, wherever I go. Oh, and the six-speed…the entire reason I bought the car in the first place. If I’m going to have a mileage car, I at least want to enjoy driving it. And to be honest, I learned to like this little black sedan quite a bit. It’s quiet, it’s fairly well equipped, and it runs well enough. Rather, it did…right up until mid-November. The first indication of trouble was easy enough to spot: oil vapor coming through the heater vent while heading into town. Next thing I know, the engine is venting oil out of the oil fill cap and is spraying it all over the engine bay. And it runs like hell, to boot. After letting the dealership perform a once-over on the car to confirm a suspicion, I was offered up the chance to spend over seven hundred dollars to replace the intake manifold, because the check valve that resides in the center port had pulled a Houdini and had disappeared.
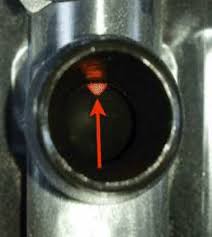 In the third generation of the Opel-designedFamily 0 engine series, the turbocharged cars utilize an integrated check valve (in GM-speak, a non-return valve) that simply will fail at some point. In fact, it’s one of two failure-prone valves…the other is at the turbo inlet. Now, to be clear, up until this incident, the Cruze’s issues had more to do with age and wear than anything else. I had replaced a leaking thermostat housing and the valve cover already (the PCV itself is an integral part of the valve cover and cannot be serviced separately), and I’ve put about 15,000 miles on the car without real issue. So with the proof that at least the the intake manifold valve had effed off to Narnia (or, more realistically, out of the tailpipe at some point), the decision point was reached: do I shell out several hundred dollars for the same exact setup, or do I make a move that eliminates the most unlikely “trouble-prone nipple” story I’ve ever had to tell once and for all for under $130?
The internet is a beautiful thing…a few minutes of hunting and I got smacked in the face with CruzeKits.com. A branch-off from the CruzeTalk.com forums, CruzeKits was started by Andrei, who has created two different methods of dealing with this serious issue, and is currently working on a third version. The original V1 kit required the use of a throttle body spacer plate made by Bad News Racing, but I chose to go with the V2 kit, which uses a stacked T-port connection at the brake booster vacuum fitting to route PCV gas back into the system. A few days after placing my order, everything I needed to get the job done, including the additional step-drill bit, was at my door, ready to go. Follow along as we get our Cruze breathing a bit better:

Oil out of the cap, onto the exhaust manifold and turbocharger. Last time I smelled of oil that bad, was the Mirada before the engine rebuild.

But when I say oil went everywhere, I mean it. I wasn’t sure if that was the only oil leak, but until we could stop the pressurization that was blowing it out of the top, we wouldn’t be able to find any more trouble spots.
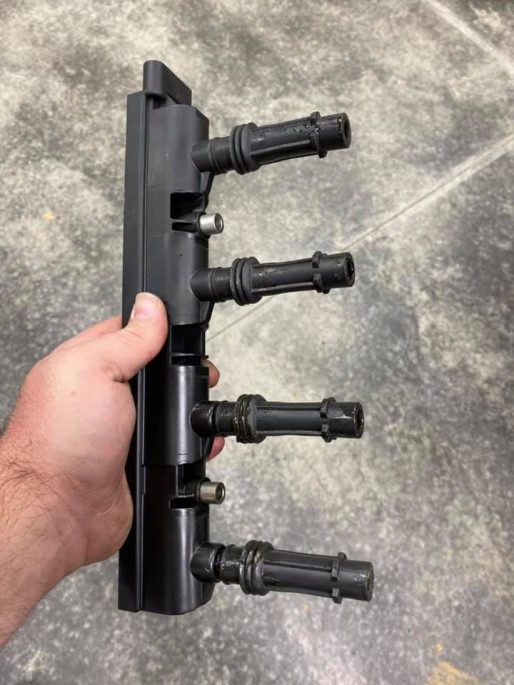
Step one: the coil pack and leads. What I didn’t get a photo of was the spark plugs…or the dripping plug socket each time I stuck it down into the head. Plugs were replaced, terminals were hit with electrode cleaner.

More nastiness found inside of the intake manifold. Each port had cooked oil of varying degrees inside and were treated to a blasting of carb cleaner to rough out the heavy stuff, followed by old shotgun cleaning brushes to fine-sweep the rest. A neat trick: you can port out the “tumbler” (the wall on the floor of the runner) to pick up a small bit of power if you so choose. I prefer MPG here, so I left them be.
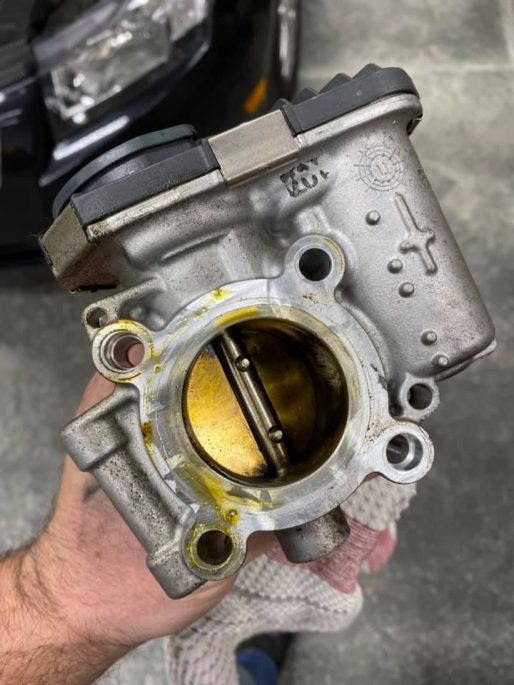
Undeniable proof that the engine was gettin’ high on it’s own supply: fresh oil around both sides of the throttle body and cooked residue in the butterfly. Plenty of cleaning done here.

At the back of the runner, you can see the spot where an orange or peach-colored rubber valve should be. There was no evidence of the remains of the original unit to be found, so on to fixing the issue…and that doesn’t mean putting a new one in here.

Fuel injectors…showed oil evidence as well at the base. They were cleaned thoroughly, as were the intake ports.

That’s the PCV port. Need I say more?
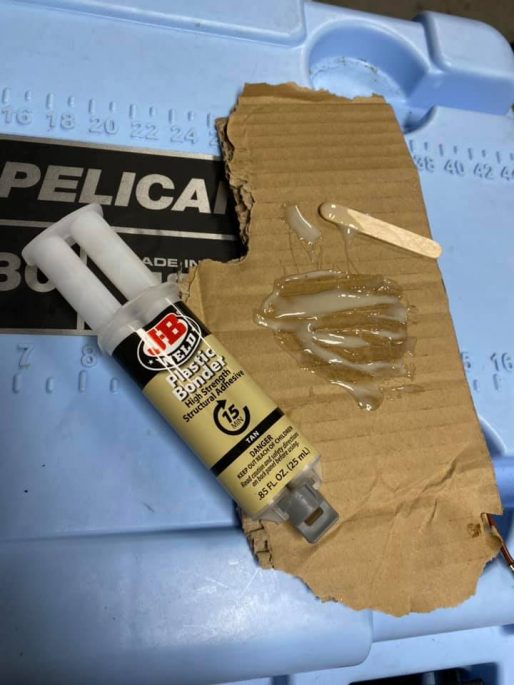
Regardless of whether go for the V1 or V2 kit, you will be playing in some plastic resin, which is shipped as part of the kit.
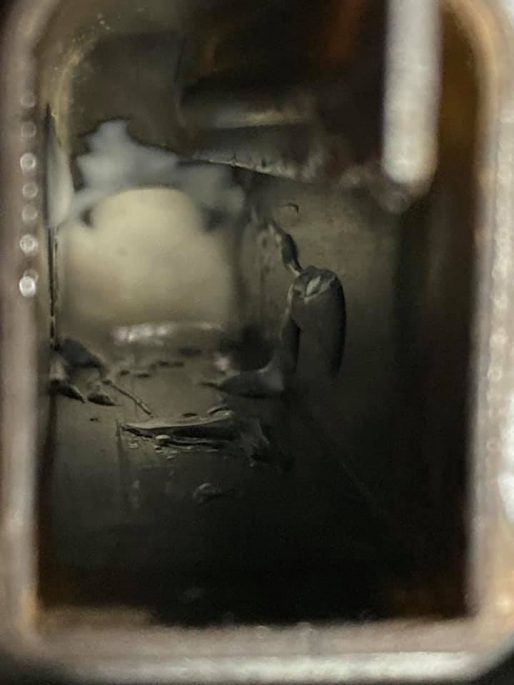
Yeah, I know, that looks horrifying. Where the big center opening of the valve used to be is a self-tapping screw and a washer, and that’s buried under enough epoxy to guarantee that it won’t see the light of day for millennia, far as I’m concerned. You want every little hole in that port sealed shut.
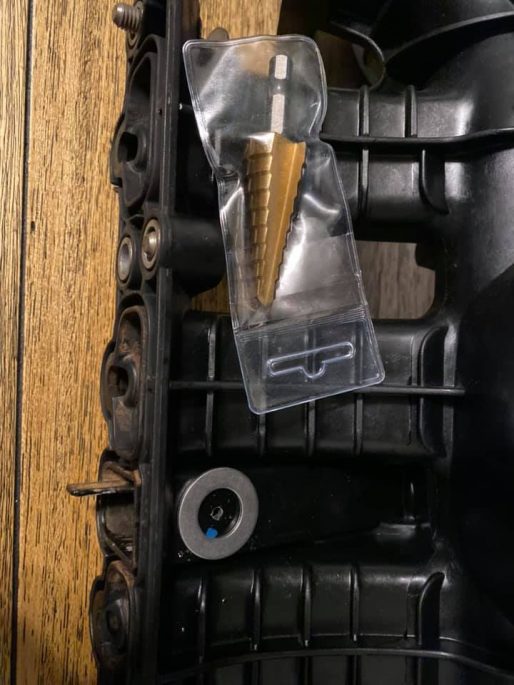
Next up is drilling out a hole for the new and improved port. For this, take the larger of the two washers that came in the kit, put it close to the runner opening but back enough to give you some wiggle room, and open up a 9/16th hole. I’d suggest drilling a guide hole to make sure the step drill stays true.
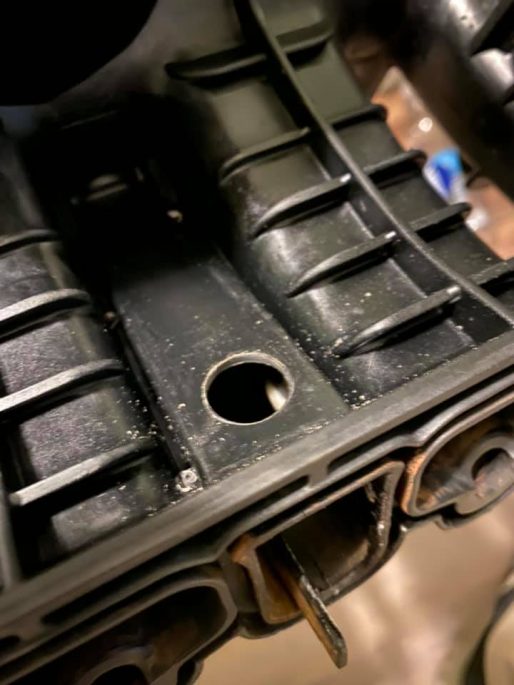
A little bit of file or sandpaper time here doesn’t hurt. Be sure to take the time to blow the shavings out…in my case, a couple hundred PSI from the air compressor did the trick. That might have been overkill, but whatever.
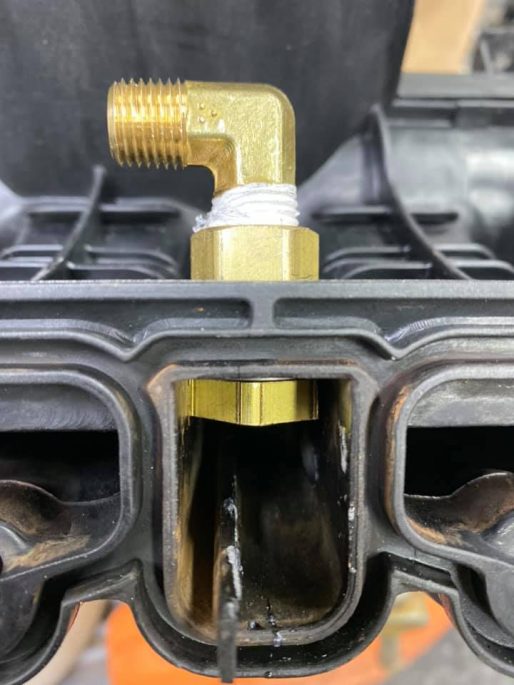
The washer and nut need some quick alone time with a grinder to fit into the port, but this is the replacement for the valve. Well, part of it.

The other major part is this pressure check valve that is just about radical overkill for what you’ll ever need. Thread sealer, tighten things down carefully, and route the new hose up to the modified fitting…

Included in the kit is the additional T-port fitting. You simply stack the new piece onto the original one and move along. Hoses, clamps, fittings, hardware…the only thing you need to bring to this party are the hand tools and the grinder.

The hardest part of the entire conversion was one vacuum line that is absolutely buried underneath the left side of the intake manifold. With my big paws, I had to get the intake loose before I could try to disconnect it. The plus side to the kit is that it’s not too bad to work on. The most exotic tool you will need is an E-10 socket, which this engine demands…those funky bolts are everywhere. The test drive showed that something is now very right with the engine…it’s peppier than ever and doesn’t bog on hills where it used to. Unfortunately, from the underhood smells, there has to be at least one more oil leak somewhere. We’ll find it sooner or later, but for now. we’ve at least fixed the root cause of the trouble.




Ahh, B, you’re just smitten with having three pedals again. The car is too softly sprung, like virtually ALL GM cars and is scary when you try to corner with some speed, the seats are too soft, and in truth, even the sight picture you get sitting behind a GM wheel sucks. Am I offering an alternative? Nope, not if having three pedals is your only requirement. I’ve rented them on numerous occasions when a Focus wasn’t available (keep in mind, I’m a Mopar guy), and the Focus is head and shoulders better than the Cruzes. I’ve never seen either with a stick, though.
Since new I’ve had a catch tank on the PCV line of my SRT4. It collects at least 2oz of oil/water at every oil change that would have been recycled through the intake.
Get Uncle Tony to hook you up with a nice slant six with a stick! That’s all the fuel economy that anyone really needs.
Thanks for this..should save me on the 30000 mile valve cover replace schedule .In your search for the next oil leak look at the gaskets on the oil cooler…they should have turned into hard plastic by now. ….after that it will be the normal main seal….also keep an eye on the cooling system…that will also be on your \’run down the leak \’ game. Good luck
I own a 2013 Chevy Cruze. One of the best cars I have ever owned. Fun to drive and handles great.Maybe you are just a Ford man.
The entire lineup of Cruze and Sonic are garbage.
Cheap, toy engines, meant to fail.
Hey there! Thanks for showcasing my kit here. Only comment I\’d make is you really don\’t need that much epoxy, but I guess everything else is overkill so it won\’t hurt, haha. Just make sure you don\’t block the port going back up into the corrugated/accordion hose and you\’ll be all set. The epoxy is really just there to seal the washer against the PCV check valve wall and fill the holes where the check valve used to be, as well as thread lock that stainless screw in place so it will never back out. All in all, well done with the install! If you\’re interested in trying out my V3 kit (it\’s ready to ship, but I don\’t have the instruction video uploaded just yet), let me know and I\’ll send one out for ya.
Anyone that has any questions with this kit, please don\’t hesitate to reach out using the contact form or phone number on CruzeKits.com; I answer every call personally.
Again, thanks a ton for this article, it was an awesome surprise after a hard day working.
I have a 2012 cruze and old manifold last 190,000+miles. Now I need to replace the manifold or do this fix here…