(Words, Photos, Bleeding and Struggle by Scott Liggett) – As we continued to fight this darn car’s oil burning 350 we transitioned from frustration to inspiration, back to frustration, then to desperation to try to fix this issue. During the last two months we as close to ripping the engine clean out of the car and tearing it apart piece by little piece. The lack of funds was the only thing that stopped us. We talked to our machinist, our mechanic friends, and nearly every wrench tossing acquaintance we knew to try figure this out.
There was the idea tossed out there that the rings may not be the problem at all. This was based on the results from a compression test and leak down we did. The compression test showed 150 to 165. The leak down showed less than 10% loss in all cylinders. The good compression meant the rings must be sealing. They aren’t collapsed, stuck, broken, or even worn out. The very little leak down showed our rebuilt heads had good valve guides and oil wasn’t leeaking past them.
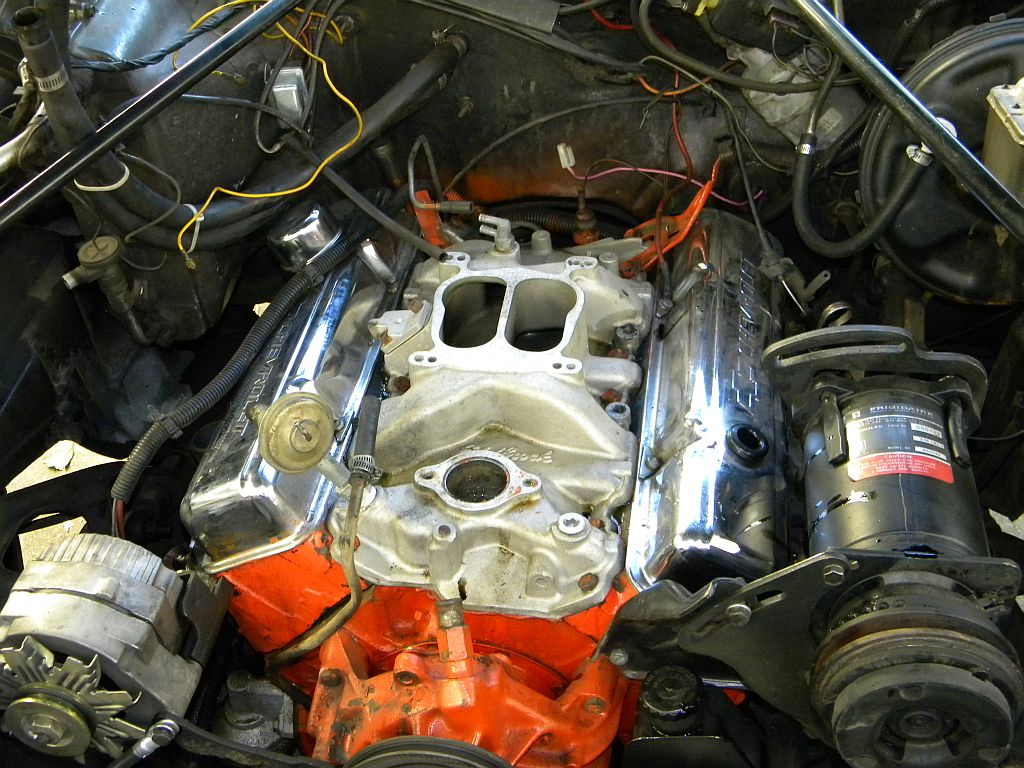
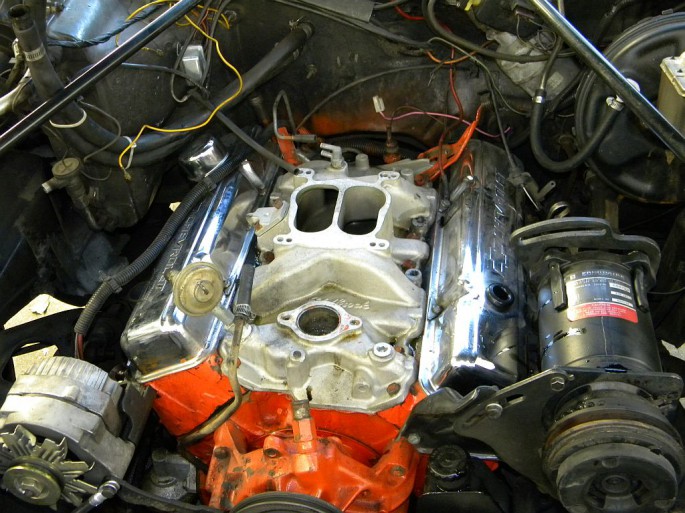
So, what could be the problem? Some one reminded us that our heads were milled for a bump in compression on our smogger 350. Could the problem be the intake manifold not laying flat on the heads? That’s where we decided to look first this time. That meant tearing apart the top half of the engine.
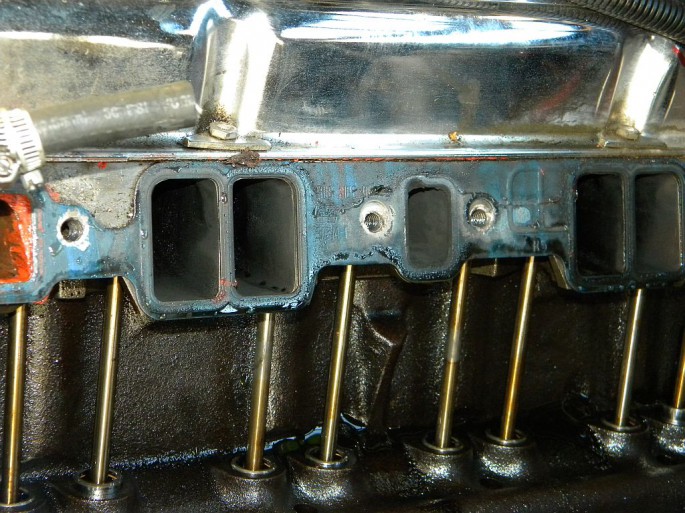
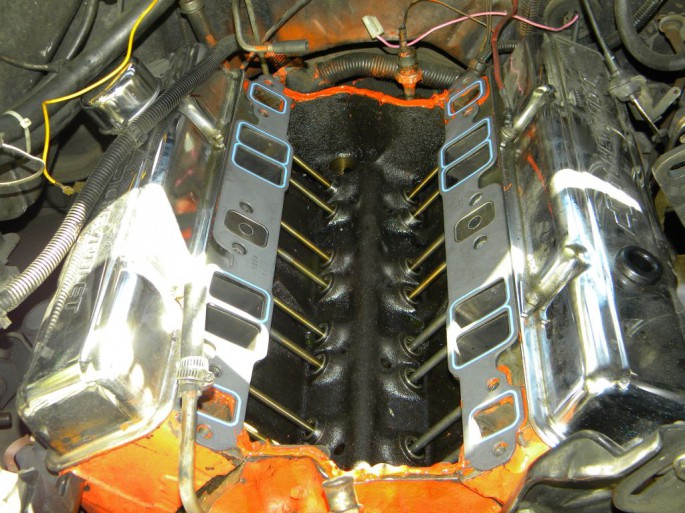
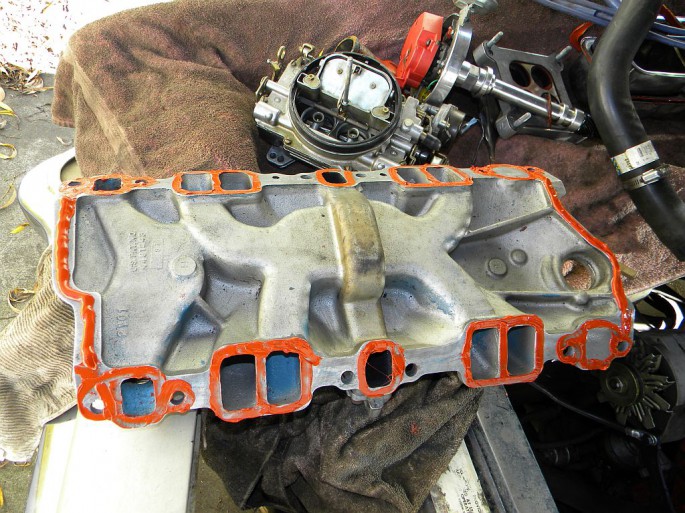
The Felpro intake gaskets came in standard engine rebuild kit and are pretty hard for use with an aluminum intake manifold. They also looked as if the weren’t sealing at the bottom of the intake ports and maybe oil was being sucked into the intake tract from the lifter valley. We were told that probably was the issue, so we got another set of Felpro intake gaskets, part #1256. Our machinist had these lying about his shop, so we snatched them up.
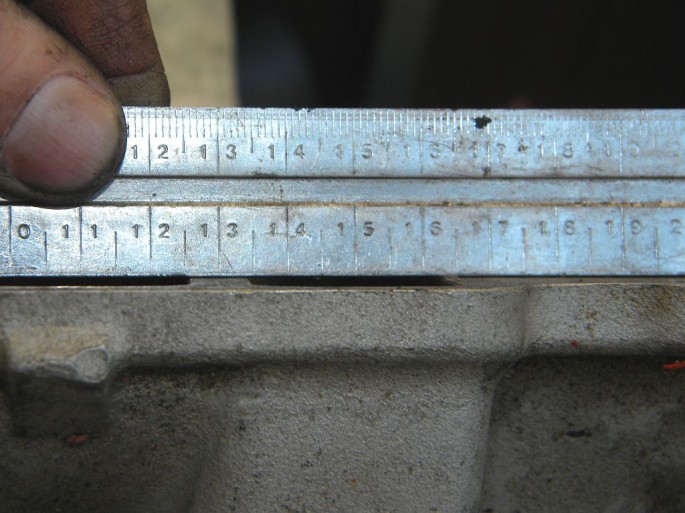
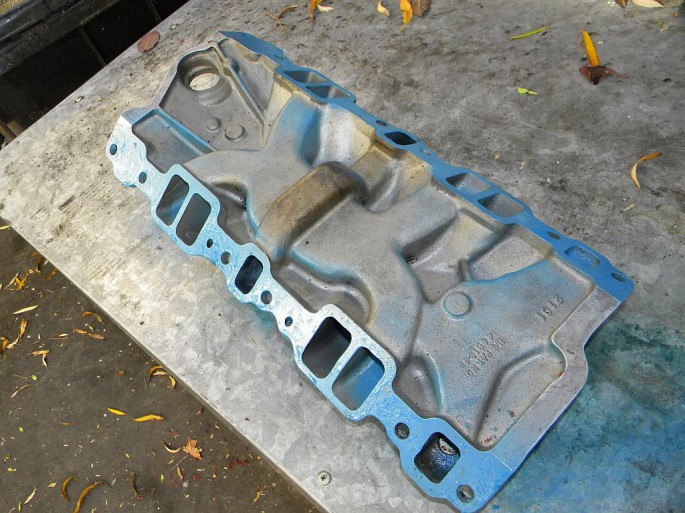
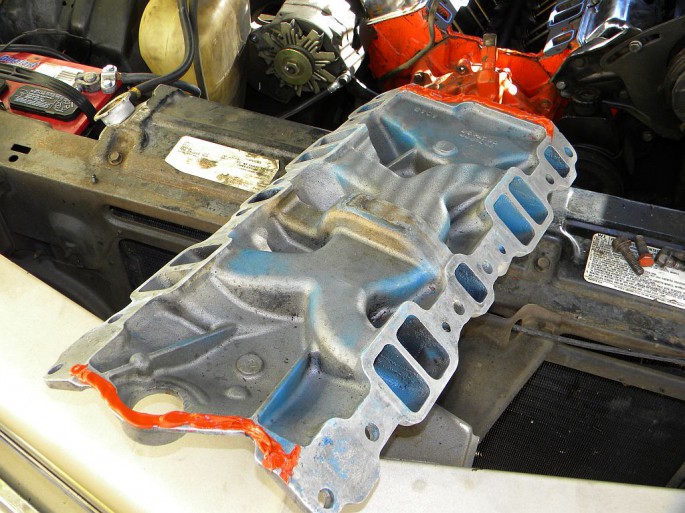
Before we threw the engine back together, we checked the intake manifold to make sure it wasn’t warped. We bought this Edelbrock Performer intake from a friend who had bolted it to an engine, but he never fired it. Still, we’ve seen brand new aftermarket intakes come out of the box warped, so we used our metal ruler as a straight edge. It checked out.
One other thing we tried was painted the bottom of the intake with liberal amounts of blue paint to see if it would show us that it wasn’t sitting flat and flush on the heads and block. This was a fail cause all it did was make a big blue mess and didn’t show us anything.
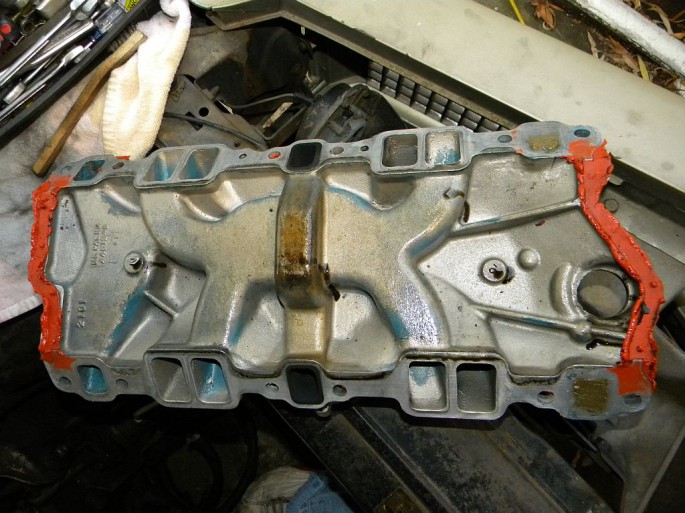
The new set of gaskets were Felpro’s 1256’s. You can see the previous owner of these heads, our friend Carl Magdanz, took the time to do some porting to match gaskets of these size. Also, note that we never bother using the rubber or cork block rail gaskets under our intakes on Chevy’s. All they ever do is slip out and leak badly. So, use a 1/4 inch bead of RTV red on each end of the block and the intake manifold. We also use a bit around the water ports on the ends of the heads to help seal them and hold the gaskets in place when we put the intake back on.
Make sure you clean the intake bolts with a wire brush to get the gunk out of the threads. Then, use a thread sealant on the threads because 8 of the 12 bolt holes are open to the lifter galley and will seep oil up on your pretty intake manifold.
Then we reassembled the rest of the motor and refilled the radiator to see if we won this battle.
We didn’t win. We ended up pulling the motor back apart again the very next day. Hey, we were getting pretty fast by now. Less than forty minutes to see the bottom of our intake manifold again. We still saw oil getting into the intake track as visible on the bottom of the intake manifold. At this point were tossing tools and screaming “What the hell!!”.
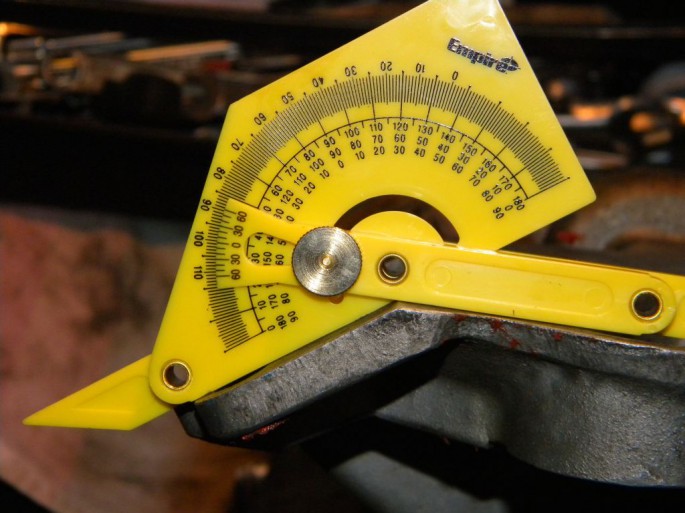
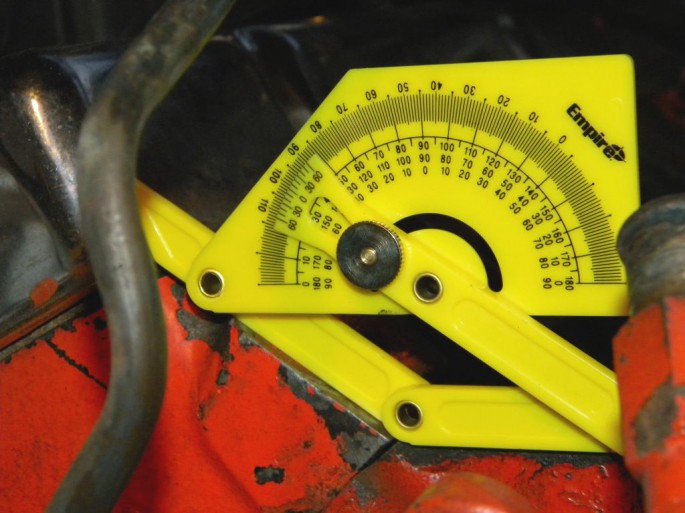
Maybe those heads were angle milled. We called the machine shop that did the work. It was only two ago and Carl had plenty of work done there so maybe they would remember. The guy we talked to probably wouldn’t remember his name if wasn’t sewn on his shirt. So, that was a dead end. The only thing left was to measure the angle of the rail to heads and compare that to the intake manifold. We got a cheap compass tool from Home Depot that worked great but also showed us they both had matching 101 degree angles. So, the intake should be laying on the head surface flat.
Anger and frustration will cause many people to go nutso with the gasket sealant to fix leaks, We fought that urge, but still used more than usual. We know that silicone and fuel don’t mix, so we were careful not to go hog wild around the intake ports. We used just enough not to worry about oil getting in between the gasket and the intake.
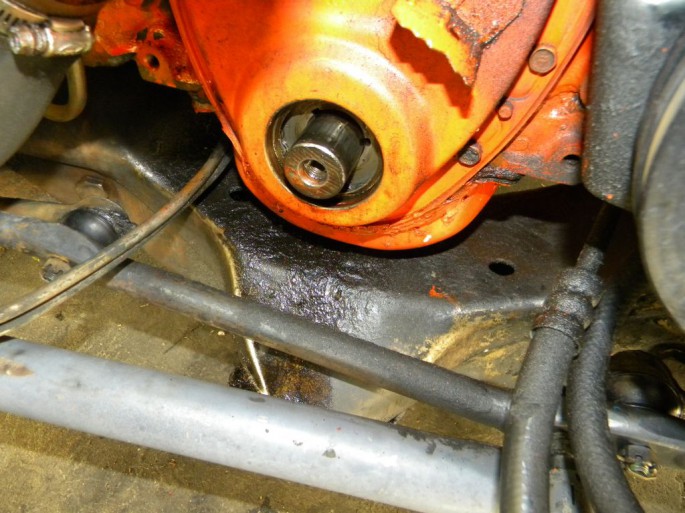
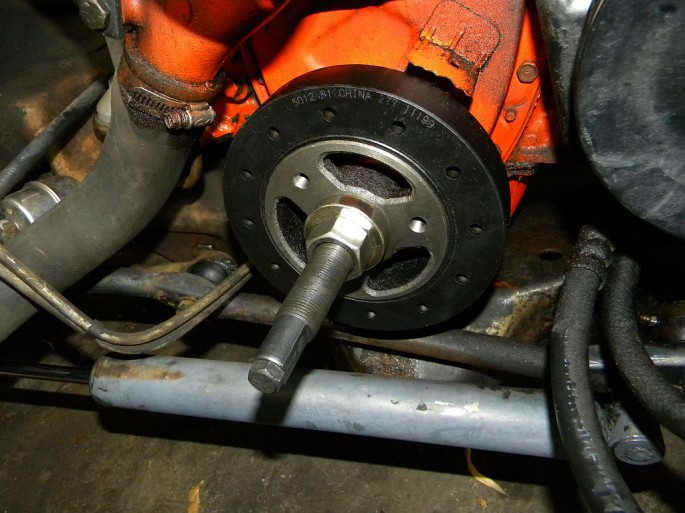
Success!!! Well, sort of. We did fix the problem with burning oil and smoke blowing out the tailpipe, but we noticed that there was now a big oil leak at the front seal where the balancer goes through the timing cover. At this point, that sniffling you thought you heard coming from behind the tree wasn’t a mistake. It was us. We yanked off the balancer and found it was not only wasted from age, but it had been fixed with a sleeve before. We figured it would be easier just to replace it with a new one from Dorman.
Here you can see the big trail of fresh oil running down the front of the crossmember under the front seal.
We already had a balancer puller, but we rented a balancer installer from Autozone to put the new balancer properly. What’s properly, you say? That is not bashing it on with a big frigging hammer. The crank doesn’t like that, neither does the new balancer.
Now, you can take a hammer and tap the new balancer on far enough where it won’t fall off and smash your big toe while you put the balancer installer to good use. Use a block of wood to soften the blows. Spray WD40 or PB Blaster on the threads and moving bits of the installer tool to help ease with the installation.
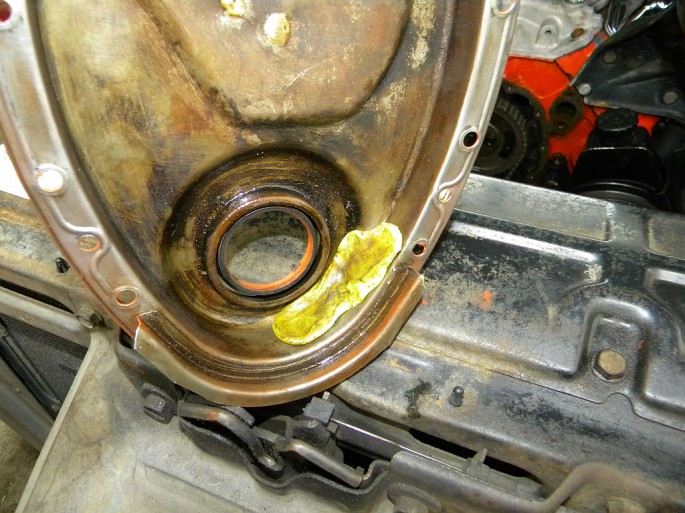
Even after all this, was stilling leaking from the timing cover. But it was seeping out of the side of the cover which made no sense at all until started poking at the timing cover with a screwdriver. You know, like you poke around to find out just how rotted that fender is? What was a small dribble became a big spurt on our face. You can imagine the dread knowing what we had to do AGAIN. At this point, we’d rather have our hair set on fire and have it put out with a hammer than have to pull out the tools yet again. But we did. The picture below shows what we found wrong with our timing chain cover. The old chain that we had replaced a year before was so loose had worn nearly through the cover. Somehow, we didn’t notice this when we cleaned and painted the cover before putting it back on. You know that guy who is off his meds and stands on the corner arguing with fire hydrant? That was us. We were berating the Monte Carlo for being the bane of our lives. Colorful metaphors in the four letter variety were spewed aloud as we ripped the engine apart for the fifth time in one week.
Now, we needed another timing cover. We called a buddy who built a ton of engines. He had a stock one lying about he gave us out of sheer pity. Before we put it on we checked our new chain to be sure it wasn’t loose, sloppy, and actually the culprit of our timing cover destruction.
Since we went from a stock chain to a double roller, we decided to check the clearance between the chain and the timing cover. Just in case. We really didn’t want to pull this all apart again. We used some old clay bar from a detailing kit and stuck it inside the cover about a 1/4 inch thick, then put the cover on. There wasn’t even a hint of coming close to the cover.
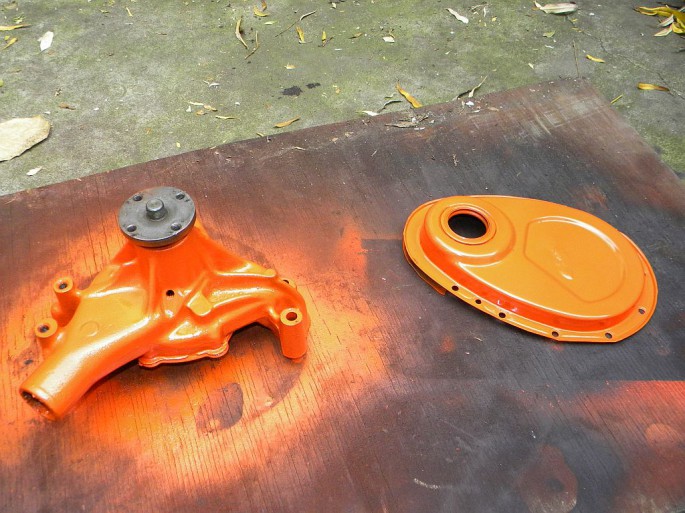
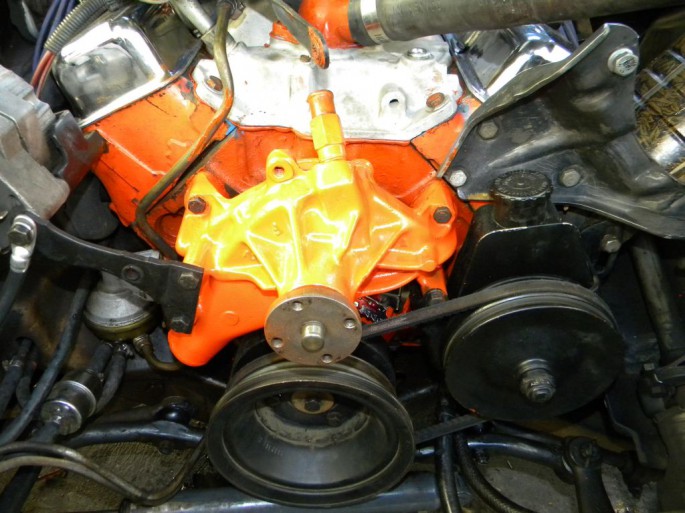
Now, we painted our new timing cover and the water pump we took off…just because.
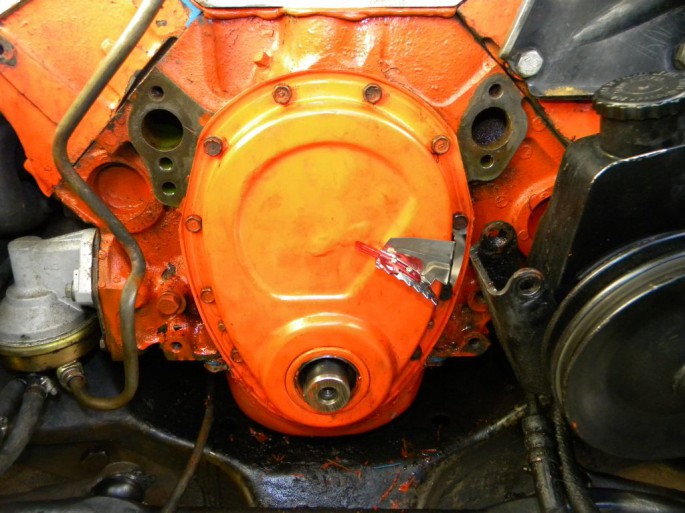
Lastly, we put the engine back together yet again. Our new timing cover didn’t have a timing tab attached to like the original one, so we got one from Spectre at the local parts store and reassembled the rest of the front of the engine.
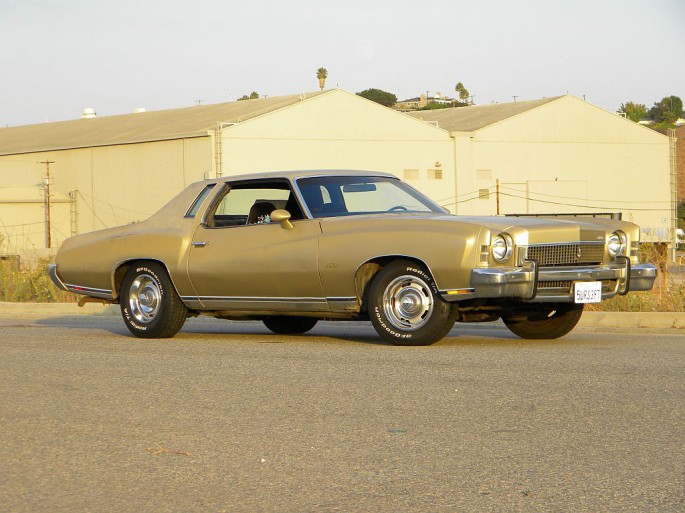
Did we win the war of this car’s oil useage after all this work and frustration? Well, we’ll have to say we signed a truce. The car no longer smokes like an old steam engine, but oil still disappears from the oil pan after we drive the car some distance. Not as much as before all this toil, but the engine still likes to use it like a forty year old engine that sat for a decade. We wish we could say that we definitely found the oil eating problem. We didn’t. Maybe we were hoping for too much to find that for sure guilty part. In the end, the 350 probably needs to come out for new rings and bearings, but we did solve a bunch of problems along the way and we still have a car that can hit the road at the drop of a hat with confidence. The weekend before writing this blog we drove it 500 miles from Los Angeles to Sacramento to hand it over to it’s new owner. We feel confient we did all we could short of totally rebuilding the engine to solve an issue.











No Comet down the carb?
So, Scott, you got rid of your problem by selling the Monte? Arghhh!
Damn, I was watching for you to solve the dilemma without an overhaul, as I have a friend with an ElCo with a similar problem. It has a 5 year-old Mr. Goodwrench engine that gobbles oil. It doesn’t leak and he doesn’t see smoke in the rearview mirror. It sees little usage. It hasn’t been “leaked”, like yours.
Ya done good finding the intake and timing cover leaks. Who’da thunk?
I suggested he try Seafoam, but he hasn’t put forth the effort, yet.
The oil control rings can be worn(or broken), the compression rings still sealing properly, and the engine in question can use excessive oil while passing compression and leakdown testing.
P.S. There is no magic in a can.
You could remove the oil filler cap, pcv and dipstick to see if it pushes smoke out of any of these orifices. Checked the valve covers for leaks?
It should emit blue smoke of some kind if it burns up that much oil.
If it does so only while idling or decelerating with closed throttle blades and it clears up on acceleration it’s the valve stem seals.
If it smokes under acceleration and deceleration it’s the valve guides or piston rings, whereas defective piston rings should have it blow oil or smoke from the oil filler and/or dipstick tube. The valve guides won’t do that.
For example:
My 76 dodge truck emits lots of blueish smoke while idling hot. It clears up when i accelerate and i have very little to no smoke while decelerating.
There’s no smoke coming from the oil filler, pcv or dipstick.
It has defective valve stem seals that make it use about a quart of oil every 300-350 miles.
I think Maxcackle is correct. The car sat for more than a decade.
Can you say . . . . “crate engine”???
I fell your pain…I have a rebuilt 454 that acts the same way. I’ll be pulling it apart to freshen it up (been doing it for 20K miles) and I’ll get to the bottom of it then. Very frustrating….