


After tearing down and inspecting our 1960s Tecumseh HH120 engine, it as time to assess what we needed for parts and pieces to get it all back together again and to perhaps figure out why the thing had stopped running on the previous owner as well. After all, we want to put it back together and have it run like it’s brand new, not just sit there and look pretty. There was also some small stuff I wanted to do that was more maintenance oriented and whether necessary or not, kind of fun during time in the world when I’m actively trying to keep my hands and brain busy.
Project Isolation Restoration:
Part 1: We score a cool old engine and start to tear it down
Part 2: We finish tearing the engine all the way down and inspect parts
Part 3: We take the engine block to the machine shop for a clean up and make discoveries!
Ok, so let’s get BangShifty and look at what we discovered about why the engine quit running and what we did to repair that problem.
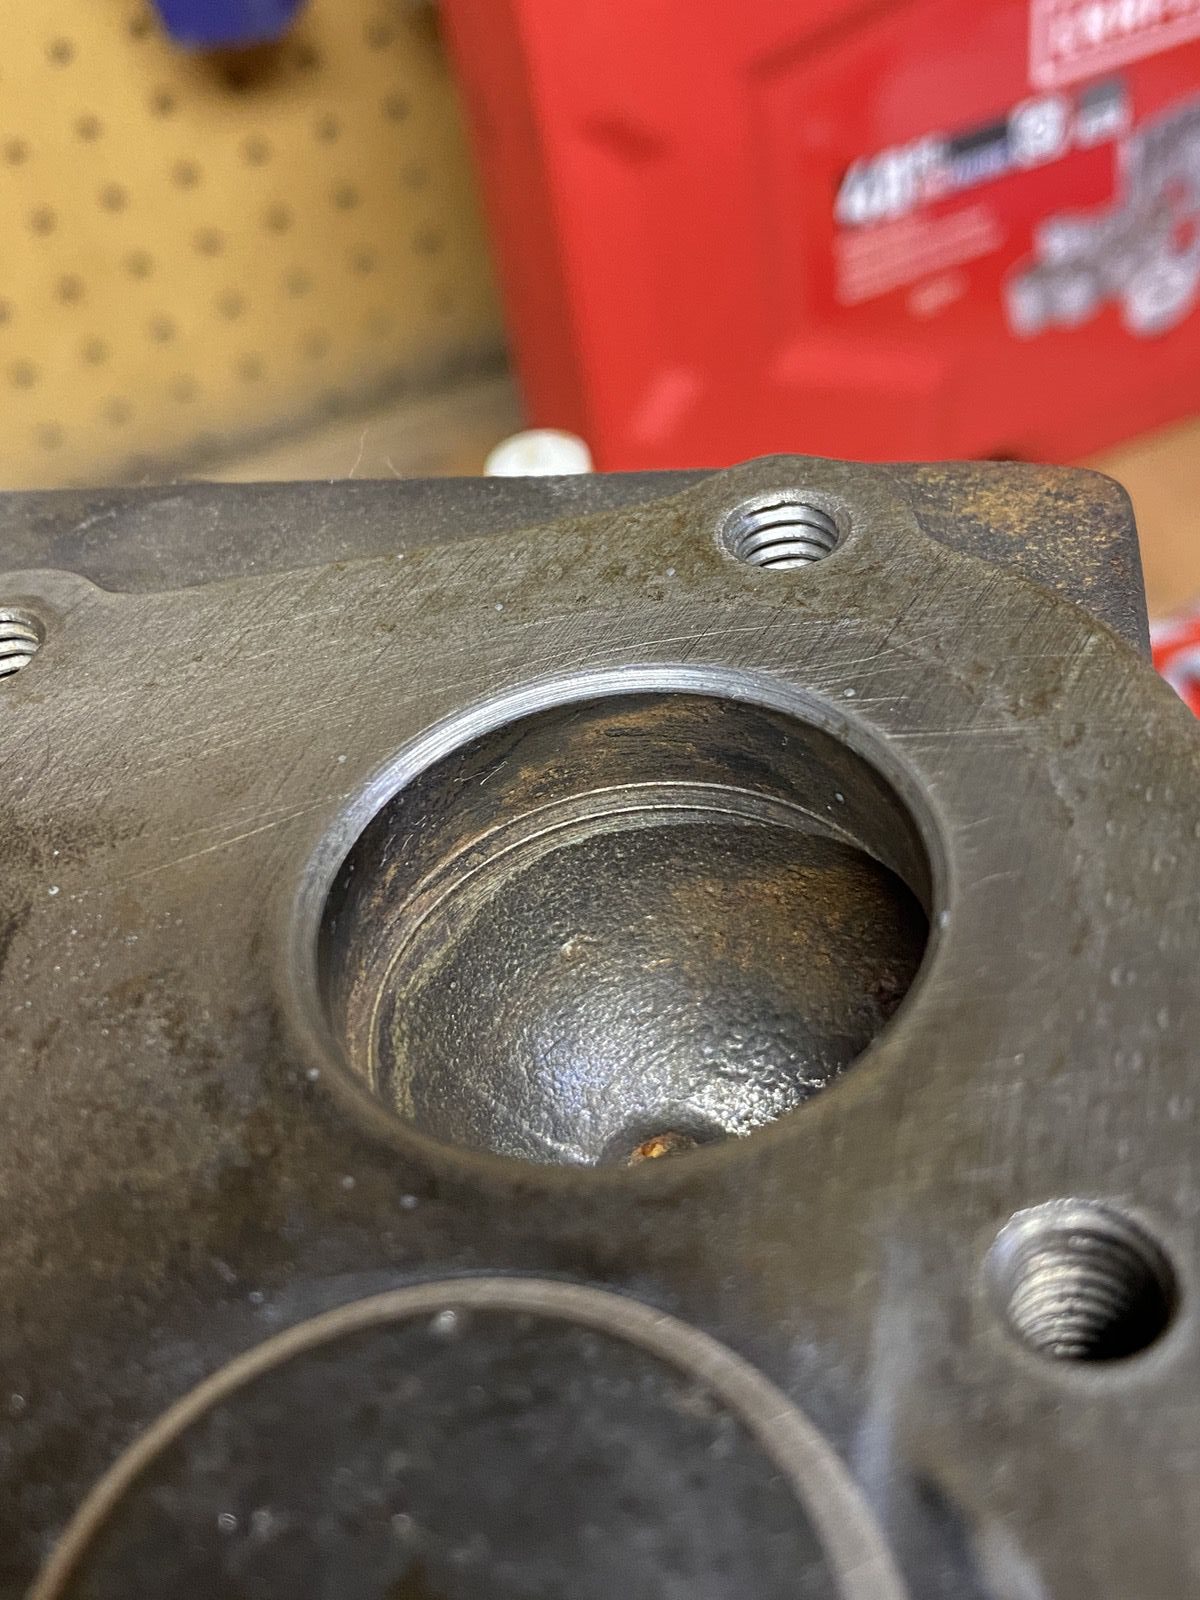
When we took the engine apart and drained all the oil out, there was a little “plop” noise that we heard while stuff was draining and when I hunted around for what had landed in our drain bucket it was kind of odd. About the size of the end of a pencil, it was a tiny little piece of metal. I set it on the bench and as I was taking stuff apart I had the ah-ha moment.

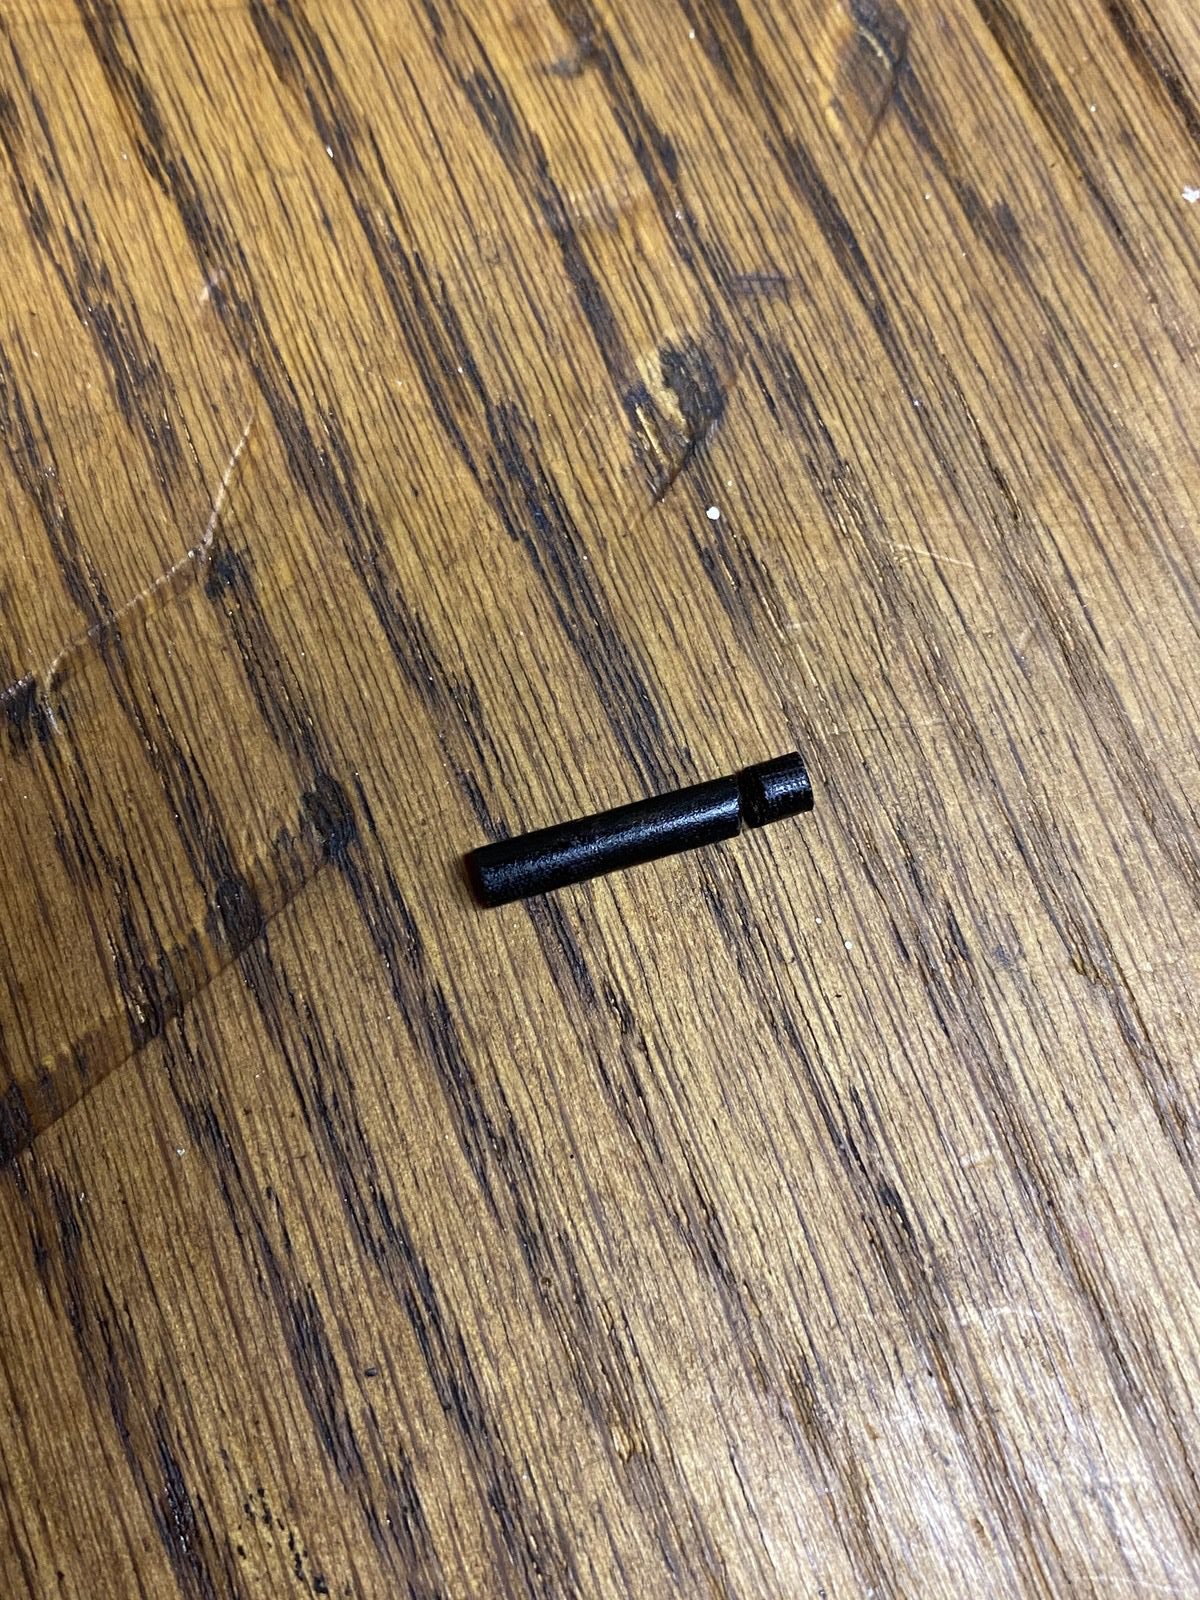
The end of this little pin had broken off and put the engine into the dormancy it’s been in for quite some time. So what the heck does this little pin do? As it turns out, something really freaking vital. It opens the points!

Note the little opening on the left. That is where the pin lives. There is an eccentric on the camshaft that pushes the pin and when the pin is pushed, it opens the points up and voila, sparky sparks! I have just set the points in place here for demonstration purposes. With the end of that pin gone, the points were not opening and that’s why the engine would not run.
As it turns out, this is a pretty common problem with these engines and while that’s good news in some sense, it was crummy in another because you can’t find the factory pins anywhere. That meant getting creative and that meant getting BangShifty. This was not a rocket science operation but it was fun and it kept me occupied for a while.
So the factory pin is .138″ in diameter and .770″ long. I was able to dig that information up from some factory manuals online. I went hunting for a pin that was this size at the local hardware shop and some other spots (wearing a mask and avoiding the populace as currently directed). The best I could come up with was a cotter pin that was .148″ and from there, you can do the math. A hacksaw, my drill press, and lots of time with sandpaper got me right to the .138″ I was looking for.
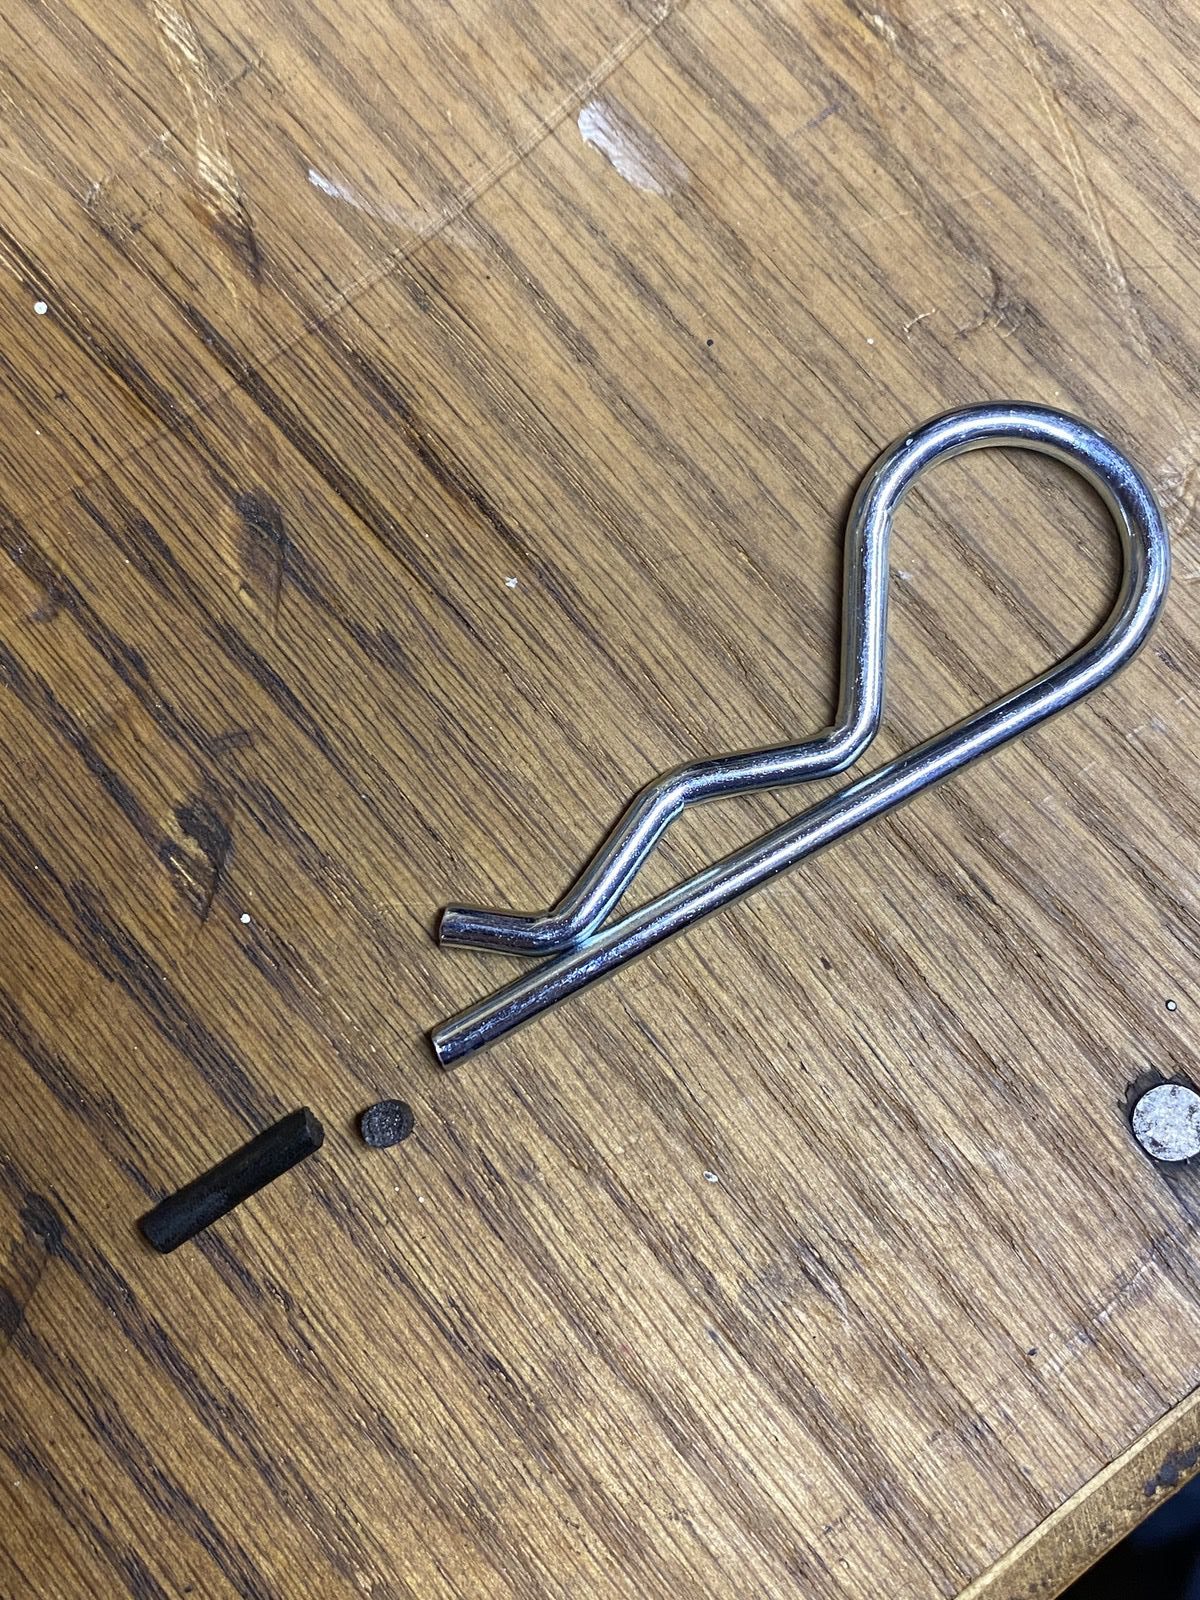
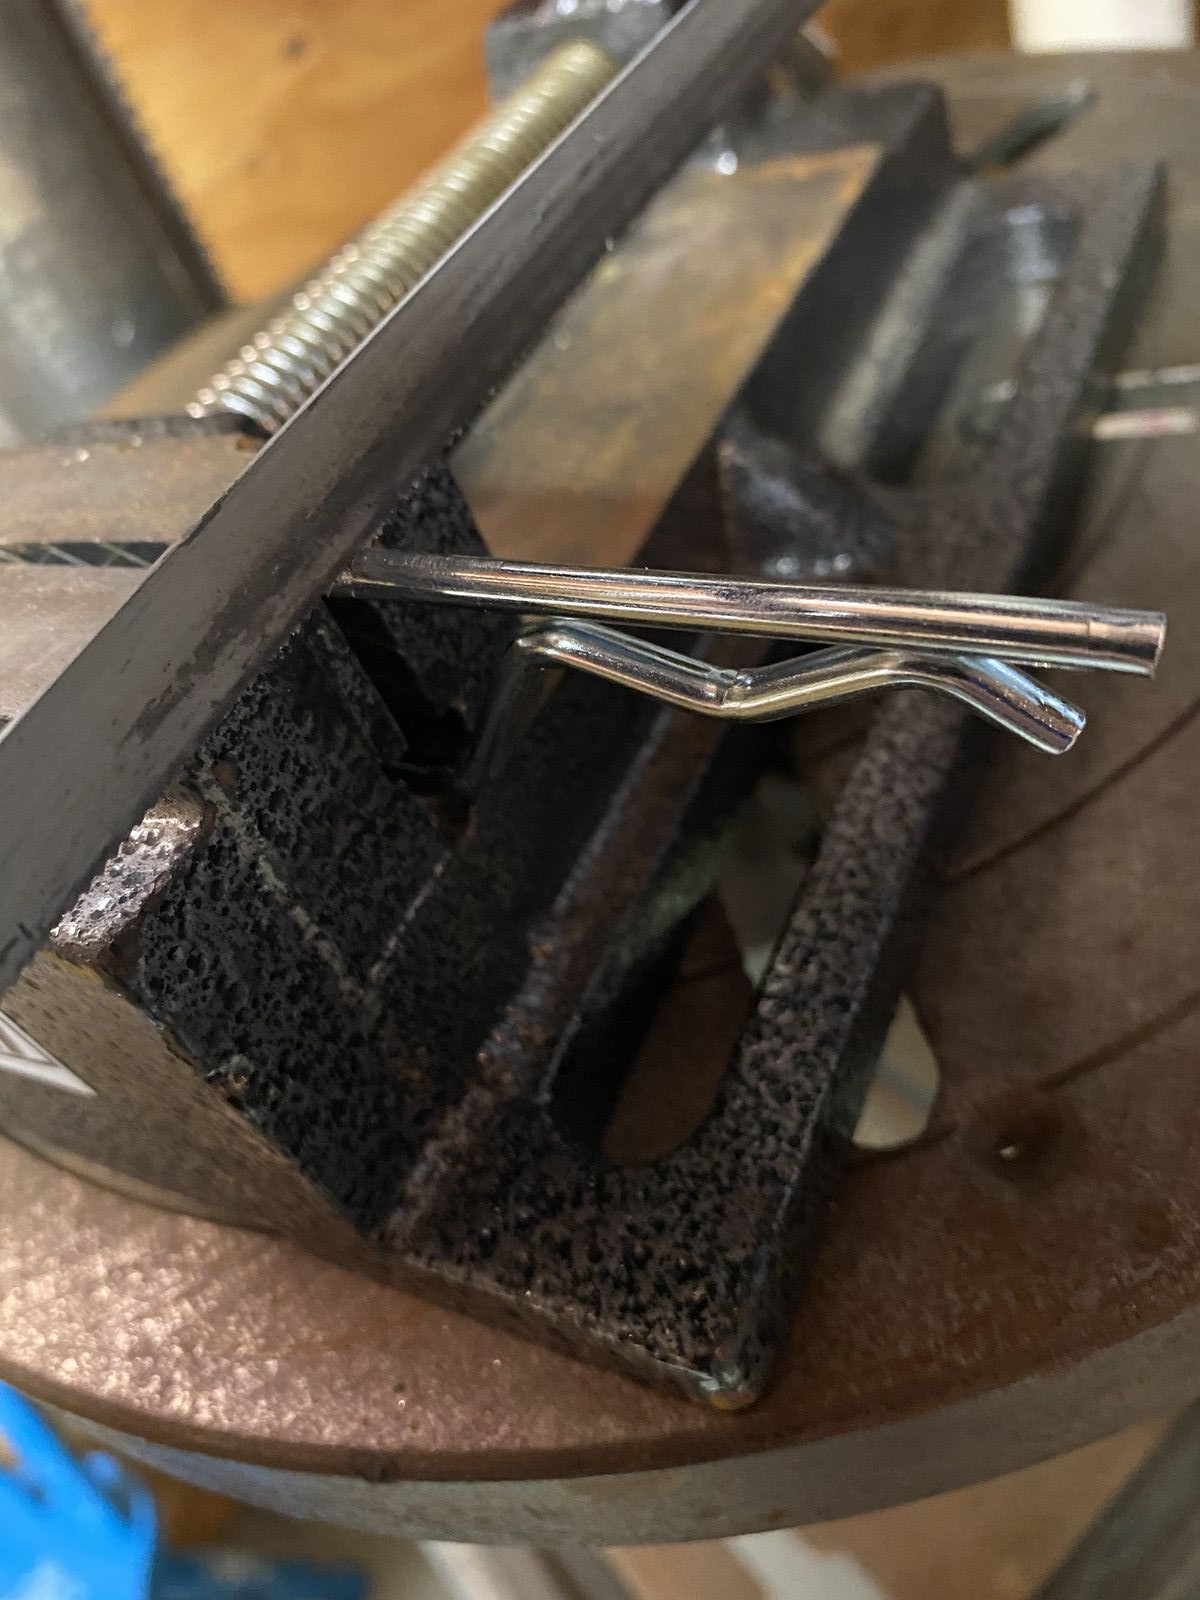

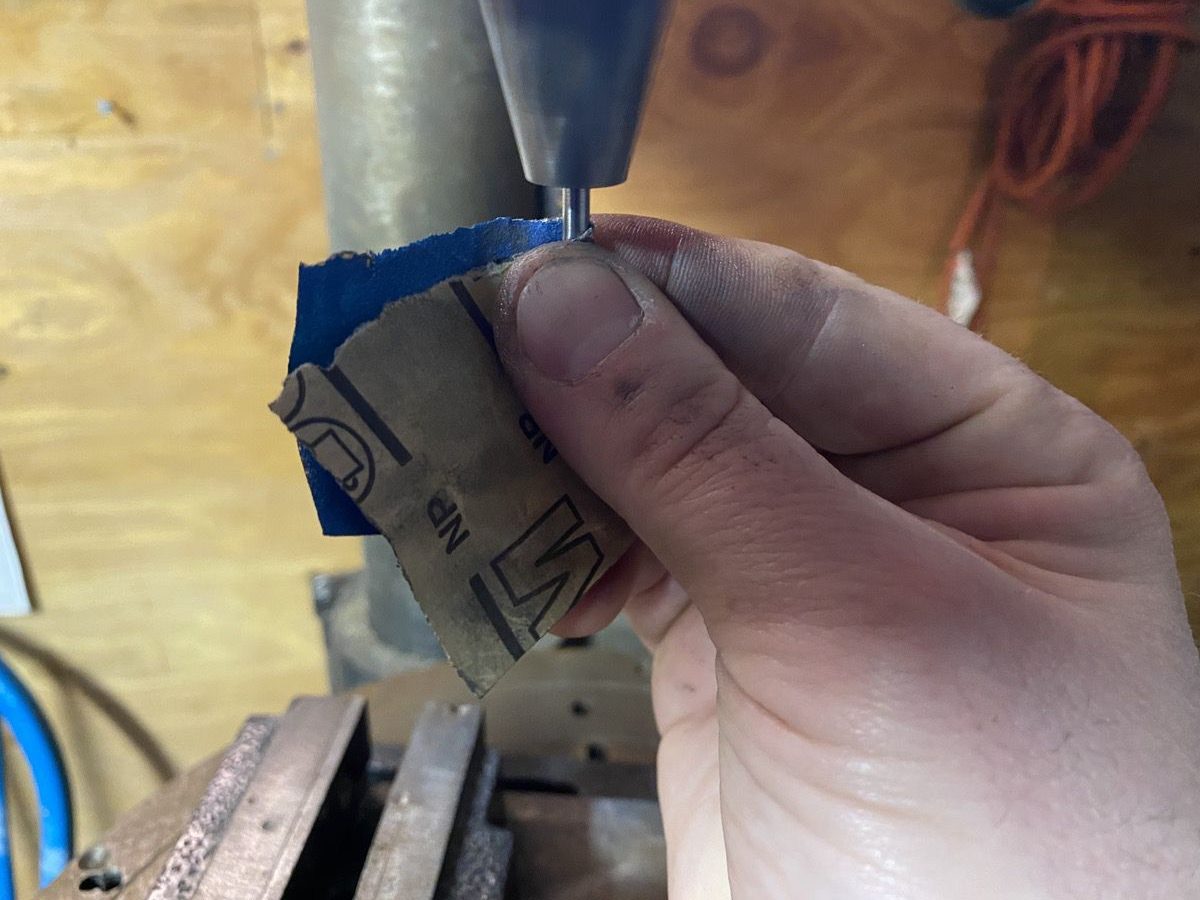
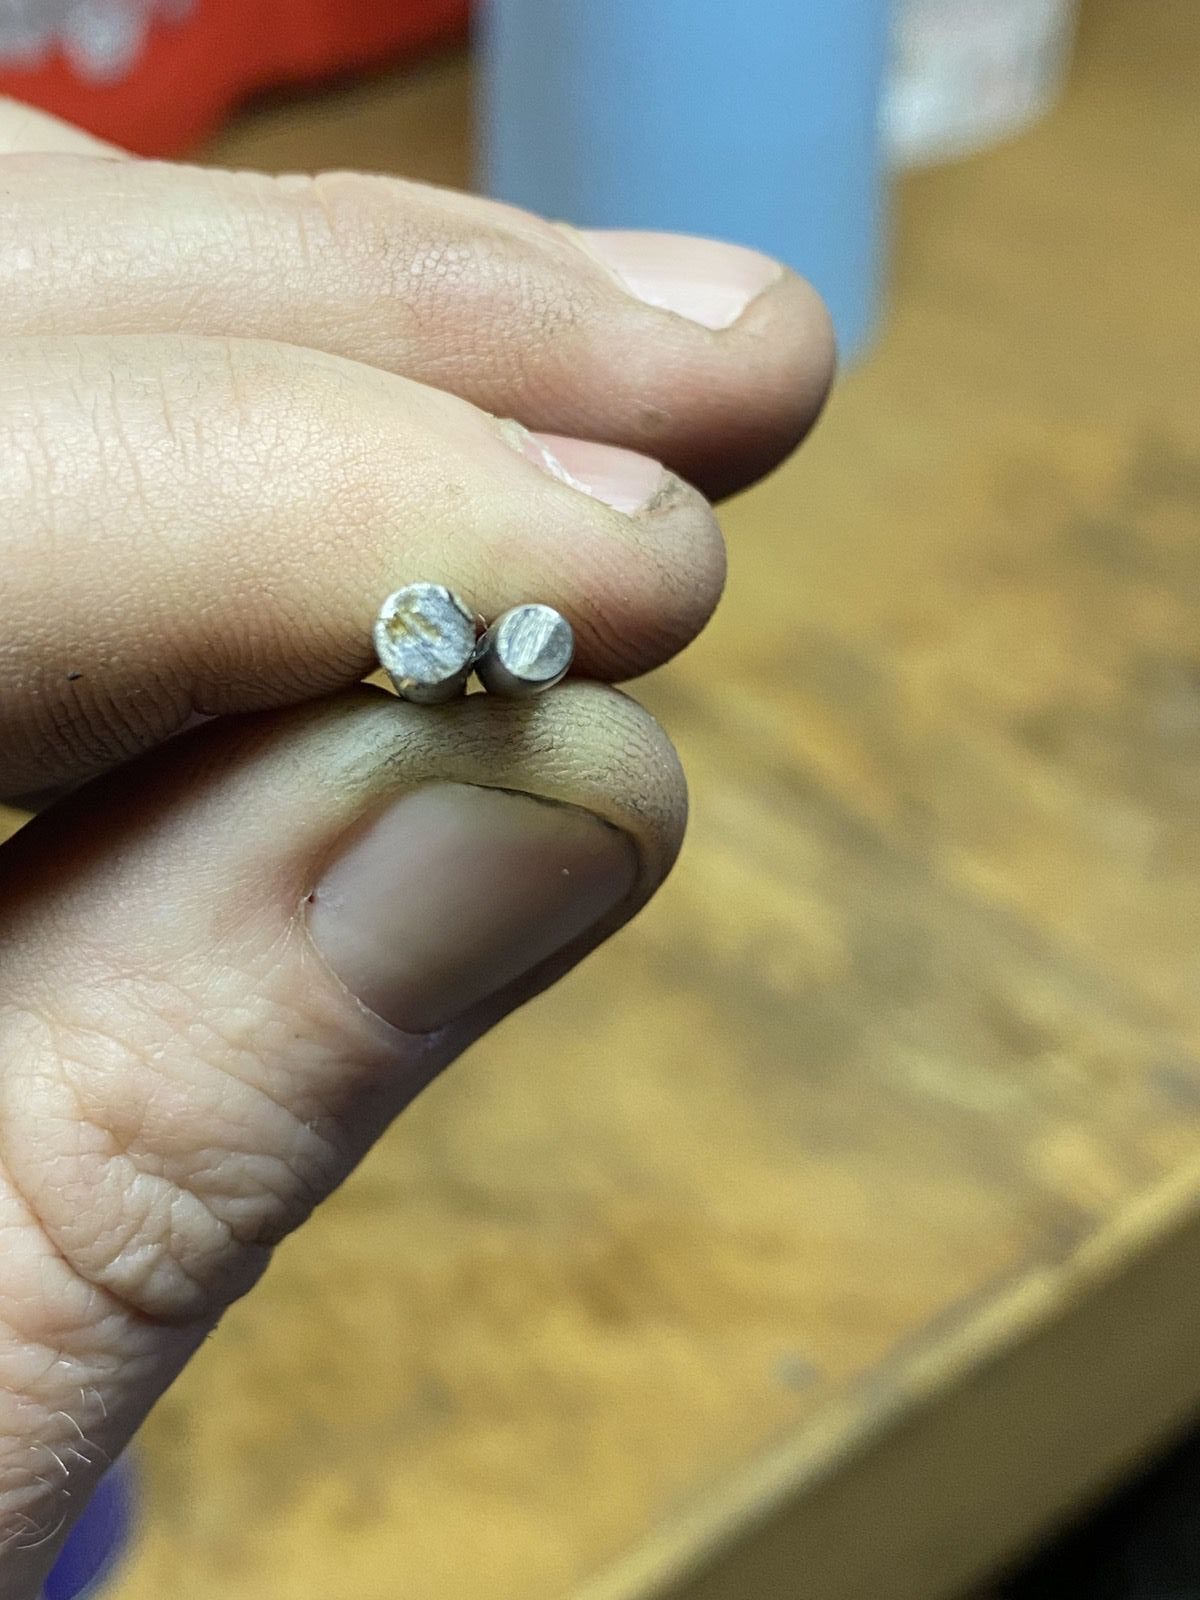
The pin fits like a glove, travels nicely back and forth and in some hand testing performs the job as needed. I’ll keep my eyes peeled for a factory pin, but this one will get us out of the gate once our parts arrive.
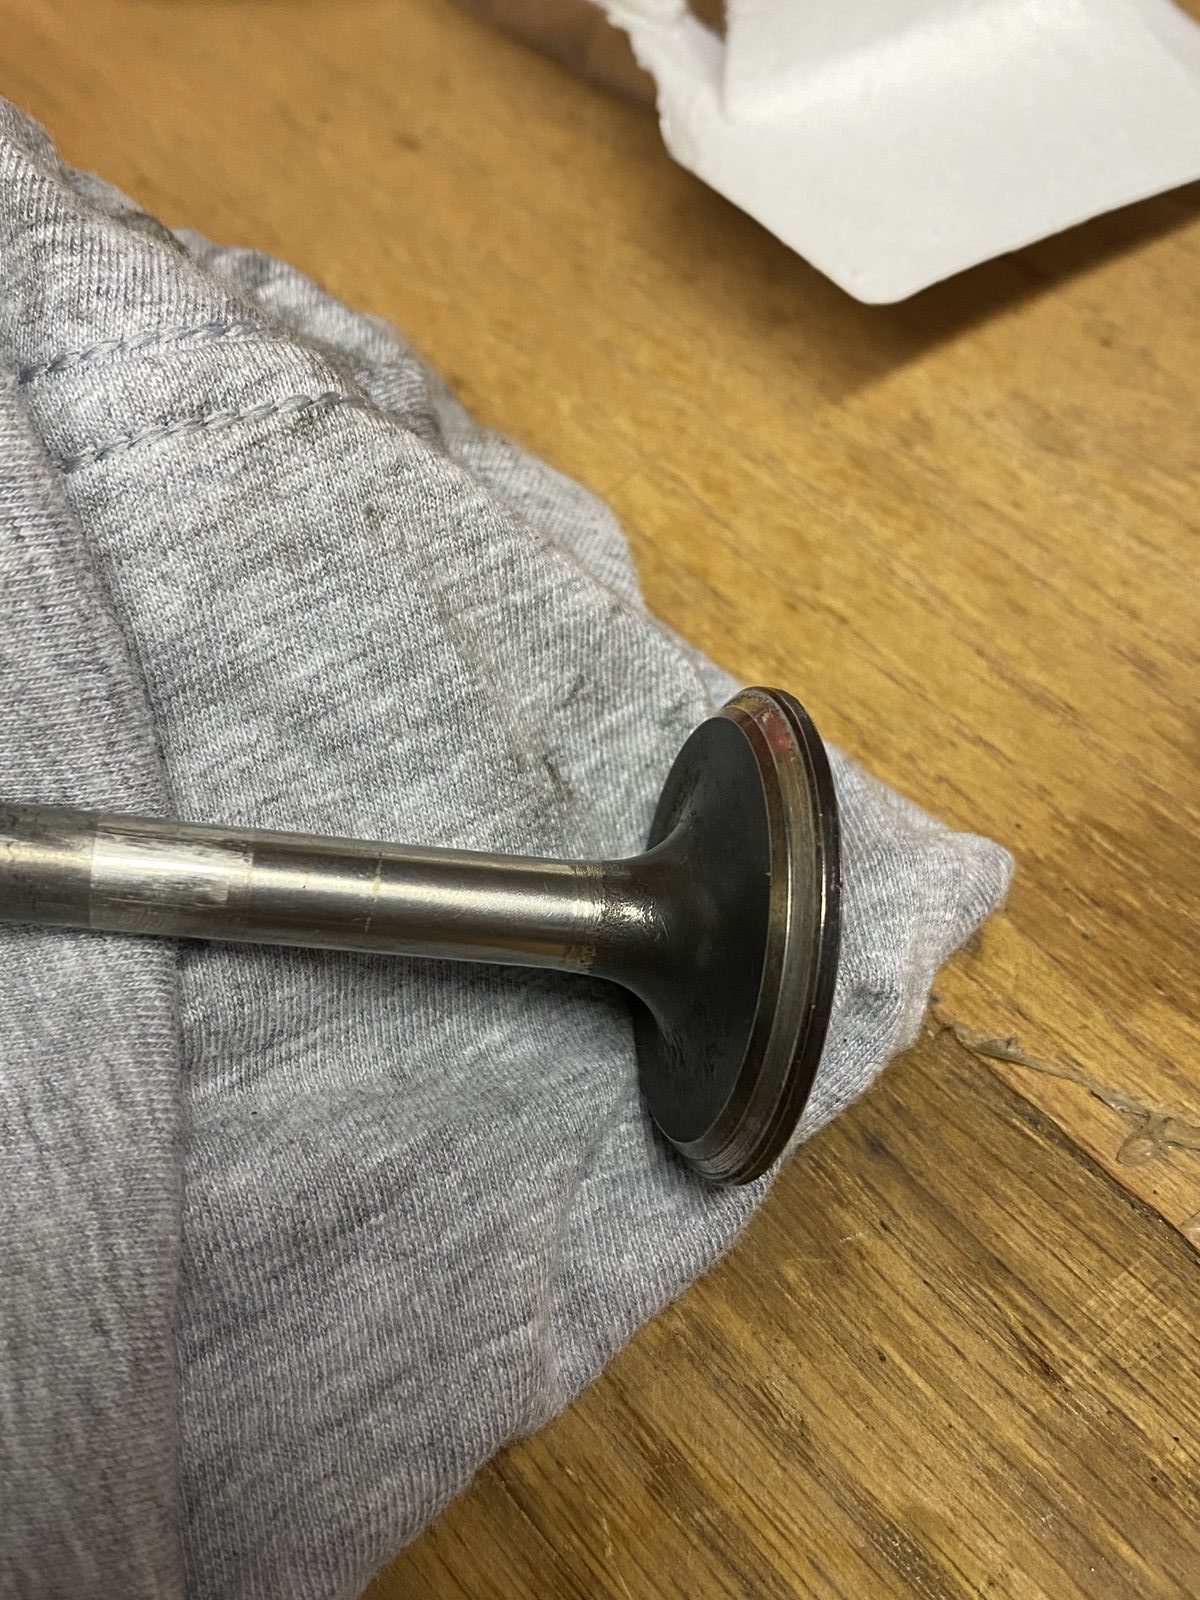
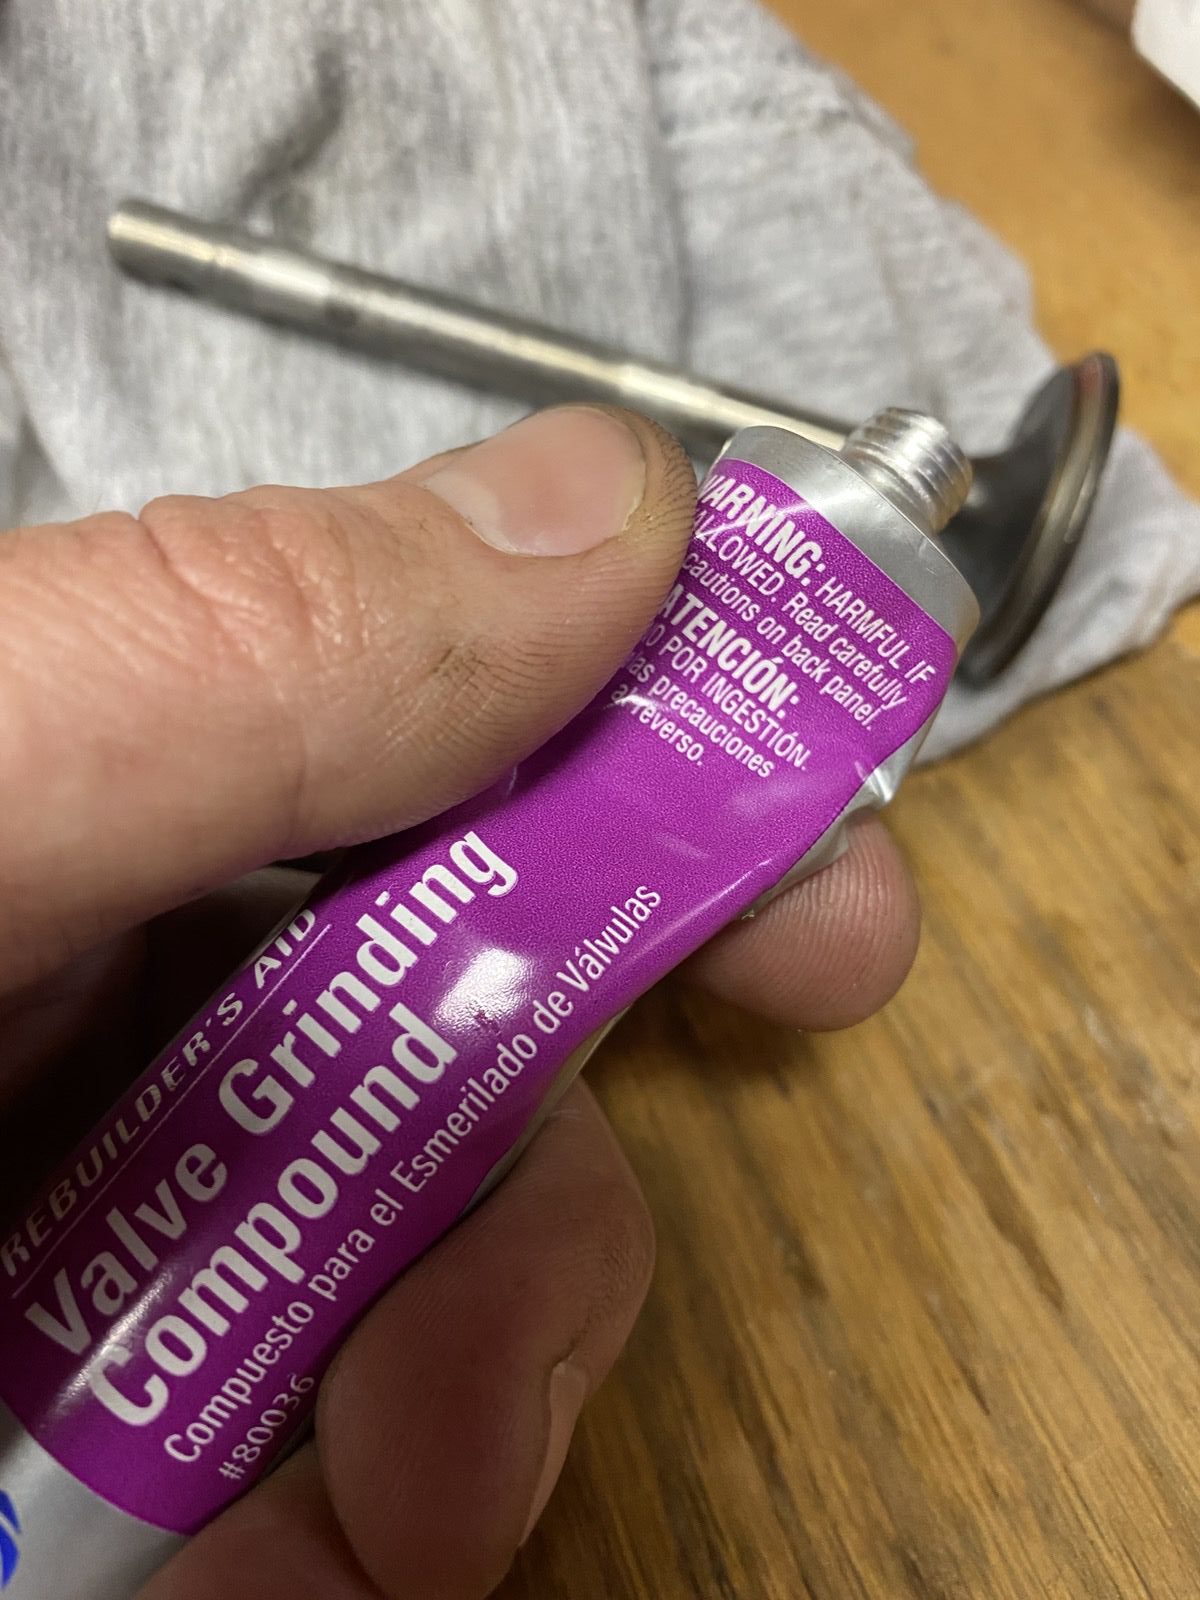
Next up it was time to lap the valves. No real magic here. I had parked the valves in a bucket of Chem-Dip over night to clean them up and then it was a simple matter of slurping a little compound on them and squashing the suction cup down. After teaching both kids how to get the job done, I checked the results and at least to my hack eyes the valves look like they are good go and will be seating nicely.
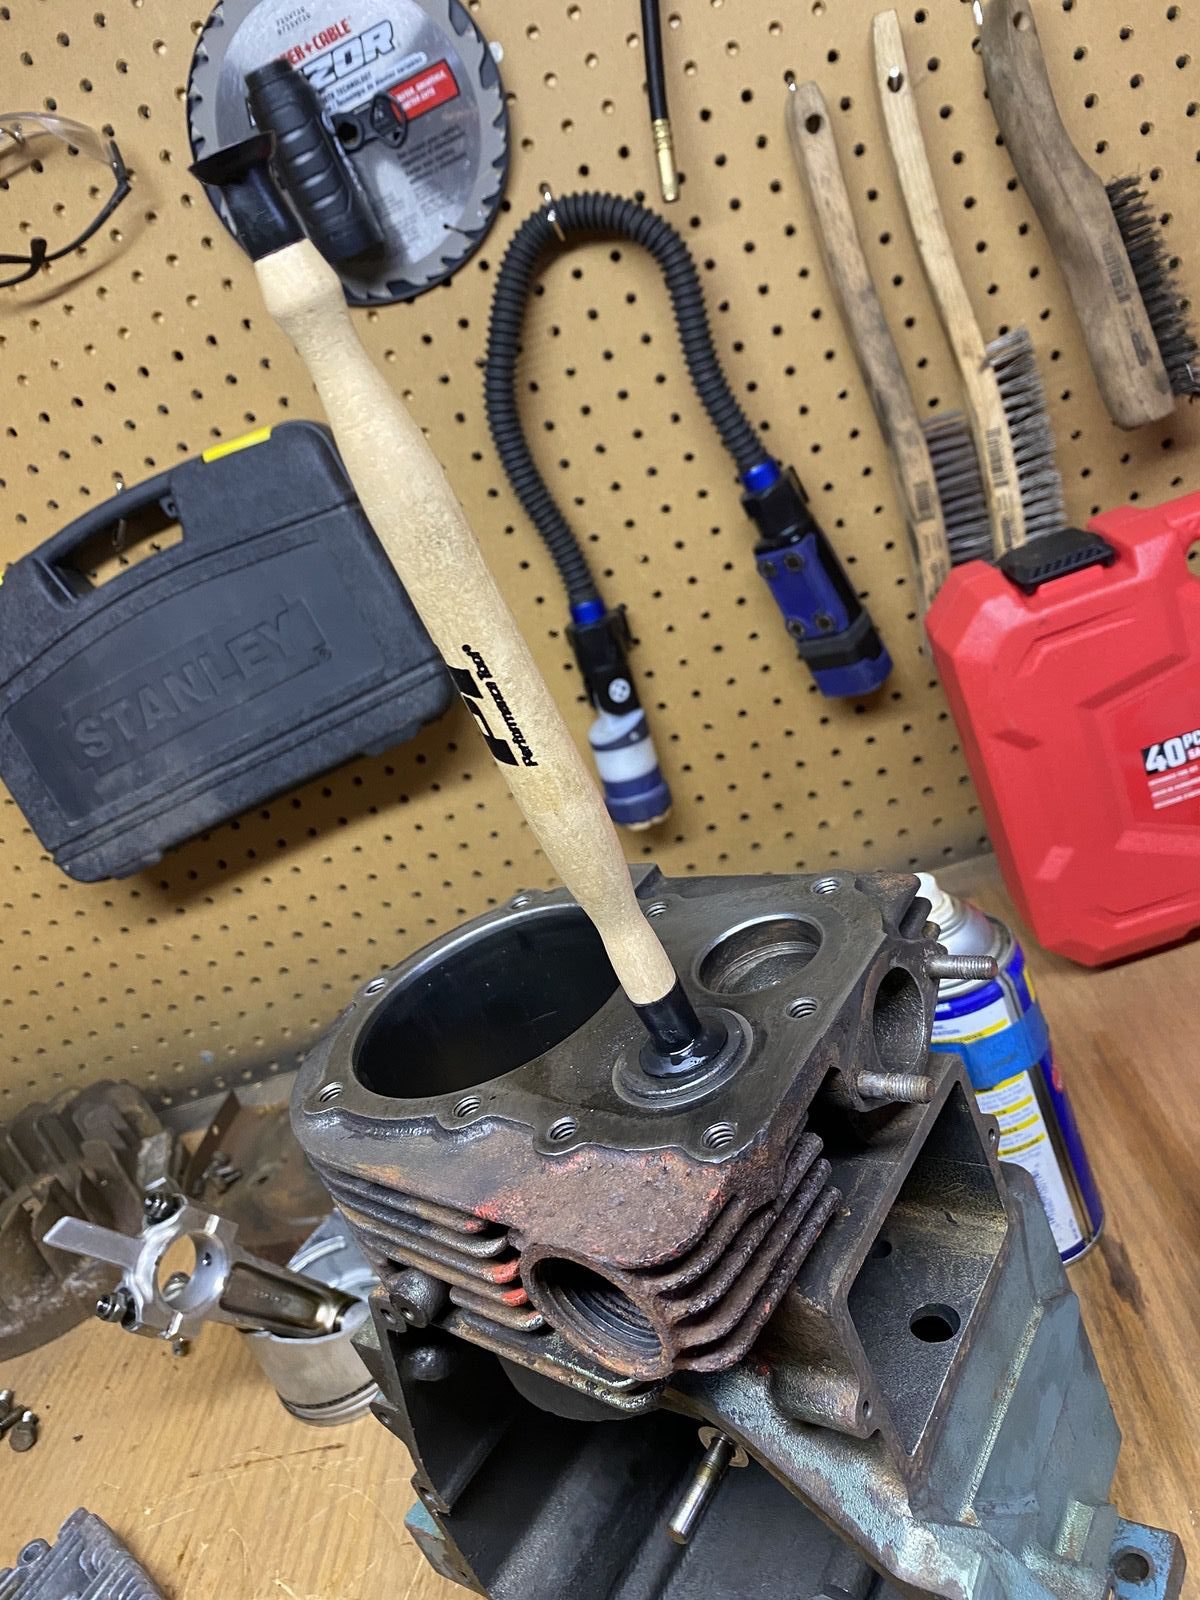


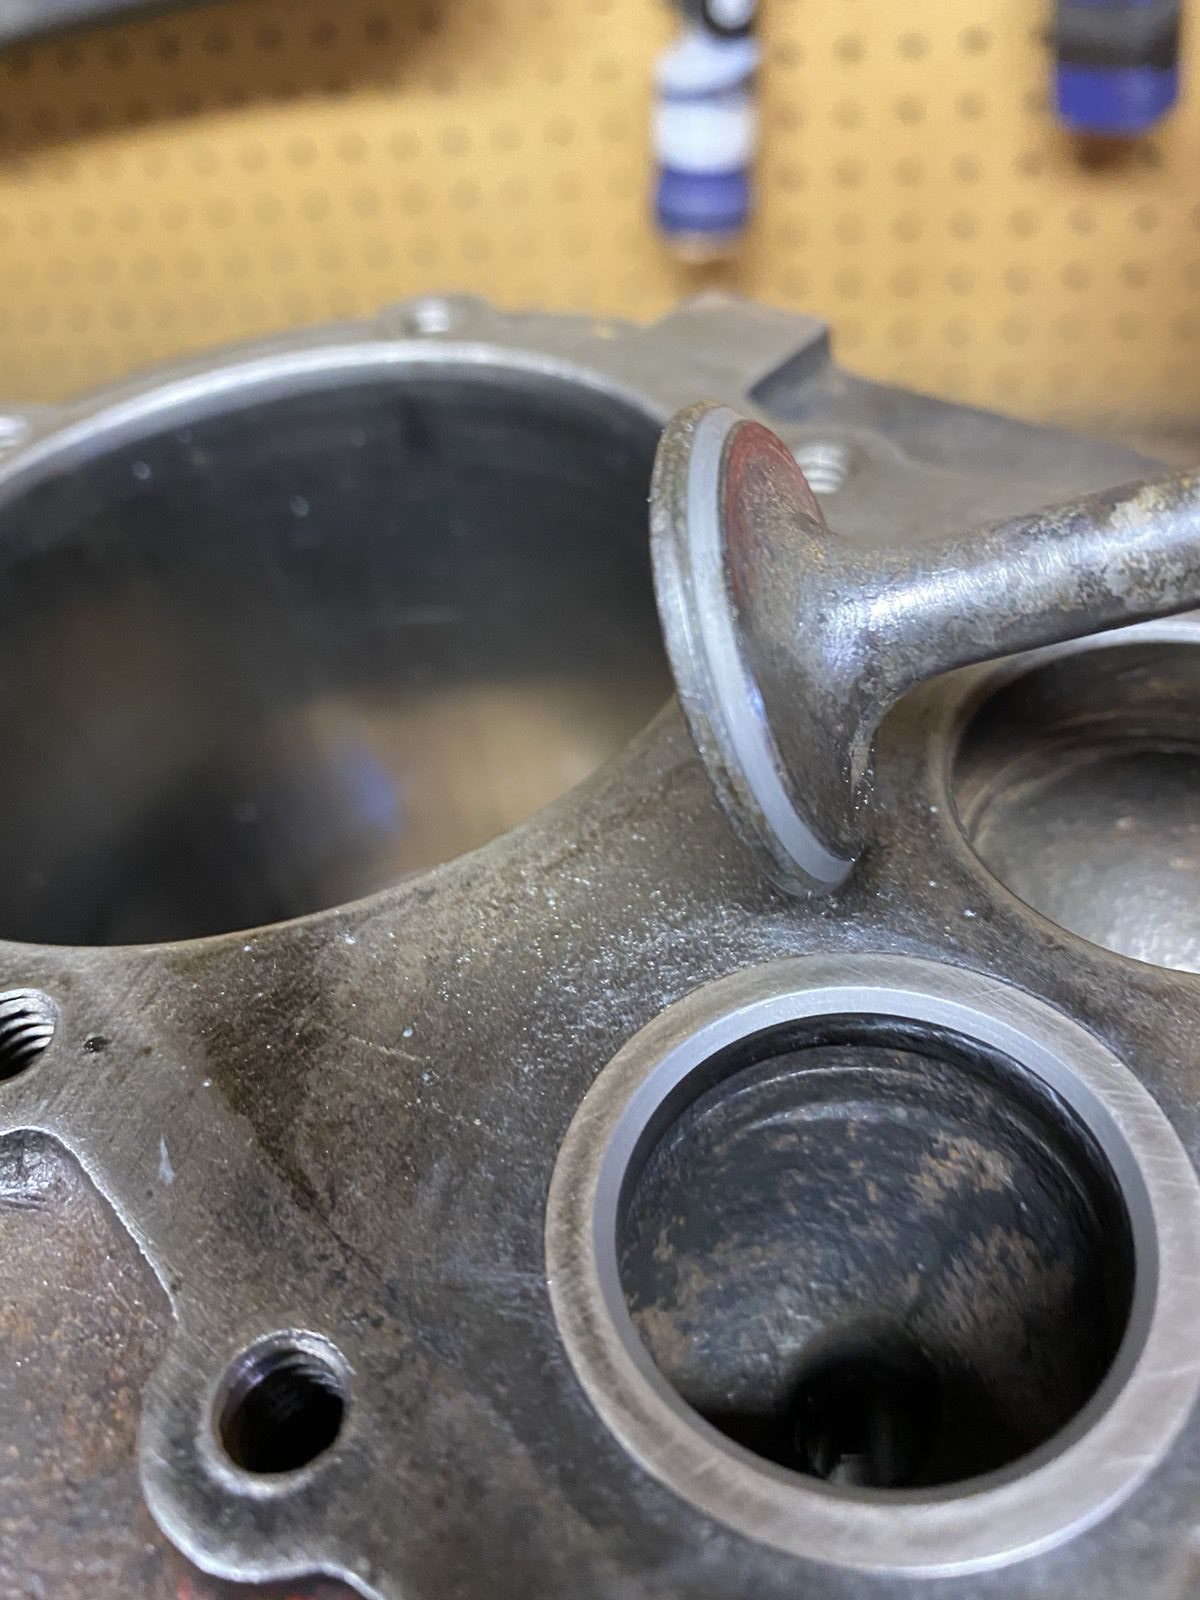
So once the valves were looking good, I wanted to clean up the deck some. It was some sand paper and elbow grease that got things slighty more square than they were before I started. Nothing looked bad, but I had time on my hands and that was enough reason to marginally clean up the the top of the block.

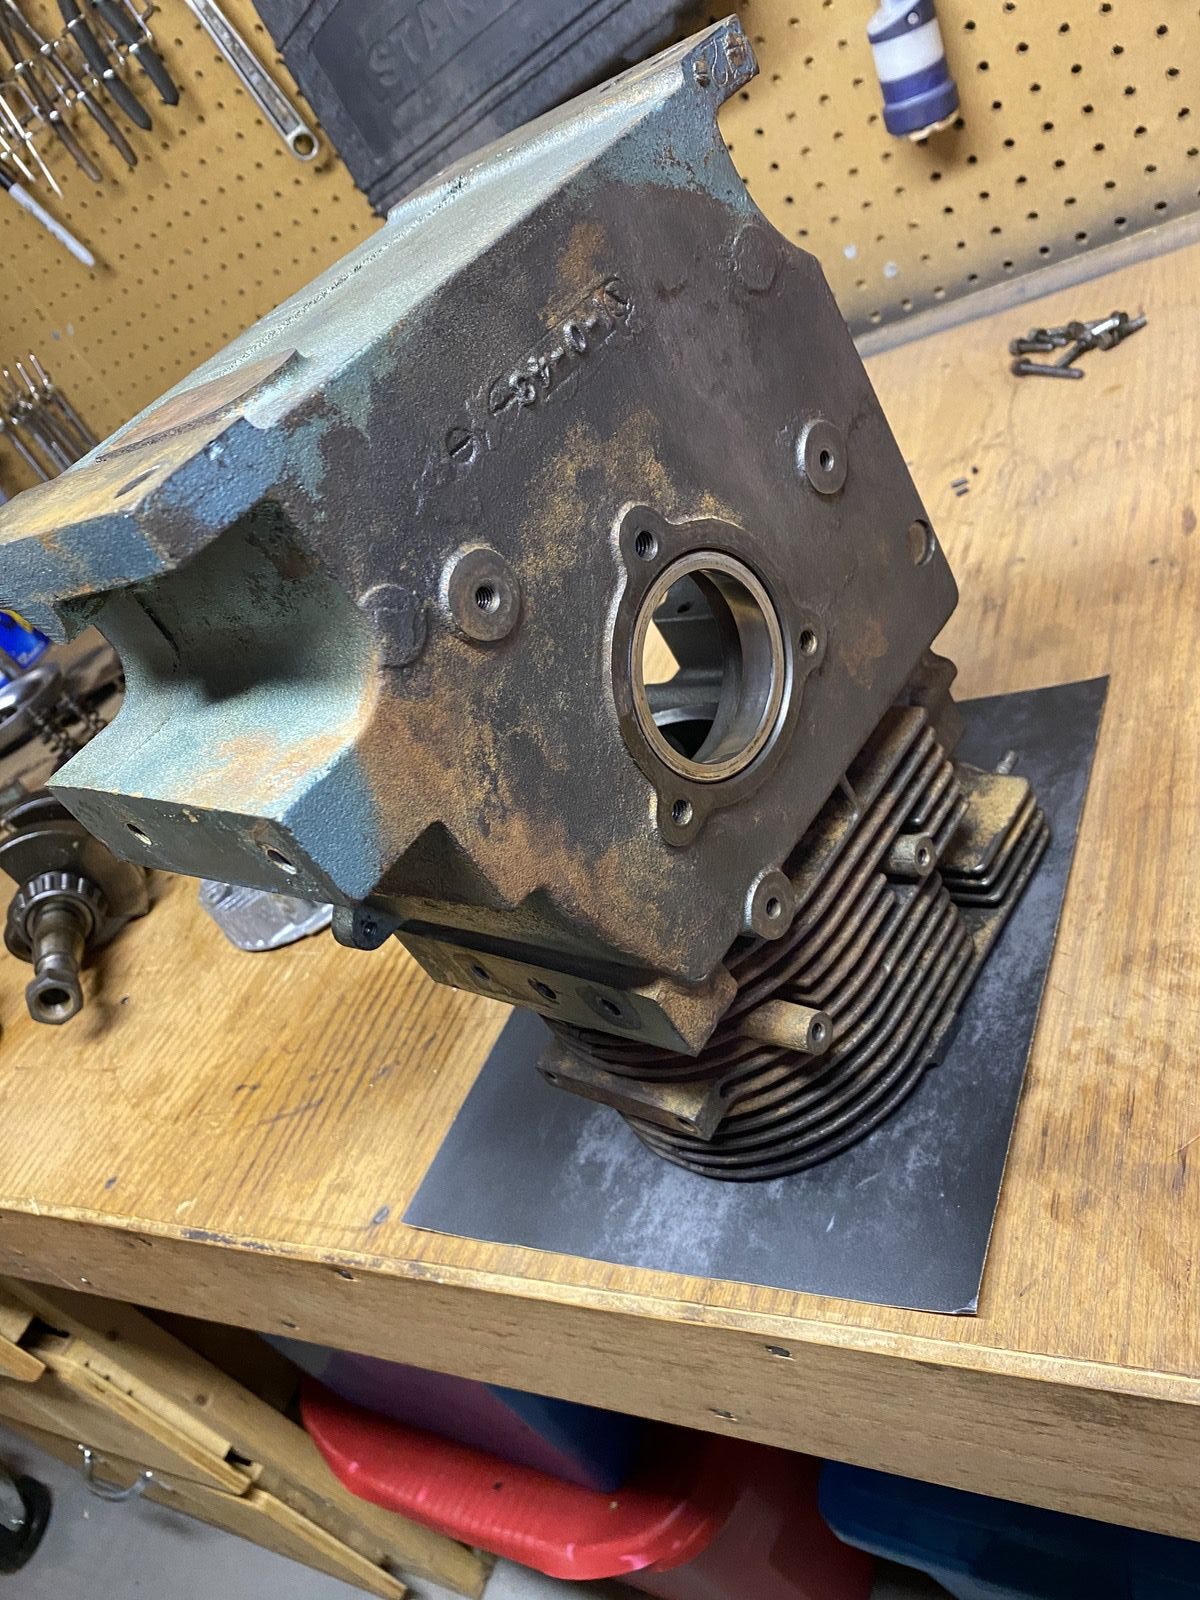

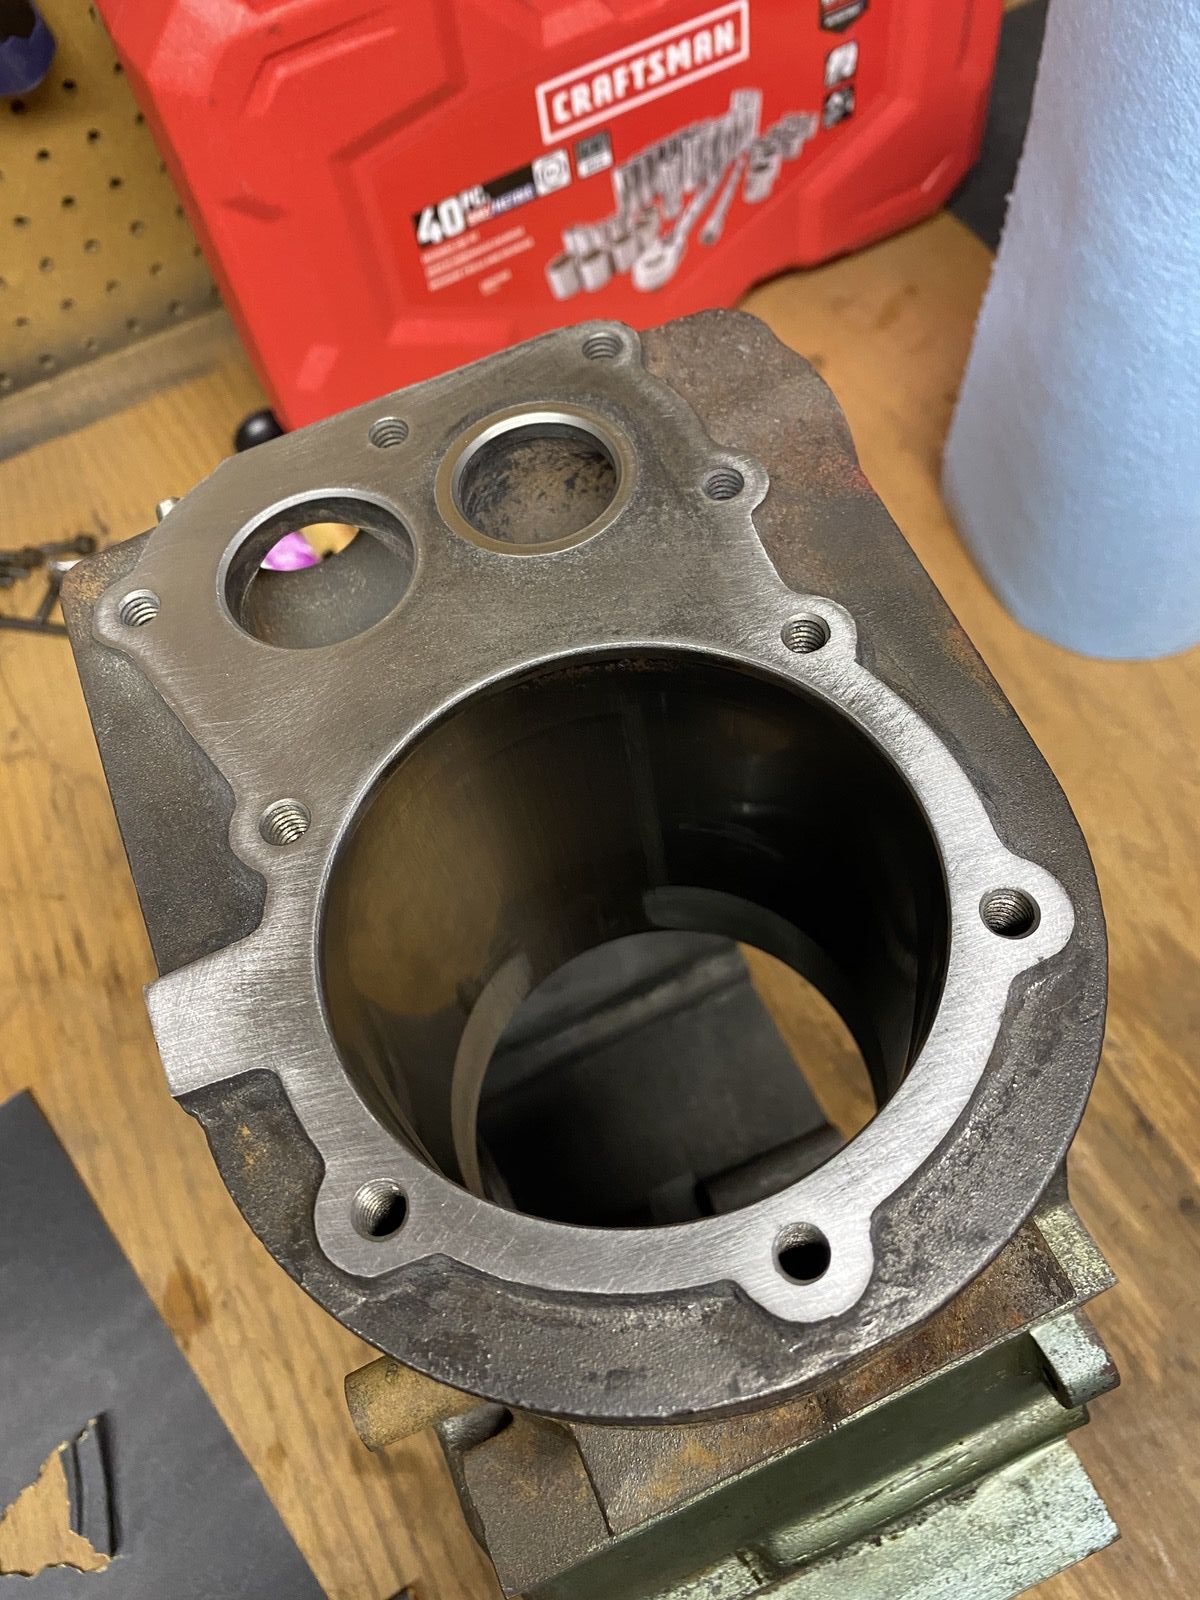
Things cleaned up nicely. Here’s a shot from shortly after we started. We kept working until we had a decent enough finish and to call it a day and retreat back into “waiting for parts” mode. We basically went until any obvious low spots on the sealing surface were “gone” or as “gone” as our basic straightedge test was telling us.
We’ve got Evaporators-Rust, gaskets, piston rings, a carb kit, and more on the way. Stay tuned as the Isolation Restoration continues next time!


Congrats on the Covid-19 rebuild project. Looks good! You will definitly want to see f you can find a pin. I would guess that the original was probably hardened. That cheap hitch pin will work for while, but it will probably wear away pretty quickly (you will probably see an eventual decline in power until it just doesn’t run anymore when the points aren’t opening).
To your point, I am keeping the search alive for a factory replacement one.
I had a similar problem on a generator I was servicing in my old, motorhome. The Onan twin cylinder points are located just out of easy reach in the dark fireproof compartment in the back side of the vehicle. In this case I was trying to fix something that wasn’t broke and learned a lesson. The points are situated in a little metal enclosure in a hard place to see and just getting it open is a task. Anyway I managed to remove the package and on examination found everything was good to go seeing the previous owners never used the unit and the hour meter only read 300 hours. I continued re-assembly on which I paused to find that the gasket that sealed the unit from the crankcase with that little pin -pushrod affair that opens the points was missing. So I traced out another on gasket paper and re-installed the piece.
On trying to restart the engine something seemed awfully wrong as it was hard to start initially and was backfiring to beat the band.I must of spent days checking everything to remedy the problem when finally I removed the points again and there was the problem. The gasket I thought I had lost was there stuck on the crankcase and the new homemade one was stuck on the bottom of the points enclosure, thus increasing the point gap and retarding the timing causing continuous backfire.
In my case the old adage applies” If it ain’t broke, don’t fix it.”
C’mon you old backyard guys Needed – heat , a magnet + some oil
Tickle the pin w/a torch until it loses magnetic properties –
drop in a container of oil …voila – oil hardened pin …
And by the way I mean tickle not try to melt the damn thing .
If your careful and pay attention you can see the
color changes in the steel as it heats thru blue,purple,straw ..