


The last update on our 1976 Dodge Charger Daytona was done back in August 2021. You know what that means? It means it works! That’s right, for once, I’ve had an older Mopar on the property that has proven useful and reliable. There have been some bumps and bruises along the way, for sure, but nothing was so bad that it kept me from cruising around. Well, during the summer months, anyways. I drove the hell out of the Dodge because frankly, why wouldn’t I? It started nice, it ran as good as any mid-1970s Chrysler product should, and people loved seeing the car out and about. Every point of that is a win in my book.
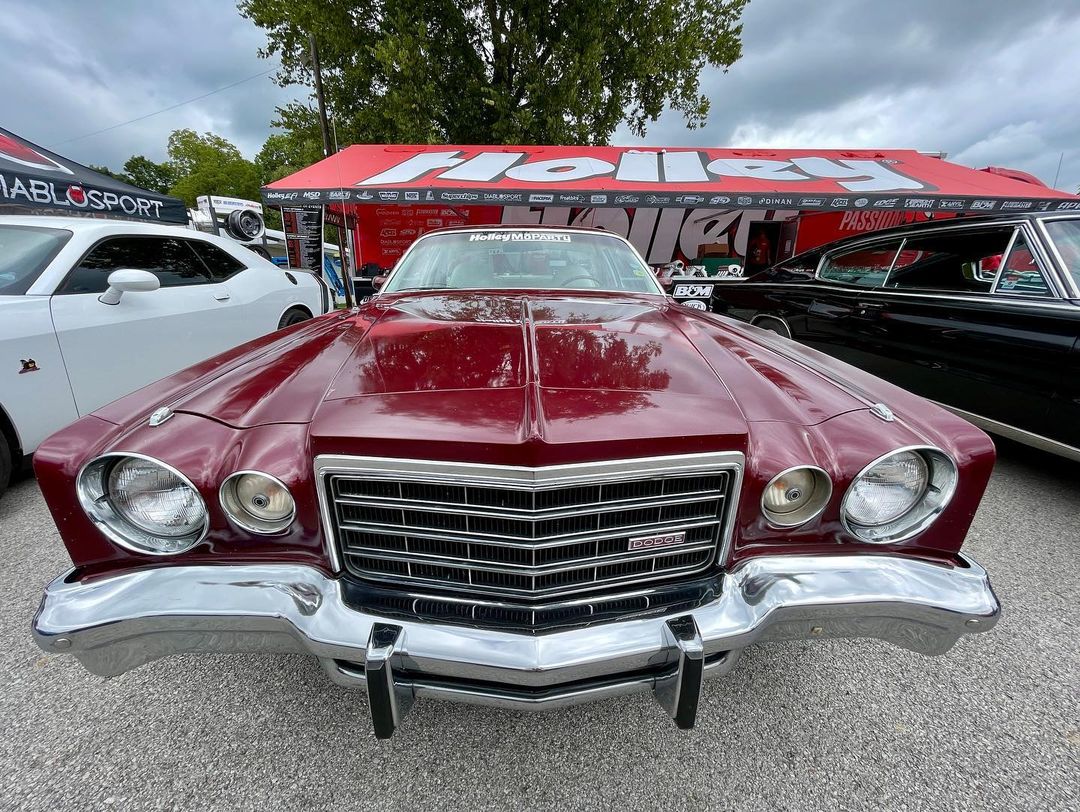
The highlight for me was going to be bringing the Charger out to Holley’s big shows at the beginning of September, especially MoParty, where I would actually have a car to show off. Not only would I be at these events working, but Haley planned to ride in with me for at least one day of each show. So on that first morning of LS Fest, with just a hint of early autumn chill in the air, I fired the car off and after letting it warm up a bit, we started making the trip from BangShift Mid-West towards Beech Bend. You couldn’t have asked for lovelier weather: morning temps in the mid-50s, a thin layer of low fog amongst the recently-harvested corn fields, and a mellow V8 soundtrack on country roads. And that lasted all the way up until we got to where we turn towards Bowling Green…and that’s when the steam started to pour out of the vents, fogging up the windshield and leaving everything smelling like hot ethylene glycol. Son of a…
Yep, my luck finally kicked in, and on the first day of LS Fest, the heater core in the Charger popped. Combine that with an air conditioning system that hasn’t worked from the start, and it became pretty clear what I would be doing for a winter project. I bypassed the heater core and continued to drive the Charger around for a few weeks, but just after Halloween, the Charger got it’s fluids topped off and rolled into the shop for its winter hibernation and for the last couple of weeks I’ve been fairly busy wrenching. Follow along with the pictures to see what all has happened:

Before we even begin discussing the HVAC issue, however, I’d like to take a moment and thank whoever painted the Charger last for their work. The day before MoParty, a deluge swept through Bowling Green and I had driven the car into town. I noticed this blister on the hood as I drove home. At first, I thought heat or maybe an electrical short on the hood was cooking the paint…wrong. There was enough of a break in the clearcoat that water got underneath, and when I touched it water squirted out. Since this photo, all of the affected clear in the picture has flaked away, leaving an open bare spot. And there’s plenty of lifting clear elsewhere on the body. Early estimates for a repaint? You don’t want to know. I sure didn’t.
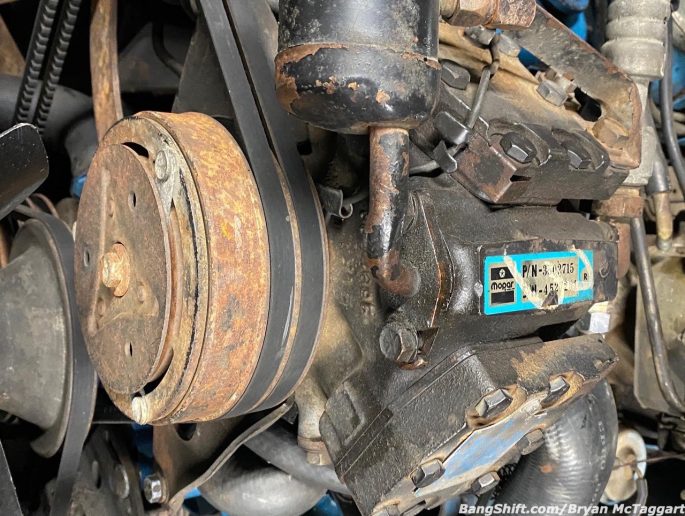
Sorry for the sideways shot, but what you are looking at is the RV-2 two-cylinder air conditioning compressor that loved to scream once the revs got to a decent range. When these are fully operational, these will freeze a medium-sized meat locker with ease.

This is the EGR timer that I had to remove to get to one of the HVAC mounting nuts. It was plugged in, it was functional. What’s so important about this?

If you are familiar with Chrysler electronics from this time period, the backside has all of the circuits covered in a semi-solid material to protect them. Except that over time, that substance melts into a honey-like consistency, then oozes all over the firewall down to the ground. Which was the story here. I am not responsible for the electrical tape fix.

Nor am I responsible for whoever put one of the Schrader valve ports for the A/C compressor directly INTO the radiator hose! The Charger was supposedly converted to R134a coolant sometime in the past. And I’d like to believe that, except that this is the worst possible placement for the valve.
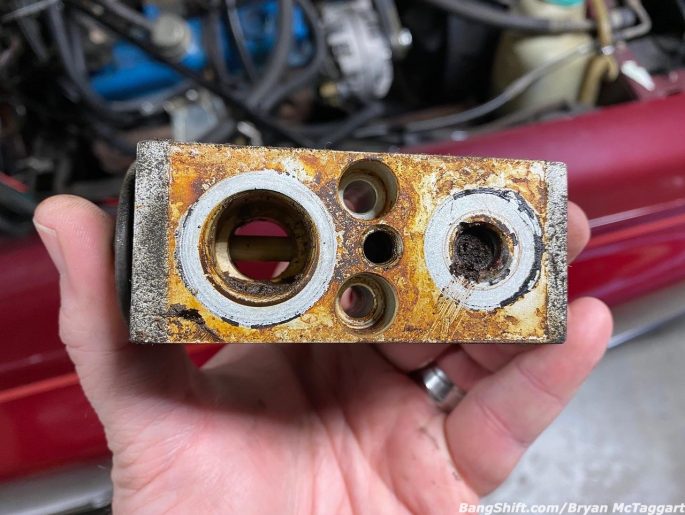
There was also exactly NOTHING in the system when it was discharged. Nothing. Not one PSI. No wonder the compressor was howling. This is the manifold, between the lines and the evaporator core. Pretty sure those are both supposed to be clear.

Also pretty sure that when you retrofit 134a to an R12 system, the O-rings need to be changed to HBNR (green) material. That’s just a guess on my behalf, though.

And I’m positive that Gorilla tape, no matter how good the stuff is (and it is good) is designed to keep coolant inside of a screwed-up coolant pressure line.
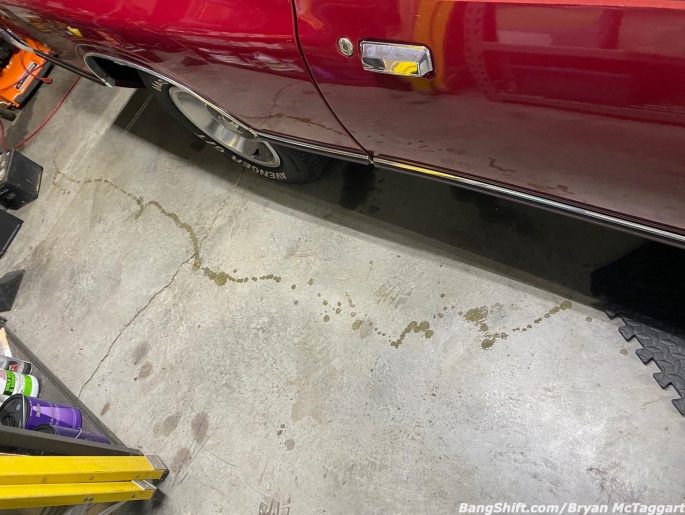
Pulling the HVAC box out of the Charger was actually pretty easy. I disconnected the vacuum tube connector at the HVAC panel, then removed the glovebox and lid, ashtray and back panel, and the lower dash trim (the one with the “ball chiller” vent on the passenger side). Four nuts on the firewall, one nut on a bracket underneath the dash, and a little bit of muscle and the box will come loose. Remove the passenger seat and the box will come out. In my case, you can see the coolant that was pissing out of every possible location as I made the one swift motion to the back of my garage.
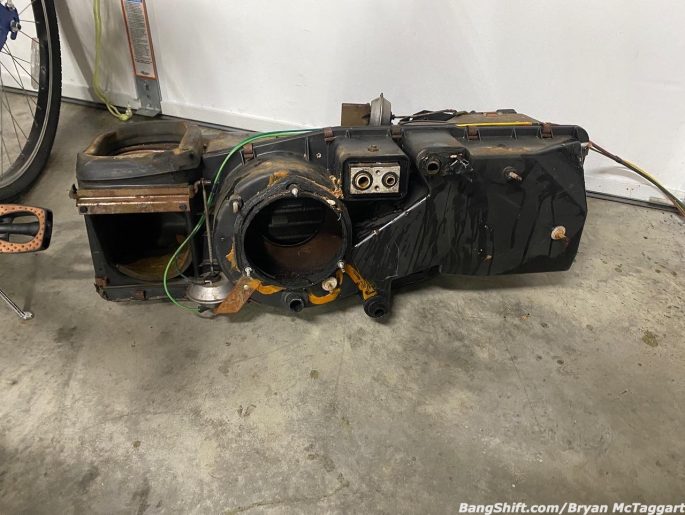
And there it is, looking at it from the firewall side. It’s uglier than a slapped ass, but the vacuum tubes are in one piece and I know all of the diaphragms are in working order. That’s a plus. Splitting the box involves a couple of 5/16ths screws and removing a handful of clips around the perimeter of the case. And, in my case, the massive amount of “dum-dum” (Chrysler’s tar-like tape-on substance) that someone had sealed the box with.

There’s at least two separate points where the heater core failed. Chances are good that there are really more, but I wasn’t going to hook water into a feed port and find out. Fun fact: 1975-1979 B-body heater cores have been out of stock since 2017. As of this article, the heater core is at a shop for a possible re-coring using the brass tanks and new core material. Here’s hoping.

Next up was the removal of the A/C evaporator core, which meant more 5/16 screws. To get to two of them, you have to open up an access panel. Finding leaves, pecan shells and fur told me that this was not going to be a fun time.

The resistor seconded that motion.

The A/C core looks salvageable. I will have it pressure-tested for leaks and if passes, this will be re-used once clean.

Thanks, Mickey. HVAC jobs aren’t great, but better to find this now and clean it out than to be inhaling petrified rodent detritus for years to come. Notice the green ethylene glycol slime towards the back, where the heater core sits. There’s tons of that all over the case.

And that’s where I leave you for now. Both halves of the case are going to be thoroughly scrubbed down to remove the smell of antifreeze and mouse piss before anything goes back together. If the heater core is completely unsalvageable, I have a couple of options, including modifying a 1971-74 B-body unit to work.
Big thanks to Mike Musto for that beautiful shot of the car from the 2021 Holley MoParty in the lead image.
Have you missed an update on the Charger? Catch up with the following links:


I worked as a Chrysler parts /service mgr back in the 70s. This story brings back a lot of memories . I hired a great tech from a chevy dealer . He was in the process of learning Chry’s products and we argue about chevy vschrysler . He would brag on the Monte Carlo . When the first charger and Córdoba ariived I told him ” they have a frame and coil springs like the Monte Carlos .” It was funny to watch him run out to the cars and lay on the ground looking at the suspension . When he got up he shot me the bird!!!!