- Introducing Project Buford T Justice – Our 1987 9C1 Chevy Caprice – The Adventure Begins!
- Project Buford T Justice: Our Cop Car Cruises Home and Then We Beat on It!
- Driveway Tech: Bodywork on Buford T Justice – We Close Our Roof Hole For Fun and (NO) Profit!
- Project Buford T Justice Hits the Strip with Some Pretty Shocking Results!
- Project Buford T Justice Hits the Dyno and Goes KABLOOEY! CARNAGE VIDEO INSIDE!
- Project Buford T Justice Will Be Saved For About A 100 Bucks With a 15 Year Old Transmission
- Project Buford T Justice Update: The Trans Thrash is ON!
- Buford T Justice Update: It Lives Again Thanks to a Down and Dirty Driveway Thrash and Junkyard Parts
- Buford T Justice, Our 1987 9C1 Chevy Caprice Goes Through Final Testing Before the Upgrades Begin!
- Buford T Justice 9C1 Update: The Parts From Hotchkis, Cragar, AFCO, and Mickey Thompson
- Update: Hotchkis Suspension & AFCO Bushings Transform Our 9C1 Caprice
- Buford Update: Our 9C1 Caprice Gets Real With Mickey Thompson Tires and Cragar Wheels
- Driveway Tech: How To Swap A Jeep Steering Shaft Into Your GM B-Body or G-Body Car With A Trashed Rag Joint
- Buford Update: We Flog The Suspension, Unveil a Mountain of Speed Parts, Spill Our Wild Drag Strip Plan
- Project Buford T Justice Update: Drag Strip Thrash Squashed By Ma Nature – We Learn Stuff – Plan B!
- Project Buford T Justice Quick Update: Where The Hell Has Our 9C1 Caprice Been?!
- Project Buford T Justice: We Go On Hot Pursuit Of Horsepower-Our 9C1 Caprice’s 350 Gets A Slap!
- Buford T Justice 9C1 Caprice Update: Metal Fab,Head Work, A Good Surprise, An Awful One
- Buford T Justice Update: Headers, Cheap LS Technology, New Valvetrain Parts, More Compression, Fun!
- Buford T Justice Update: A TCI 700R4 And Breakaway Torque Converter Get Our 9C1 Caprice Shifty!
- Buford T Justice Update: A Very Frustrating Day On The Dyno And How We’re Planning To Fix It
- Project Buford T Justice Update: Where Has Our 9C1 Caprice Been Hiding?
- Buford T Justice Update: We Install A First Gen Chevelle Flowmaster Kit On Our 9C1 Caprice!
- Project Buford T Justice: Our Caprice 9C1 Gets The Shaft! A Dynotech Drive Shaft That Is!
- Project Buford T Justice Our 1987 9C1 Caprice Hits The SCCA Autocross – Photos And Video!
- Project Buford T Justice Update: We Finally Give Our 1987 9C1 Caprice A Cheapo Nose Job!
- Project Buford T Justice Update: We Hit The Strip Again With More Power! (W/Video)
- Buford T Justice Update: We Bolt On Power From Trick Flow And Snappy Looks From Trans Dapt!
- Project Buford T Justice Update: Where The Heck It’s Been And Where The Hell It is Going –
- Place Your Bets For A BangShift Shirt! Buford T Justice Is Hitting The Dyno With This Engine One Last Time – Guess The Power And Win
- Project Buford T Justice: The Long Arm Of The Law Gets Longer With A Stroker Build – 388ci Of Budget Fun
(Photos by Dave Nutting) – Buckle up kids, ’cause we’re going for a long ride. If you remember a couple of months back, we had a grand plan of hitting the drag strip, and then the chassis dyno with a pile of parts in full attack mode to do a one day total make over of the 350ci small block Chevy currently powering Project Buford T Justice, our 1987 Chevy Caprice 9C1. Well, that plan was thwarted by weather and the closing up of our local drag plant for the New England winter. That had us turn to Plan B, which was to hit the dyno at Performance Auto and Dyno in Plymouth, Massachusetts to perform the same feat of strength and get Buford’s tired (we assumed) small block back into pursuit mode. In order to achieve this goal, we enlisted the help of BangShifters Dave Nutting and Tony Maffini for both comic relief and wrenching assistance. Long story short, this story is going to be the first of several installments documenting the whole process we have gone through with this engine, the gains we have made, and the long ass side trips we have taken due to breakage, some project creepage, and our own dumb curiosity.
For those of you that have been following this project, you know that our last trip to Performance Auto and Dyno ended with literal bang and the driveshaft shooting out of the car at 125mph. At that time we ran the car on the dyno in the same exact form it was in when it went 15.68 at New England Dragway. The car had the stock air cleaner (the lid was flipped when the driveshaft quit being part of the program), full dual exhaust from the manifolds back (no cats), and the same spark plugs we drove it home on back in March. In that trim the car made 172hp at the rear tires on the DynoJet at the shop.
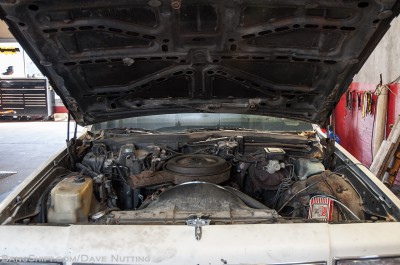 Our first test on this second trip to the rollers was to run the car in virtually the same form aside from the exhaust being cut off at the crossmember. Still with stock manifolds and all, just no mufflers and only a lead or head pipe from said manifolds to the transmission crossmember. The result of this test was that the car picked up a whopping 2hp to clip 176hp at the wheels and torque remained virtually flat at 250 ft/lbs. The peak came at about 3800 RPM with the exhaust and 4200 without it. Power dropped off very quickly after 4200 RPM. Removing the stock air cleaners and adding a K&N 14″ open element ‘cleaner got us an additional 2hp at the wheels and 2 ft/lbs of torque. The stock ignition, carb, intake manifold, and exhaust manifolds were still in place
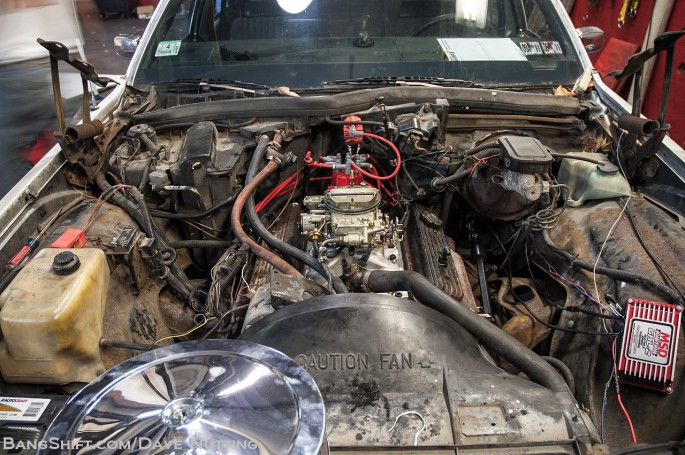
(Note that in this photo you can see the MSD 6AL-2 box but it was not yet connected)
We were all joking about the fact that the car had made a couple of pulls and the driveshaft was still in it. Our laughter was short lived as we decided 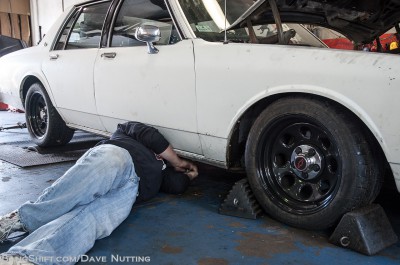 to make a third pull with this setup. Sitting next to Travis Johnson, the shop owner as he ran the car on the dyno, the pull was progressing nicely until about 95-mph and a very bad vibration started. Immediately Johnson hit the brake on the dyno and kicked the car into neutral but we were greeted with the sound of a hollow metal tube spinning with one end on the floor. UNGH – NOT AGAIN!
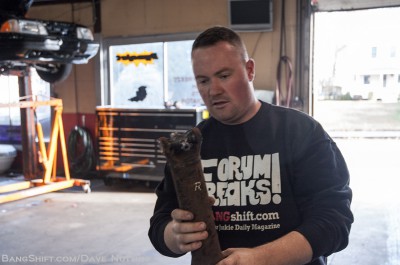
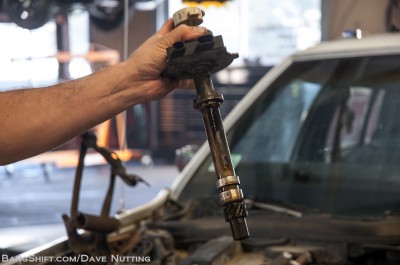
Unfortunately for us…yes again. The good news is that the shaft did not break or suffer any massive trauma, but now it was time to waste precious minutes diagnosing the problem, buying a new U-joint, replacing it, and also gathering in group prayer that another day wasn’t out the window because of this stupid thing. As it turns out, I had replaced the U-joints a few weeks before and didn’t give much thought to the fact that the rear one was a little stiffer than I would have liked it. As it turns out, the ears on the driveshaft were pinched in just enough that one of the retainer clips that hold the caps on was not fully seated. It had been working its way loose and on that final pull, the centrifugal force was enough to dislodge it, sending a cap into low Earth orbit, and the rear of the shaft onto the floor. We stuck that mother into a shop press, straightened the ears out, plopped the new U-joint in and put the car back together. Mercifully, it has not given us a problem since.
If this photo had a caption, it would contain a ton of swear words.
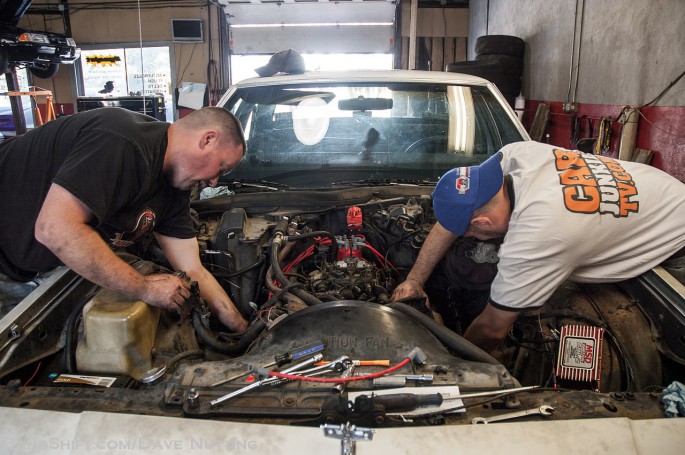
 It was now time to actually start bolting on this pile of parts and get after making more horsepower from the engine. We decided to start with the ignition system, which would allow us to pull the stock computer controlled, divorced coil HEI for an MSD Pro Billet distributor, Blaster coils, 6AL-2 ignition box, and MSD 8.5 mm wires. Outside of the stock ignition being controlled by the lame 1980s computer, factory HEI units are pretty limited in their mechanical advance allowing between 15-18 degrees typically. Because of our future plans with this engine, the MSD distributor, wires, coil and 6AL-2 were the best choices for us. Basically, they’ll allow us to continue to grow the HP and still provide the fire to light it all off.
Swapping the distributor wasn’t exactly a rocket science operation. We set the motor up on TDC #1 so we knew where to aim the new MSD piece going in and then pulled the old computer controlled HEI. That thing now lives in a local scrapyard. We’ve already got a few of the old non-computer controlled HEI units on the basement shelf for whatever reason.
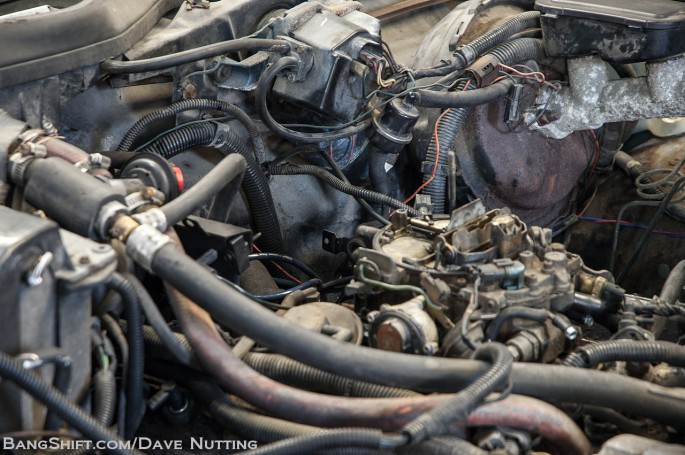
Despite the rather huge engine bay of the Caprice, there wasn't many good places to mount the coil, so we chose a nice flat surface up by the windshield wiper motor. It made for a short coil wire and easy access.
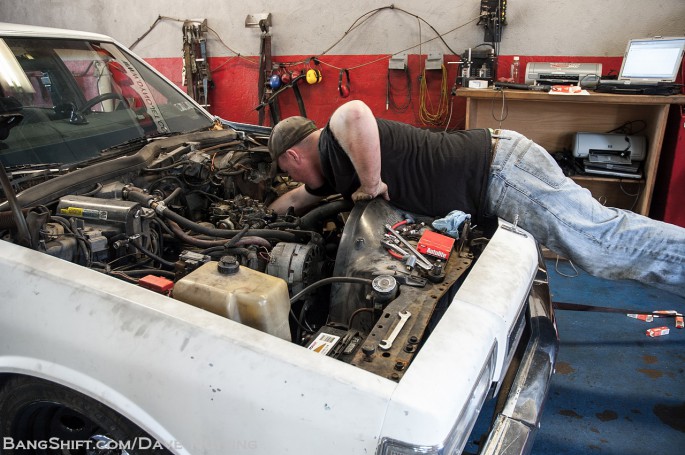
While Tony made a run for some fasteners to secure the coil, I went ahead and ran a new set of Autolite plugs into the engine. Why Autolite plugs? They were the cheapest ones at the parts store. I am also really good at planking apparently. I got into that fad about two years late.

I can't say that I have any idea what the hell Tony is doing in this photo, other than getting his shoes greasy standing on the engine.
Here you can see the location of the coil, the new distributor installed, and us just about done running the spark plug wires. Trying to find the best route around all the vacuum hoses and junk was tedious.
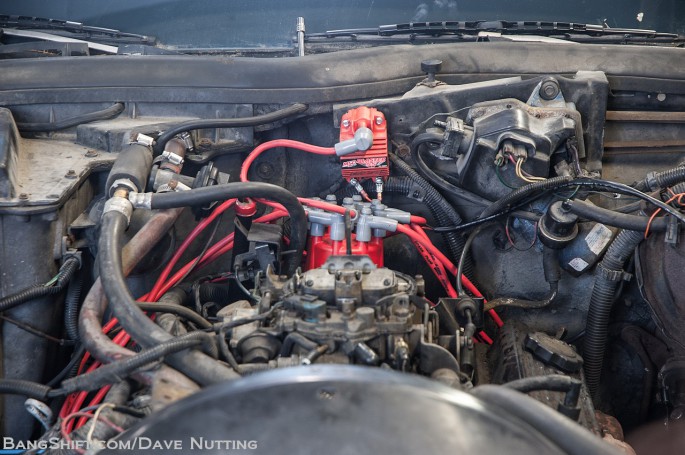
Our reward for this work was 11hp at the wheels at peak HP and some major gains under the curve. We did not change the centrifugal springs or advance bushing in the distributor and ran it as it sat out of the box. All pulls for the remainder of the day were made this way. The engine liked the hotter spark, more total timing, and more favorable curve provided by the MSD distributor. The 6AL-2 box was great as we were able to use the dip switches to set the rev-limiter to 5,000 RPM and not worry about over running the engine on the pulls. The driveshaft stayed in and we were onto the next part! We should mention that the stock bushing in the distributor allows for 21-degrees of mechanical advance. Setting the initial timing for these pulls meat that we were at a weak sauce 29-degrees at full advance. We'll talk about changing the curve and bushing in an upcoming story.
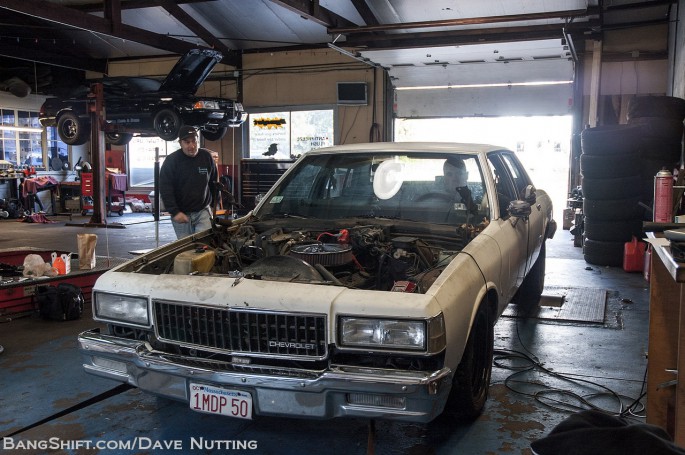
Note that in this photo, Travis has abdicated the driving duties on the dyno to yours truly as he has had quite enough "fun" with the driveshafts flying out of the car. The fact that he's standing this close to the thing means that it is probably just idling here.
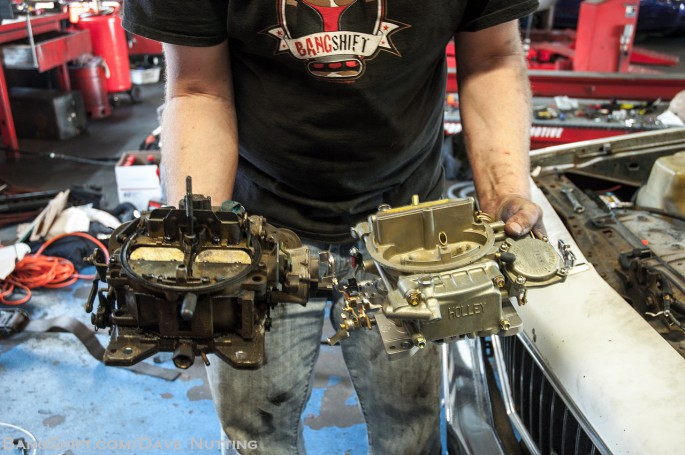
Next up we decided to swap our new Holley 650 carb in place of the grungy, stock computer feedback Q-Jet. We went with a vacuum secondary style Holley. Another slightly different variation on this carb is the fact that it is a spread-bore style like a Q-Jet. We've always wanted to mess with one of these and since the engine is a mild piece, we figured it would be well up to the task, especially when noting the condition and driving characteristics of the old Q-Jet. It was stumbling and bumbling virtually everywhere but full throttle.

Here's another quick shot of the carb in case you have never seen a Holley before. If that's the case you are reading the wrong site!
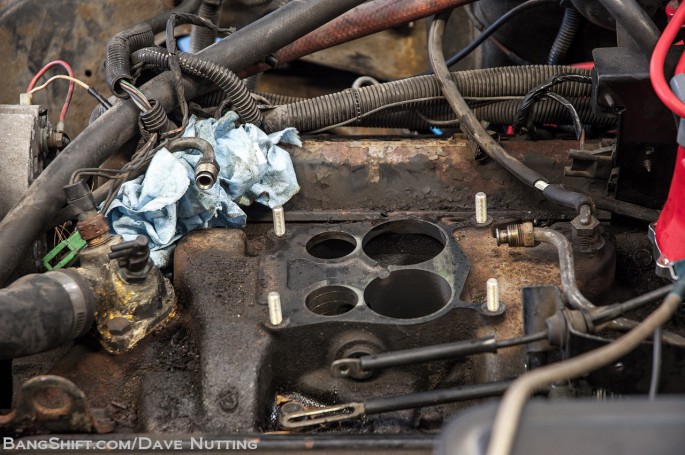
Since we wanted to get the best comparison between the stock intake and the new Weiand we were about to bolt on, we decided to run the Holley on the stock cast iron piece first and then pull the top of the engine apart. Looks racey in there, huh?

We were confronted with a couple of issues when swapping the carb. The first was that the vacuum diaphram on the side of the Holley ran smack dab into the factory EGR valve. We solved that by pulling off the EGR, cutting its diaphragm off with a hack saw and then welding up the hole. It was a quick solution. Also, we needed to cut and bridge the fuel line with a piece of rubber to have it meet the Holley as well as source a new vacuum fitting for the rear of the carb as the one on the Q-Jet will not swap over. These things killed even more time.

Here's the carb in position and ready to go. It sure looks a hell of a lot better than the Q-Jet did. But how did it run?

Firstly, yes we moved the return springs to the right position before starting the car. Secondly, the Holley had better AFRs than the Q-Jet until we got to the 4,000 RPM range where it was leaner. The Q-Jet actually made more peak power by 2hp on the dyno, but the Holley eliminated all the weird stumbling and flat spots we were experiencing with the Q-Jet. Because our jet kit was sitting 30 miles away at home, we didn't re-jet the carb this time. That'll be in an upcoming story. So the results are that after this pull we sat at 187hp at the wheels.
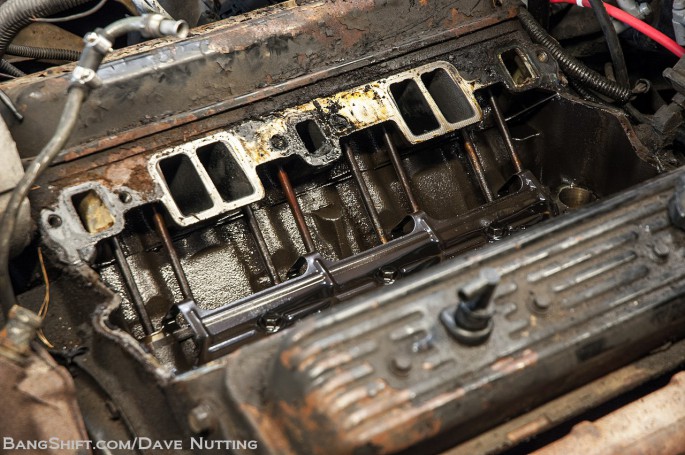
Next up we pulled the intake manifold to install our new Weiand Street Warrior. We were all very interested to see what the innards of the 350 would look like and were happy to see no sludge and a very clean valley. We'll get to the surprising reason this is the case in one of the next updates. Yes, this is a factory roller engine as we expected.
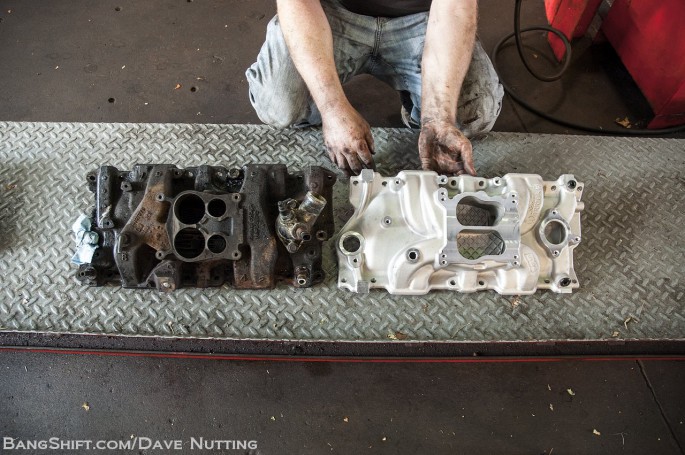
Here's our new Weiand Street Warrior sitting next to the stock cast iron lump. The dual plane Street Warrior is designed to work best between 2,000 and 5,500 RPM which is just where we want this baby to live and work. With a stock rotating assembly, asking for lots more than that can get troublesome in a hurry. Remember, we're also assuming that this engine has 185,000+ miles on it as well!

Here's a side view of both manifolds for comparison. The already heavy iron manifold was probably made 5lbs heavier by all the grime and junk on it.
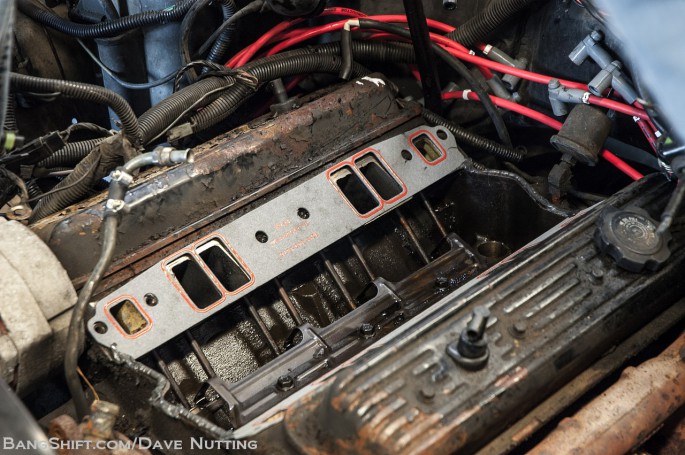
I cleaned up the cylinder head mating surfaces while the other guys prepped the manifold. This view had us begging for more time to at least gasket match the ports, but we were already way behind the eight ball.
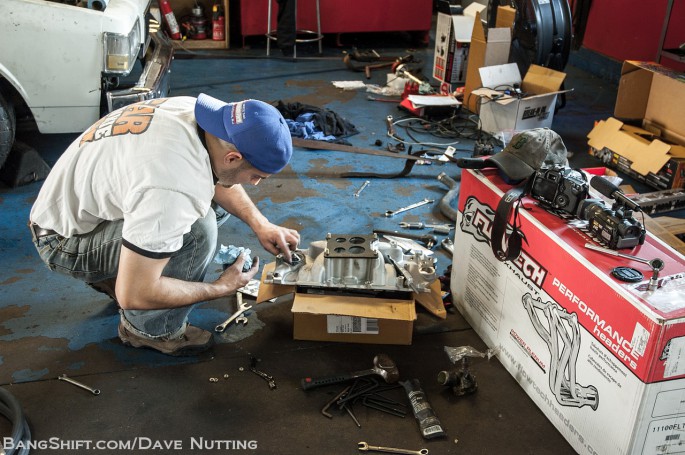
Tony put the thermostat in, bolted down the thermostat housing, and added a pipe plug to keep us from having a coolant geyser. Note the organized manner of our working conditions.We had crap spread half way across Travis's place. The man is a saint.

We bolted the carb to the manifold and installed them both as one piece. After dropping it on and torquing the bolts, we just had to reconnect a couple of hoses and vacuum lines and then it was go time.
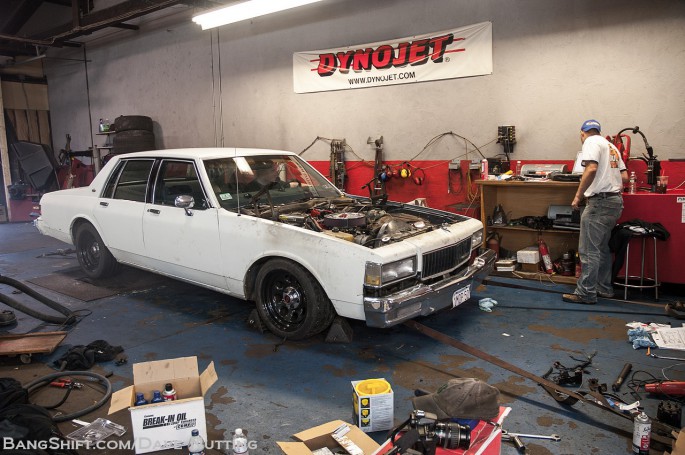
Our Weiand Street Warrior really did a nice job of making the 350 sit up and talk to us. While peak power was only up 10hp, we had huge gains from 2200 RPM to 4000 RPM. For instance, at 3000 RPM, with the stock intake (same ignition timing, and same carb jetting as previous pulls) the engine was making 105hp, but with the new intake, at the same exact spot it was making 135+. When laying the two pulls on top of each other, the lines converge at 4,000 RPM where either our stock MSD advance was out of gas, the stock cam was done, or the cylinder head and exhaust manifold package was dunzarino as well.
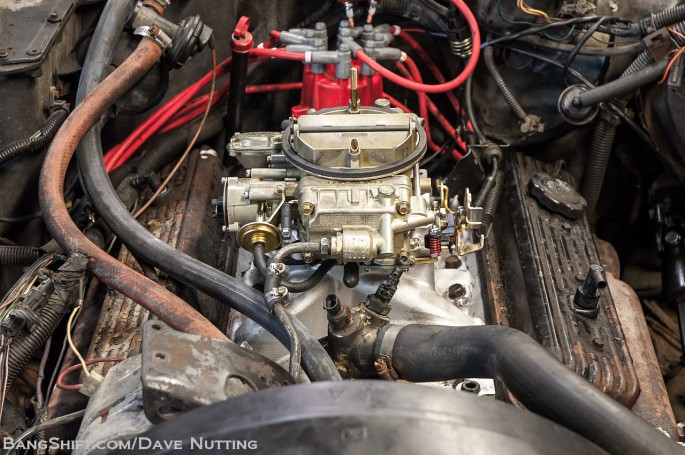
So at the end of the day we came in with 176hp and left with 197hp at peak. More importantly we had made huge gains in the power curve and the car was instantly more fun to drive with tons more power from 2000-4000 RPM. We ran out of time after making the intake manifold pulls. The loss of a big chunk of the morning running for parts, fixing the driveshaft, and getting stuff to fit cost us dearly in productivity. The good news was that we left with a plan to bolt on our Flowtech headers and return to the dyno shop asap to resume the testing again, ultimately adding our new valvetrain parts and camshaft from COMP. If we had been better prepared with the Holley jet kit on this trip we would have been able to see more improvement. Also, we probably should have taken the time to work on the distributor with an advance bushing and springs to tweak the curve, but we didn't during this visit. We were happy with what we got done and the results of our effort. We were also happy that we cruised the car 30+ miles each way with open exhaust and didn't get a ticket. There's more power to be had here as we simply left the parts box stock when installed. In upcoming installments we'll show you the effect that jetting, timing, and other changes have on this very basic combo. We're trying to keep this thing as real world as possible and that means making mistakes, gaffes, and discoveries along the way. It may make you want to slap us now and again, but we're OK with that. We live in a world where not everything goes right all the time. How 'bout you?

We owe a huge debt of thanks to Travis Johnson, the owner of Performance Auto and Dyno in Plymouth, Mass (rear right), his right hand man Ben Dahlgreen (the bearded muchacho rear left), Tony Maffini (ugly bastard front left), and Dave Nutting (creepy guy front center) for all their help and for eating the pizza we bought. The greasy dumbass on the right was just an impediment to progress.
MSD –
P/N 32829 – 8.5MM SPARK PLUG WIRES – $72.00
P/N 6421 – MSD 6AL-2 ignition box – $255.98
P/N 85551 – Pro Billet Distributor – $236.95
Weiand and Holley –
P/N 8210 – Weiand Street Warrior Intake Manifold – $134.95
P/N 0- 9895 Holley 4175 Emmissions Legal 650 CFM Carb W/Electric Choke – $450.00
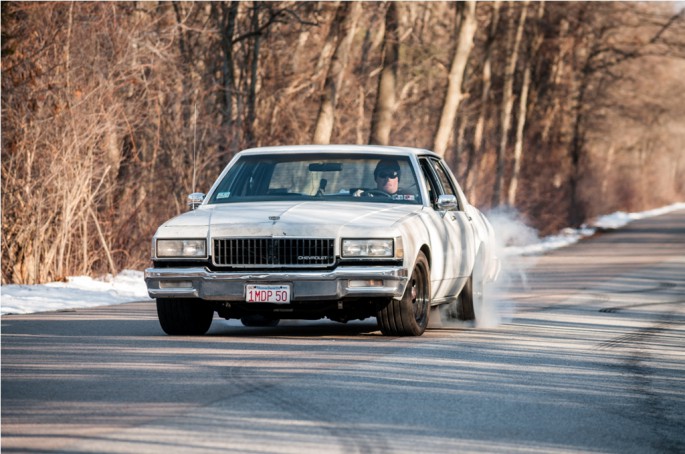
STAY TUNED FOR NEXT WEEK'S STORY - WE GET SURPRISED, WE GET SAD, THEN WE GET EVEN WITH BUFORD T JUSTICE FOR THROWING US A CURVE BALL!




Funny thing is, I was THERE and I missed half of that. I was out, hauling ass to Home Depot, CarQuest, NAPA, etc… Fun day. Thanks Bruab!
Parts runners are an important and integral resource to this kinda deal.
Jeez, having to stop and chase stuff is a major P.I.A.
I’m sure your efforts are appreciated.
Hopefully, you were rewarded with the last piece o’ pizza or the last beer!
Awesome read!! very cool project that sets REALISTIC expectations versus what the marketing dept. promises.
Since i’m a Ford guy, everytime i read this buford stuff it makes me want to buy a ’87-’91 crown vic or marquis and junkyard gt40 it with nitrous…….thanks Lohnes!
I think a late-80s Grand Marquis would look absolutely badass with the right stance, motor, etc. Jesus…24 years of spinning wrenches and I never thought I’d say that out loud…
As a Box Panther fan, I couldnt agree more. An Exploder motor in my ’88 Colony Park? WIN.
For some reason, I really enjoy these step-by-step [shade tree mechanic] thrashes.
At my advanced age, I think I might want to be more appreciated for the work I do than my performance in competition. Weird, huh? ‘Sounds like [strictly] test ‘n’ tuners’ mentality, doesn’t it? Oh, well…
Of course, it would be spending more of their money, but I would have preferred to see an MSD Digital E-Curve Pro-Billet distributor used versus the mechanical.
Setting “vacuum” and mechanical curves externally with a screwdriver? ‘Seems too easy.
‘Bet the header installation gives a good bump to the engine’s output. The new cam will likely “do the motor good”, too.
Wow, Brian, you coulda made a bigger production outa this by live streaming and doing it all in 48 hours! ‘Just kidding!
‘See you guys Thursday evening at 6 P.M., my time.
see i told everbody that oil changes were over rated. in the 7 or more years i owned buford, i did maybe 3 oil changes lol
Ditch the 350 and put in a LT1! Stock to the rear wheels is around 220 hp. Everyone complains about the opti but in the 10 yrs I have own a LT1 9C1, only once it failed. I have been racing these cars since 2003.
Awesome write up Brian and you have me drooling for more. I do love a good thrash and “WTF are we missing now” moments.
There’s some happy-looking greasy fellows…or greasy-looking happy fellows…whatever. This and the Road Kill ‘Cuda…who needs magazines?
One thing I just updated in the story. The stock bushing in the distributor allows for 21-degrees of mechanical advance. With the initial set at 8-9 degrees, that means we were at a pretty weak 30-degrees all in. We’ll fix that in an upcoming story.
Blah Blah Blah, another chevy, what about the mustang on the lift!! 🙂
Keep up the good work Brian! Wish I lived closer so I could offer a hand (then again, maybe not… my mechanical skills are somewhat limited. I can do very basic stuff lol).
Can’t wait to read the next updated and see what happens! Hopefully not another driveshaft failure!
I’m a Ford guy, but I’m loving this story! I hope you go ahead and rebuild the 350 with some performance parts instead of replacing it. Oh, and it would be OK if you steam cleaned the engine!
Good stuff…..bunch of young guns wrenching on a motor.
Keep it coming ….this is real time stuff.
The picture of Brian holding the driveshaft is begging to be chopped…
Weak 30 degrees? That’s what I run. Haha
Loving the progress. This is my kinda project. I would’ve liked to see how the Holley ran with proper jetting, it probably wasn’t set up out of the box for a reeeeeally tired smogger 350.
Good to see this coming along. I, too, was amazed that you haven’t scrubbed the engine at the local coin car wash (assuming you don’t have a pressure washer). I learned long ago that it’s just more pleasant to work on a reasonably clean engine. You won’t get it perfect but it’ll be MUCH better.
Cool to see a pic of Tony – younger than I expected (or maybe at my age everyone seems younger). And Brian – you’re definitely looking skinnier!
Whatever you’re doing it’s working.
Have fun!
Dan
Hey but some degreaser and powerwash it!
Hey, your work area is MUCH more organized than mine ever. Love the exhaust mods! I took the mufflers off my first car – 65 Disgustang (that name was thanks to my buddies – don’t get mad at me Ford guys) and went out for a Friday night of legal/illegal doings and don’t the local cops pull up to us (think Cheech and Chong movie) and tell us to move along. Well, I’m thinking if I start this thing he’s gonna write me up but he waited for us to leave and we were OK. Later that night I passed a few cars and one was my sister who said some “idiot” was driving like a madman with no mufflers and scared the hell out of her. What are younger brothers for? BTW, love what’s going on with Buford T. Justice. Thanks
This weekend can’t go by fast enough. By the way, thanks for all this great information. I want to find a Delta 88 or a LeSabre to hoon the hell out of, and those Hotchkis bits for the suspension will help, along with the solid steering shaft from the 80s Jeep Cherokee. That’s awesome and I never knew that before (wish I did, I’ve owned a dozen B-bodies over the years and every one of them could have used that steering shaft swap except the very clean and tight ’79 Delta 88 sedan I had in 07-08)
I made 206hp /310 torque with just a set of 305 ho heads on my flat top 90 9C1 LO5 and a stock lt1 cam and some long tubes with dual exhaust. and that was a 2brl stock throttle body on top.
and a custom Chip from TBI chips.com
I made 255/360 RWTQ from a 350 TBI with ported 601 305 heads with a mild 204/214 cam and TBI with long tube headers in my 83 G20.